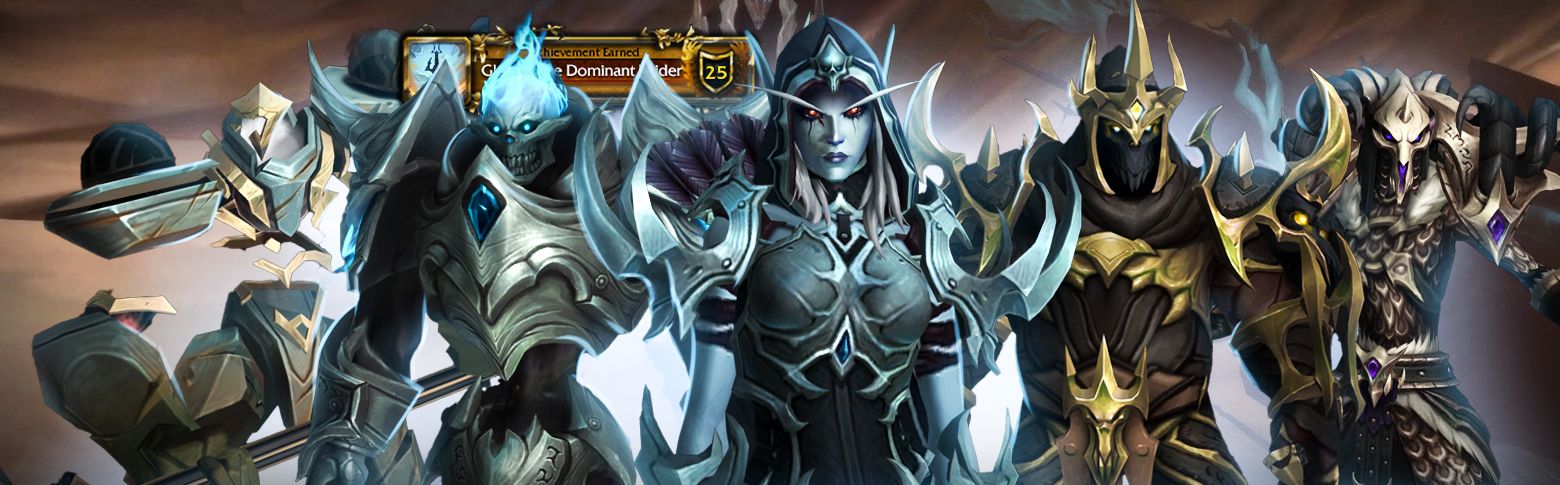
Sanctum of Domination, the second raid of World of Warcraft: Shadowlands, was released on July 6, 2021. It is a great source of transmogs, mounts, and pets, so farming it solo or with a small team is a great idea for collectibles enthusiasts in WoW The War Within. This dark fortress in the Maw has 10 bosses, including Sylvanas Windrunner, with unique SoD armor sets, weapons, and achievements to unlock.
![]() In this guide, we’ll cover:
In this guide, we’ll cover:
- Sanctum of Domination location
- Bosses and their rewards
- Available mounts, weapons, and transmogs
- Achievements you can earn
- Can you solo Sanctum of Domination?
If you’re ready to claim legendary Shadowlands loot, epic Domination Gear, and exclusive Sylvanas-themed rewards, our Sanctum of Domination carry service is your ticket to victory. You’ll storm the Jailer’s stronghold with our undefeated raid team who have perfected every strategy from Normal and Heroic all the way through the brutal Mythic Sylvanas Windrunner encounter.
![]() Whether you’re farming for cosmetics or challenging yourself to solo the SoD raid, this guide will help you get the most out of Sanctum of Domination in WoW Retail (The War Within).
Whether you’re farming for cosmetics or challenging yourself to solo the SoD raid, this guide will help you get the most out of Sanctum of Domination in WoW Retail (The War Within).
Sanctum of Domination Entrance and Subregions
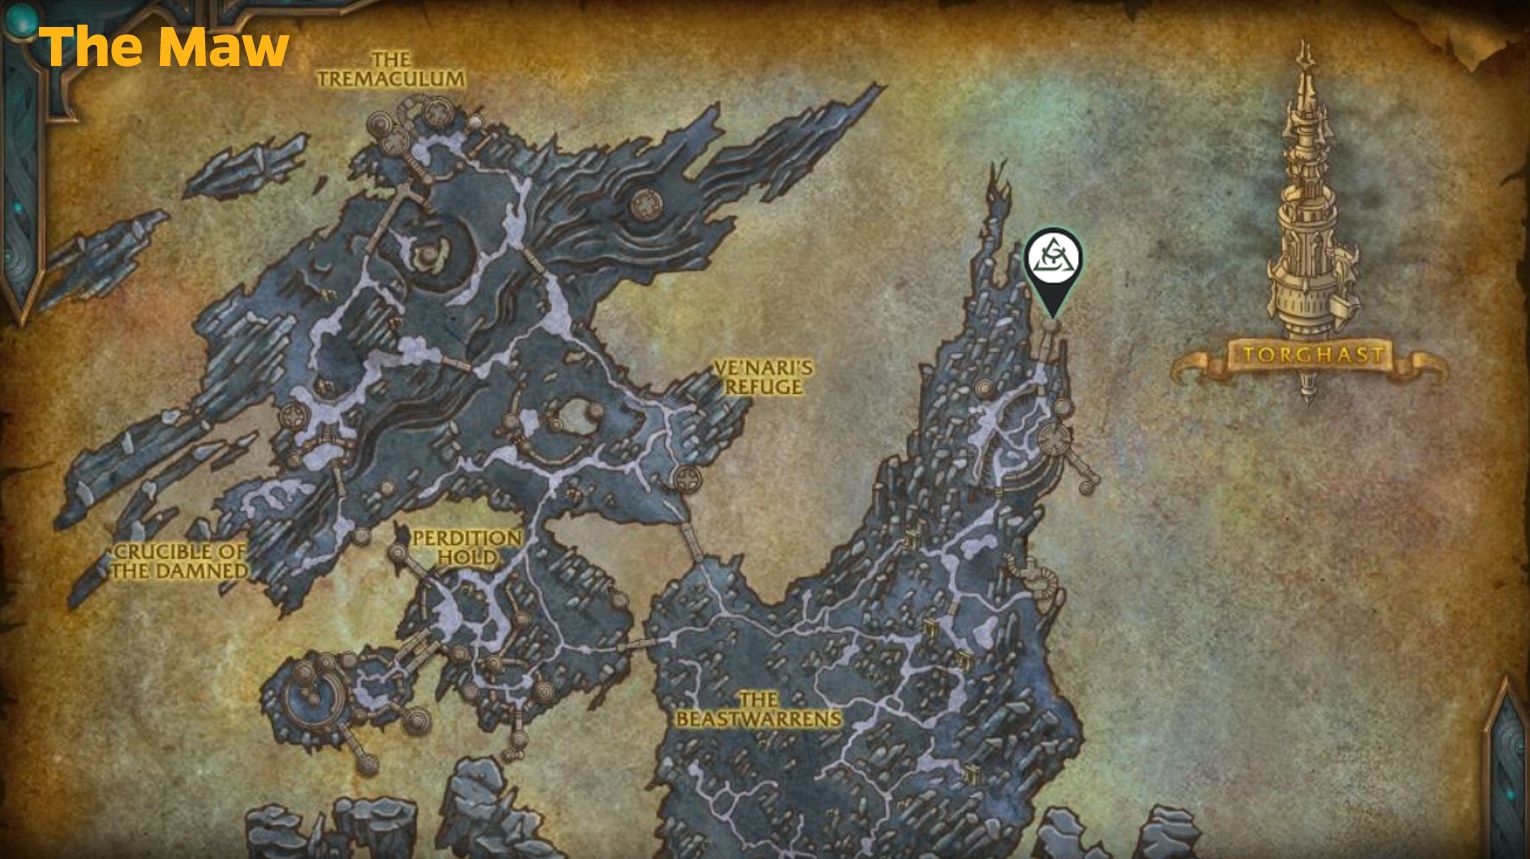
Sanctum of Domination is located in the Maw, one of the most dangerous zones in World of Warcraft: Shadowlands. To get there, travel to Oribos, the central hub of the Shadowlands, and take the flight path to Korthia. From Korthia, head into the Maw and make your way to the northern part of the zone.
The entrance to Sanctum of Domination is at 69.72 31.79, near the towering fortress surrounded by chains and dark energy. Follow the path, avoid or defeat the enemies, and you’ll reach the massive gates. Walk through them to enter the raid and start your journey.
Inside, you’ll progress through different subregions as you fight your way to Sylvanas Windrunner.
![]() Sanctum of Domination has the following subregions (check the gallery below):
Sanctum of Domination has the following subregions (check the gallery below):
- Tower of the Damned,
- Shadowsteel Foundry,
- The Torment Chambers,
- Crown of Gorgoa,
- Pinnacle of Domination.
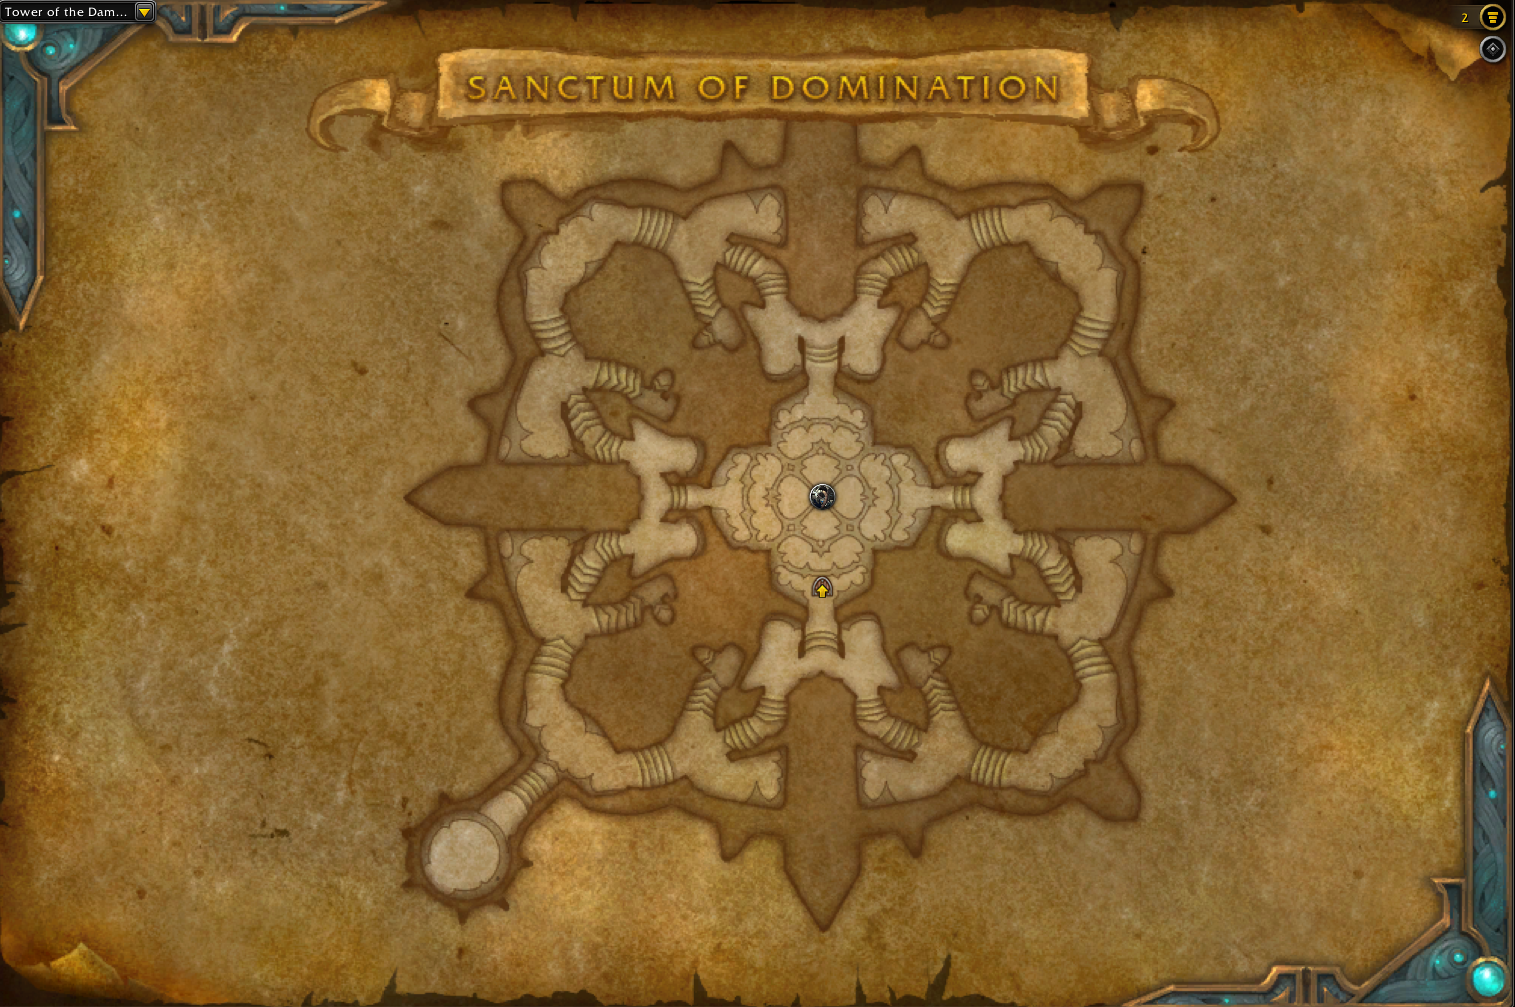
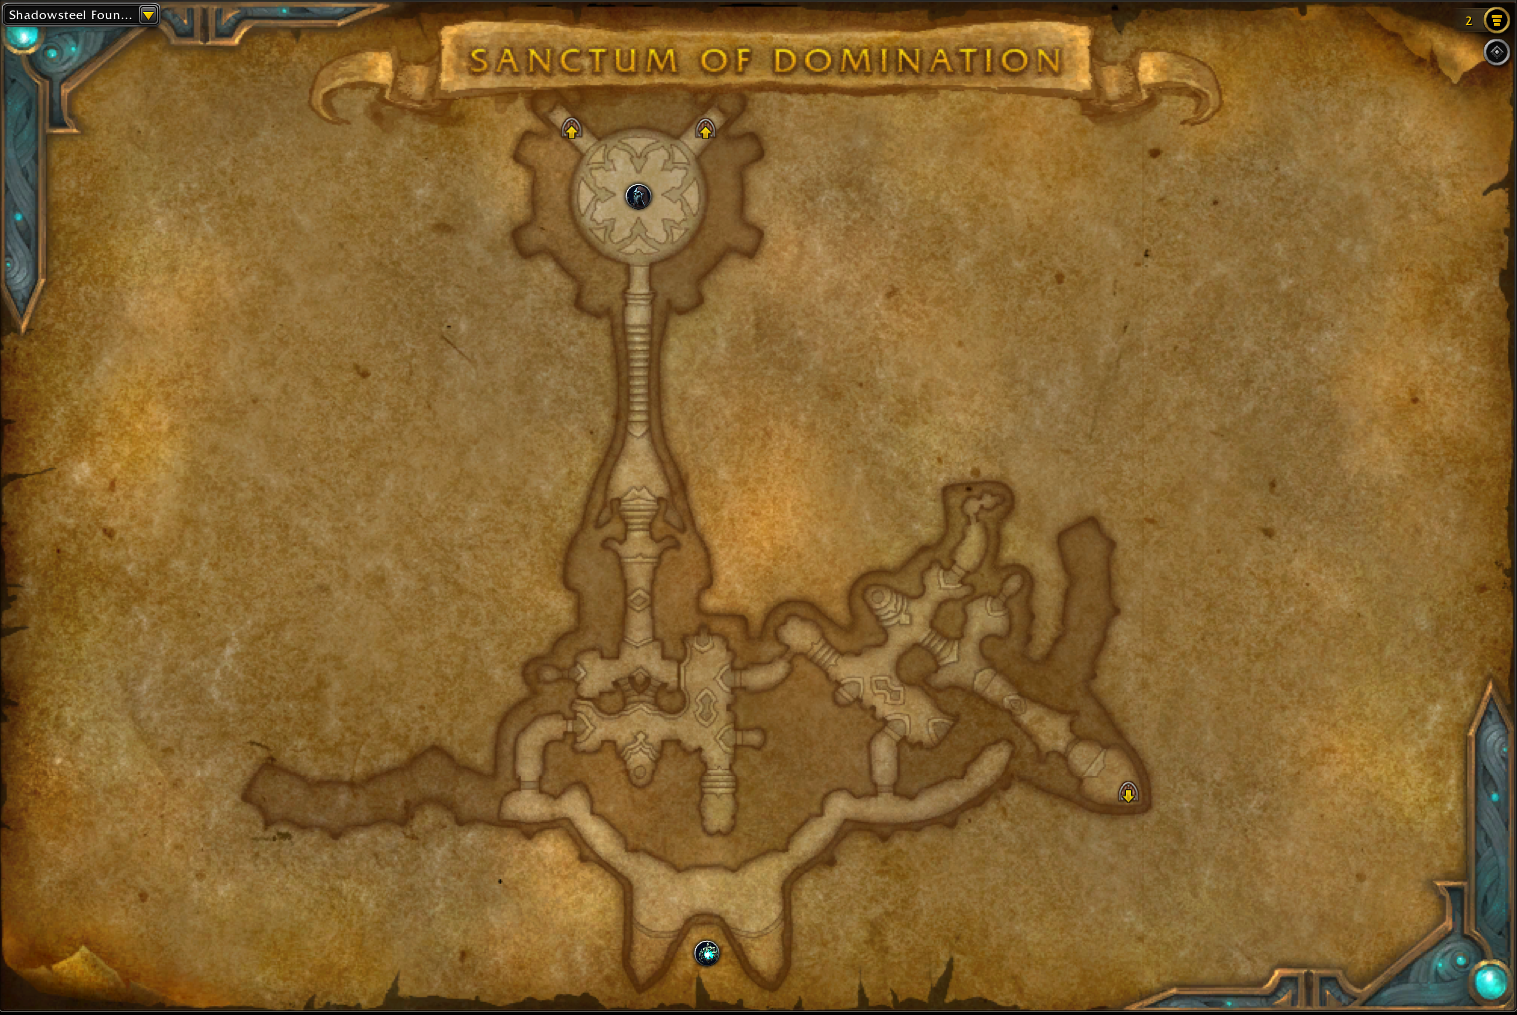
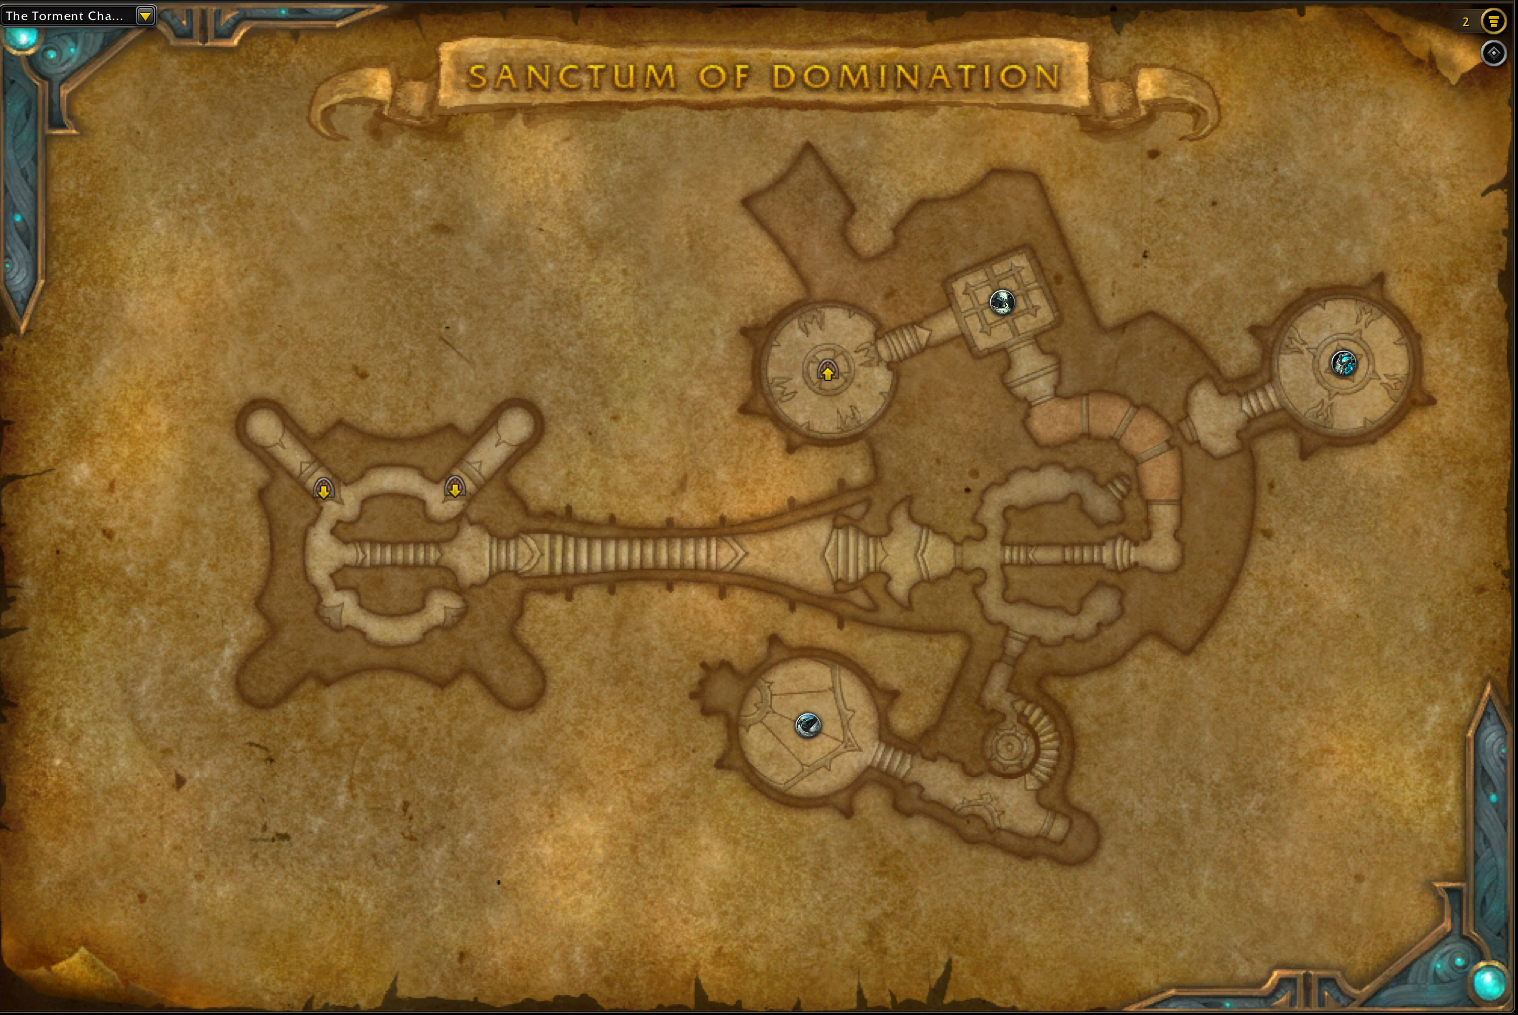
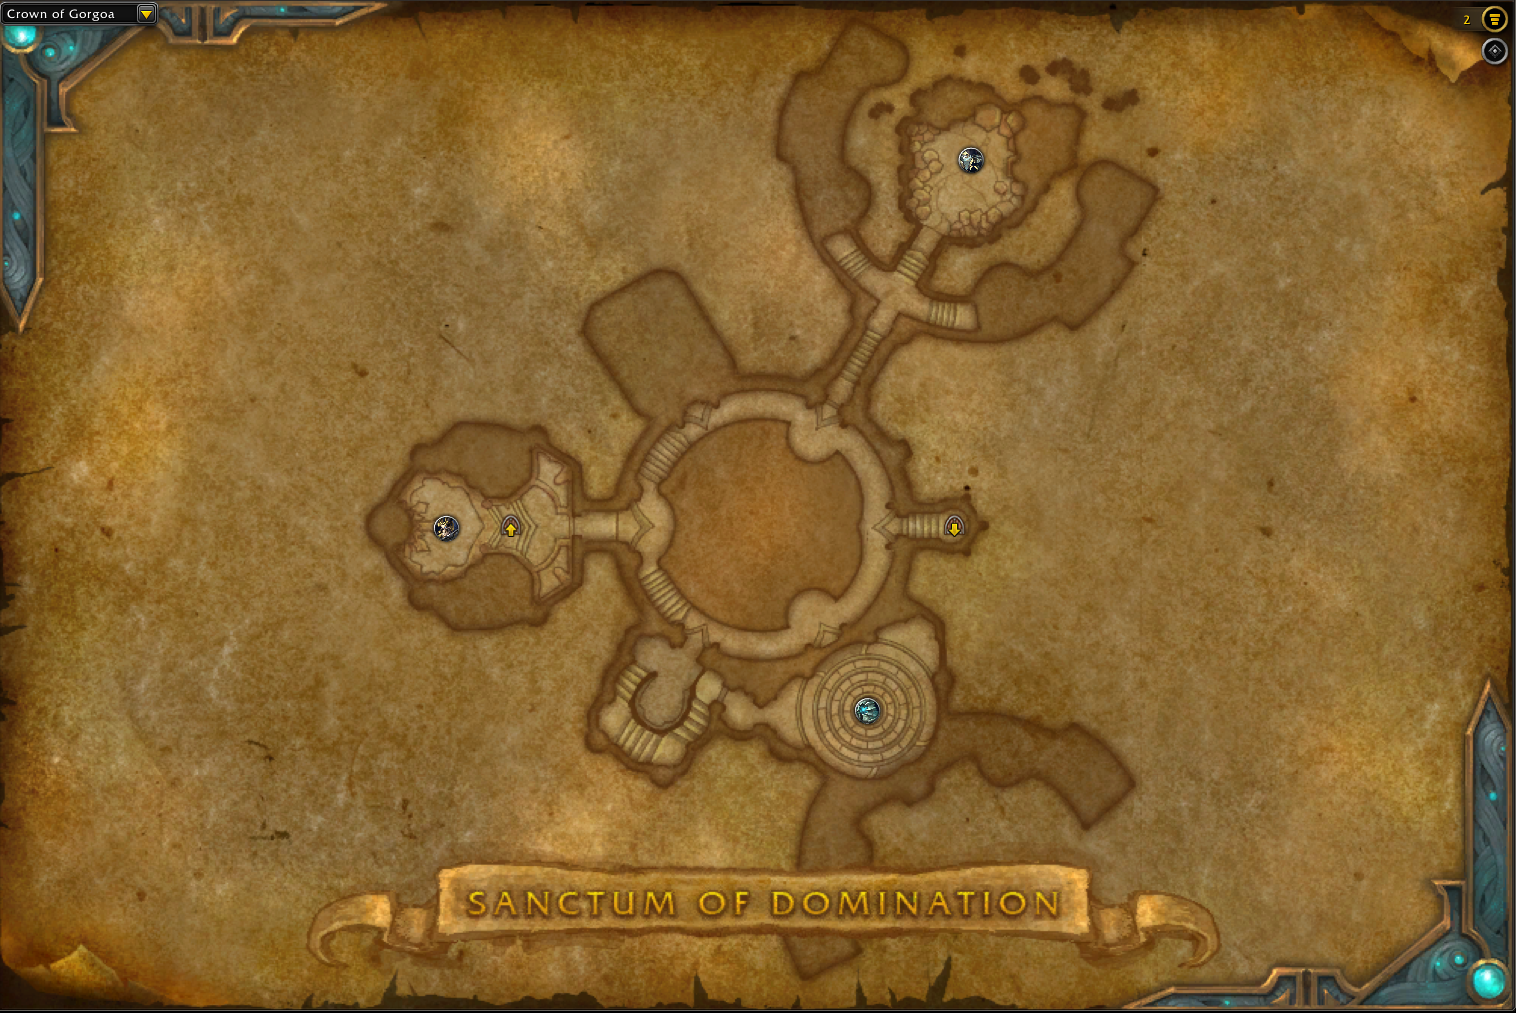
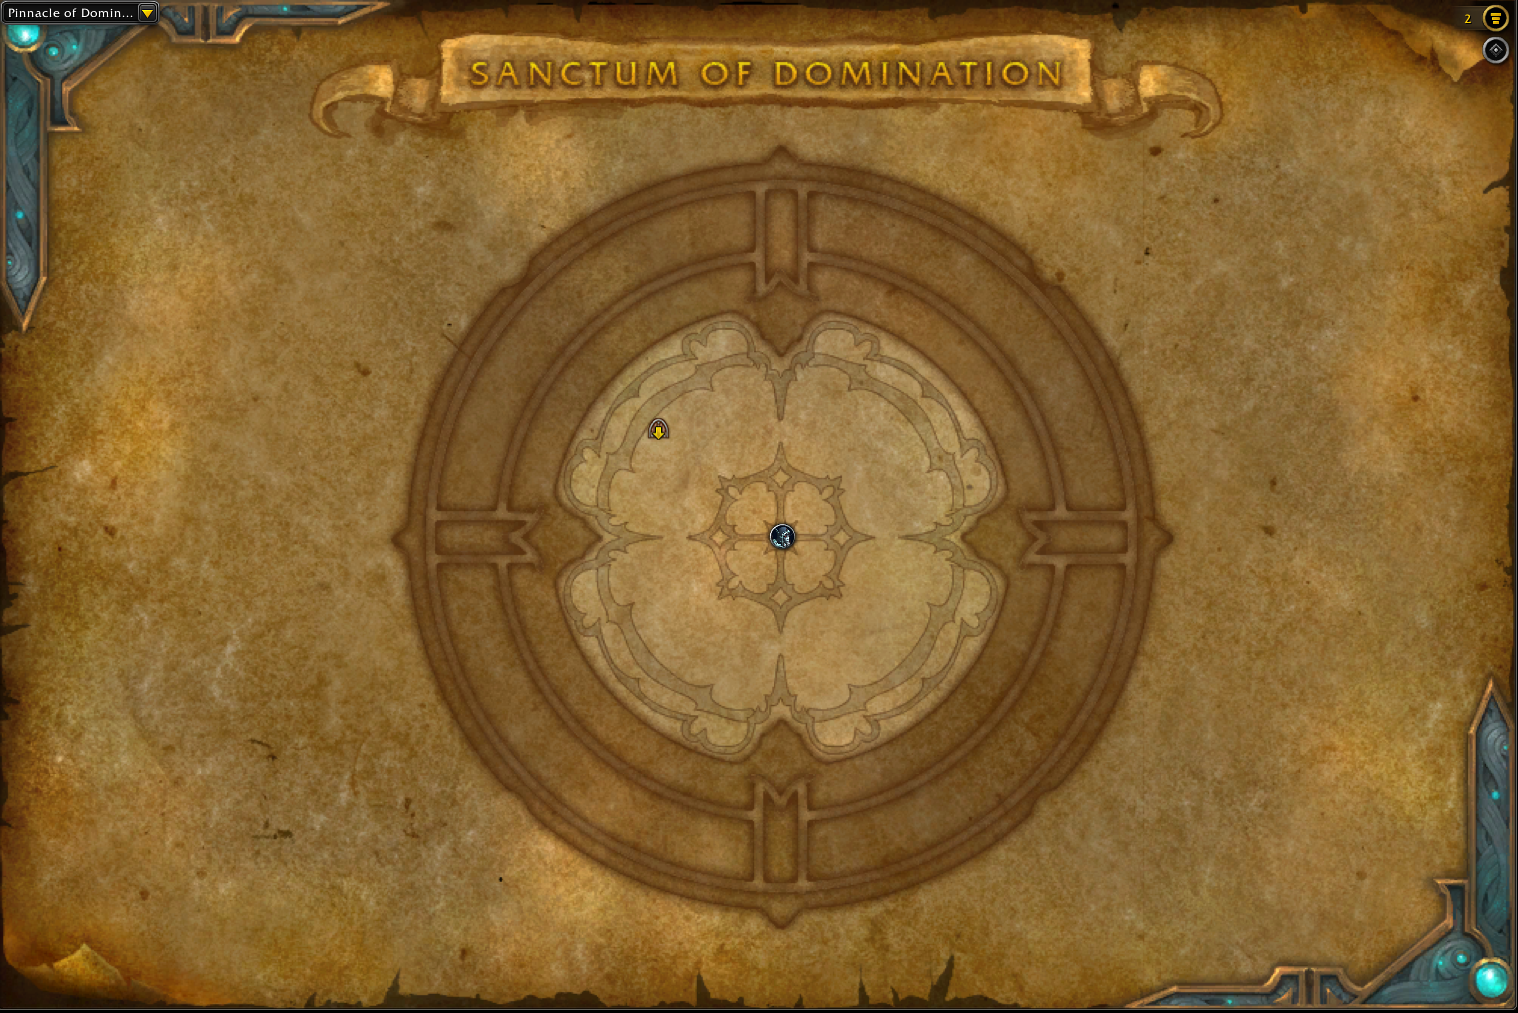
Each section has its challenges and bosses which we’ll briefly overview below.
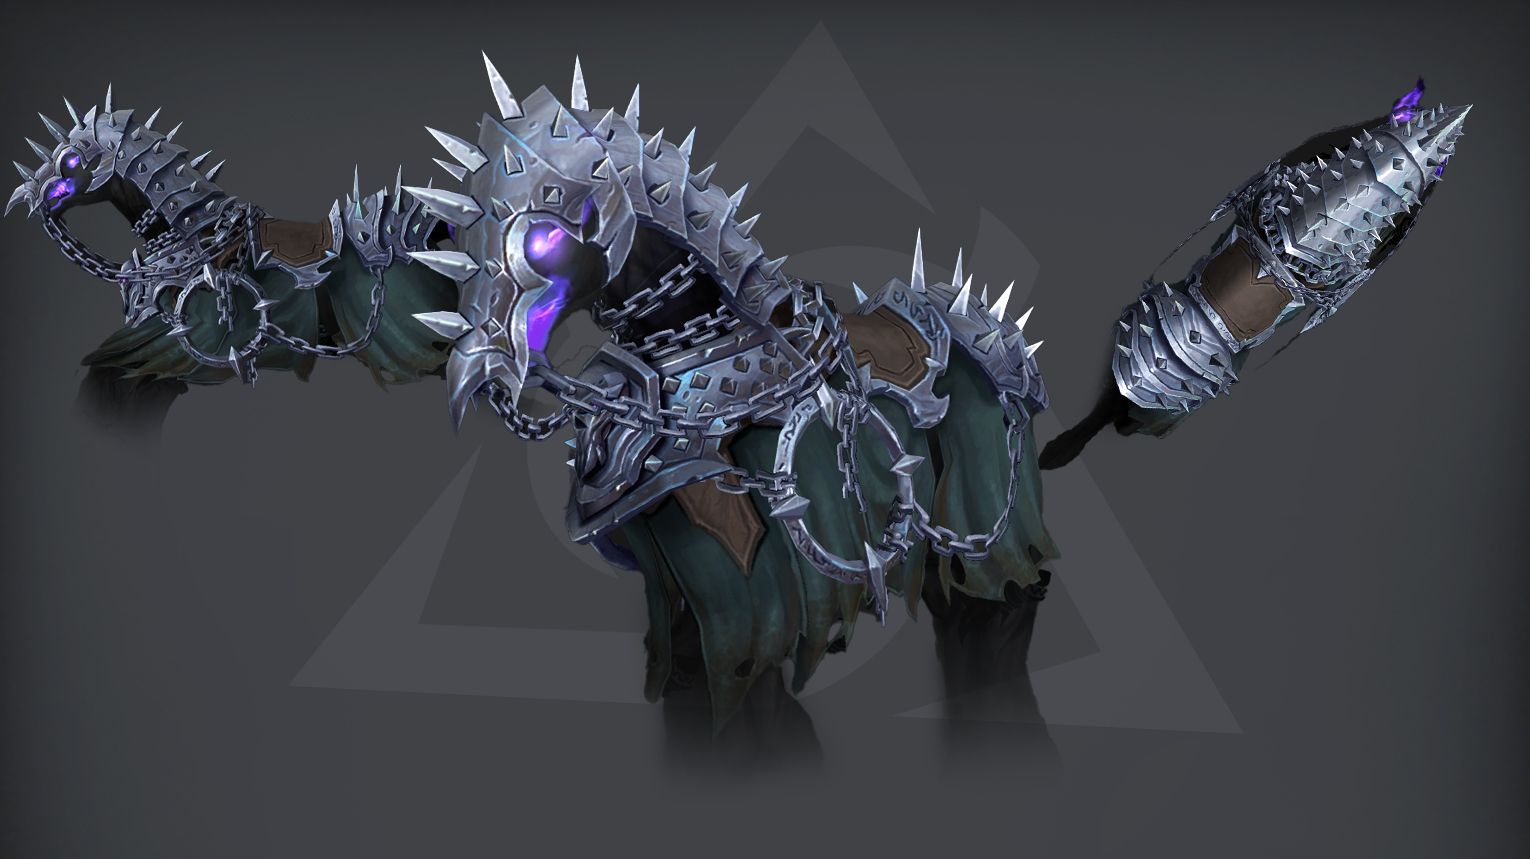
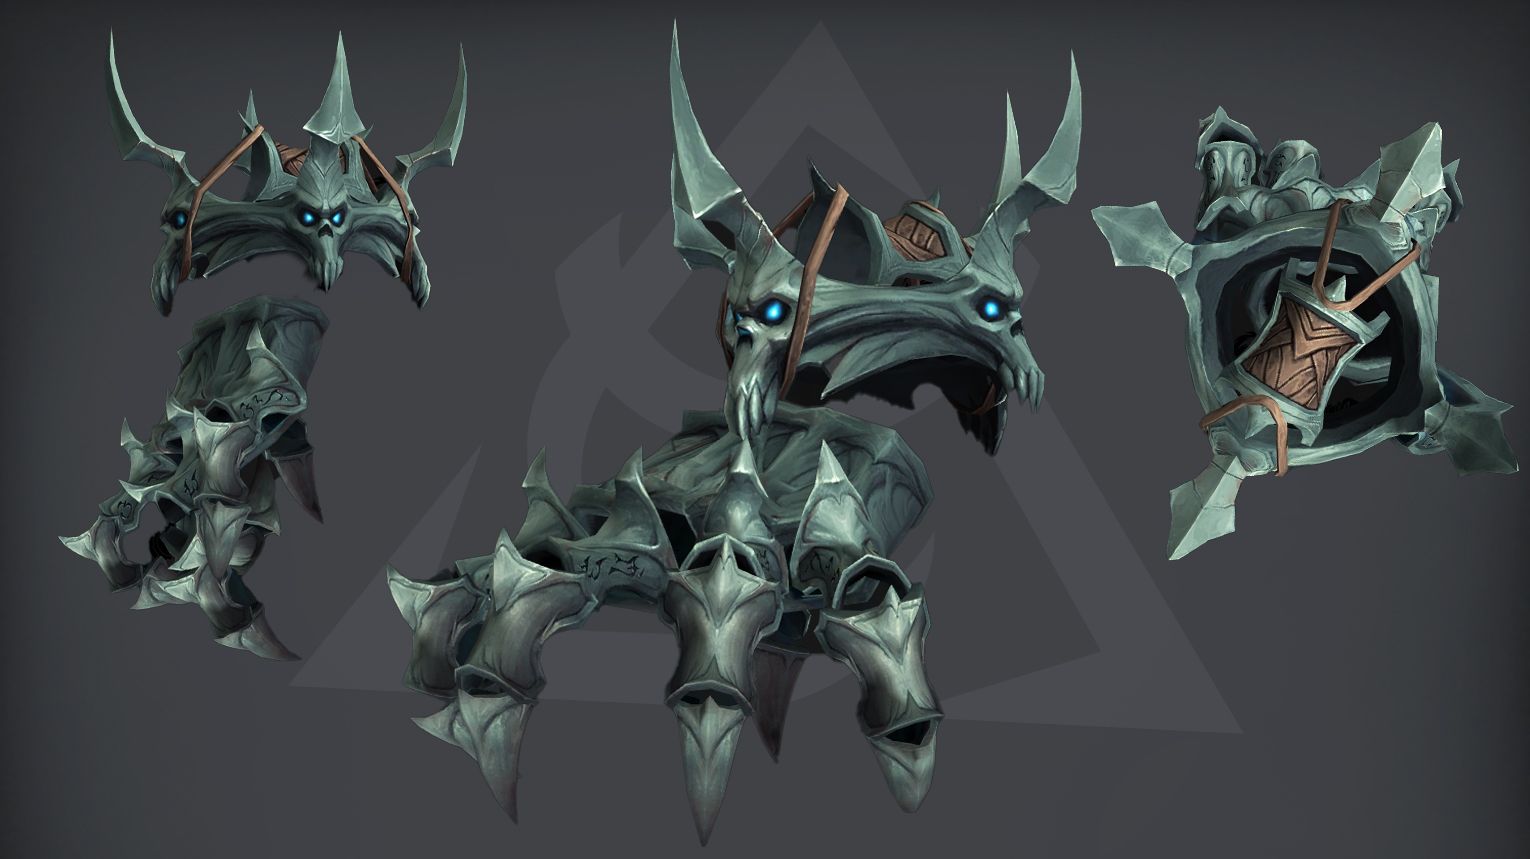
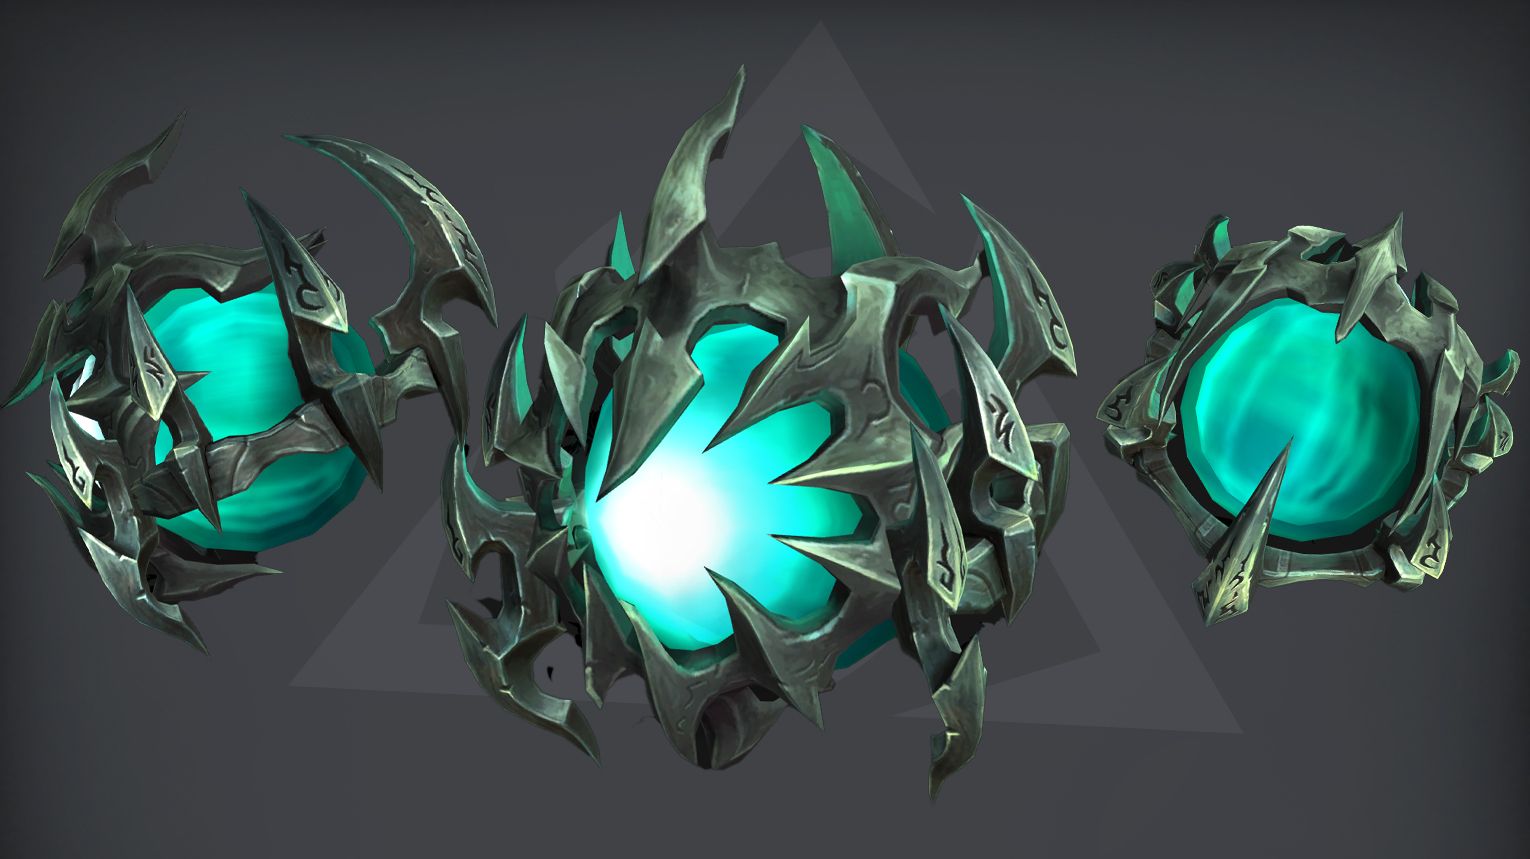
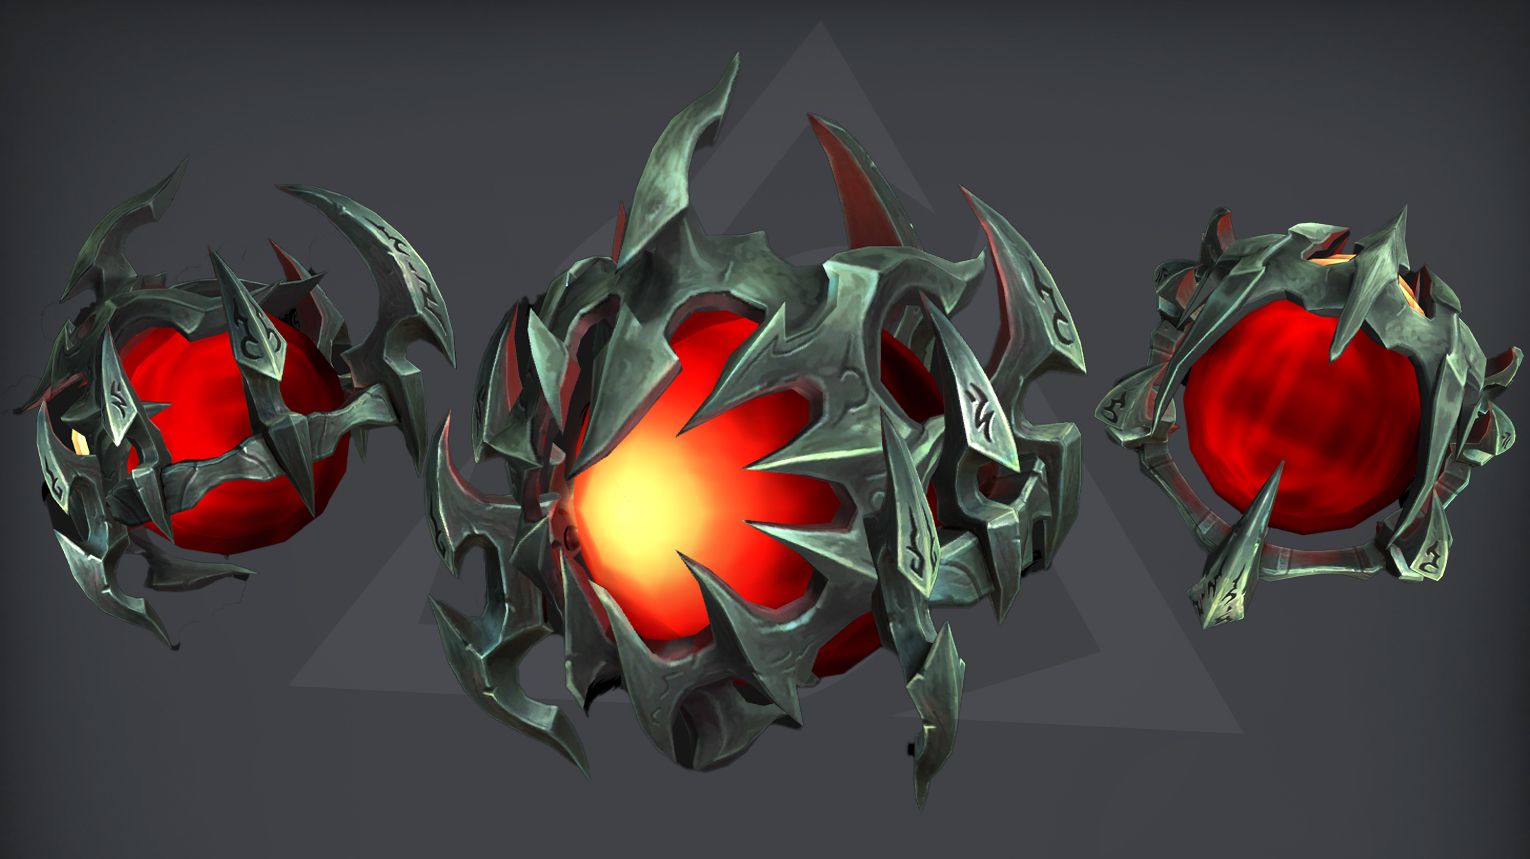
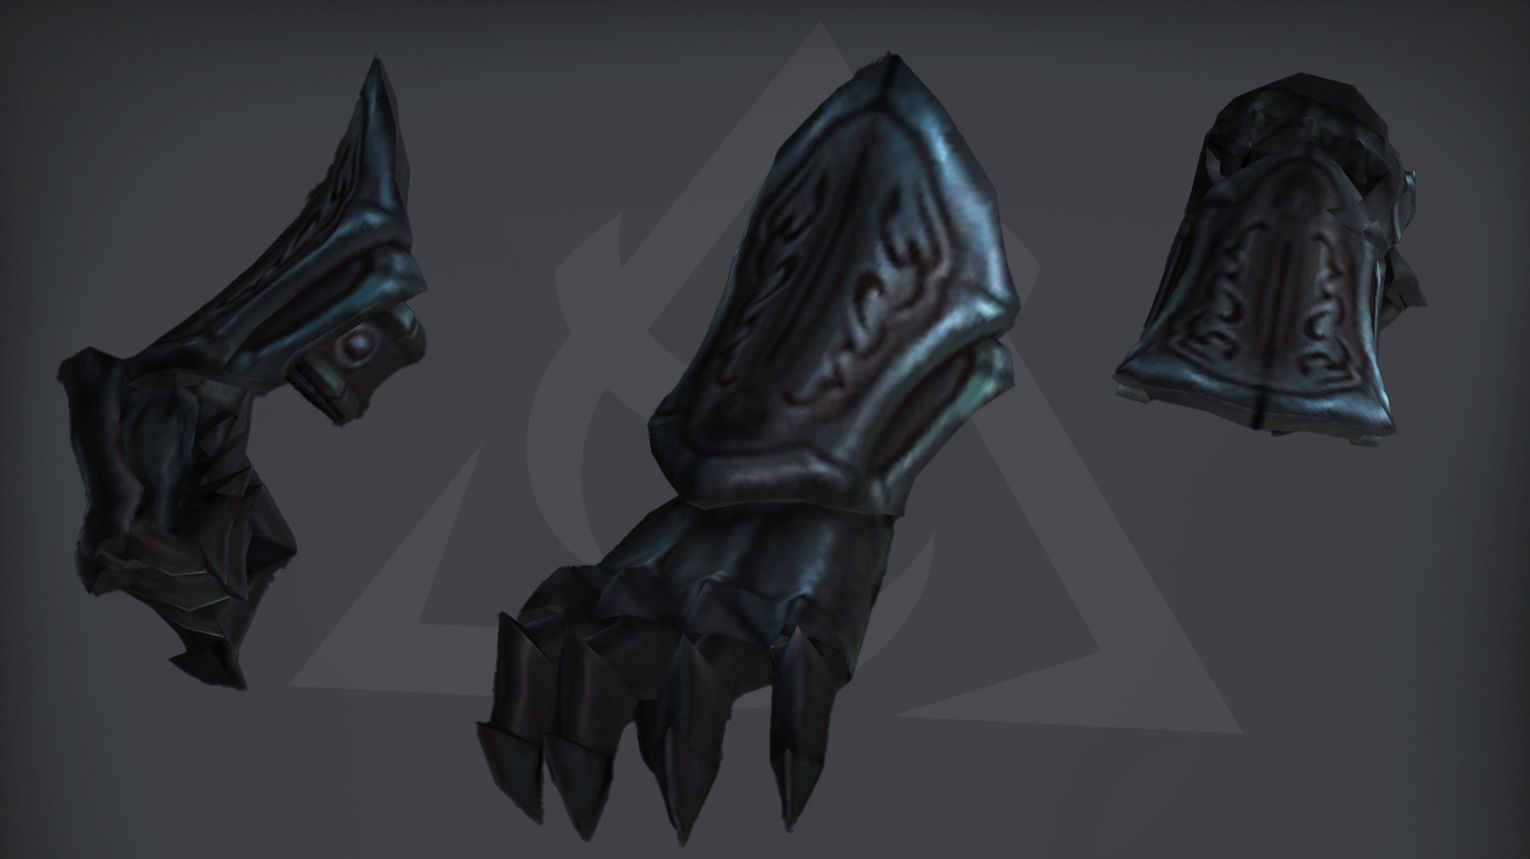
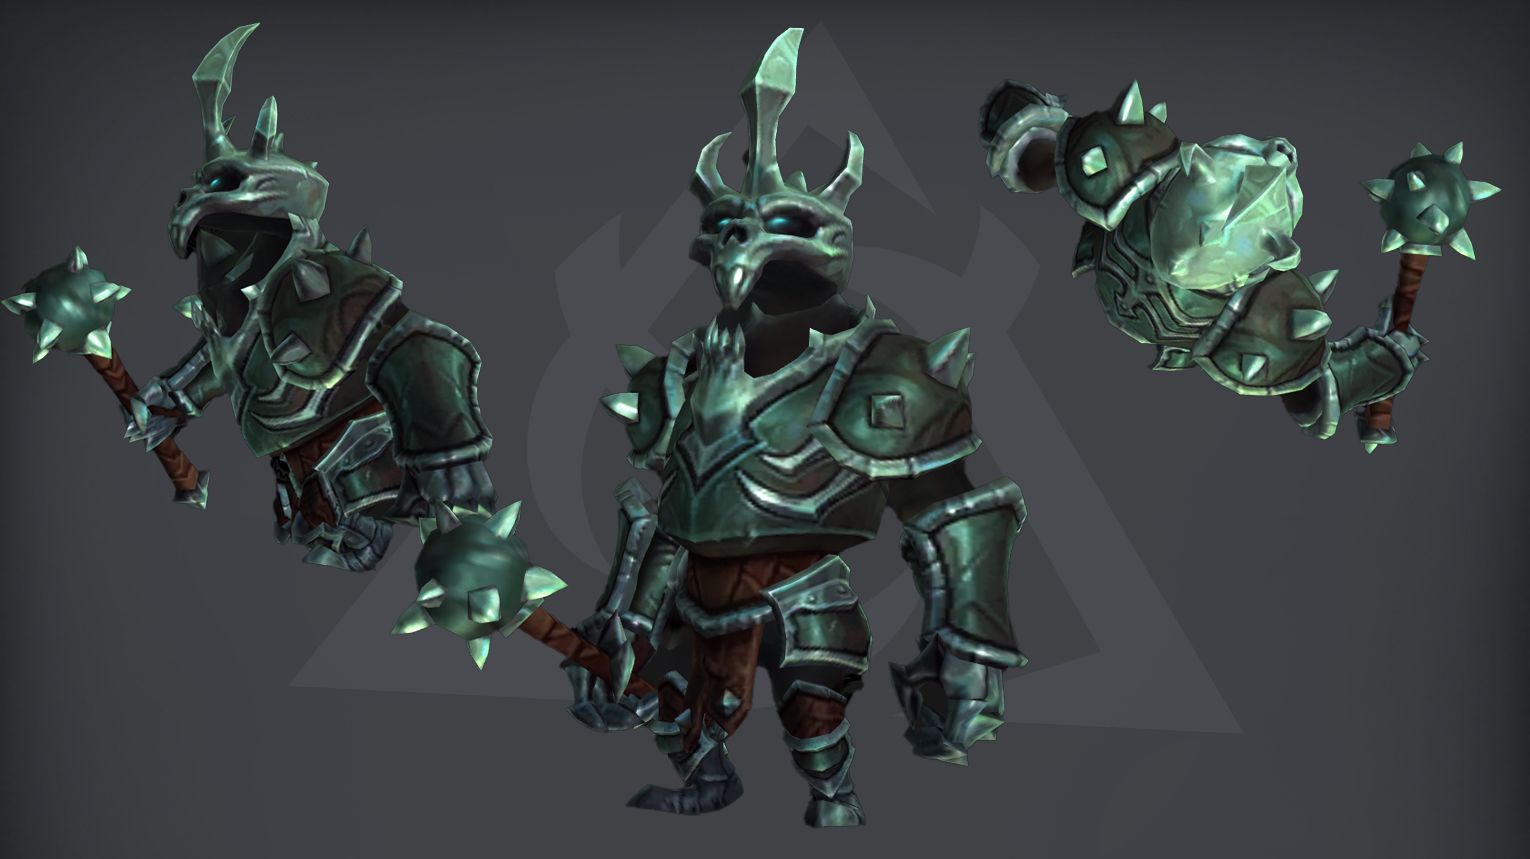
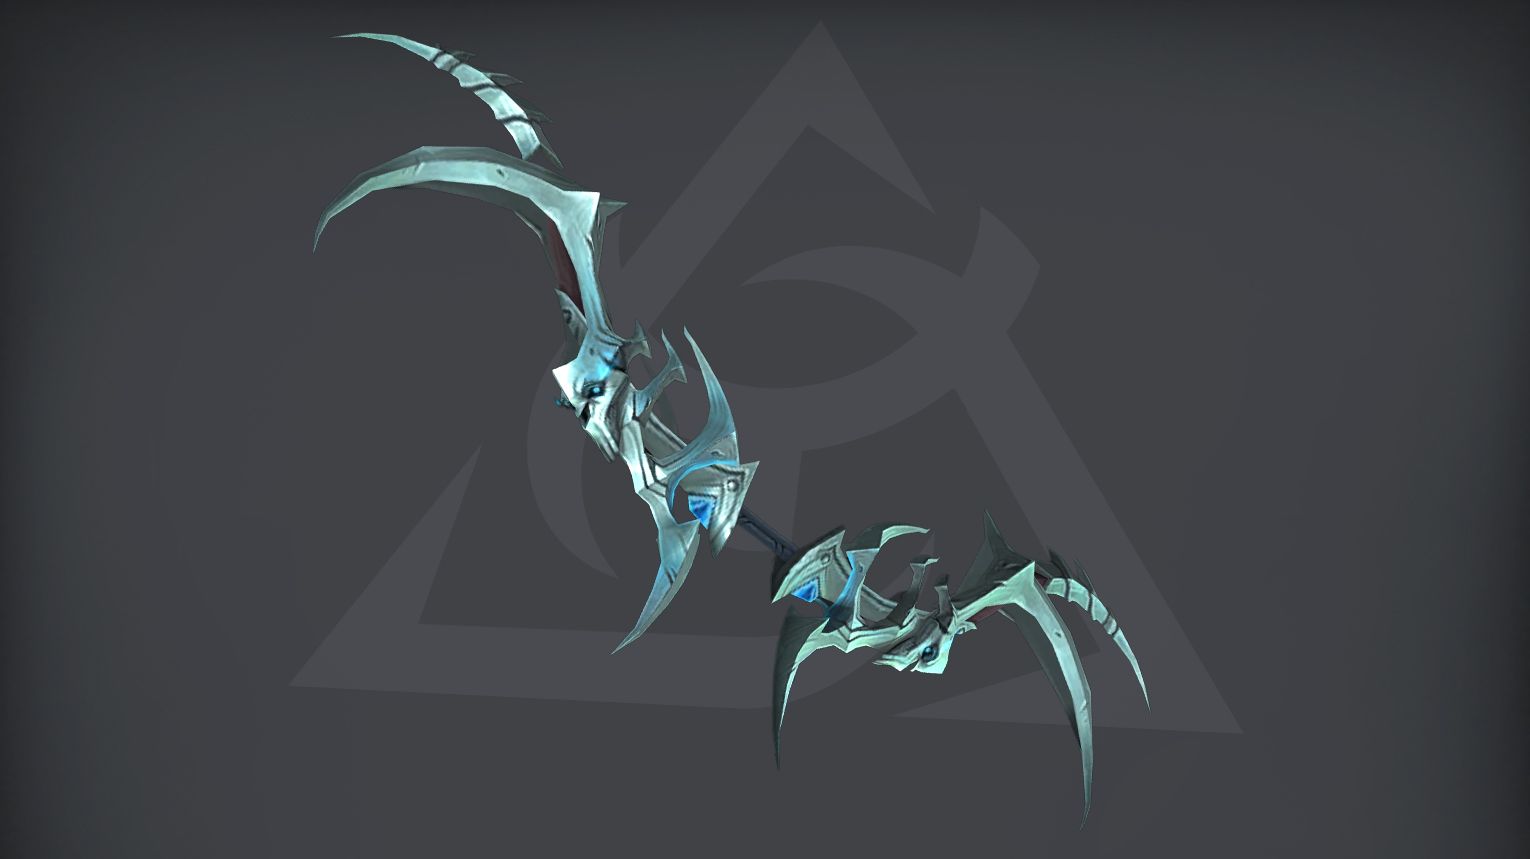
Sanctum of Domination Collectibles: Mounts, Pets, Transmogs
| Collectible | Source (% drop rate) | Obtainable / Not Obtainable |
| Sanctum of Domination Tier Sets | ||
| Vengeance’s Reins | Sylvanas Windrunner (1%) | Yes |
| Sanctum Gloomcharger’s Reins | The Nine (1%) | Yes |
| Hand of Hrestimorak | Glory of the Dominant Raider | Yes |
| Eye of Allseeing | Eye of the Jailer (10%) | Yes |
| Eye of Extermination | Eye of the Jailer (2%) | Yes |
| Irongrasp | Soulrender Dormazain (10%) | Yes |
| Mawsworn Minion | Kel’Thuzad (9%) | Yes |
| Rae’shalare, Death’s Whisper | Sylvanas Windrunner (26%) | Yes |
Sanctum of Domination Bosses Overview
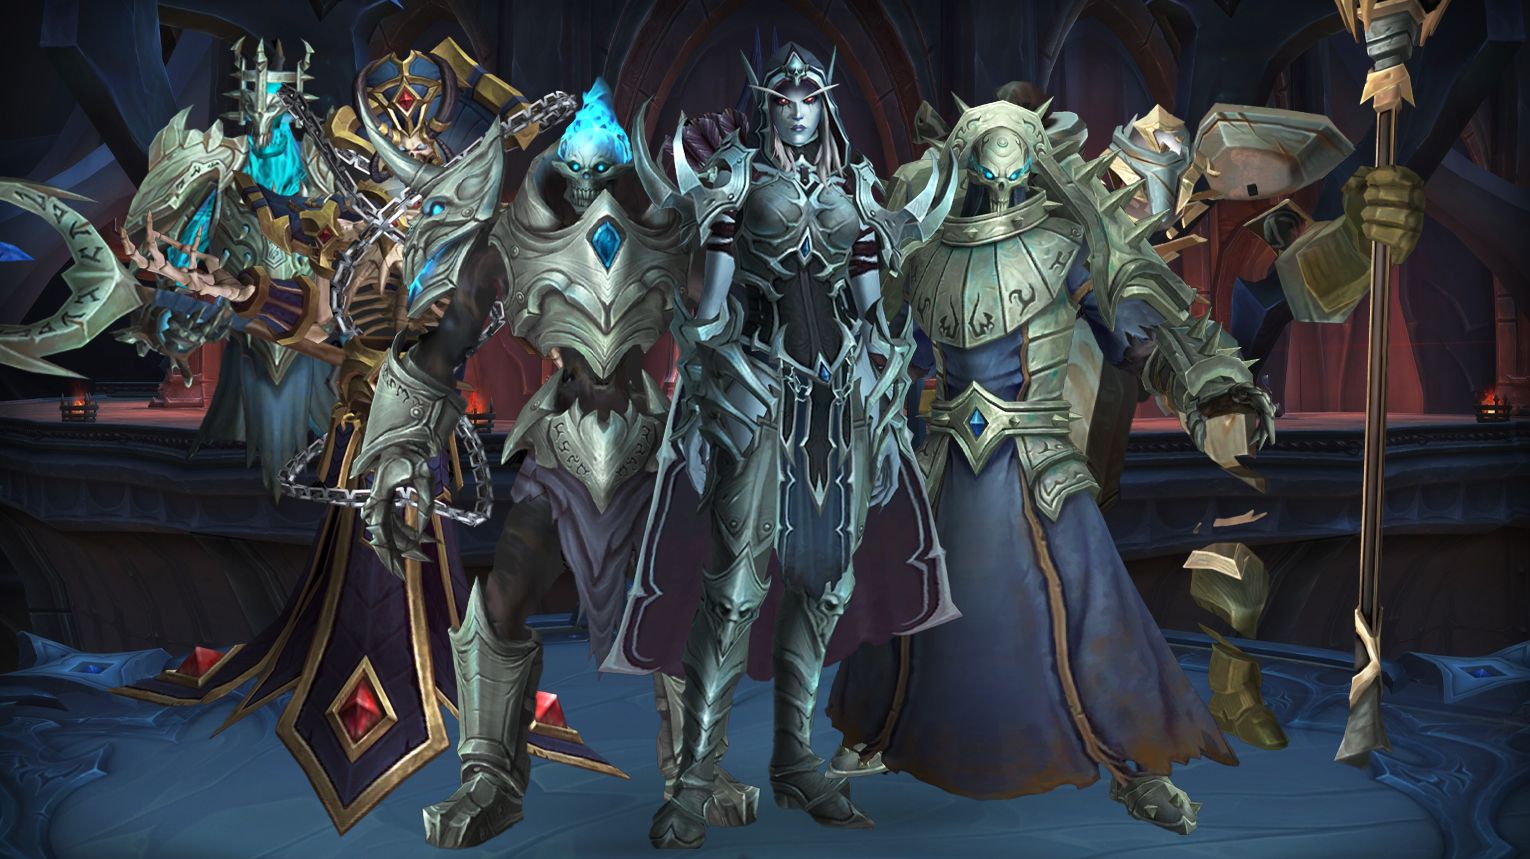
The Sanctum of Domination is a dark and intense raid in World of Warcraft: Shadowlands. Players face Sylvanas Windrunner and the Jailer’s forces in the Maw. The raid has ten bosses, each tied to the zone’s grim atmosphere. You’ll fight Tarragrue, a relentless monster, and Kel’Thuzad, a powerful lich who controls frost and death. Battles range from chaotic fights like the Nine, where you take on multiple spirits with different abilities, to strategic encounters like Fatescribe Roh-Kalo, who twists fate. The final fight against Sylvanas Windrunner is a massive, multi-phase battle at the edge of the Maw, where you must stop her destructive plans.
![]() Below, we’ll overview the Sanctum of Domination raid boss fights and their loot tables.
Below, we’ll overview the Sanctum of Domination raid boss fights and their loot tables.
Can You Solo Sanctum of Domination in The War Within?

Sanctum of Domination is mostly easily soloable in World of Warcraft: The War Within, but some bosses still have mechanics that can be tricky without the right gear or abilities.
![]() What Makes It Soloable?
What Makes It Soloable?
- You are much stronger at level 80. The stat scaling from The War Within gives you a big advantage over Shadowlands-era content.
- Many mechanics can be ignored. Some bosses had mechanics that required a raid, but with high enough DPS, you can skip or outheal them.
- Legacy scaling helps. Older raids eventually become easier due to Blizzard’s scaling adjustments, making them more manageable for solo players.
![]() What Might Still Be a Problem?
What Might Still Be a Problem?
- Kel’Thuzad requires a summon. To progress, something must stay active outside while you go into his phylactery. Pets, totems, or special trinkets can help.
- Sylvanas’ Phase 3 can be rough. She applies a stacking DoT effect, and if you don’t kill her fast enough, it becomes overwhelming. Immunities or strong healing help.
- The Jailer is still difficult. He has mind control mechanics and knockback effects that can cause problems. If you don’t phase him quickly, the fight can be a struggle.
![]() Verdict: If you have solid gear from The War Within and know the mechanics, you can solo most of the SoD raid on Normal, Heroic, and even Mythic (check the video below). Some fights may still be frustrating, but overall, it’s possible if you follow the tactics (they also include the best moments to use Bloodlust or Drums of Deathly Ferocity) that are briefly explained below.
Verdict: If you have solid gear from The War Within and know the mechanics, you can solo most of the SoD raid on Normal, Heroic, and even Mythic (check the video below). Some fights may still be frustrating, but overall, it’s possible if you follow the tactics (they also include the best moments to use Bloodlust or Drums of Deathly Ferocity) that are briefly explained below.
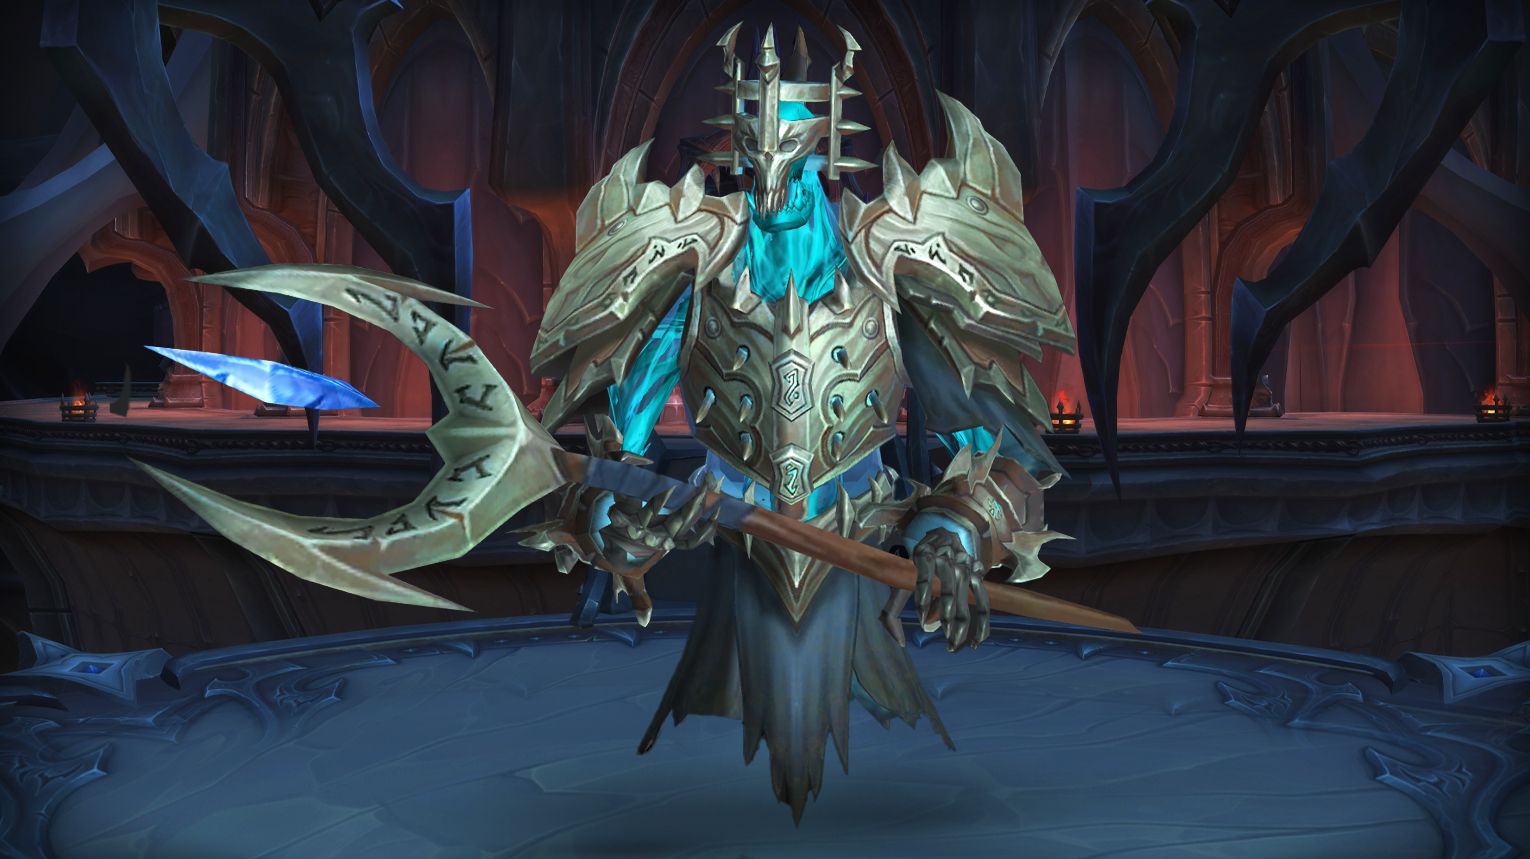
The Tarragrue: Tactics and Loot Table
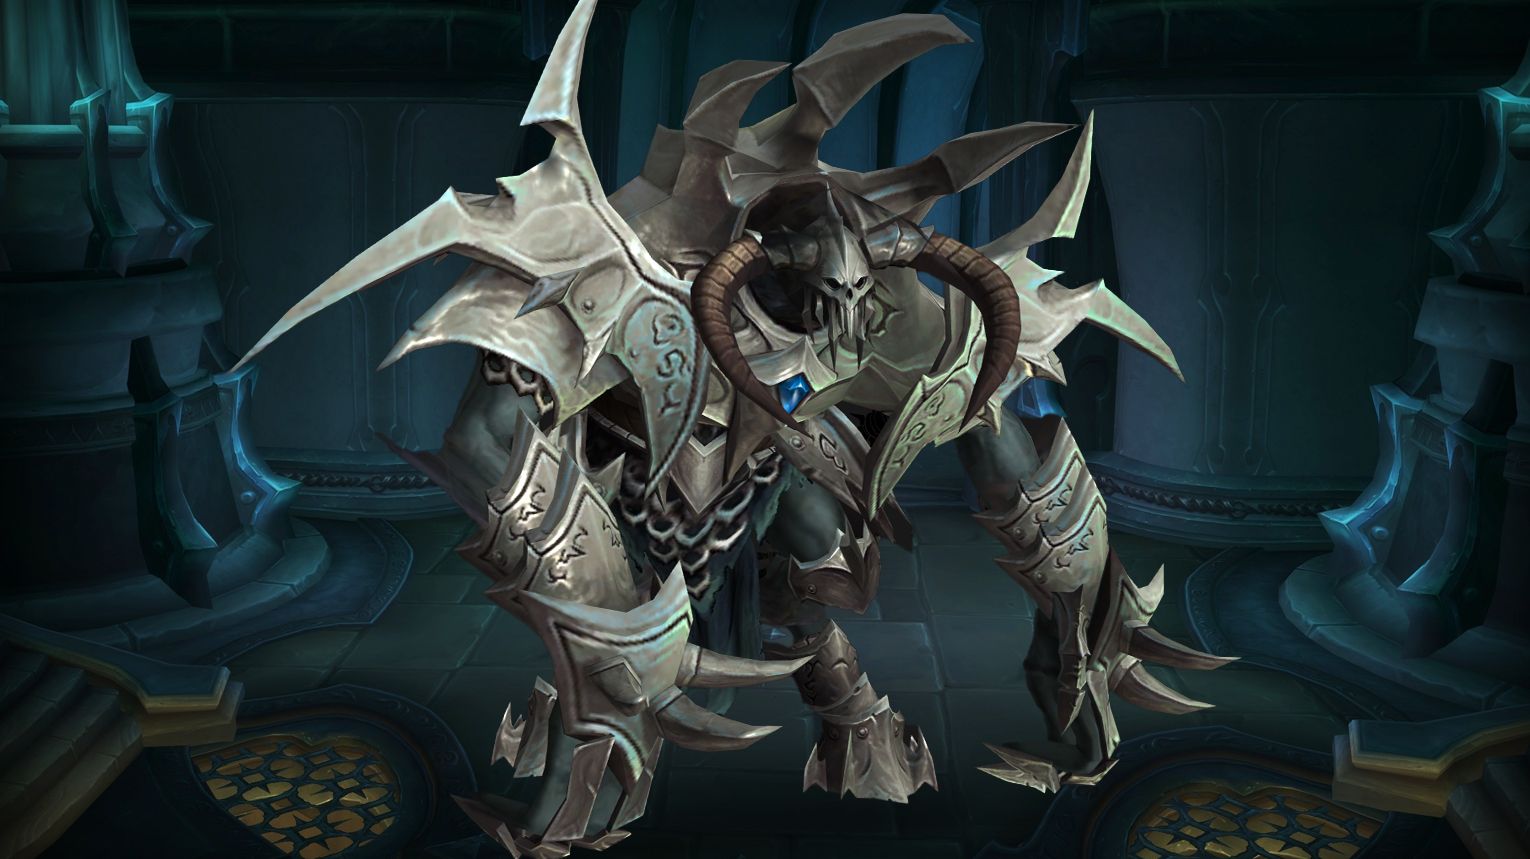
The Tarragrue is the first boss in the Sanctum of Domination raid. This encounter is a two-phase fight with a unique twist. Before engaging the boss, your raid must defeat four Infused Goliaths, each dropping an Anima Orb that offers a choice between three Anima Powers. These powers help defeat the encounter by interacting with boss mechanics. When the boss reaches 10% health, all Anima Powers are removed, and The Tarragrue enrages, dealing massive melee damage until defeated.
![]() Preferred Classes:
Preferred Classes:
- Tanks: Tanks should taunt swap after each stack of Crushed Armor to manage the heavy physical damage.
- Healers: Healers need to dispel Predator’s Howl from players and spot heal those affected by Grasp of Death.
- DPS: DPS should use Time Warp on pull to maximize damage output. Anima Powers like Potent Acid Gland and Blade of the Lifetaker are beneficial.
![]() Tips:
Tips:
- Intercept Chains of Eternity with the Ever-Beating Heart Anima Power or stun immunity.
- Move through safe zones during Hungering Mist.
- Spread out before Predator’s Howl to avoid fearing nearby players.
- Kite the boss in a circle during the last 10% of his health
![]() Strategy:
Strategy:
- Phase One (100% – 10%):
- Players targeted by Chains of Eternity should run to the assigned spot.
- Spread out to avoid fear from Predator’s Howl.
- Move to safe zones during Hungering Mist.
- Use Anima Powers to mitigate damage and enhance abilities1.
- Phase Two (10% – 0%):
- The boss enrages, dealing 500% increased damage.
- Kite the boss around the encounter area and use immunities when targeted
![]() Bloodlust/Drums: On pull.
Bloodlust/Drums: On pull.
![]() The Tarragrue loot table:
The Tarragrue loot table:
| Type of Armor | Item | Loot type |
| Cloth | Phantasma-Forged Striders | Feet |
| Sorcerer’s Headlong Legwraps | Legs | |
| Leather | Clasps of the Unfortunate Troubadour | Wrist |
| Smuggler’s Plundered Pauldrons | Shoulder | |
| Colossus Slayer’s Hauberk | Chest | |
| Mistwrap Manacles | Wrist | |
| Plate | Cavalier Oathbreaker’s Grasps | Hands |
| Champion’s Gruesome Greaves | Feet | |
| Any | Periapt of Pristine Preservation | Amulet |
| Moriaz’s Spare Targe | Shield | |
| Tome of Monstrous Constructions | Trinket | |
| Elethium-Bladed Glaive | Warglaive |
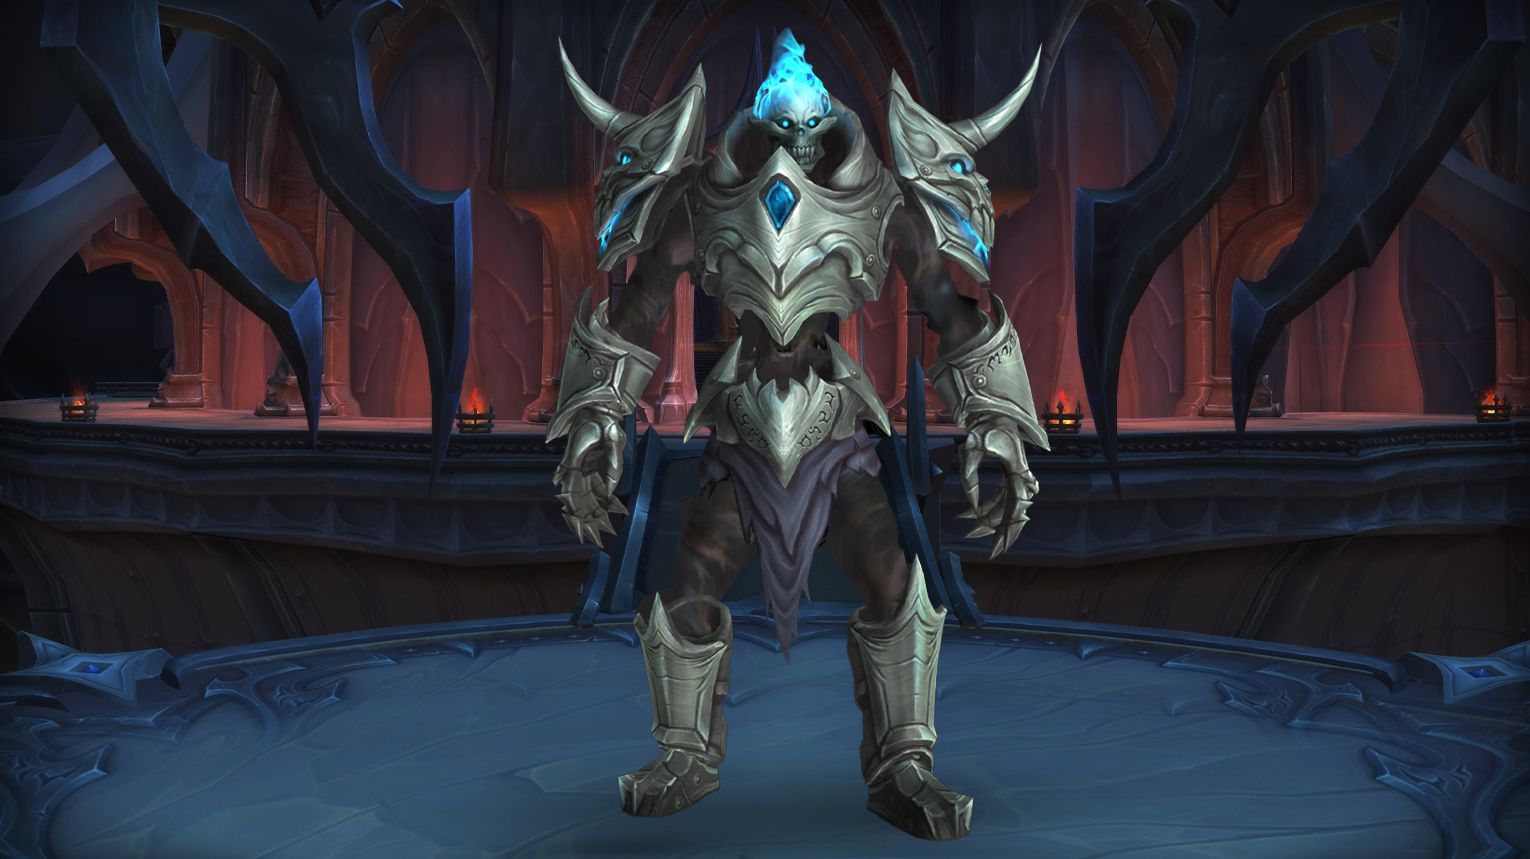
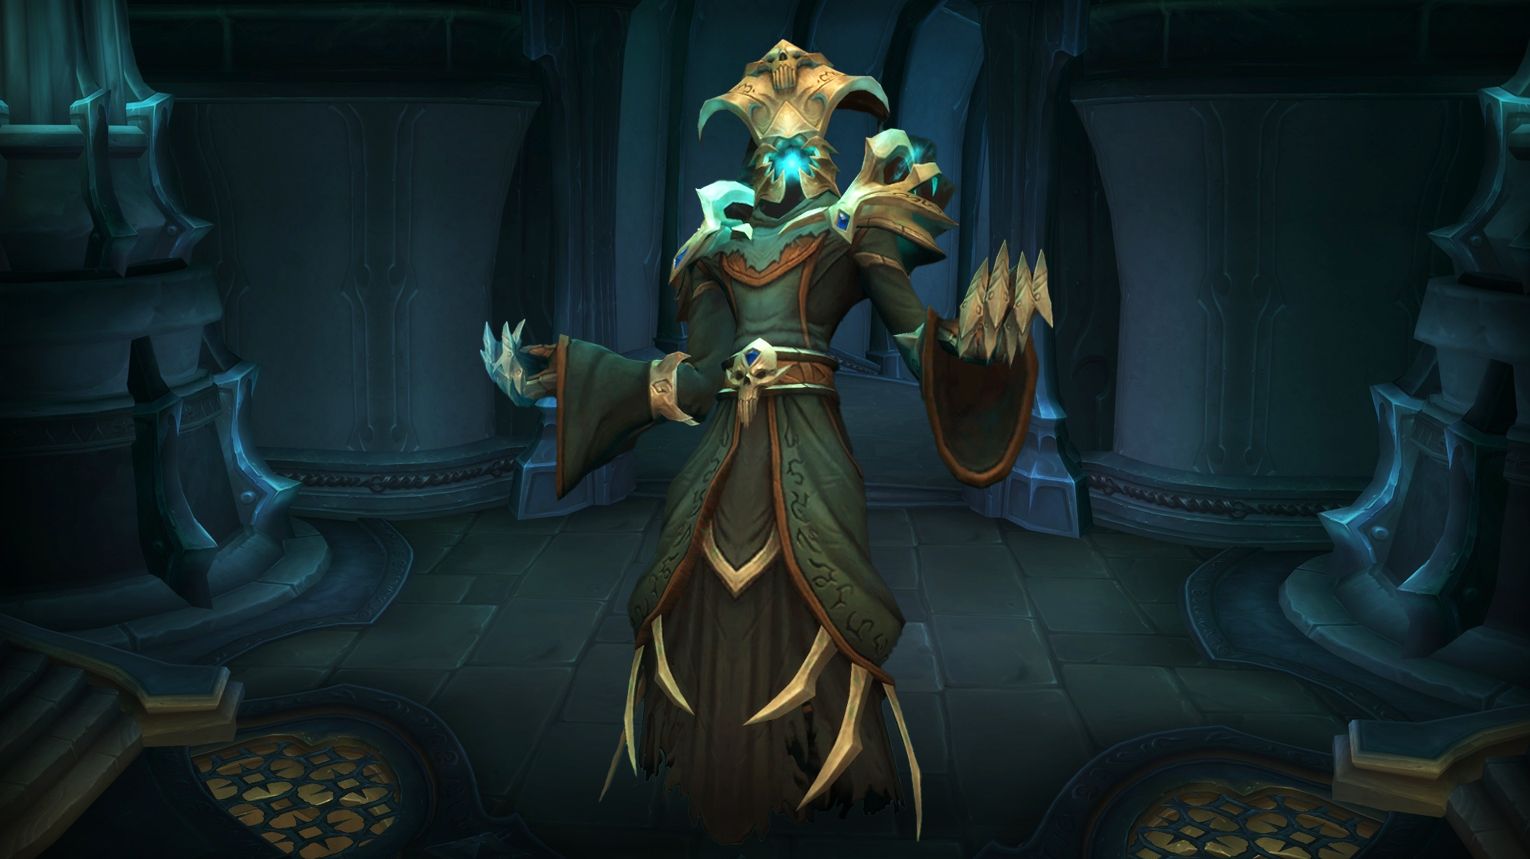
The Eye of the Jailer: Tactics and Loot Table
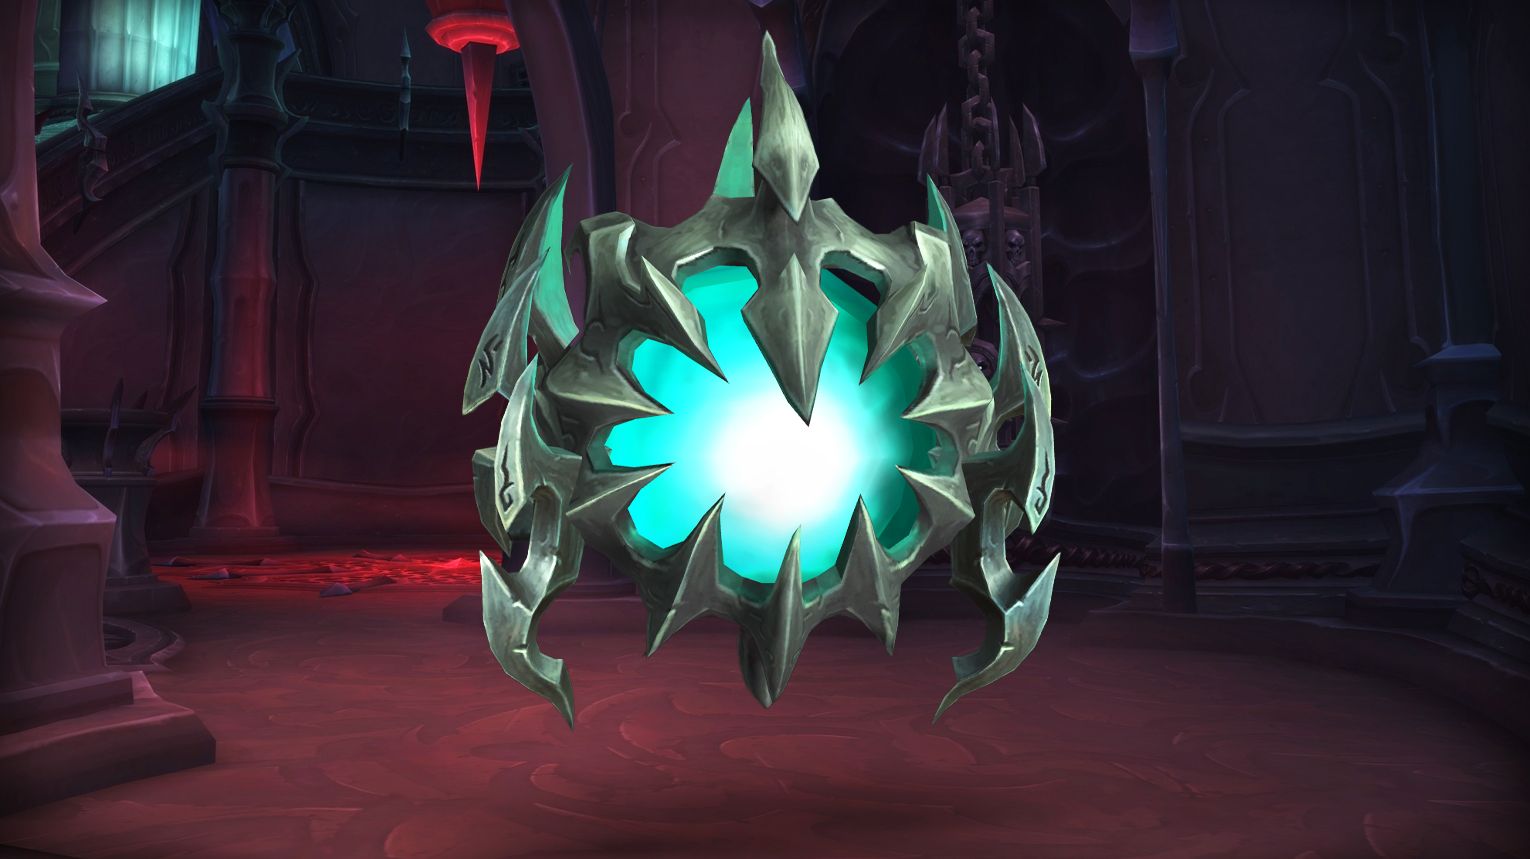
The Eye of the Jailer is the second boss in the Sanctum of Domination raid. This encounter features three phases with percent-based intermissions at 66% and 33% health. The fight requires coordination, precise positioning, and effective use of cooldowns to manage various mechanics and adds.
![]() Preferred Classes:
Preferred Classes:
- Tanks: Any tank class can be effective, but having at least two tanks is essential for managing the Deathlink mechanic and handling the Deathseeker Eyes during intermissions.
- Healers: A mix of healers is beneficial, with at least one healer capable of dispelling Slothful Corruption.
- DPS: Ranged DPS are particularly useful for quickly switching targets and managing the Deathseeker Eyes. Melee DPS should focus on maximizing damage on the boss and adds while avoiding mechanics
![]() Tips:
Tips:
- Move out of the Fractured Soul impact zone and collect Soul Shards to remove the debuff.
- Use Grapple to avoid being hit by Annihilating Glare.
- Spread out to avoid chaining Desolation Beam and drop Jailer’s Misery pools at the edges of the room.
![]() Strategy:
Strategy:
- Phase One (100% – 66%):
- Position the raid centrally and handle Dragging Chains with sprints.
- Dodge Annihilating Glare by grappling to the opposite side.
- Prioritize killing Stygian Abductors unless pushing the boss to skip the next Abductor spawn.
- Phase Two (Intermission at 66% and 33%):
- Split the raid into two groups to handle the Deathseeker Eyes.
- Tanks should move the eyes to the back of the room and keep them separated.
- Use DPS cooldowns to kill the eyes quickly and minimize the impact of Titanic Death Gaze.
- Phase Three (33% – 0%):
- Manage Immediate Extermination stacks by using personal cooldowns and immunities.
- Ignore any remaining Stygian Abductors and focus all damage on the boss
![]() Bloodlust/Drums: at the start of Phase 3.
Bloodlust/Drums: at the start of Phase 3.
![]() The Eye of the Jailer loot table:
The Eye of the Jailer loot table:
| Type of Armor | Item | Loot type |
| Cloth | Grasps of the Clairvoyant Sage | Hands |
| Leather | Loyal Kvaldir’s Handwraps | Hands |
| Mawsworn Eviscerator’s Cuirass | Chest | |
| Coiled Stygian Grapnel | Waist | |
| Greaves of Extermination | Feet | |
| Plate | Airborne Abductor’s Vambraces | Wrist |
| Any | Guarm’s Lost Chew Toy | Off-hand |
| Gazepiercer | 1H Sword | |
| Stygian Lance of Passage | Polearm | |
| Titanic Ocular Gland | Trinket | |
| Eye of Allseeing | Battle Pet | |
| Eye of Extermination | Battle Pet |
The Nine: Tactics and Loot Table
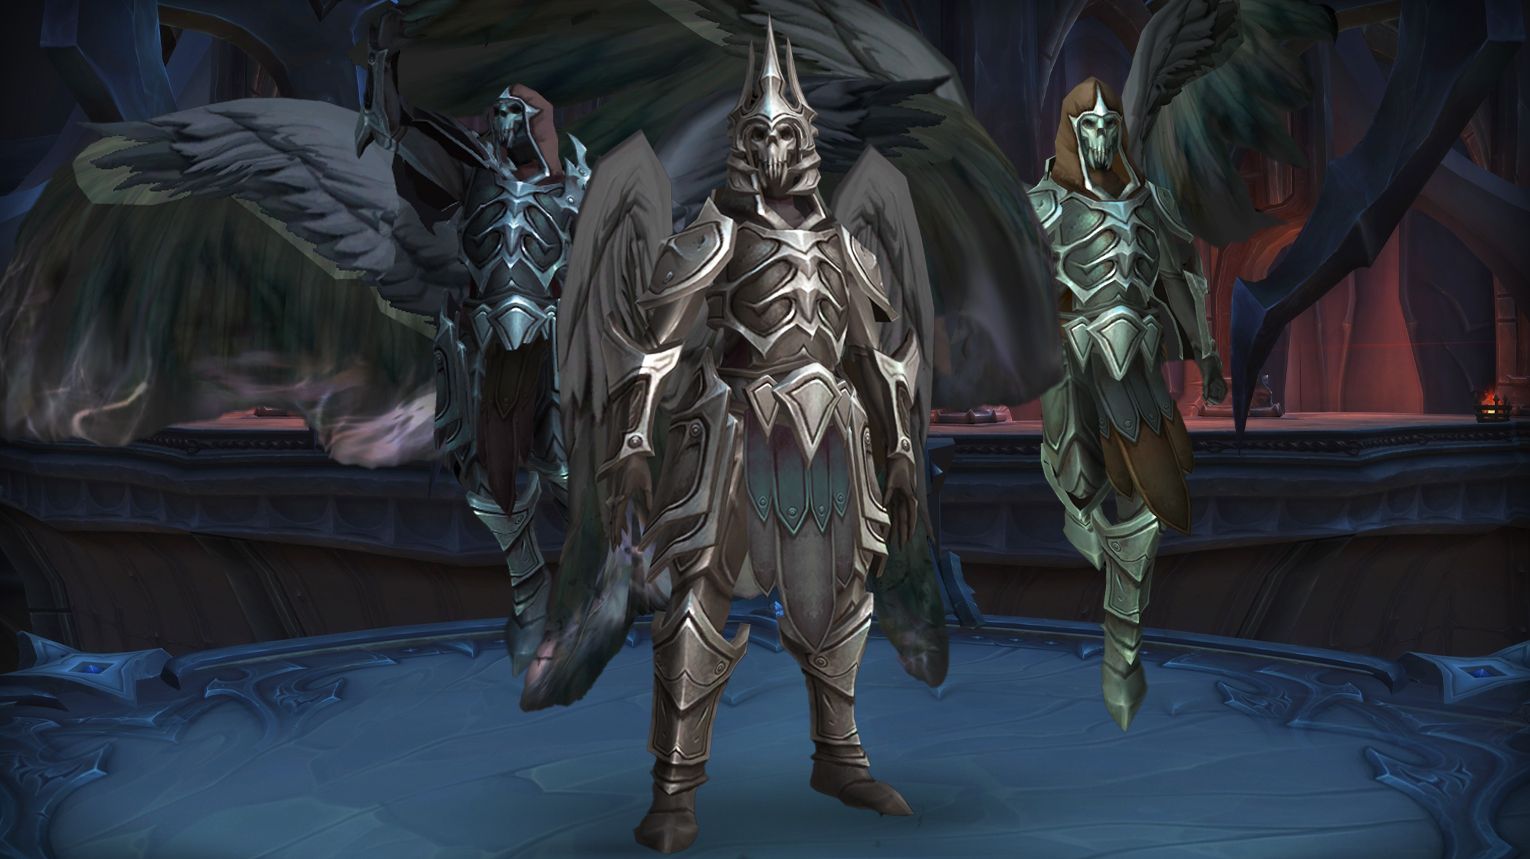
The Nine is the third boss encounter in the Sanctum of Domination raid in World of Warcraft. This encounter is a council-style fight where you face Kyra, The Unending, and Signe, The Voice, until you reduce their health to a certain threshold, at which point Skyja, The First, joins the battle. The fight involves managing multiple mechanics from the bosses and additional abilities from Valkyries that aid them.
![]() Preferred Classes:
Preferred Classes:
- Tanks:
 Death Knights,
  Druids,
  Paladins,
  Warriors, and
  Demon Hunters are preferred for their ability to handle the high damage and taunt swapping required.
 - Healers:
 Priests,
  Druids,
  Shamans, and
  Paladins are preferred for their strong healing cooldowns and ability to manage the raid-wide damage.
 - DPS: Classes with strong interrupts and cleave damage are preferred, such as
 Rogues,
  Mages, and
  Hunters.
![]() Tips:
Tips:
- Positioning: Tanks should keep Kyra and Signe together for better cleave damage. The raid should be loosely spread to manage the various mechanics.
- Interrupts: Assign specific players to interrupt Signe’s Song of Dissolution and the Formless Mass‘s Siphon Vitality.
- Movement: Use abilities like Stampeding Roar to help the team move quickly during Wings of Rage and Reverberating Refrain.
![]() Strategy:
Strategy:
- Phase One: Focus on damaging Kyra and Signe evenly. Tanks should taunt swap on Kyra after 3 stacks of Unending Strike and on Signe after 3 stacks of Pierce Soul in Phase Two. Healers should dispel Fragments of Destiny until all stacks are on one player.
- Phase Two: When Skyja joins the fight, use Bloodlust/Heroism to quickly finish off Kyra and Signe. Focus on Skyja and manage the Fragments of Destiny debuff by having affected players move to the edge of the platform to be dispelled.
![]() Bloodlust/Drums: when Skyja enters the fight, and the other two bosses are at 15% health.
Bloodlust/Drums: when Skyja enters the fight, and the other two bosses are at 15% health.
![]() The Nine loot table:
The Nine loot table:
| Type of Armor | Item | Loot type |
| Cloth | Mantle of Arthura’s Chosen | Shoulder |
| Leather | Daschla’s Defiant Treads | Feet |
| Aradne’s Lancer Legguards | Legs | |
| Brynja’s Mournful Wristwraps | Wrist | |
| Plate | Agatha’s Gothic Greaves | Legs |
| Kyra’s Unending Protectors | Hands | |
| Any | Sanctum Gloomcharger’s Reins | Mount |
| Signe’s Sonorous Scramaseax | Dagger | |
| Skyja’s Revenant Fury | 1H Axe | |
| Jotungeirr, Destiny’s Call | Polearm | |
| Sworn Oath of the Nine | Ring | |
| Scrawled Word of Recall | Trinket | |
| Shard of Annhylde’s Aegis | Trinket |
Remnant of Ner’zhul: Tactics and Loot Table
Remnant of Ner’zhul is the fourth boss in the Sanctum of Domination raid. This encounter is characterized by managing space-limiting mechanics within a small encounter area. The fight revolves around breaking down Ner’zhul‘s armor, which increases raid-wide damage over time. The boss also summons Orbs of Torment that must be destroyed and thrown off the platform to prevent them from damaging the raid.
![]() Preferred Classes:
Preferred Classes:
- Tanks: Any tank class can handle the encounter, but they must be prepared to taunt swap after each Suffering cast and position the boss to hit the Orbs of Torment with the Suffering beam.
- Healers: All healing classes are viable. Healers need to be ready to dispel Malevolence debuffs when the affected players are at the edge of the platform.
- DPS: Mobile DPS classes are preferred for carrying the Orbs of Torment to the edge of the platform. Ranged DPS can also help with quickly destroying the orbs.
![]() Tips:
Tips:
- Positioning: Keep the boss near the center of the room, with the raid loosely spread but generally staying towards the center to manage knockbacks from Malevolence dispels.
- Orb Management: Assign specific players to handle the Orbs of Torment. Mobile classes should pick up the orbs, carry them to the edge, and use the extra action button to throw them off the platform.
- Dispels: Coordinate dispels for Malevolence debuffs. Ensure the raid is in a good position to handle the knockback before dispelling.
![]() Strategy:
Strategy:
- Phase Transitions: At 80%, 60%, and 30% health, Ner’zhul’s armor breaks off, dealing significant raid-wide damage and marking the start of a new phase. Each phase ramps up the difficulty of the mechanics.
- Malevolence: Players marked with Malevolence should move to the edge of the platform to be dispelled, ensuring the raid is positioned to handle the knockback.
- Suffering: Tanks must use the Suffering beam to remove the damage reduction buff from the Orbs of Torment. Taunt swap after each Suffering cast to manage the increased damage taken.
- Grasp of Malice and Spite: Avoid standing in front of the boss during Grasp of Malice and dodge the Spite missiles that target random players.
![]() Bloodlust/Drums: at 30% health.
Bloodlust/Drums: at 30% health.
![]() Remnant of Ner’zhul loot table:
Remnant of Ner’zhul loot table:
| Type of Armor | Item | Loot type |
| Cloth | Hood of Vengeful Possession | Head |
| Leather | Cap of Writhing Malevolence | Head |
| Grasps of Ancestral Whispers | Hands | |
| Crest of the Fallen | Head | |
| Plate | Cuirass of the Lonely Citadel | Chest |
| Dark Tormentor’s Gaze | Head | |
| Any | Weathered Talisman of the Shadowmoon | Amulet |
| Betrayer’s Shadowspike | Dagger | |
| Gnarled Staff of the Elder Shaman | Staff | |
| Whispering Shard of Power | Trinket | |
| Shadowed Orb of Torment | Trinket |
Soulrender Dormazain: Tactics and Loot Table
Soulrender Dormazain is the fifth boss in the Sanctum of Domination raid in World of Warcraft. This encounter is a single-phase fight where the raid must prevent Garrosh Hellscream from being tortured by Soulrender Dormazain. The fight involves dodging telegraphed mechanics, managing adds, and coordinating raid-wide movements to avoid deadly abilities.
![]() Preferred Classes: The encounter favors classes with strong interrupts, crowd control, and burst damage.
Preferred Classes: The encounter favors classes with strong interrupts, crowd control, and burst damage.
![]() Tips:
Tips:
- Dodge Mechanics: Avoid standing in the safe slice during Torment and Encore of Torment.
- Interrupt Adds: Focus on interrupting Mawsworn Agonizers‘ casts of Agonizing Nova.
- Manage Shackles: Stagger the breaking of Warmonger Shackles to minimize raid-wide damage from Unleashed Tyranny.
- Positioning: Stand on Mawsworn Agonizers when affected by Brand of Torment to increase their damage taken.
![]() Strategy:
Strategy:
- Torment: Dodge the waves of Torment that fill the room, leaving only one safe slice.
- Mawsworn Agonizers: Interrupt and kill these adds before they reach Garrosh Hellscream. Group them for efficient AoE damage.
- Warmonger Shackles: Click and run away from the shackles to break them, but do so one at a time to manage the raid-wide damage.
- Brand of Torment: Stack this debuff on the adds to increase their damage taken.
- Ruinblade: Tanks should taunt swap after each cast and use defensive cooldowns.
![]() Bloodlust/Drums: on pull.
Bloodlust/Drums: on pull.
![]() Soulrender Dormazain loot table:
Soulrender Dormazain loot table:
| Type of Armor | Item | Loot type |
| Cloth | Cruel Overlord’s Shackles | Wrist |
| Tormented Shadowcleft Boots | Feet | |
| Leather | Agonizing Spiked Belt | Waist |
| Trenchant Warmonger Treads | Feet | |
| Pauldrons of Tyrannical Defiance | Shoulder | |
| Ragebound Leg Irons | Feet | |
| Plate | Ruinous Warchief’s Shoulderguards | Shoulder |
| Any | Soulrent Outrider’s Recurve | Bow |
| Cloak of Scarred Honor | Cloak | |
| Dormazain’s Tenderizer | 1H Mace | |
| Decanter of Endless Howling | Trinket | |
| Hellscream’s Requiem | 2H Axe | |
| Irongrasp | Battle Pet |
Painsmith Raznal: Tactics and Loot Table
Painsmith Raznal is the sixth boss in the Sanctum of Domination raid in World of Warcraft. The encounter alternates between two phases: Phase One, where the raid fights Painsmith Raznal directly, and Phase Two, an intermission where the raid must dodge a series of spikes while enduring heavy damage.
![]() Preferred Classes:
Preferred Classes:
- Tanks: Any tank class can handle the encounter, but they must be prepared to quickly move the boss to designated corners to avoid raid-wide damage from the weapon throw mechanic.
- Healers: A mix of single-target and AoE healing is beneficial. Four to five healers are recommended, especially for mythic difficulty, to manage the sustained raid damage and periodic bursts.
- DPS: Ranged DPS have an advantage in managing the Shadowsteel Chains mechanic, as they can more easily move away from the raid. Melee DPS must be careful to avoid the spikes that erupt from the floor.
![]() Tips:
Tips:
- Positioning: Tanks should position the boss slightly off-center to maximize the available space for the raid to dodge mechanics. The tank not currently holding the boss should be responsible for triggering Flameclasp Traps on heroic difficulty.
- Movement: Players must be quick and precise in their movements to avoid the various spike patterns and other environmental hazards. High mobility classes can be particularly useful for detonating traps.
- Communication: Clear communication is crucial, especially for coordinating the destruction of Spiked Balls and the detonation of Flameclasp Traps. Assign specific players to handle these tasks to avoid overlaps and ensure smooth execution.
![]() Strategy:
Strategy:
- Phase One: Focus on killing the middle Spiked Ball to create a gap for the raid to move through. Tanks should taunt swap after each weapon throw to manage the Blackened Armor debuff. Players with Shadowsteel Chains should move away from the raid to avoid knocking others back.
- Phase Two: Dodge the waves of spikes by moving through the safe gaps. Avoid the Shadowsteel Embers that spawn on the ground. Healers should be prepared for sustained raid damage during this phase.
- Weapon Switches: After each Phase Two, the boss equips a new weapon, changing the pattern of spikes. Adapt your positioning and movement strategies accordingly.
![]() Bloodlust/Drums: after the second intermission ends and the boss returns to the platform for the final Phase One.
Bloodlust/Drums: after the second intermission ends and the boss returns to the platform for the final Phase One.
![]() Painsmith Raznal loot table:
Painsmith Raznal loot table:
| Type of Armor | Item | Loot type |
| Cloth | Sacrificer’s Sacramental Cassock | Chest |
| Leggings of the Screaming Flames | Legs | |
| Leather | Flameclasp-Scorched Legguards | Legs |
| Hangman’s Knotbinders | Hands | |
| Shadowsteel Facecage | Head | |
| Plate | Guillotine Gauntlets | Hands |
| Any | Cruciform Veinripper | Fist Weapon |
| Shadowsteel Demoralizer | 1H Mace | |
| Exacting Mindslicer | 1H Sword | |
| Miniature Breaking Wheel | Ring | |
| Ebonsoul Vise | Trinket | |
| Tormented Rack Fragment | Trinket |
Guardian of the First Ones: Tactics and Loot Table
The Guardian of the First Ones is a boss encounter in the Sanctum of Domination raid in World of Warcraft. It is a single-phase fight where the boss’s energy continuously depletes and must be refilled using three Energy Cores. This encounter is known for its short enrage timer and relatively few mechanics, making it a DPS check for the raid. The boss starts with 60 energy, which depletes over time, and each Energy Core recharges 60 energy to the boss.
![]() Preferred Classes: The preferred classes for this encounter include those with strong damage output and utility abilities. Classes with immunities, such as
Preferred Classes: The preferred classes for this encounter include those with strong damage output and utility abilities. Classes with immunities, such as ![]() Paladins,
Paladins, ![]() Mages,
Mages, ![]() Hunters,
Hunters, ![]() Rogues, and
Rogues, and ![]() Demon Hunters, are particularly useful for soaking mechanics. Healers like
Demon Hunters, are particularly useful for soaking mechanics. Healers like ![]() Holy Paladins,
Holy Paladins, ![]() Discipline Priests, and
Discipline Priests, and ![]() Restoration Shamans are recommended for their damage reduction cooldowns.
Restoration Shamans are recommended for their damage reduction cooldowns.
![]() Tips:
Tips:
- General Tips: Stay away from the Suppression Field under Sentries, move away from others when marked by Threat Neutralization, avoid the Disintegration frontal cast, stand in the Radiant Energy emitted by the Energy Core when the boss’s energy is being filled, and move away from Energy Cores when they cast Meltdown.
- Tank Tips: Taunt swap after Sunder is cast, ensure no players are within 6 yards of the tank during Sunder, and position the boss near an Energy Core after one Purging Protocol when the boss runs out of energy.
- Healer Tips: Assign at least one healing cooldown for each Purging Protocol hit, be prepared for significant raid damage while an Energy Core is active, and expect a burst of damage when Meltdown finishes casting.
- DPS Tips: Use Time Warp on pull and plan cooldowns accordingly, as the typical enrage time is around 5 minutes.
![]() Strategy: The strategy for this encounter revolves around managing the boss’s energy and surviving the Purging Protocol casts. The raid should be loosely spread around the boss to avoid Threat Neutralization and dodge Sentries. When the boss runs out of energy, the raid should stack near the boss for healing and then move to the closest Energy Core after one Purging Protocol. The goal is to survive as many Purging Protocols as possible to extend the fight’s enrage timer.
Strategy: The strategy for this encounter revolves around managing the boss’s energy and surviving the Purging Protocol casts. The raid should be loosely spread around the boss to avoid Threat Neutralization and dodge Sentries. When the boss runs out of energy, the raid should stack near the boss for healing and then move to the closest Energy Core after one Purging Protocol. The goal is to survive as many Purging Protocols as possible to extend the fight’s enrage timer.
![]() Bloodlust/Drums: on pull.
Bloodlust/Drums: on pull.
![]() Guardian of the First Ones loot table:
Guardian of the First Ones loot table:
| Type of Armor | Item | Loot type |
| Cloth | Sandals of Sacred Symmetry | Feet |
| Enigmatic Energy Circuit | Waist | |
| Leather | Unstable Energizer Boots | Feet |
| Hyperdense Greaves | Legs | |
| Plate | Disintegration-Proof Waistband | Waist |
| Ancient Colossus Chassis | Chest | |
| Any | Self-Replicating Tissue | Cloak |
| Directional Meltdown Projector | Gun | |
| Torch of Eternal Knowledge | 1H Mace | |
| Infinity’s Last Bulwark | Shield | |
| Pylon of the Great Purge | Staff | |
| Salvaged Fusion Amplifier | Trinket | |
| Reactive Defense Matrix | Trinket |
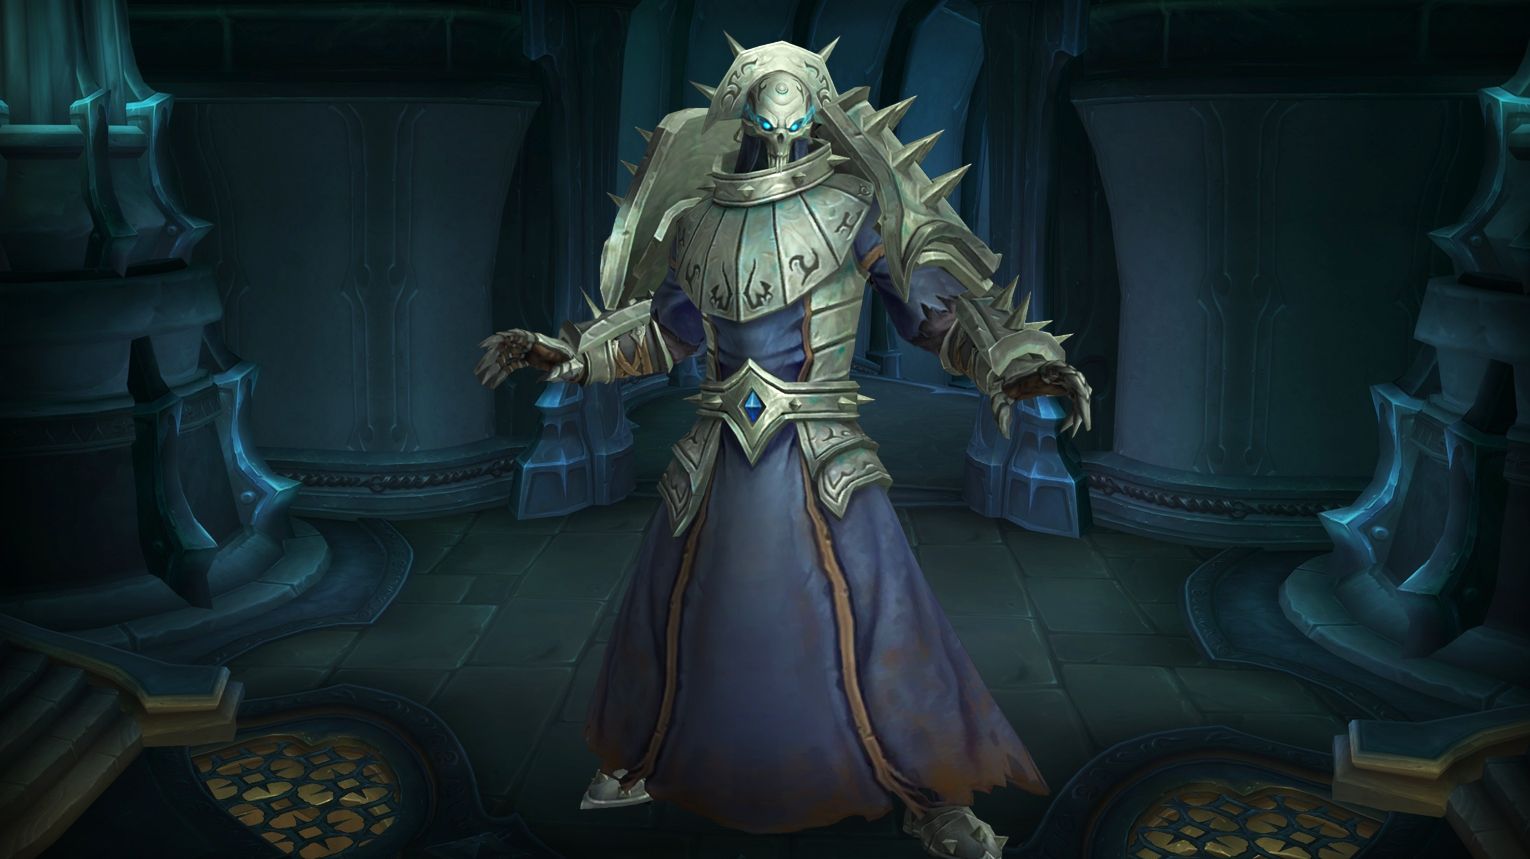
Fatescribe Roh-Kalo: Tactics and Loot Table
Fatescribe Roh-Kalo is a boss encounter in the Sanctum of Domination raid in World of Warcraft. This encounter consists of three phases, with the first two phases alternating and the final phase combining elements from both. The boss uses various abilities to challenge the raid, including targeted debuffs, area-of-effect damage, and a puzzle mechanic involving the Loom of Fates. The fight requires coordination, precise movement, and effective use of cooldowns to manage the increasing complexity and damage output as the fight progresses.
![]() Preferred Classes: The encounter favors ranged DPS classes for their ability to move runes on the Loom of Fates while maintaining damage on the boss. Tanks need to be prepared for heavy damage intake and must coordinate taunt swaps effectively. Healers must be ready to handle bursts of raid-wide damage and spot-heal targets affected by debuffs. Classes with strong movement speed increases or immunities can also provide significant advantages during certain mechanics.
Preferred Classes: The encounter favors ranged DPS classes for their ability to move runes on the Loom of Fates while maintaining damage on the boss. Tanks need to be prepared for heavy damage intake and must coordinate taunt swaps effectively. Healers must be ready to handle bursts of raid-wide damage and spot-heal targets affected by debuffs. Classes with strong movement speed increases or immunities can also provide significant advantages during certain mechanics.
![]() Tips:
Tips:
- Movement and Positioning: Stay spread out to avoid overlapping damage from abilities like Call of Eternity and Fated Conjunction. Move to safe zones during Fated Conjunction and stay on the edge of the room when targeted by Call of Eternity.
- Runic Affinity: Players with this buff should quickly move to the active runes on the Loom of Fates and coordinate with others to rotate the rings into the correct positions.
- Tank Swaps: Tanks should taunt swap after each Invoke Destiny cast and kite the Shade of Destiny away from the raid.
- Interrupts: Prioritize interrupting Fatespawn Monstrosity‘s Despair cast to prevent additional damage and slow effects.
![]() Strategy:
Strategy:
- Phase One: Focus on avoiding Fated Conjunction beams and moving away from players with Call of Eternity. Tanks should handle the Shade of Destiny and the subsequent Fatespawn Anomalys.
- Phase Two: Quickly realign the rings on the Loom of Fates by standing on the active runes. Coordinate the number of players on each rune to move them clockwise or counterclockwise as needed. Manage the adds that spawn and avoid Fate Fragments.
- Phase Three: Combines the mechanics of the first two phases. Use Bloodlust/Heroism at the start of this phase to maximize damage output and quickly end the encounter.
![]() Bloodlust/Drums: at the start of Phase Three (40% health).
Bloodlust/Drums: at the start of Phase Three (40% health).
![]() Fatescribe Roh-Kalo loot table:
Fatescribe Roh-Kalo loot table:
| Type of Armor | Item | Loot type |
| Cloth | Diviner’s Draped Finery | Chest |
| Gloves of Forsaken Purpose | Hands | |
| Leather | Cowl of Haunting Precognition | Head |
| Fate-Threaded Bindings | Wrist | |
| Conjunction-Forged Chainmail | Chest | |
| Demigaunts of Predestination | Hands | |
| Plate | Binding of Dark Destinies | Waist |
| Fateforged Legplates | Legs | |
| Any | Record of Collapsing Realities | Off-hand |
| Oscillating Ouroboros | Ring | |
| Carved Ivory Keepsake | Trinket | |
| Weave of Warped Fates | Trinket |
Kel’Thuzad: Tactics and Loot Table
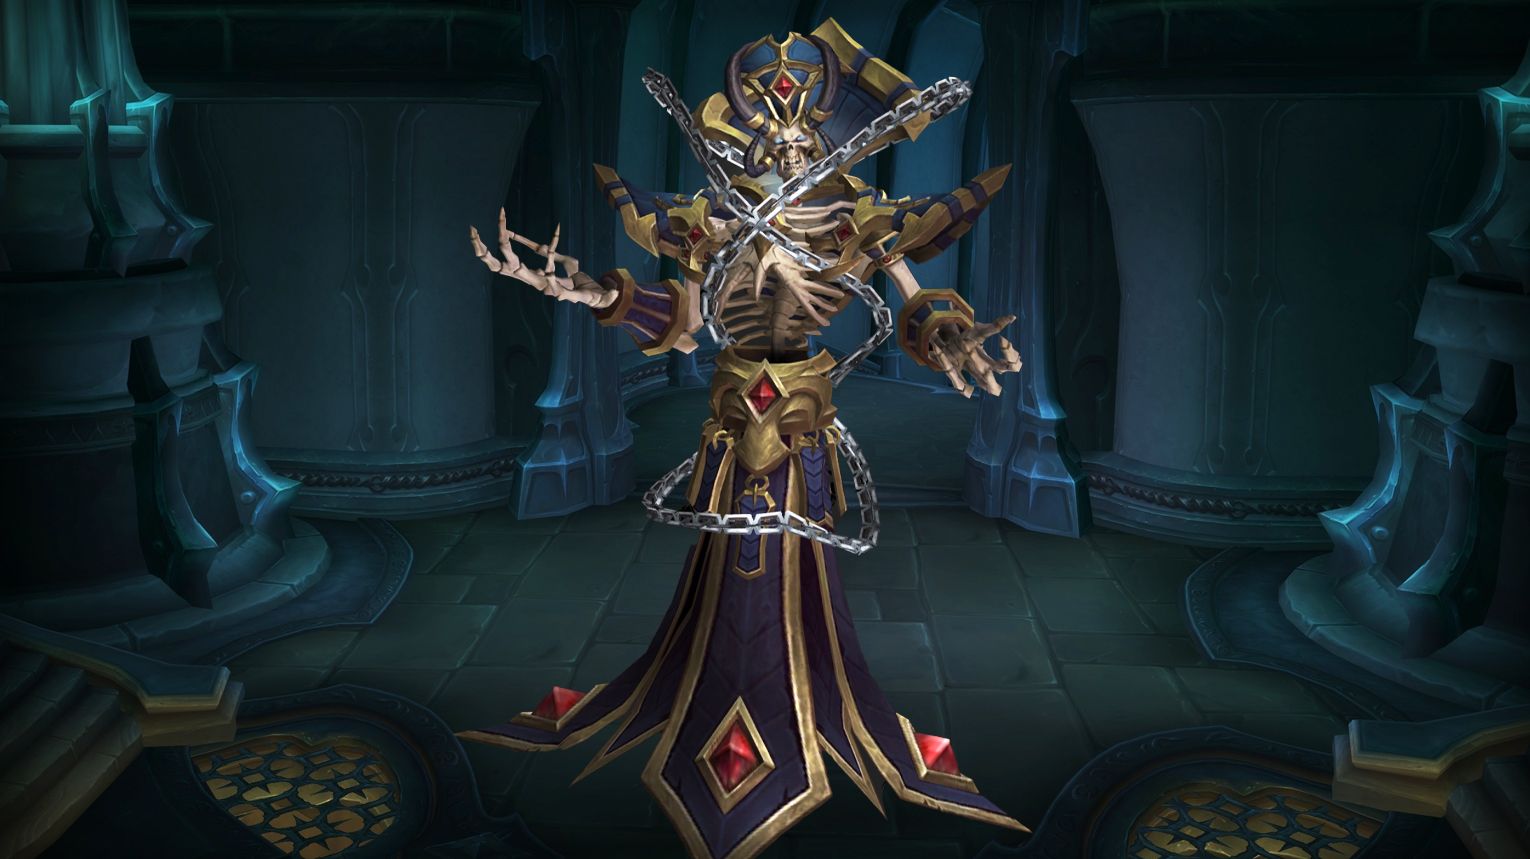
Kel’Thuzad was once a high-ranking mage of Dalaran who became a devoted follower of the Lich King. Even after his previous defeats, his phylactery allowed him to return. In Sanctum of Domination, he serves Zovaal, the Jailer, helping to fuel the Maw’s power with dark magic.
In Sanctum of Domination, Kel’Thuzad is a multi-phase boss, featuring powerful frost magic, undead minions, and a phylactery phase where you must destroy his soul to defeat him.
A key challenge is needing a summonable pet or minion to keep combat active while entering the phylactery. Without this, solo players may struggle to progress the fight.
![]() Preferred Classes: The preferred classes for the Kel’Thuzad encounter can vary depending on the specific phase and mechanics involved. Generally, classes with strong interrupts, crowd control, and healing capabilities are favored. Tanks need to be able to handle heavy damage and taunt swap effectively. Healers must be prepared to deal with significant raid-wide damage and dispel debuffs. DPS classes should focus on burst damage to quickly eliminate adds and priority targets.
Preferred Classes: The preferred classes for the Kel’Thuzad encounter can vary depending on the specific phase and mechanics involved. Generally, classes with strong interrupts, crowd control, and healing capabilities are favored. Tanks need to be able to handle heavy damage and taunt swap effectively. Healers must be prepared to deal with significant raid-wide damage and dispel debuffs. DPS classes should focus on burst damage to quickly eliminate adds and priority targets.
![]() Tips:
Tips:
- Positioning: Pay attention to positioning, especially during phases with heavy AoE damage or targeted abilities.
- Interrupts: Assign interrupts to specific players to handle dangerous abilities like Piercing Wail.
- Crowd Control: Use crowd control effectively to manage adds and prevent them from overwhelming the raid.
- Healing Cooldowns: Coordinate healing cooldowns to handle periods of high damage, such as when Glacial Spikes explode.
![]() Strategy:
Strategy:
- Phase One: Focus on surviving Kel’Thuzad’s abilities while dealing with adds. Tanks need to taunt swap after Soul Fracture, and the raid should interrupt and kill the soul adds that spawn. Use silence circles from Oblivion’s Echo to help with interrupts. Stagger killing Glacial Spikes to spread out the raid damage. Group soak the Frost Blast and dispel the root it applies. AoE stun and kill adds when they are resurrected by Dark Evocation. Stay out of frost patches during Howling Blizzard.
- Phase Two: Send assigned players into the phylactery to damage the soul remnant and interrupt Kel’Thuzad’s raid-wiping cast. Outside, tanks pick up abomination adds, and the raid dodges their frontal attacks. Interrupt ranged banshee adds and kill the adds after the phylactery team is done to prevent resurrection.
- Phase Three: Use Bloodlust/Heroism and stay out of ice patches as long as possible. Deal with the same mechanics as previous phases, with additional adds spawning.
![]() Bloodlust/Drums: at Phase 3.
Bloodlust/Drums: at Phase 3.
![]() Kel’Thuzad loot table:
Kel’Thuzad loot table:
| Type of Armor | Item | Loot type |
| Cloth | Frame of the False Margrave | Shoulder |
| Sash of Duplicitous Magics | Waist | |
| Leather | Spaulders of the Crooked Confidant | Shoulder |
| Elite Aranakk Breeches | Legs | |
| Bands of the Fallen House | Wrist | |
| Ceremonial Construct Clasp | Waist | |
| Plate | Vyraz’s Parade Cuffs | Wrist |
| Valorous Visage of Krexus | Head | |
| Any | Interplanar Keystone | Amulet |
| The Devouring Cold | 1H Sword | |
| Maledict Opus | Staff | |
| Forbidden Necromantic Tome | Trinket | |
| Resonant Silver Bell | Trinket | |
| Relic of the Frozen Wastes | Trinket | |
| Jaithys, the Prison Blade | 2H Sword |
Sylvanas Windrunner: Tactics and Loot Table

Sylvanas Windrunner is the final boss of Sanctum of Domination and one of the most challenging encounters in Shadowlands. The fight has 3 phases, requiring players to deal with her ranged attacks, mobility, and powerful dark magic.
Sylvanas, once the leader of the Forsaken, became one of the most controversial figures in World of Warcraft. In SoD, players finally confront her to stop her from carrying out the Jailer’s plan. After her defeat, she is judged by the Arbiter and sentenced to the Maw to atone for her actions.
The fight is long and requires high DPS, mobility, and survival skills. Soloing is possible at higher item levels, but some mechanics can be overwhelming without specific class abilities.
![]() Preferred Classes: The encounter favors a balanced raid composition with a mix of ranged and melee DPS, as well as healers and tanks. Classes with strong mobility and crowd control abilities are particularly useful.
Preferred Classes: The encounter favors a balanced raid composition with a mix of ranged and melee DPS, as well as healers and tanks. Classes with strong mobility and crowd control abilities are particularly useful.
![]() Tips:
Tips:
- Phase One: Spread out to avoid Veil of Darkness and use Domination Chains to remove Barbed Arrow stacks. Dodge Desecrating Shot and avoid Rive and Riven Debris during the Intermission. Stop casting during Banshee Wail to prevent silencing.
- Phase Two: Follow Thrall and Jaina to progress through the platforms. Avoid Haunting Wave and move out of Veil of Darkness. Interrupt Ruin casts and defeat summoned adds quickly to proceed.
- Phase Three: Manage Banshee’s Bane puddles to maximize usable space on the platforms. Tanks should pick up and stack Banshee’s Bane debuffs. Players marked with Wailing Arrow should jump to other platforms to reduce raid damage. Move to a different platform when Sylvanas casts Raze.
![]() Strategy:
Strategy:
- Phase One (100% – 83%): Focus on surviving Sylvanas’ initial onslaught of abilities. Use Domination Chains to remove Barbed Arrow stacks and avoid taking damage from Veil of Darkness. Dodge Desecrating Shot and spread out during Banshee Wail.
- Intermission (83%): Sylvanas gains a damage reduction buff and fires waves of Domination Arrows. Avoid Rive and Riven Debris and spread out during Banshee Wail.
- Phase Two: Chase Sylvanas across a series of platforms with the help of Thrall and Jaina. Interrupt her Ruin casts and defeat summoned adds to progress. Avoid Haunting Wave and manage Veil of Darkness on the limited space of each platform.
- Phase Three (Ends at 50%): Fight Sylvanas on small floating platforms that are progressively destroyed. Manage Banshee’s Bane puddles to create usable space. Tanks should taunt swap Mawrforged Goliaths and pick up Banshee’s Bane debuffs. Players marked with Wailing Arrow should jump to other platforms. Move to a different platform when Sylvanas casts Raze.
![]() Bloodlust/Drums:
Bloodlust/Drums:
- Phase One: Use Bloodlust/Drums at the start of the fight to maximize DPS and quickly push Sylvanas to the next phase.
- Phase Two: Use it after the first Ruin cast is interrupted to take advantage of the 45-second damage window.
- Phase Three: Use it at the start of the phase to quickly burn down Sylvanas’ health and manage the increasing spatial restrictions.
![]() Sylvanas Windrunner loot table:
Sylvanas Windrunner loot table:
| Type of Armor | Item | Loot type |
| Cloth | Desecrator’s Keening Wristwraps | Wrist |
| Veil of the Banshee Queen | Head | |
| Leather | Windrunner’s Baldric | Waist |
| Witherheart Studded Breastplate | Chest | |
| Epaulets of the Master Ranger | Shoulder | |
| Plate | Greaves of Haunting Ruination | Feet |
| Spires of Broken Hope | Shoulder | |
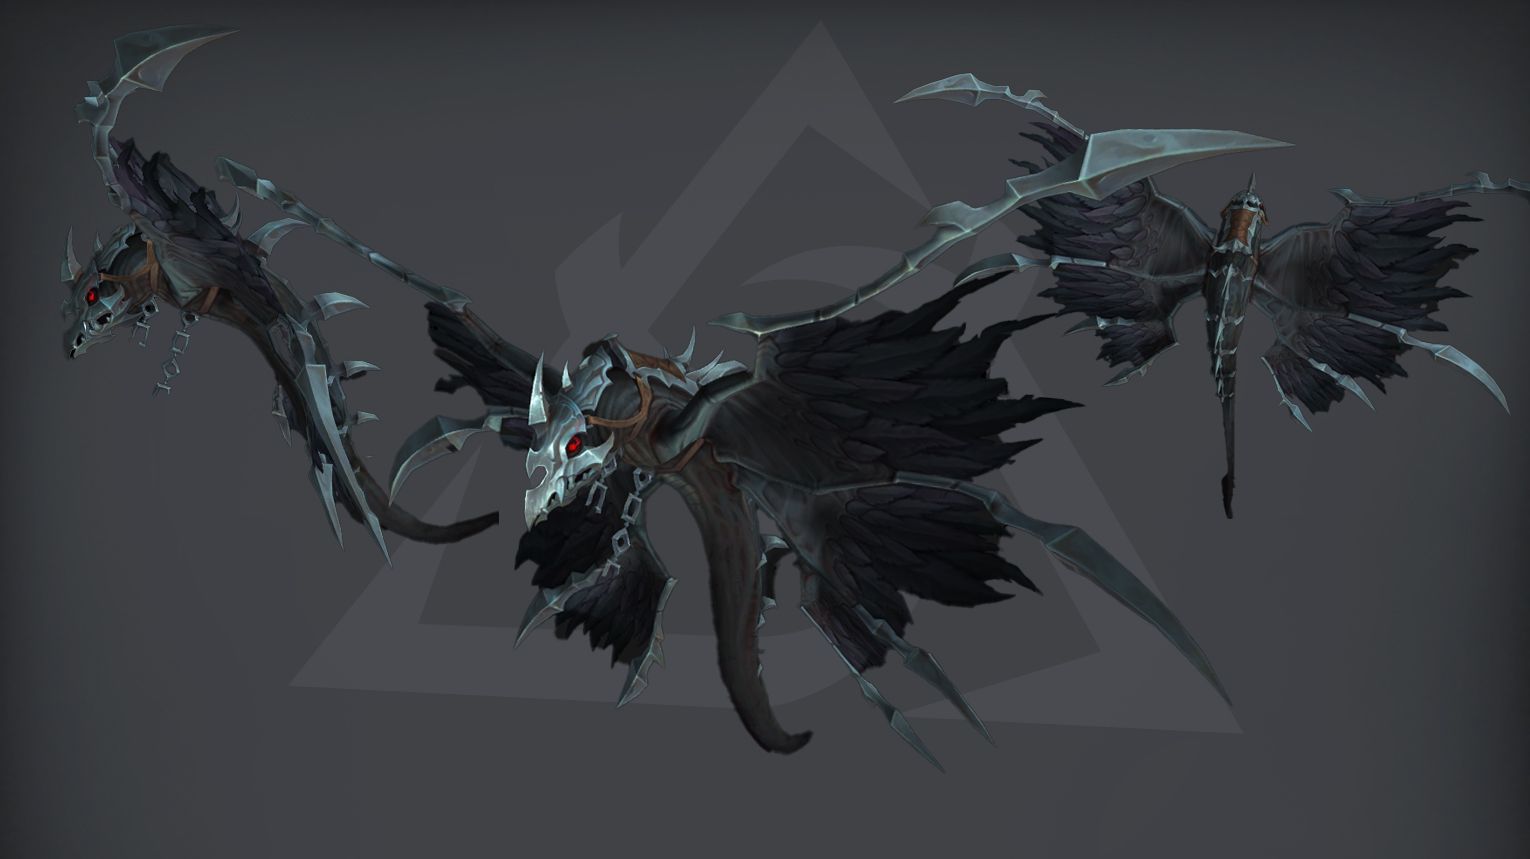
| Any | Vengeance’s Reins | Mount |
| Rae’shalare, Death’s Whisper | Bow | |
| Dark Ranger’s Quiver | Cloak | |
| Edge of Night | Dagger | |
| Tarnished Insignia of Quel’Thalas | Ring | |
| Guard of the Sundered Defender | Shield | |
| Old Warrior’s Soul | Trinket |
Sanctum of Domination Achievements List
| Achievement | Requirement |
| Sanctum of Domination | Defeat all bosses on any difficulty. |
| Sanctum of Domination Guild Run | Kill all bosses in the Sanctum of Domination on Normal difficulty or higher while in a guild group. |
| Heroic: Sanctum of Domination | Slay all bosses on Heroic difficulty. |
| Heroic: Sanctum of Domination Guild Run | Defeat all bosses in the Sanctum of Domination on Heroic difficulty or higher while in a guild group. |
| Mythic: Sanctum of Domination | Kill all bosses on Mythic difficulty. |
| Ahead of the Curve: Sylvanas Windrunner | Slay Sylvanas Windrunner on Heroic difficulty or higher, before the release of the next raid tier. |
| Cutting Edge: Sylvanas Windrunner | Defeat Sylvanas Windrunner on Mythic difficulty, before the release of the next raid tier. |
| Mythic: Sylvanas Windrunner | Kill Sylvanas Windrunner ion Mythic difficulty. |
| Mythic: Sylvanas Windrunner Guild Run | Slay Sylvanas Windrunner on Mythic difficulty while in a guild group. |
| Mythic: Fatescribe Roh-Kalo | Defeat Fatescribe Roh-Kalo on Mythic difficulty. |
| Mythic: Guardian of the First Ones | Kill Guardian of the First Ones on Mythic difficulty. |
| Mythic: Kel’Thuzad | Slay Kel’Thuzad on Mythic difficulty. |
| Mythic: Painsmith Raznal | Defeat Painsmith Raznal on Mythic difficulty. |
| Mythic: Remnant of Ner’zhul | Kill Remnant of Ner’zhul on Mythic difficulty. |
| Mythic: Soulrender Dormazain | Slay Soulrender Dormazain on Mythic difficulty. |
| Mythic: The Eye of the Jailer | Defeat The Eye of the Jailer on Mythic difficulty. |
| Mythic: The Nine | Kill The Nine on Mythic difficulty. |
| Mythic: The Tarragrue | Slay The Tarragrue on Mythic difficulty. |
| Glory of the Dominant Raider | Complete the Sanctum of Domination raid achievements. |
| Coming to Terms | Defeat Anduin Wrynn after defeating Anduin’s Grief on Normal difficulty or higher. |
| Eye Wish You Were Here | Kill the Eye of the Jailer after using the Scavenged S.E.L.F.I.E. Camera to take a picture of the Eye of the Jailer and the entire raid after it has cast Immediate Extermination on Normal difficulty or higher. |
| Flawless Fate | Slay Fatescribe Roh-Kalo without taking damage from Fate Fragments, Fated Conjunction, or the explosions from Call of Eternity and Echo of Eternity on Normal difficulty or higher. |
| I Used to Bullseye Deeprun Rats Back Home | Defeat the Remnant of Ner’zhul after scoring three goals on Normal difficulty or higher. |
| Knowledge is Power | Kill the Guardian of the First Ones after enlightening and defeating Vazzaren the Seeker in Normal difficulty or higher. |
| Name A Better Duo, I’ll Wait | Slay The Tarragrue after entering the mists and reuniting Moriaz with Buttons on Normal difficulty or higher. |
| Shackles of Fate | Defeat the following bosses in the upper tiers of the Sanctum of Domination. |
| The Dark Bastille | Kill the following bosses in the wings of the Sanctum of Domination. |
| The Jailer’s Vanguard | Slay the following bosses in the lower floors of the Sanctum of Domination. |
| The Reckoning | Ascend to the summit and confront Sylvanas Windrunner in the Sanctum of Domination. |
| This World is a Prism | Defeat Sylvanas Windrunner after activating the Focusing Prism on Normal difficulty or higher. |
| To the Nines | Kill The Nine after forming a Shard of Destiny from 9 or more Fragments of Destiny on Normal difficulty or higher. |
| Together Forever | Slay Kel’Thuzad after thawing the Remnant’s heart on Normal difficulty or higher. |
| Tormentor’s Tango | Defeat Soulrender Dormazain after /taunting Garrosh Hellscream before combat begins and avoiding all Torment impacts in the Sanctum of Domination on Normal difficulty or higher. |
| Whack-A-Soul | Kill Painsmith Raznal after activating the Burning Gibbets in the Sanctum of Domination on Normal difficulty or higher. |
| Fate of Domination | Slay all bosses on any difficulty while Sanctum of Domination is a Fated raid. |
| Heroic: Fate of Domination | Defeat all bosses on Heroic difficulty while Sanctum of Domination is a Fated raid. |
| Mythic: Fate of Domination | Kill all bosses on Mythic difficulty while Sanctum of Domination is a Fated raid. |