
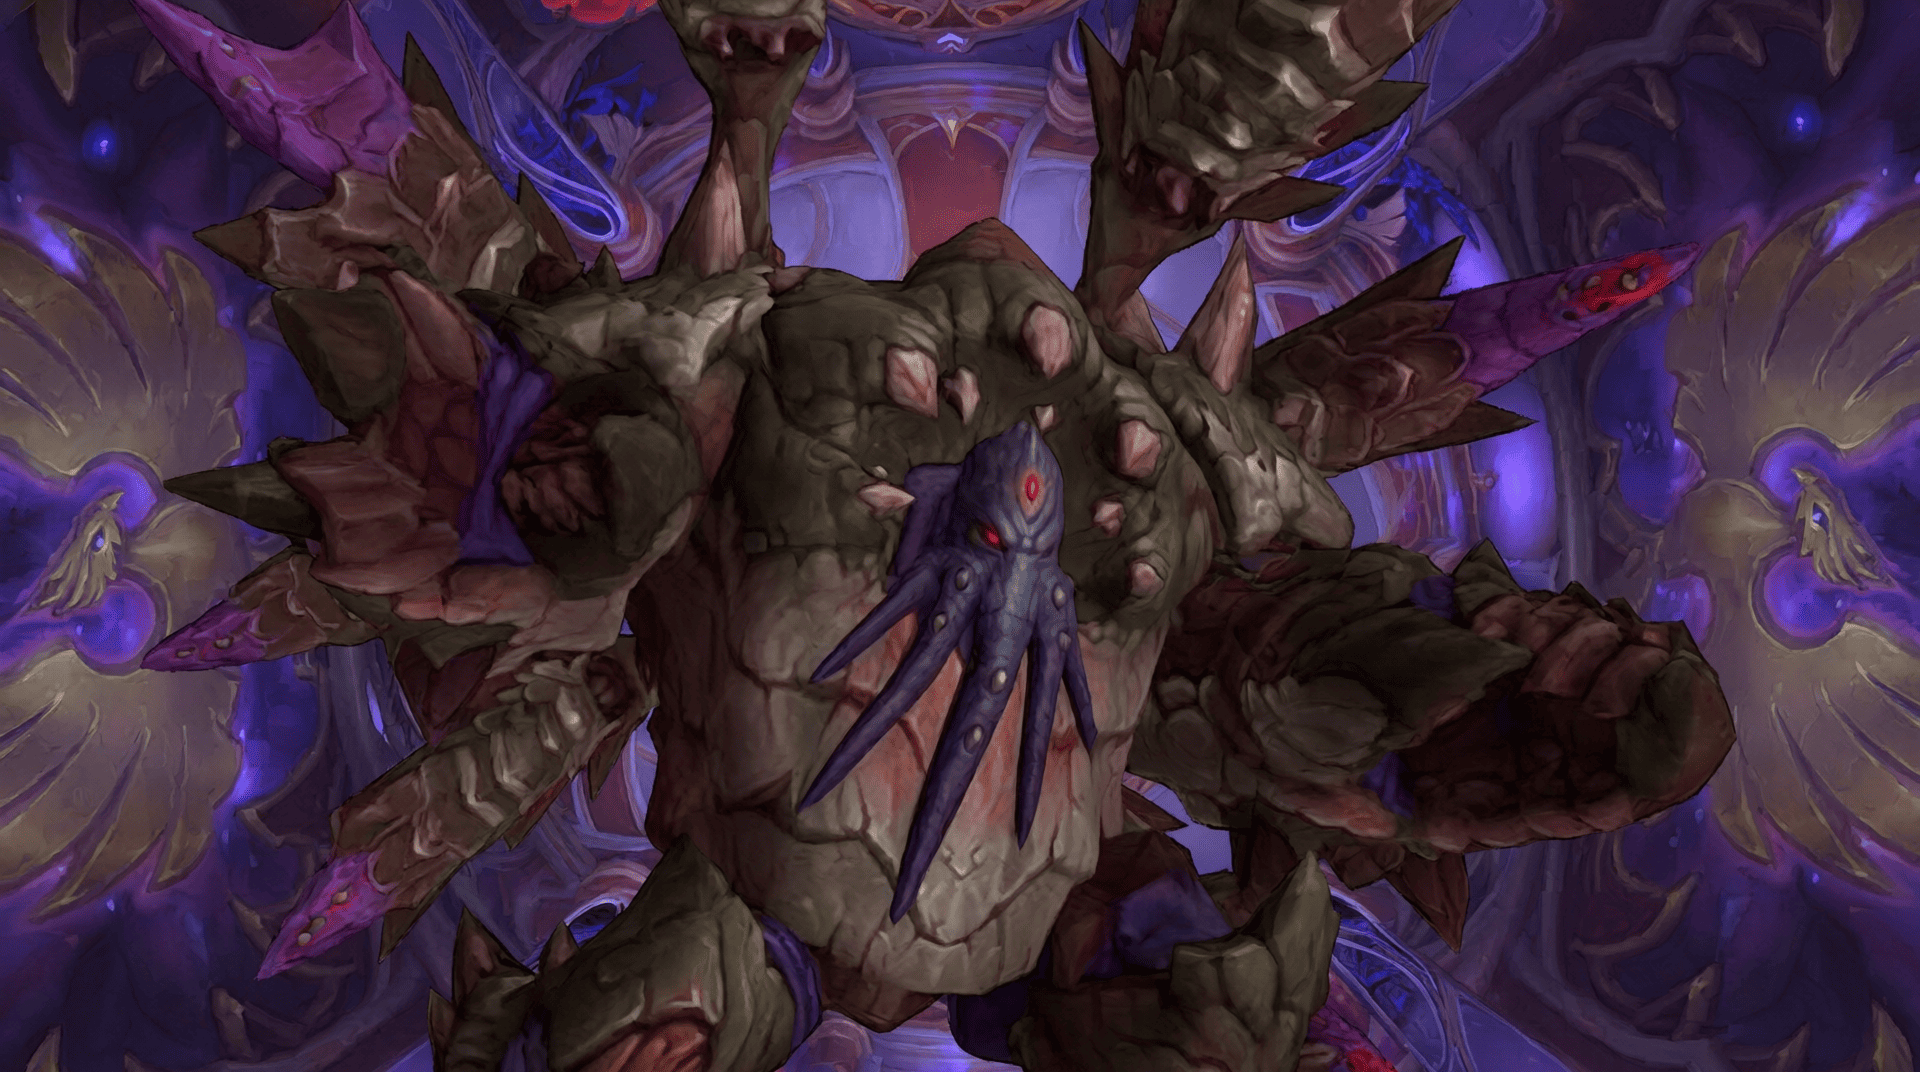
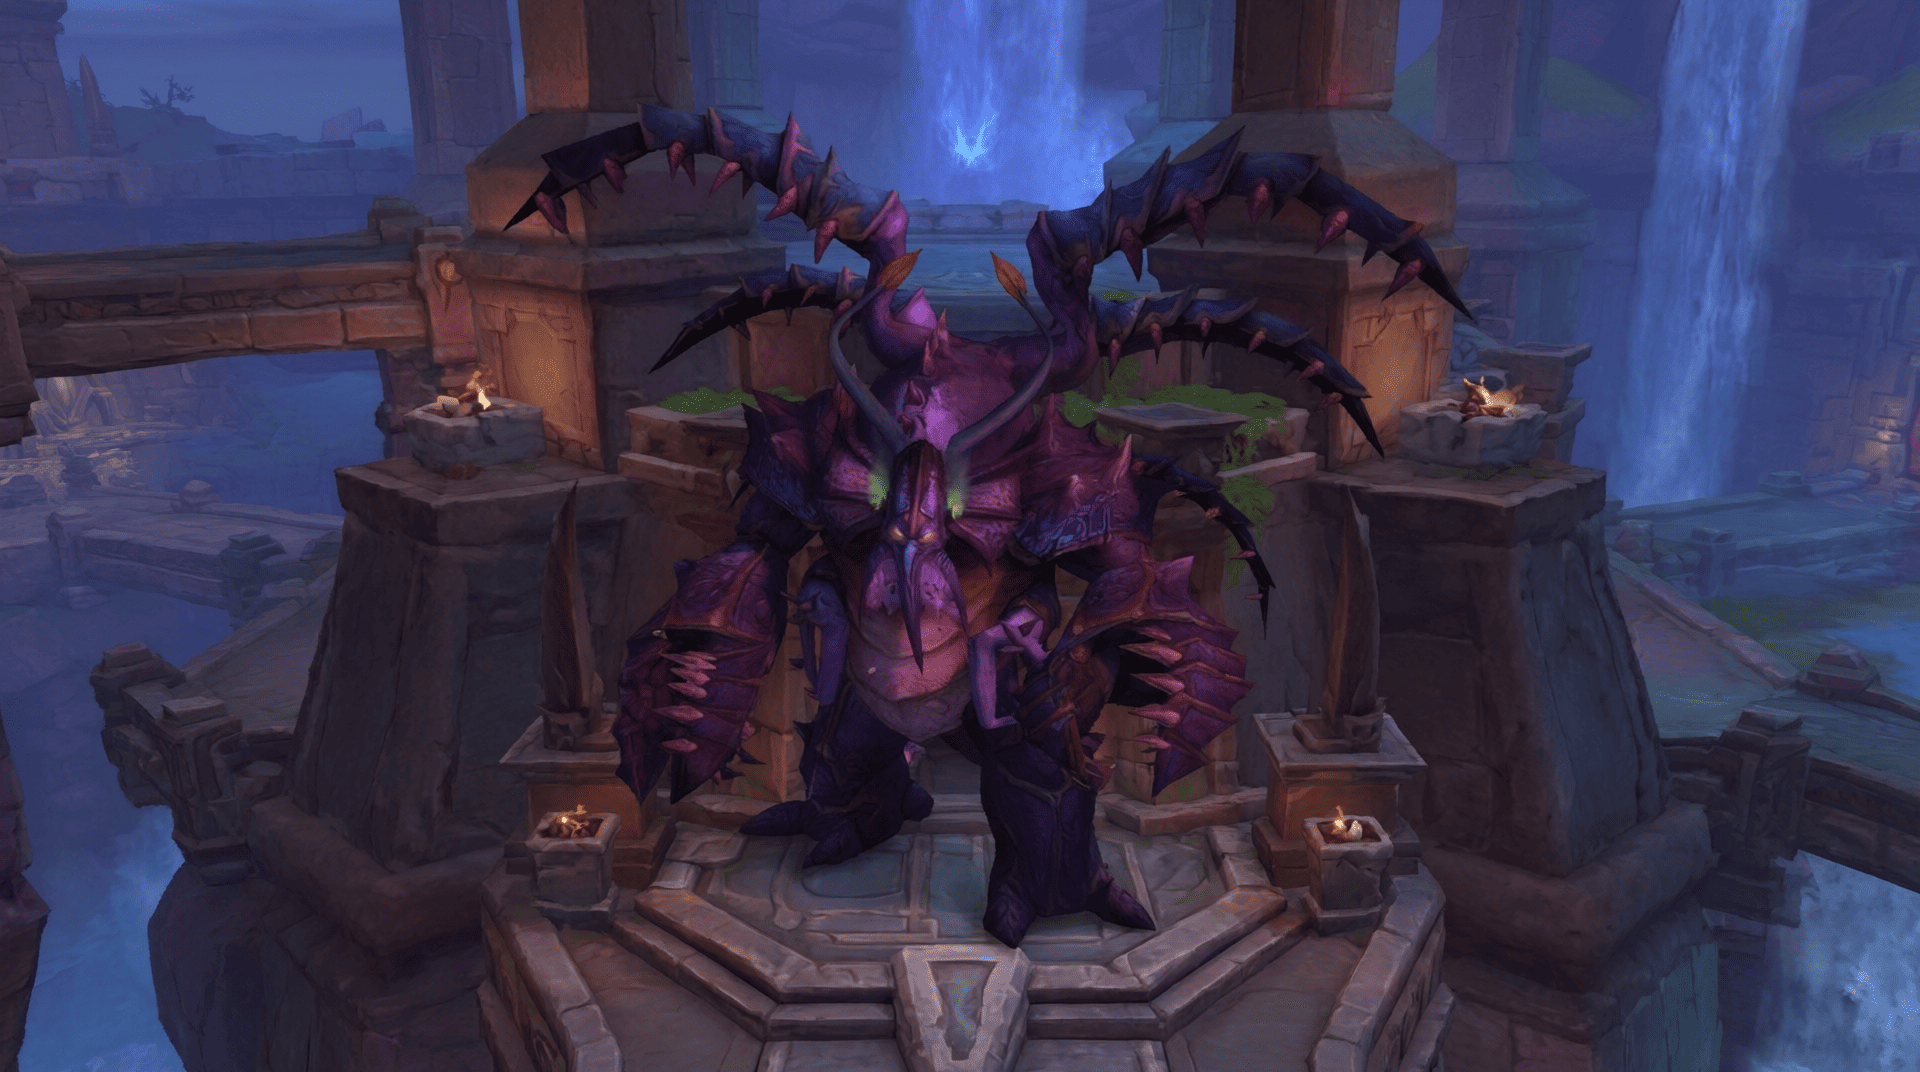
Kith’ix is the final boss of The Unbinding of Kith’ix, a single boss raid in WoW Midnight Season 2. This guide covers the Kith’ix boss strategy in Patch 12.1.5, including the raid entrance, every major phase mechanic, add priorities, tank swaps, healer assignments, class specific tactics, and the complete Kith’ix loot table.
The encounter tests add control, movement, healing coordination, and damage cooldown timing. During Phase 1, the raid must keep the aqir away from Kith’ix and defeat them before his Energy reaches 100%. During the intermission, players must remain inside Lady Liadrin’s protective Light and respond quickly to healing absorbs. At 25% boss health, the final phase begins, and the raid must defeat Kith’ix before the eighth Eightfold Eclipse.
The Unbinding of Kith’ix is available on Story Mode, Raid Finder, Normal, Heroic, and Mythic difficulty. Kith’ix drops ten pieces of standard equipment, including four cantrip armor pieces, two swords, a ring, and three role focused trinkets. Mythic gear drops at item level 324 on the Myth track at rank 3/6.
 In this guide:
- Kith’ix raid overview
- The Unbinding of Kith’ix entrance and location
- Kith’ix loot table and item levels
- Boss mechanics and add abilities
- Step by step boss strategy
- Normal, Heroic, and Mythic differences
- Tank, healer, and DPS responsibilities
- Class specific tips
- Common mistakes and raid fixes
- Raid preparation checklist
- Frequently asked questions
 Raid leader tip: assign the Hulk tank, beetle control, fear dispels, intermission healing, and final phase gate positions before the pull. These assignments prevent the most common wipes.
The Unbinding of Kith’ix Raid Overview
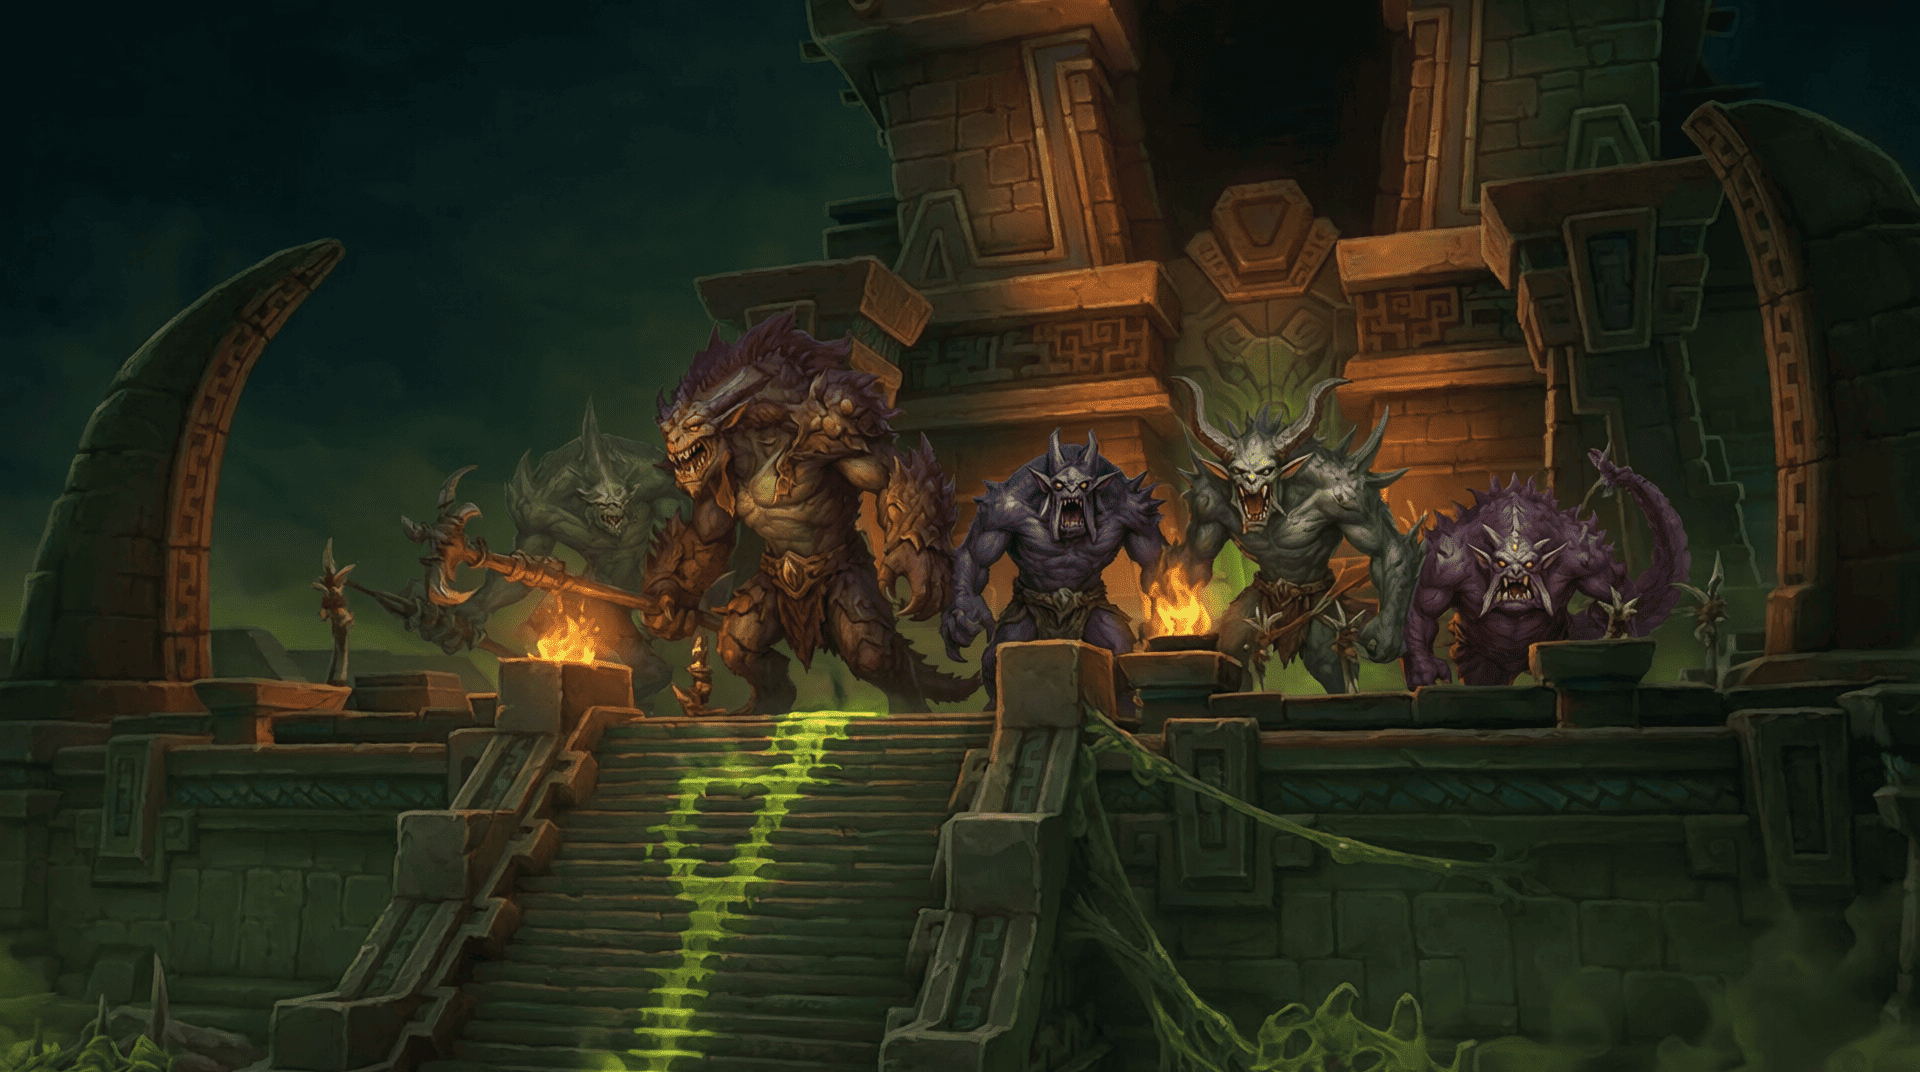
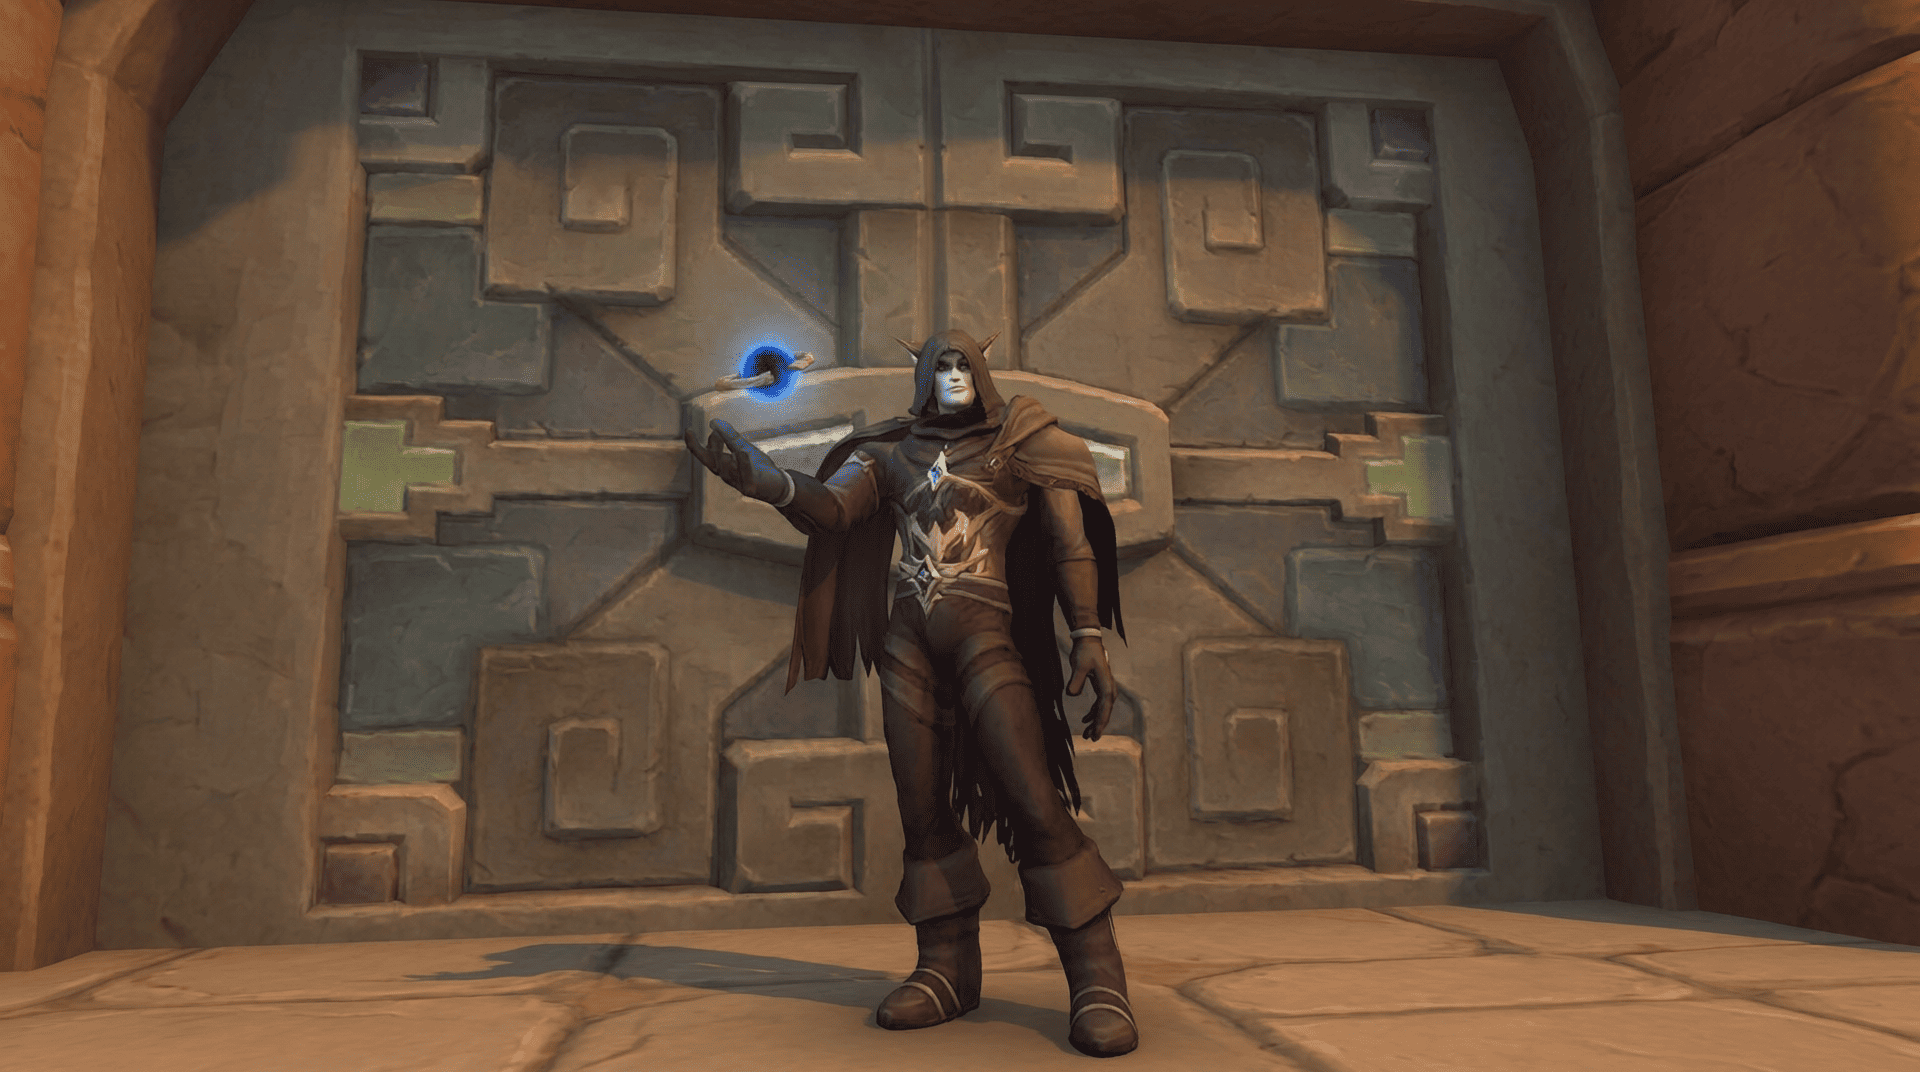
The Unbinding of Kith’ix is a single boss raid introduced in WoW Midnight Patch 12.1.5. The encounter takes place beneath the Vaults of Atal’Utek on the Coiled Isle, where Kith’ix, an ancient C’Thraxxi general, attempts to break free. Lady Liadrin assists the raid by holding back the darkness and empowering players during the final phase.
The encounter has two main combat phases and a repeating intermission. Phase 1 continues until Kith’ix reaches 100 Energy. The boss then creates Suffocating Darkness, forcing the raid to gather inside Lady Liadrin’s Refulgent Bulwark. Once Liadrin reaches 100 Energy, Divine Radiance clears the darkness and stuns Kith’ix for eight seconds. This cycle repeats until the boss reaches 25% health and begins the final phase.
| Feature | Details |
| Raid | The Unbinding of Kith’ix |
| Boss | Kith’ix |
| Expansion | World of Warcraft Midnight |
| Season | Season 2 |
| Patch | 12.1.5 |
| Required Character Level | 90 |
| Available Difficulties | Story Mode, Raid Finder, Normal, Heroic, Mythic |
| Mythic Group Size | 15 to 25 players |
| Encounter Type | Single target boss with add waves and a final damage check |
| Great Vault | Counts toward Raid row progress on eligible difficulties |
| Tier Set Drops | None |
What makes Kith’ix difficult?
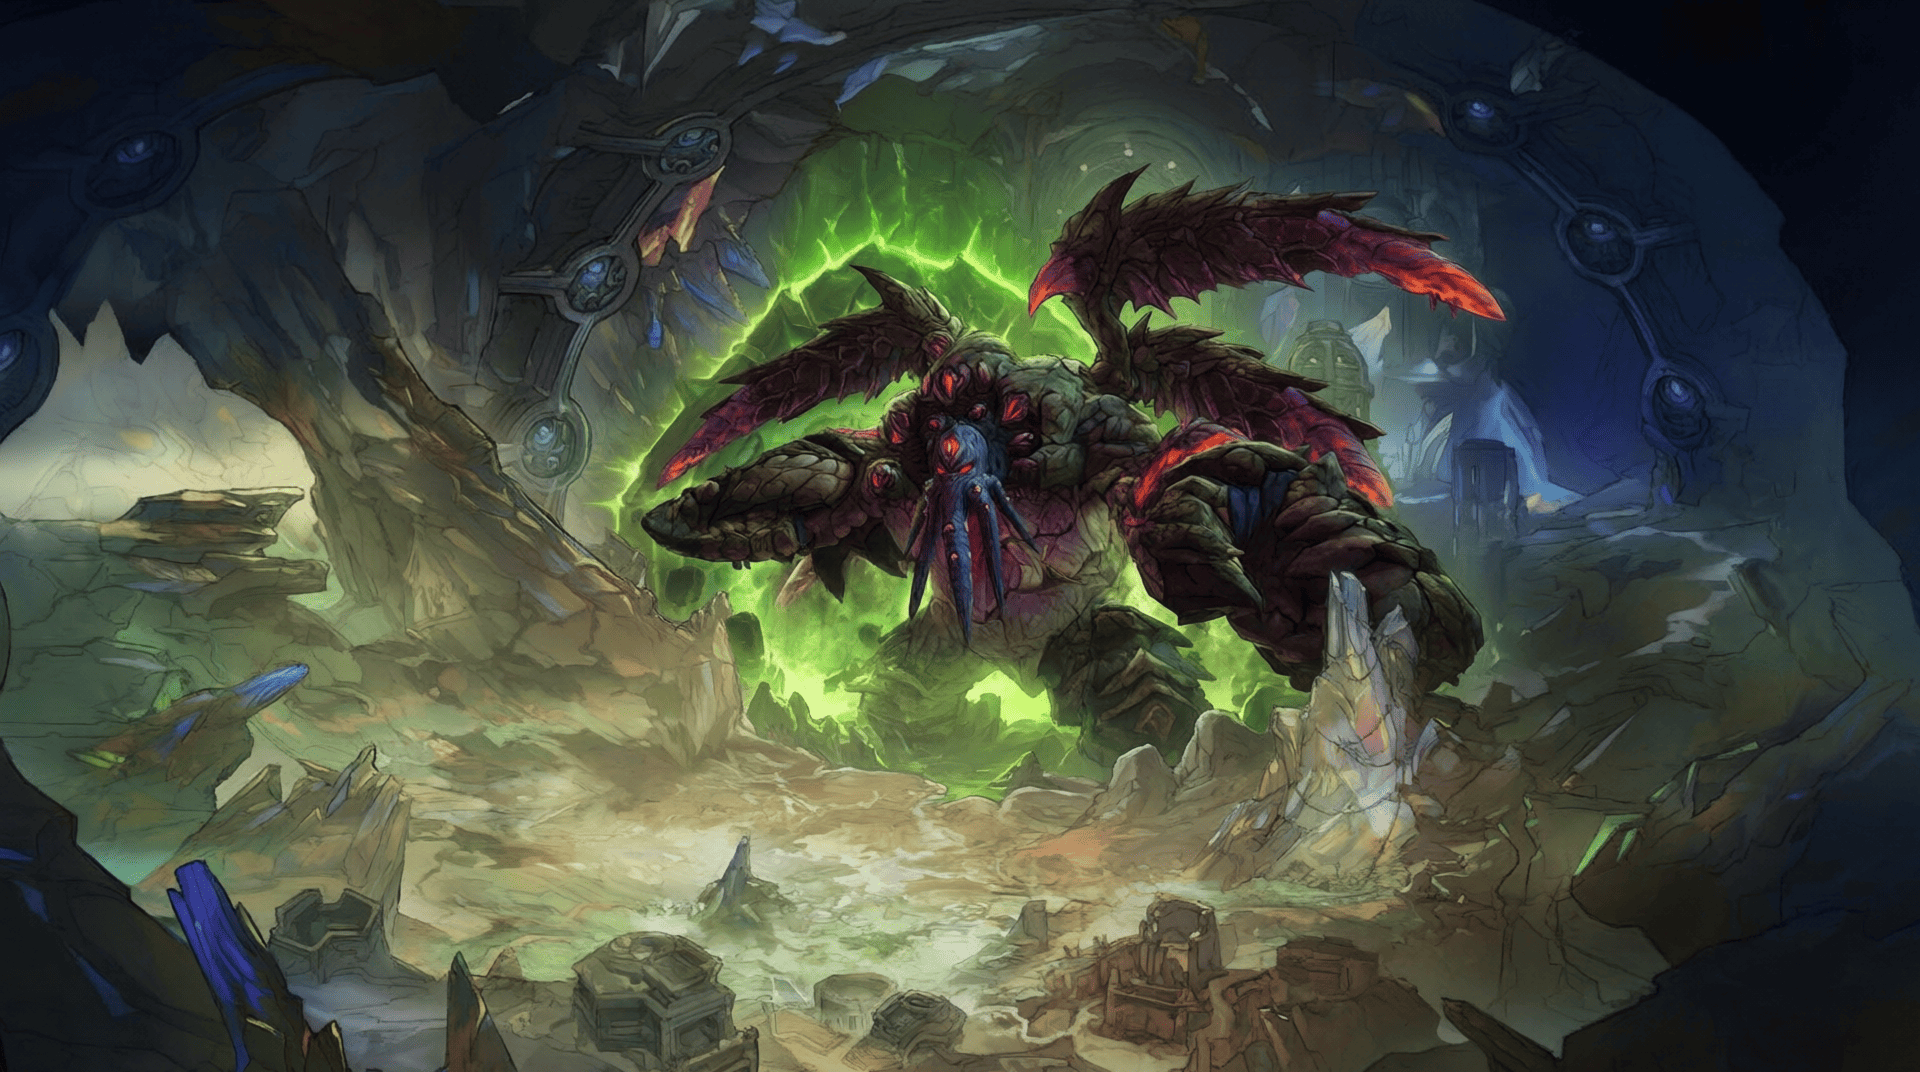
The main challenge is not simply dealing enough damage to the boss. Each part of the encounter tests a different raid skill, and mistakes early in the fight can make later phases harder to survive.
- Add damage and positioning: Commanding Presence reduces damage taken by nearby aqir. Tanks must separate the boss from the adds while DPS players switch targets quickly.
- Increasing raid damage: Voidweaver casts Nightfall, which makes subsequent hits from the ability more dangerous. The longer this add survives, the more pressure it places on healers.
- Movement and personal responsibility: Bomber Beetles fixate on players, Unspeakable Horrors forces marked players away from the raid, and Twisted Appendage punishes players who ignore ground indicators.
- Intermission survival: Refulgent Bulwark protects players from Suffocating Darkness, but the raid still has to manage other mechanics inside a smaller safe area.
- Final phase execution: Eightfold Eclipse creates a strict deadline. Players must avoid Nullshards and handle Null Gates without wasting the damage window.
The Unbinding of Kith’ix Entrance and Location
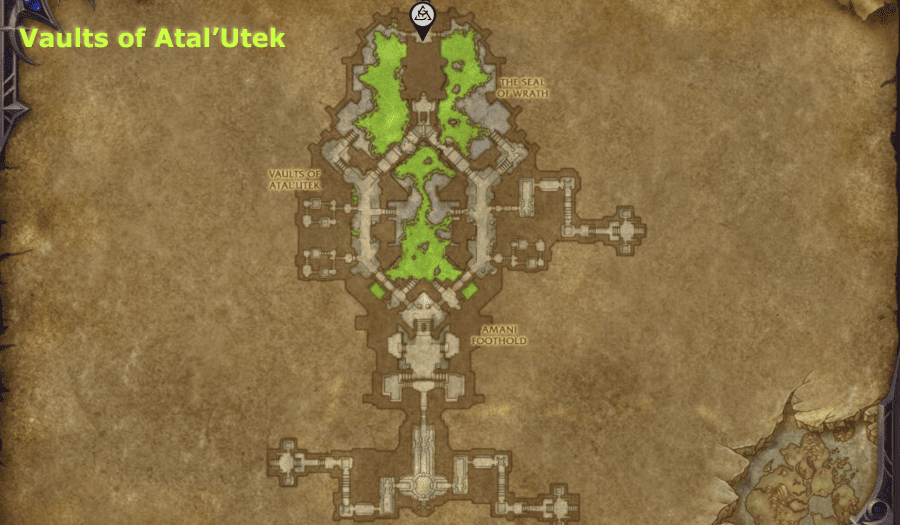
The entrance to The Unbinding of Kith’ix is in the northeastern part of The Underbelly, a subterranean area beneath the Vaults of Atal’Utek on the Coiled Isle. Hostile enemies patrol the route, so groups should travel together rather than sending players ahead individually.
 Raid entrance coordinates: /way #2613 74.0 7.4
To reach the raid, travel to the Vaults of Atal’Utek and follow the route into The Underbelly. Continue toward the northeastern end of the area and look for the portal leading to The Unbinding of Kith’ix.
Once the group reaches the portal, select the appropriate difficulty. Mythic difficulty supports flexible groups of 15 to 25 players, so a fixed 20 player roster is not required.
What to check before entering
- Make sure every player knows the location of the raid portal.
- Confirm that both tanks understand the add positioning and tank swap assignments.
- Choose a player to call out add priorities and the transition to 100 Energy.
- Agree on the location of Null Gates before the final phase begins.
- Check that healers know when to dispel Unspeakable Horrors and when to focus on Abyssal Grasp.
The Unbinding of Kith’ix Loot Table and Item Levels
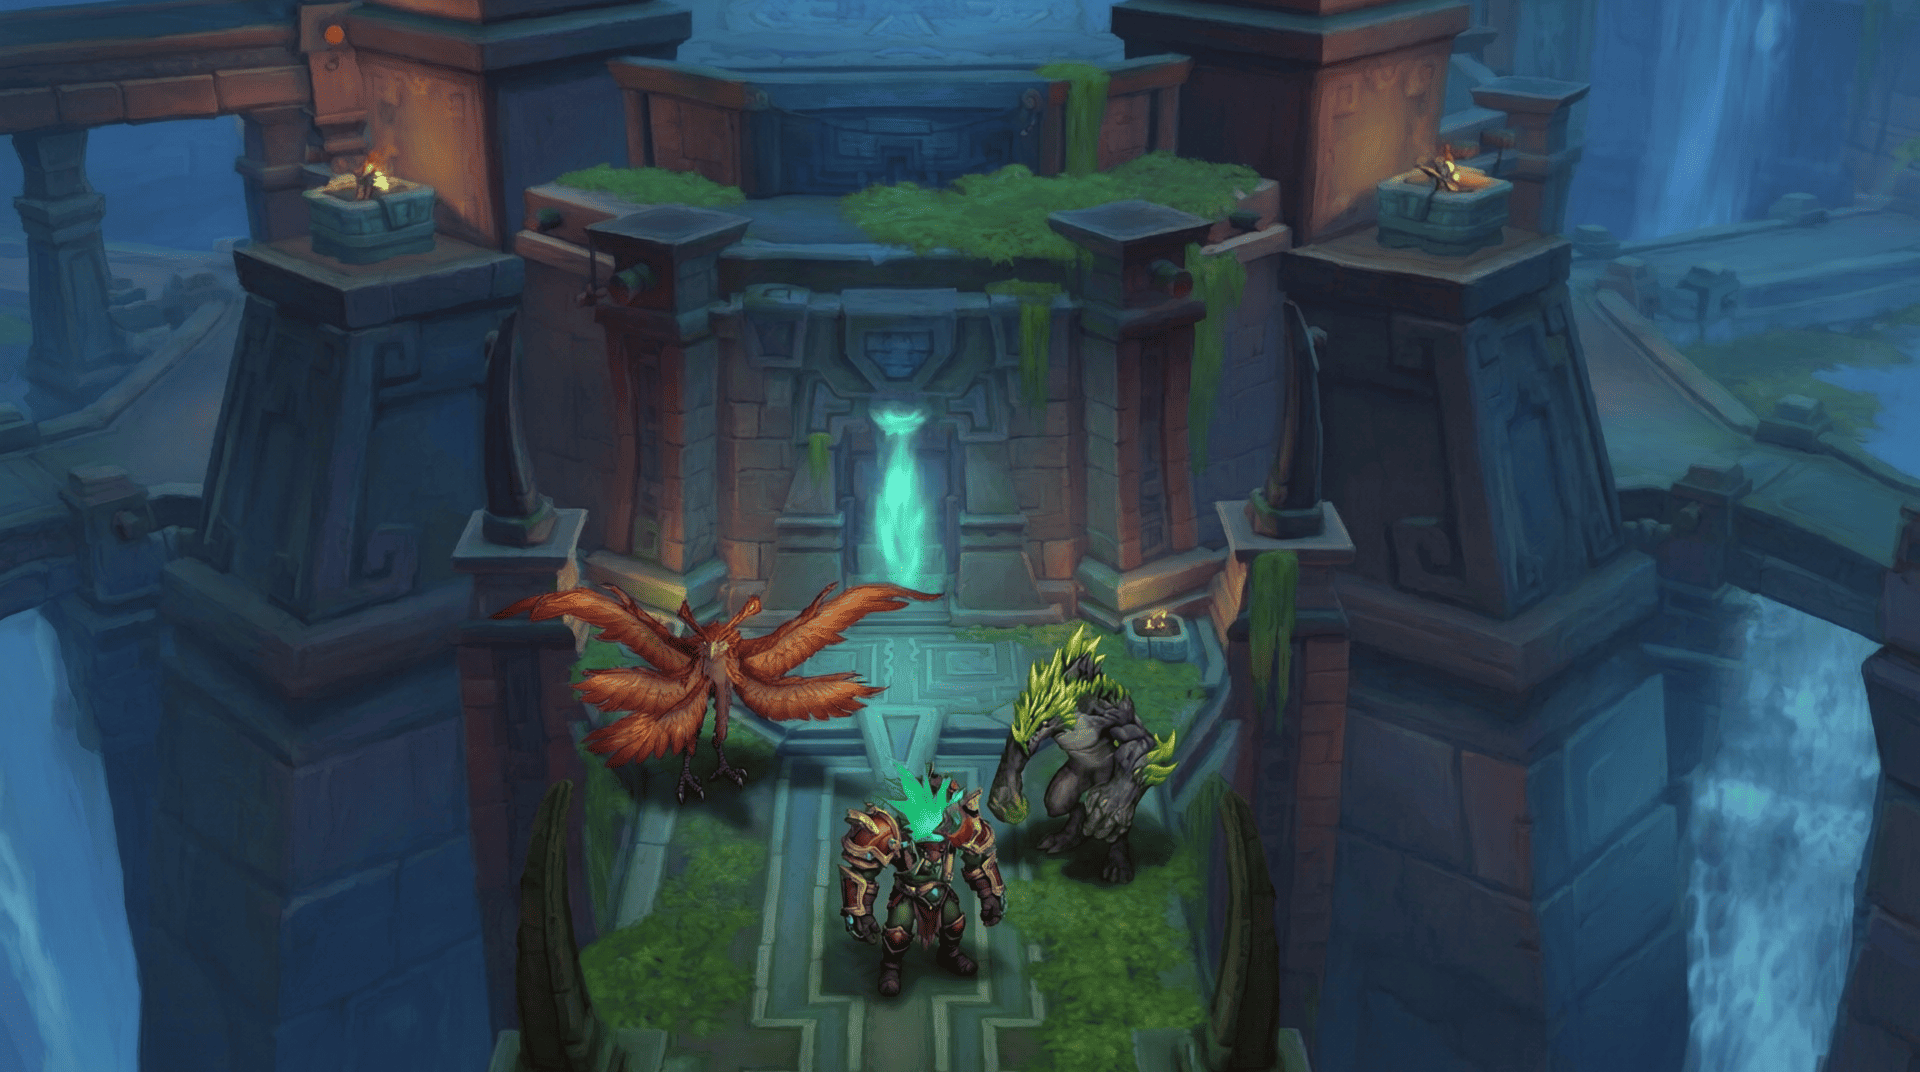
The Kith’ix loot table contains ten standard equipment items. The drops include a cantrip armor piece for each armor type, two weapons, a ring, and three trinkets designed for different combat roles. The raid does not drop Tier Set armor pieces, so players should evaluate each reward against their current gear and specialization.
Kith’ix item levels by difficulty
| Difficulty | Drop Item Level | Upgrade Track | Mistcrest |
| Raid Finder | 285 | Veteran 3/6 | Veteran Mistcrest |
| Normal | 298 | Champion 3/6 | Champion Mistcrest |
| Heroic | 311 | Hero 3/6 | Hero Mistcrest |
| Mythic | 324 | Myth 3/6 | Myth Mistcrest |
Story Mode is available, but a separate item level reward has not been confirmed for this guide. The Mythic item level is 324, not 344. The 344 figure appeared in early PTR information and should not be used as the current reward value.
The Unbinding of Kith’ix loot table
| Item | Slot and Type | Intended Role or Use |
| Lu’selama, Light’s Justice | Two handed sword | Strength users, including eligible Warrior, Paladin, and Death Knight specializations |
| Sanctified Knight’s Phoenixblade | One handed sword | Eligible Intellect using specializations |
| Corroded Hulk’s Skullcap | Plate helm | Plate wearers |
| Aberrant Commander’s Gauntlets | Mail hands | Mail wearers |
| Chestwrap of Palpable Terror | Leather chest | Leather wearers |
| Voidweaver’s Leggings | Cloth legs | Cloth wearers |
 Band of the Swarmcaller |
Ring | Characters who benefit from its Haste and Mastery combination |
 Lightbearer’s Shield Fragment |
Tank trinket | Tanks |
| Sigil of the Impending Eclipse |
Healer trinket | Healers |
| Twisted Horror’s Tendril |
DPS trinket | Damage dealers |
The table identifies the equipment slots and intended roles. Exact value depends on your specialization, current item level, secondary stats, and the item effects available to your character. Compare each drop with your existing equipment rather than assuming that every higher item level piece is automatically an upgrade.
Which Kith’ix loot should you prioritize?
 For tanks: Lightbearer’s Shield Fragment is the role focused trinket to examine first. Compare its defensive value with your current trinkets and the damage profile of the content you are progressing.
 For healers: Sigil of the Impending Eclipse is the healer focused trinket. Consider its value alongside your current healing setup and the amount of sustained raid damage your group takes.
 For DPS players: Twisted Horror’s Tendril is the role focused trinket. The two swords may also be relevant to eligible specializations, while the ring is worth comparing if its Haste and Mastery combination fits your stat priorities.
For armor upgrades: Each armor type has a specialized drop. Check the exact effect and compare it with your current gear before deciding whether to use an upgrade currency or replace an existing item.
For collectors: Kith’ix also has rewards outside the ten standard equipment drops, including cosmetic and toy related rewards reported for the encounter. Check the current in game Adventure Guide for the exact reward source and difficulty requirements before farming a specific collectible.
Does Kith’ix count toward the Great Vault?
Yes. Defeating Kith’ix counts toward the Raid row of the Great Vault on eligible difficulties. The raid reward system uses cumulative boss progress across the current season’s raids. Story Mode does not count toward standard raid boss progress requirements.
Kith’ix Boss Mechanics and Add Abilities
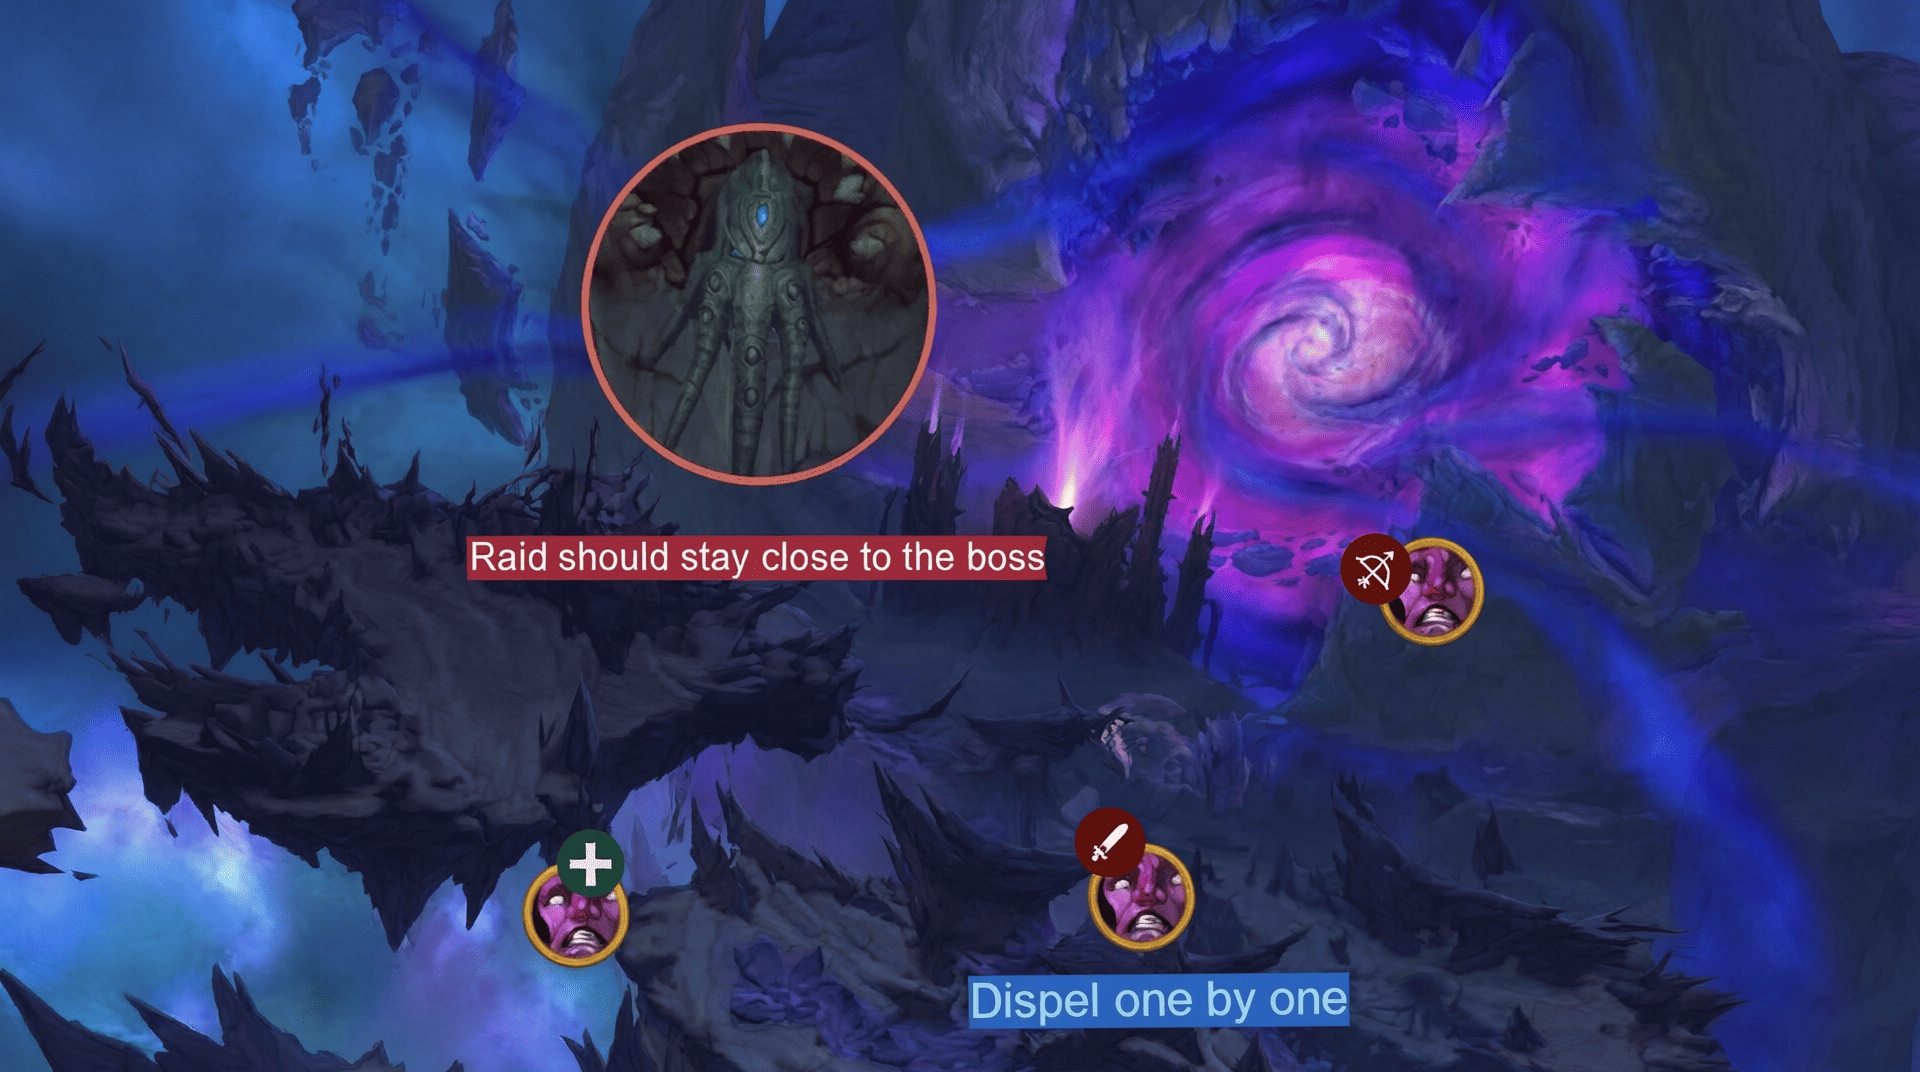
The Kith’ix encounter is built around a repeating add phase, a darkness intermission, and a final burn phase. Understanding what each ability does makes it easier to assign responsibilities before the pull.
Phase 1: Voidswarm and Commanding Presence
Voidswarm is Kith’ix’s add summon. The boss channels for six seconds, deals raid wide Shadow damage, and summons aqir. Switch to the adds as soon as they appear instead of continuing to attack Kith’ix.
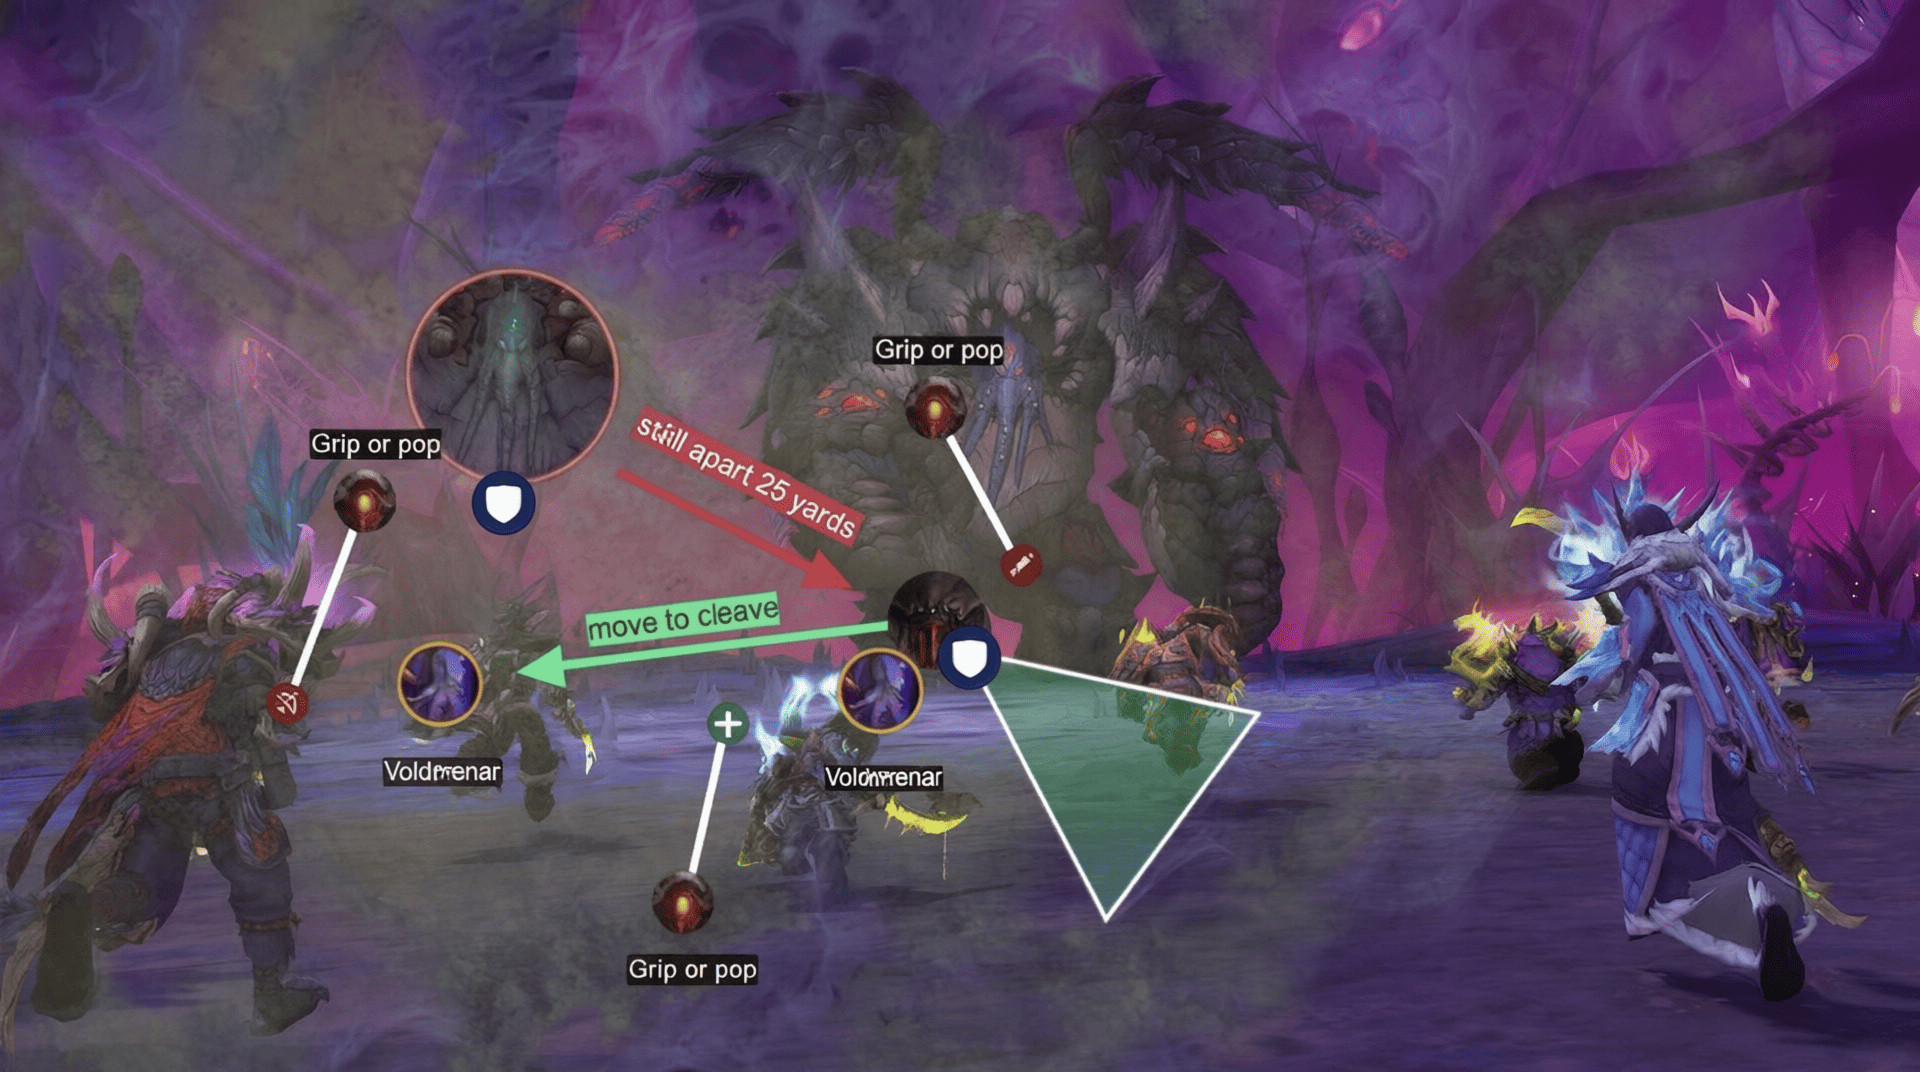
Commanding Presence reduces the damage taken by aqir that remain close to Kith’ix. Keep the boss and adds at least 25 yards apart. This is a damage efficiency mechanic, not just a positioning preference. If the adds remain beside the boss, they take significantly less damage and may survive until the intermission.
Venomous Hulk
The Venomous Hulk is the tanked add. Its Venom Roar is a frontal cone that deals heavy Physical and Nature damage and knocks back players caught in the attack.
- The off tank should pick up the Hulk as soon as it spawns.
- Position the Hulk near the Voidweaver so melee players can cleave both targets.
- Keep both adds outside Kith’ix’s Commanding Presence range.
- Face Venom Roar away from the raid and avoid turning the cone through melee players.
- Move the Hulk only when necessary, since excessive movement reduces cleave uptime and can expose the raid to the frontal.
Voidweaver
The Voidweaver is a stationary caster and a high priority target. Voidweave applies periodic Shadow damage to random players. Nightfall deals raid wide Shadow damage and increases the damage of subsequent Nightfall hits.
Kill the Voidweaver early to reduce the duration and intensity of raid wide damage. Once the raid has removed the most dangerous part of the wave, cleave the remaining health from the Hulk without sacrificing safe positioning.
Bomber Beetles
Bomber Beetles fixate on players and chase their targets. They explode when they contact a player or when their timer expires. Their explosions apply Digestive Juices, a stacking damage over time effect that can become dangerous if several explosions occur in quick succession.
- Assign mobile players to control beetles and call out which player is being fixated.
- Kite the beetles away from the raid instead of running through the group.
- Use crowd control where it works to delay or organize detonations.
- Do not allow several beetles to explode together unless the raid is prepared for the additional damage.
- On Heroic and Mythic, watch for the additional egg mechanic associated with the encounter’s add deaths and beetle waves.
Unspeakable Horrors and Overwhelming Fear
Unspeakable Horrors targets players before applying Overwhelming Fear. The affected player has six seconds to move away from the group. When the fear expires or is removed, it triggers a scream that deals damage based on distance.
The marked player should move out promptly while remaining within reach of healers when possible. Healers should coordinate dispels and avoid removing the effect while the target is stacked with the raid. Moving farther away reduces the damage caused by the resulting scream.
Twisted Appendage
Twisted Appendage creates shadowy tentacles that attack nearby players. Watch for the ground indicators and move out of the projected impact areas before the slams land. Ranged players should avoid spreading so far that healers cannot reach them, while melee players should keep a clear route away from the tentacles.
Dark Devastation and tank swaps
Dark Devastation targets the current tank with a large impact area. The attack deals heavy damage to players caught nearby and applies Devastated, which increases the affected tank’s damage taken.
- Move the marked area away from the raid and avoid clipping melee players.
- Position the impact near the edge of the arena when possible, without placing it outside the safe area needed for the intermission.
- Swap tanks when the encounter’s debuff requires it.
- On Heroic, plan the placement of the resulting Voidscar because it affects the later Eclipse Fragment mechanic.
Extinguish and Light’s Embrace
Before Extinguish, Lady Liadrin scatters motes of light around the arena. Contact with a mote grants Light’s Embrace, reducing Shadow damage taken by 90% for up to eight seconds. The protection is essential for surviving Extinguish.
- Move toward an available mote as soon as the mechanic begins.
- Make sure every player has Light’s Embrace before the shockwave lands.
- Do not assume that standing close to Lady Liadrin automatically grants the buff.
- Healers should prepare for players who collect their motes late or miss the protection.
Intermission: Suffocating Darkness and Refulgent Bulwark
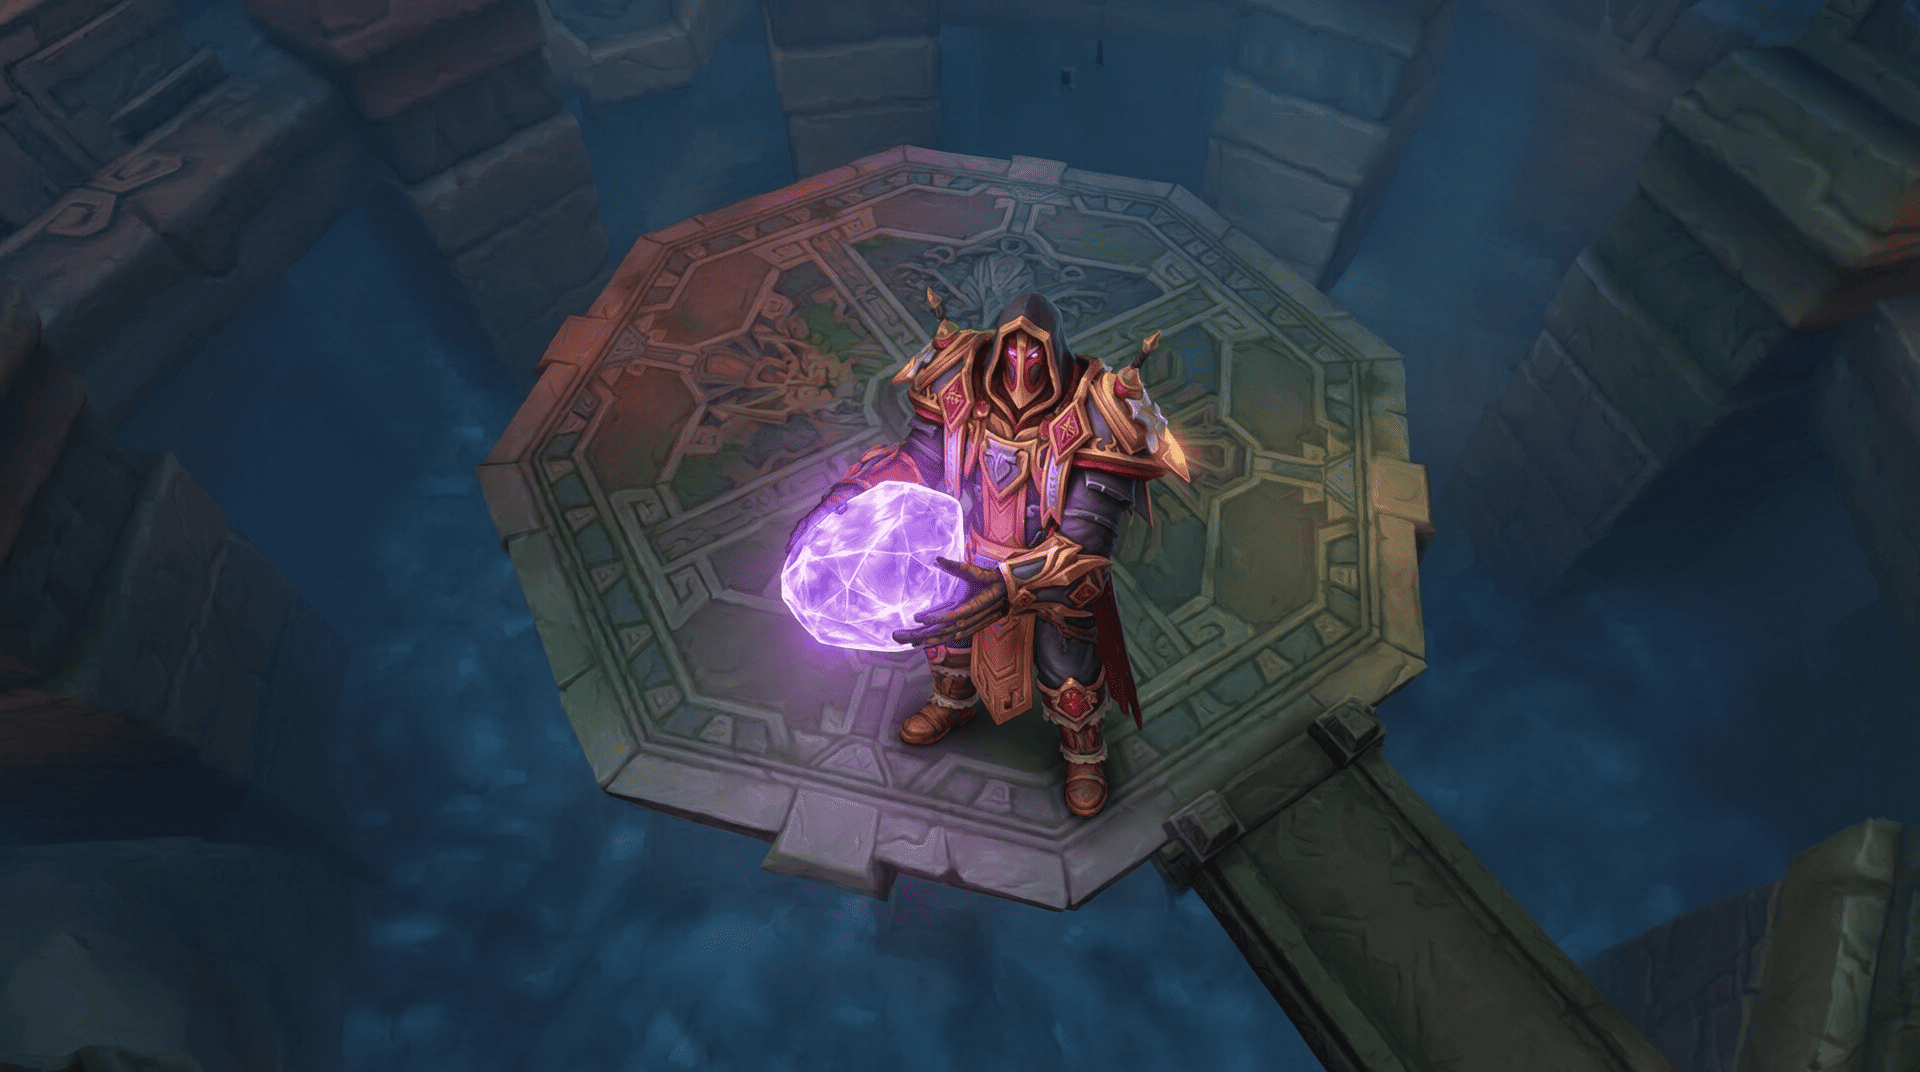
When Kith’ix reaches 100 Energy, he begins Suffocating Darkness. The darkness closes in and damages players caught outside the safe area. Lady Liadrin creates Refulgent Bulwark, a protective zone that slows the darkness and gives the raid room to survive while she gathers energy.
Every add must be dead before the transition. Surviving aqir gain Dark Frenzy, increasing their attack and movement speed by 100%, making them immune to crowd control, and dealing repeated raid wide damage.
During the intermission, keep handling the encounter’s existing mechanics. The safe area is smaller, so players must move efficiently instead of spreading unnecessarily.
Abyssal Grasp
Abyssal Grasp applies a healing absorb to random players and gradually pulls them toward the darkness. Healers have eight seconds to remove the absorb. If it remains when the timer expires, the affected player is pulled into the deadly darkness and dies.
Healers should treat this as a high priority assignment. Use direct healing and coordinated healing cooldowns to remove the absorb quickly. Players targeted by the effect should avoid unnecessary movement that makes it harder for healers to reach them, while still following the safe area rules.
Divine Radiance and Exhausted
When Lady Liadrin reaches 100 Energy, Divine Radiance clears the darkness and stuns Kith’ix for eight seconds. This is a useful opportunity to stabilize the raid, reposition, and resume damage.
Each use also applies Exhausted, reducing the effectiveness of Light’s Embrace and Refulgent Bulwark while increasing the damage from Suffocating Darkness. The effect stacks, so later intermissions become more dangerous. Clean add phases and fast handling of healing absorbs are increasingly important as the encounter progresses.
Phase 2: Stygian Howl and Last Light
When Kith’ix reaches 25% health, Stygian Howl stuns the raid and begins the final phase. Lady Liadrin responds with Last Light, fully healing the raid and granting Luminous Grace. This increases damage done and healing done by 50%.
The encounter changes from add control to a damage race. Use Bloodlust or an equivalent raid cooldown during this window, keep players alive through the repeated Eclipse damage, and avoid wasting offensive cooldowns while moving out of mechanics.
Eightfold Eclipse
Eightfold Eclipse is the final hard enrage. Each Eclipse deals raid wide damage, and the eighth ends the encounter by extinguishing Liadrin’s Light. The raid must defeat Kith’ix before the sequence finishes.
Use the Luminous Grace damage increase efficiently. Players should continue dealing damage while moving safely, use personal defensives when needed, and avoid preventable deaths that reduce the raid’s remaining damage.
Null Gate, Nullshards, and Nullify
Null Gate targets players and creates gates at their locations. Gates release Nullshards, which travel through the arena and apply stacks of Nullify to players they hit. Too many stacks kill the affected player.
- Spread out when targeted so the gates do not overlap or block the raid’s movement routes.
- Use assigned positions for melee DPS, ranged DPS, and healers when your group uses fixed gate placement.
- Move away after the gates appear and watch the paths of incoming Nullshards.
- Do not deliberately absorb shards unless your group is executing a planned mechanic that requires it.
- On Mythic, Nullify becomes more punishing. Avoid all unnecessary shard contact.
Negation and Explosive Restabilization
Negation is the tank mechanic in the final phase. It increases the affected tank’s movement speed and Physical damage taken, grants immunity to Nullshards, and kills the tank if it expires before being removed. The affected tank must enter a Null Gate within eight seconds to clear the effect.
The tanks should agree on a gate removal route before Phase 2. The other tank must taunt promptly, while the affected tank uses the movement speed increase to reach the assigned gate. Contact triggers Explosive Restabilization, a damaging explosion that destroys nearby gates and shards. The raid should remain clear of the explosion area.
The Unbinding of Kith’ix Boss Strategy
The most reliable Kith’ix boss strategy is to treat the encounter as a sequence of assignments rather than a pure damage race. The raid should kill the Voidweaver quickly, cleave the Hulk safely, control the beetles, and enter each intermission with every add dead. After the final transition at 25% health, all players should focus on survival and uninterrupted damage.
Before the pull
- Assign one tank to Kith’ix and one to the Venomous Hulk.
- Choose a player to call add targets and announce the approaching 100 Energy transition.
- Assign beetle kiting and crowd control responsibilities.
- Tell players where to move for Unspeakable Horrors and who will handle dispels.
- Choose a consistent movement pattern for collecting Light’s Embrace.
- On Heroic and Mythic, assign players to destroy Incubation eggs and intercept Eclipse Fragments.
- Plan defensive cooldowns for later intermissions and healing cooldowns for the final Eclipse sequence.
- Choose gate positions and a tank route for Negation before the boss reaches 25% health.
Phase 1: control the add wave
Step 1: Separate Kith’ix from the adds. The main tank should keep the boss on one side of the arena while the off tank moves the Hulk toward the Voidweaver. Maintain the 25 yard separation required to prevent Commanding Presence from reducing add damage.
Step 2: Kill the Voidweaver first. Its Nightfall damage becomes more dangerous over repeated casts. Ranged players should switch immediately, and melee players should cleave it with the Hulk whenever positioning allows.
Step 3: Control the Hulk’s frontal. The off tank should face Venom Roar away from the raid. Melee players should avoid standing in front of the add and should not chase it through the group.
Step 4: Manage Bomber Beetles separately. Assign mobile players to kite the fixated beetles. Avoid running through the raid, and do not allow multiple explosions to overlap if the group can stagger them safely.
Step 5: Finish every add before 100 Energy. The raid leader should call a full target switch if the next transition is approaching. Do not continue attacking Kith’ix while dangerous adds remain alive.
Handle personal mechanics without losing damage uptime
Players targeted by Unspeakable Horrors should move away from the group immediately and wait for the coordinated dispel. Return to the assigned position once the scream has resolved.
When Twisted Appendage appears, move out of the impact area as soon as the ground indicator becomes visible. Use instant casts while moving where possible, but do not risk a hit to finish a cast.
When Light’s Embrace appears, collect a mote before Extinguish. Do not wait until the final moment, because the raid may need to cross the arena while avoiding other mechanics.
Intermission: survive the darkness
As Kith’ix reaches 100 Energy, finish the remaining adds and move into Refulgent Bulwark. Do not drag a living add into the intermission unless the transition is unavoidable. Dark Frenzy makes surviving aqir much more dangerous and removes crowd control as a recovery option.
Healers should prioritize Abyssal Grasp immediately. Players with the healing absorb should call it out and remain reachable. Everyone else should stay inside the safe area, dodge tentacle impacts, and collect Light’s Embrace when Extinguish requires it.
When Divine Radiance stuns Kith’ix for eight seconds, use the pause to recover, reestablish the tank positions, and prepare for the next add wave. Avoid spending every major offensive cooldown during the brief stun if the raid has agreed to save them for the final phase.
Heroic and Mythic: control eggs and Eclipse Fragments
On Heroic and Mythic, add deaths can leave Incubation eggs. Destroy these eggs immediately, before they hatch into Mind Stingers. Assigning a player or small group to finish the eggs prevents the raid from entering the next wave with extra enemies.
Heroic also adds Voidscar and Eclipse Fragment management. Tank placement matters because the pools left by Dark Devastation affect where the fragments appear. Intercept fragments before they reach Lady Liadrin, but coordinate the players responsible so that one fragment does not cause several players to take unnecessary damage.
On Mythic, Bomber Beetles add further pressure by creating Mind Stinger eggs. The raid should kill eggs quickly while maintaining the normal target priority. Nullify is also more dangerous on Mythic, so the final phase requires clean movement and precise gate assignments.
Phase 2: execute the final damage check
Step 1: Use Bloodlust with Luminous Grace. The final phase begins at 25% health and provides a damage increase. Use the raid’s major offensive cooldowns together instead of spreading them across the earlier phases without a specific plan.
Step 2: Keep the gates organized. Place Null Gates in assigned positions and avoid overlapping them. A consistent placement pattern gives the raid clear movement routes and makes the Nullshard paths easier to read.
Step 3: Avoid Nullshards. Move away from the shards rather than attempting to tank them. Nullify stacks accumulate, and the encounter becomes increasingly dangerous when players take avoidable hits.
Step 4: Resolve Negation immediately. The affected tank must enter the assigned Null Gate before the eight second timer expires. The other tank should taunt promptly, and the rest of the raid should stay clear of Explosive Restabilization.
Step 5: Finish before the eighth Eclipse. Use personal defensives, healthstones, healing cooldowns, and safe movement to maintain damage uptime. A dead DPS player cannot contribute to the final damage check, so survival is part of the damage strategy.
Normal, Heroic, and Mythic Kith’ix Differences
Raid Finder and Normal
Focus on learning the basic encounter loop. Keep Kith’ix away from the adds, kill the Voidweaver first, control the beetles, collect Light’s Embrace, and move into Refulgent Bulwark before Suffocating Darkness overwhelms the arena.
During the final phase, spread for Null Gate, avoid Nullshards, and save major cooldowns for the Luminous Grace damage window. Nullify can kill a player at six stacks on Normal, so even lower difficulty groups should treat every shard hit as avoidable damage.
Heroic Kith’ix strategy

- Destroy Incubation eggs: Assign players to kill eggs immediately after the related adds die. Uncontrolled eggs can hatch into Mind Stingers and overwhelm the group.
- Plan Voidscar placement: Dark Devastation leaves a pool that affects later Eclipse Fragment paths. Tanks should place it carefully instead of dropping it wherever they happen to stand.
- Intercept Eclipse Fragments: Prevent fragments from reaching Lady Liadrin. Assign interceptors and heal through the damage they take.
- Respect Nullify stacks: The lethal threshold is lower than on Normal. The practical rule is to avoid Nullshards rather than trying to use the available stack allowance.
- Use defensive cooldowns deliberately: Reserve personal and raid defensives for moments when several mechanics overlap or the raid is under heavy pressure.
Mythic Kith’ix strategy
- Keep the add phase controlled: Faster target switches and disciplined cleave are more important than maximizing boss damage during Voidswarm.
- Destroy eggs before the next transition: Bomber Beetles can add Mind Stinger eggs to the encounter. Assign reliable players to remove them.
- Minimize Nullify stacks: The lethal threshold is three stacks on Mythic. Do not use the Normal or Heroic threshold as a safety margin.
- Coordinate Negation: The tank removal route must be clear, and the raid must avoid the Explosive Restabilization area.
- Preserve movement lanes: Gate placement should not force the raid through multiple Nullshard paths. Use the same positions on each pull unless the raid leader calls for a change.
- Use cooldowns with purpose: Keep the group alive through each add wave and intermission, then commit the planned damage cooldowns during Luminous Grace.
Tank, Healer, and DPS Responsibilities
Tank mechanics
- Keep Kith’ix at least 25 yards away from the aqir to prevent Commanding Presence from reducing their damage taken.
- Assign the off tank to pick up the Venomous Hulk and position it beside the Voidweaver.
- Face Venom Roar away from the raid and avoid turning the frontal through melee players.
- Move Dark Devastation away from the group and place its area near the arena edge when safe.
- On Heroic, plan Voidscar placement to control Eclipse Fragment paths.
- During the final phase, taunt swap on Negation and ensure the affected tank reaches a Null Gate before the timer expires.
- On Mythic, coordinate the Negation explosion with the raid so that Explosive Restabilization does not catch nearby players.
Healer mechanics
- Prepare for raid damage from Voidswarm, Nightfall, Bomber Beetle explosions, and Eightfold Eclipse.
- Remove Overwhelming Fear only after the affected player has moved away from the group.
- Prioritize Abyssal Grasp and remove its healing absorb within eight seconds.
- Keep players alive as they collect Light’s Embrace and move through ground mechanics.
- Coordinate healing cooldowns for the later intermissions, when Exhausted makes the darkness more dangerous.
- On Heroic, heal players who intercept Eclipse Fragments and watch for damage from Voidscar mechanics.
- During the final phase, combine healing cooldowns with the repeated Eclipse damage and use the Last Light full heal as the start of the burn, not as a reason to ignore mechanics.
DPS mechanics
- Switch to adds as soon as Voidswarm begins and prioritize the Voidweaver.
- Cleave the Venomous Hulk and Voidweaver while keeping both away from Kith’ix.
- Control Bomber Beetles without running them through the raid.
- Destroy Incubation eggs immediately on Heroic and Mythic.
- Move away from Unspeakable Horrors, Twisted Appendage impacts, and Nullshards.
- Collect Light’s Embrace before Extinguish instead of waiting for the final cast seconds.
- Use Bloodlust and major damage cooldowns during the final phase when Luminous Grace is active.
- Maintain damage uptime through safe movement, but prioritize survival over a cast that would leave you in a lethal mechanic.
Class Specific Kith’ix Tips
Class utility can make the encounter easier, but no class should ignore the assigned mechanics. Use the tools below according to your specialization, talent setup, and the abilities that are available in Patch 12.1.5. Crowd control and movement abilities should be used only where the target is affected by them.
 Death Knight
- Use Death Grip or other available control tools to help reposition eligible adds, but do not pull an add into Kith’ix’s Commanding Presence range.
- Use personal defensive abilities before predictable heavy damage rather than waiting until health is critically low.
- During the final phase, keep movement abilities ready for assigned Negation or gate responsibilities if you are tanking.
- As DPS, switch to the Voidweaver and Incubation eggs promptly. Do not remain on the boss while the add phase is unfinished.
 Demon Hunter
- Use mobility to kite Bomber Beetles or reach a safe Light’s Embrace mote without crossing the raid.
- Keep movement abilities available for avoiding Nullshards and repositioning during the final phase.
- Use defensive tools when caught by unavoidable damage, especially when the raid is already taking Nightfall or Eclipse damage.
- As a tank, keep the Hulk’s frontal away from the raid and coordinate add positioning with the other tank.
 Druid
- Use mobility to collect Light’s Embrace and return to your assigned position before Extinguish.
- Healers should coordinate available dispels and healing tools around Unspeakable Horrors and Abyssal Grasp.
- DPS players should switch quickly to the Voidweaver and any Incubation eggs that need to be destroyed.
- Tanks should plan Dark Devastation placement before the cast resolves, especially on Heroic when the resulting pool affects Eclipse Fragment movement.
 Evoker
- Use mobility to reach assigned positions for beetle control, Light’s Embrace, or final phase movement.
- Healers should prioritize the Abyssal Grasp healing absorb and coordinate group healing during Nightfall and Eclipse damage.
- DPS players should maintain awareness of add health and move between targets instead of tunneling Kith’ix.
- Avoid using movement tools in a way that carries a fixated beetle through the raid or into a group of players.
 Hunter
- Use mobility to control Bomber Beetles while keeping their path away from the raid.
- Maintain damage on the Voidweaver during add waves and switch to eggs on Heroic and Mythic.
- Use personal defensive tools when you cannot avoid raid damage, but do not rely on them to absorb repeated Nullshard hits.
- Ranged positioning should leave clear lanes for Nullshards and avoid placing gates where the raid needs to move.
Mage
- Use Blink or equivalent mobility to leave Twisted Appendage impact areas and reach assigned positions quickly.
- Use crowd control on Bomber Beetles only when it is effective and consistent with the raid’s detonation plan.
- Save defensive tools for unavoidable damage during intermissions or the final Eclipse sequence.
- Switch to the Voidweaver and eggs promptly, and avoid placing Null Gates in routes needed by the raid.
Monk
- Use mobility to move between assigned positions while keeping the Hulk and beetles away from the raid.
- Tanks should coordinate defensive cooldowns and Dark Devastation placement with the other tank.
- Healers should prepare for Nightfall and use available healing tools when Abyssal Grasp appears.
- DPS players should avoid unnecessary movement that reduces damage on the Voidweaver or delays egg destruction.
 Paladin
- Use available defensive and support abilities to help players survive heavy raid damage, especially during later intermissions and Eightfold Eclipse.
- Healers should prioritize the healing absorb from Abyssal Grasp and coordinate dispels for Overwhelming Fear.
- Tanks should keep the Hulk frontal pointed away from the raid and manage Dark Devastation placement.
- DPS players should save major offensive cooldowns for the Luminous Grace window unless the raid’s plan requires an earlier use.
 Priest
- Healers should prioritize Abyssal Grasp because its healing absorb must be removed within eight seconds.
- Coordinate dispels for Overwhelming Fear after the affected player has moved away from the raid.
- Plan healing cooldowns around Nightfall, the later intermissions, and repeated Eightfold Eclipse damage.
- DPS players should switch targets immediately during Voidswarm and avoid losing time to unnecessary movement.
 Rogue
- Use mobility and defensive tools to avoid Nullshards and move out of Twisted Appendage impact areas.
- Prioritize the Voidweaver and help destroy Incubation eggs on Heroic and Mythic.
- Use available crowd control on Bomber Beetles only when it fits the group’s control plan.
- During the final phase, maintain damage while following the assigned gate positions and avoiding shard paths.
 Shaman
- Healers should coordinate available dispels and healing tools around Overwhelming Fear, Abyssal Grasp, and repeated raid damage.
- Use movement and defensive tools to reach safe positions without crossing the raid with a fixated beetle.
- DPS players should switch to the Voidweaver and eggs immediately instead of continuing single target damage on Kith’ix.
- Use available group utility where appropriate, but do not delay required movement for a cast or setup.
 Warlock
- Use available defensive tools and healthstones to help survive heavy damage during the intermission and final phase.
- Prioritize the Voidweaver, then maintain cleave on the Hulk and remove Incubation eggs when assigned.
- Keep your position consistent so that Null Gates do not overlap with the raid’s main movement routes.
- Plan casts around movement mechanics, and stop casting when remaining in place would expose you to a lethal impact.
 Warrior
- Use available mobility to avoid Twisted Appendage impacts and move to assigned positions before Extinguish.
- Use defensive abilities during unavoidable raid damage rather than taking repeated hits from Nullshards.
- As a tank, coordinate Dark Devastation placement, add positioning, and the final Negation swap.
- As DPS, focus on the Voidweaver during add waves and switch to eggs immediately when assigned.
Class advice for raid leaders: assign players based on the utility their actual talent setup provides. Do not assume that every specialization has the same dispel, crowd control, defensive, or mobility options. The encounter’s essential jobs still come first: kill the adds, collect Light’s Embrace, remove Abyssal Grasp, and keep Nullshards away from the raid.
Common Kith’ix Mistakes and How to Fix Them

Attacking the boss while the adds are alive
This is one of the most damaging mistakes during Phase 1. Kith’ix’s Commanding Presence makes nearby aqir harder to kill, and living adds become much more dangerous during Suffocating Darkness. Call an immediate target switch and make add health the raid’s priority until the arena is clear.
Positioning the Hulk too close to Kith’ix
The Hulk and Voidweaver should be close enough to cleave together but far enough from Kith’ix to avoid Commanding Presence. Tanks should establish these positions at the start of each wave rather than correcting them after DPS players have already lost time.
Allowing beetle explosions to overlap
Several Bomber Beetle explosions can stack Digestive Juices and overwhelm healers. Assign fixate targets, keep beetles away from the raid, and stagger detonations where possible.
Dispelling fear while the target is still stacked
Overwhelming Fear triggers a damaging scream when it expires or is removed. The marked player should move away first, and the healer should wait for the correct position before dispelling.
Missing Light’s Embrace
Extinguish is much more dangerous without the 90% Shadow damage reduction from Light’s Embrace. Move toward the motes early and make sure every player has the buff before the shockwave lands.
Entering the intermission with living adds
Surviving adds gain Dark Frenzy, which increases their attack and movement speed by 100%, makes them immune to crowd control, and adds raid wide damage. The raid leader should call a final add check before Kith’ix reaches 100 Energy.
Ignoring Abyssal Grasp
Abyssal Grasp must be removed within eight seconds. Healers should prioritize affected players immediately, while the rest of the raid avoids unnecessary movement that makes healing more difficult.
Dropping Null Gates without a plan
Unplanned Null Gate placement can block movement lanes and force players through Nullshards. Choose consistent positions for melee, ranged, and healers before Phase 2, and keep the tank’s Negation route clear.
Saving too many cooldowns or using them too early
The final phase is a hard damage check, so major offensive cooldowns should normally be aligned with Luminous Grace. However, a raid that loses players during earlier phases may need to adjust its defensive and healing cooldown plan first.
The Unbinding of Kith’ix Raid Requirements and Preparation
- Character level 90.
- Access to The Underbelly beneath the Vaults of Atal’Utek on the Coiled Isle.
- Raid entrance coordinates: /way #2613 74.0 7.4.
- Two tanks with a clear assignment for Kith’ix and the Venomous Hulk.
- Healers assigned to fear dispels, Abyssal Grasp, and major raid damage.
- DPS players assigned to the Voidweaver, beetle control, and Incubation eggs where applicable.
- A movement plan for Light’s Embrace, Refulgent Bulwark, and the final Null Gates.
- Bloodlust or an equivalent raid cooldown planned for the final phase.
- Personal defensives and healthstones available for the later intermissions and Eightfold Eclipse.
- On Mythic, a flexible group of 15 to 25 players with clear tank and gate assignments.
Final Tips for Defeating Kith’ix
Kith’ix is an encounter built around add control, safe movement, and a final damage check. The raid should keep the boss away from the aqir, kill the Voidweaver early, and prevent Bomber Beetle explosions from overlapping. Every add must die before Suffocating Darkness begins.
During the intermission, remain inside Refulgent Bulwark and respond quickly to Abyssal Grasp. On Heroic and Mythic, destroy Incubation eggs and manage Eclipse Fragments before they become a threat to Lady Liadrin.
When Kith’ix reaches 25% health, use major offensive cooldowns with Luminous Grace. Spread for Null Gates, avoid Nullshards, and make sure the affected tank clears Negation before the timer expires. Consistent execution across these mechanics gives the raid the best chance to defeat Kith’ix before the eighth Eclipse.
