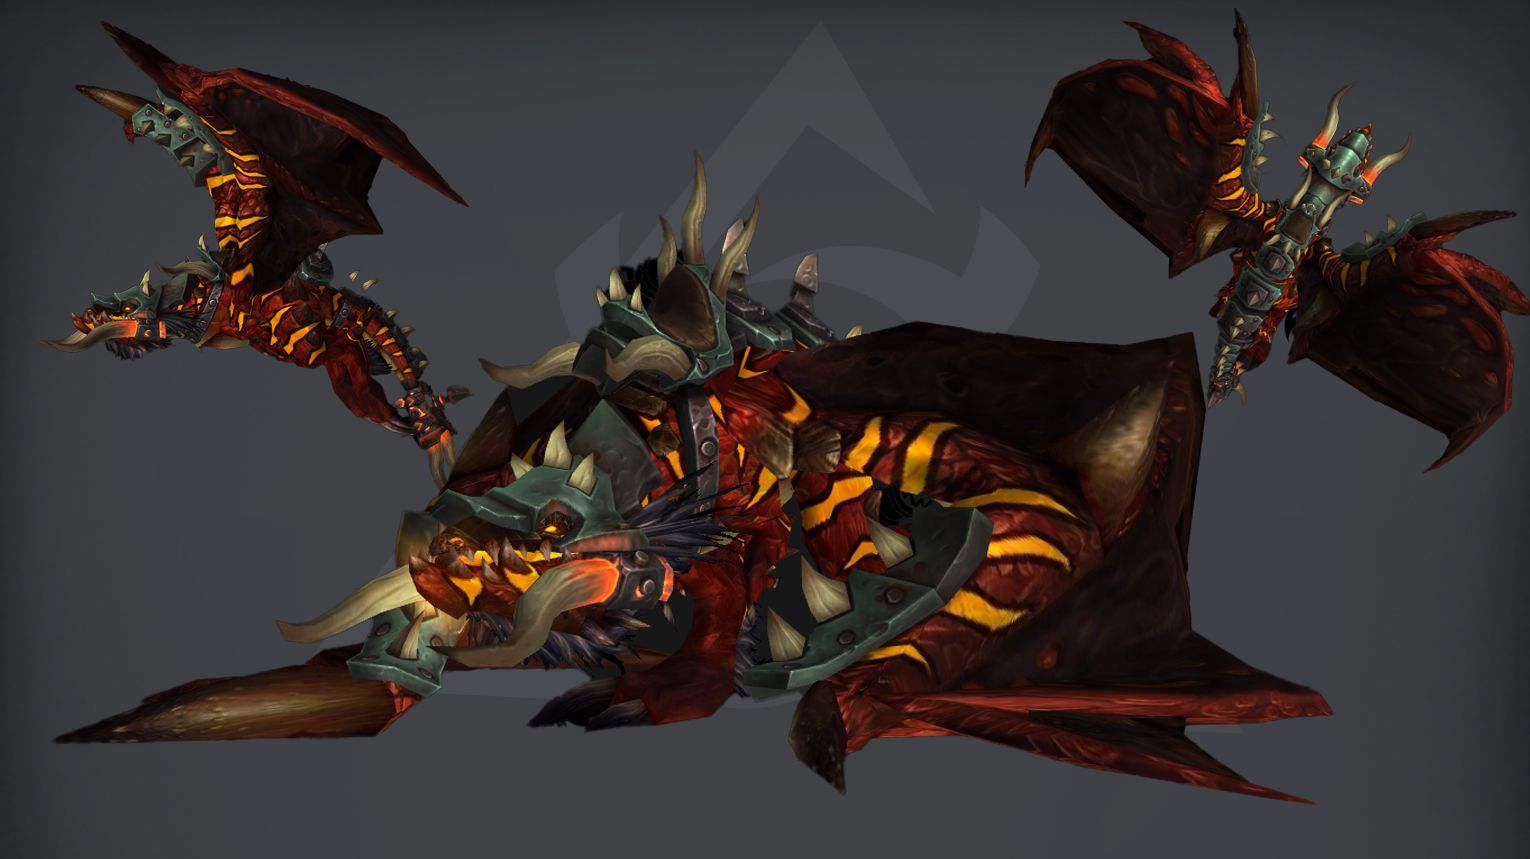
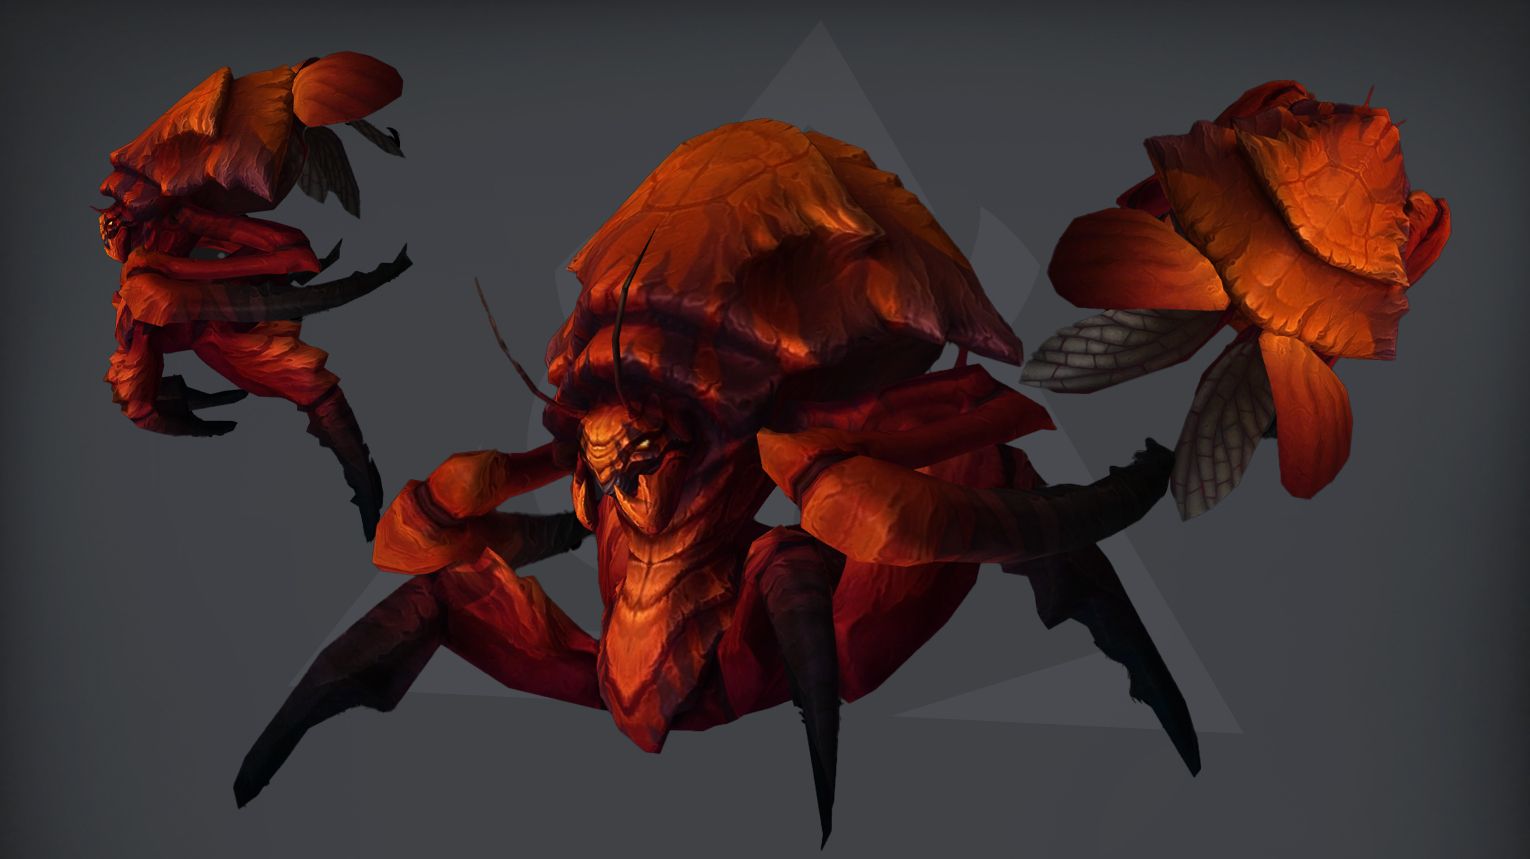
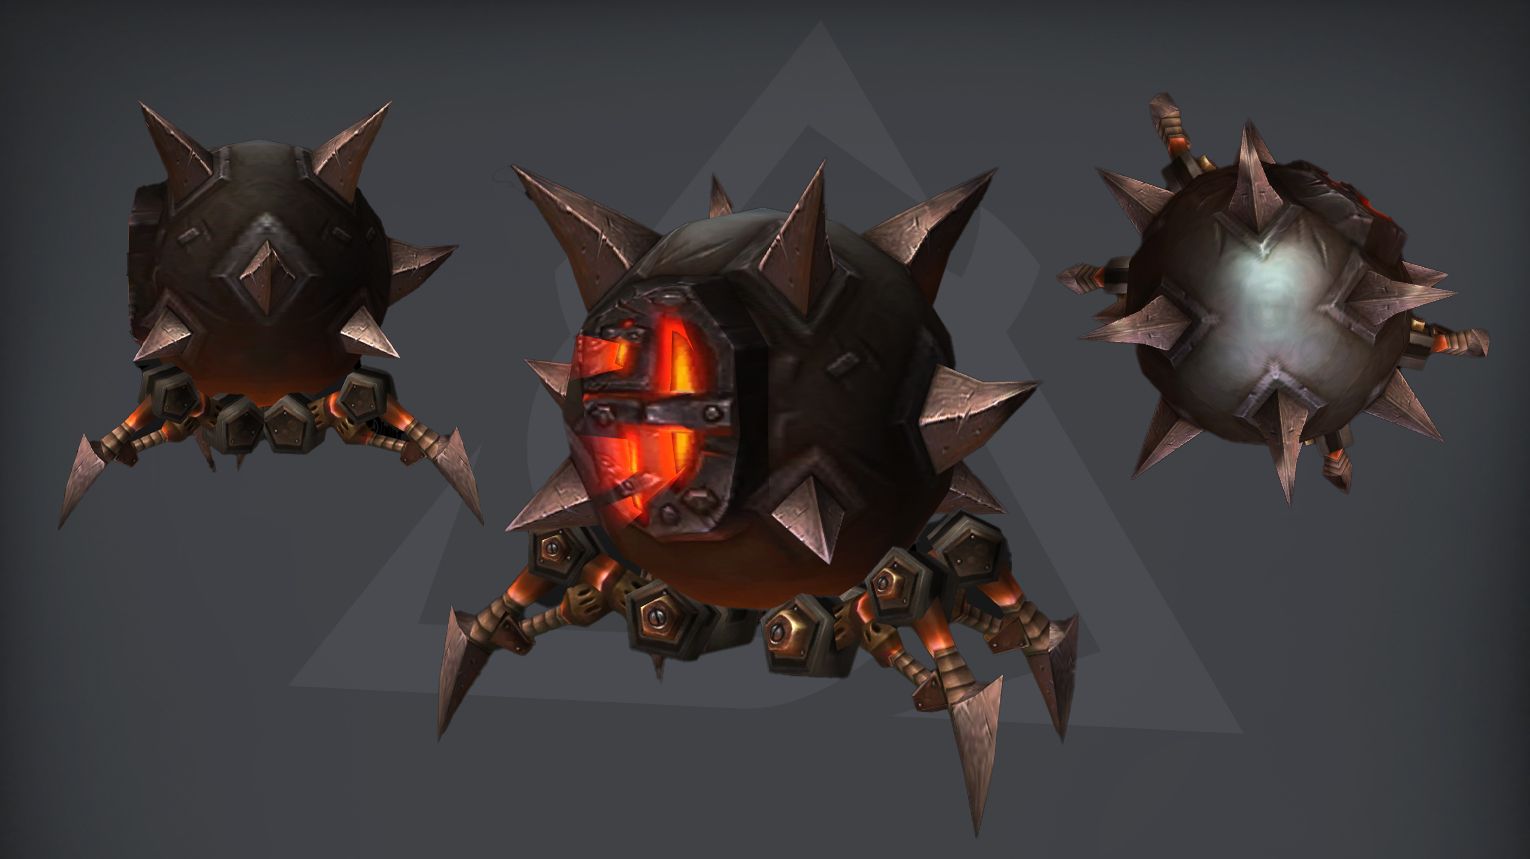
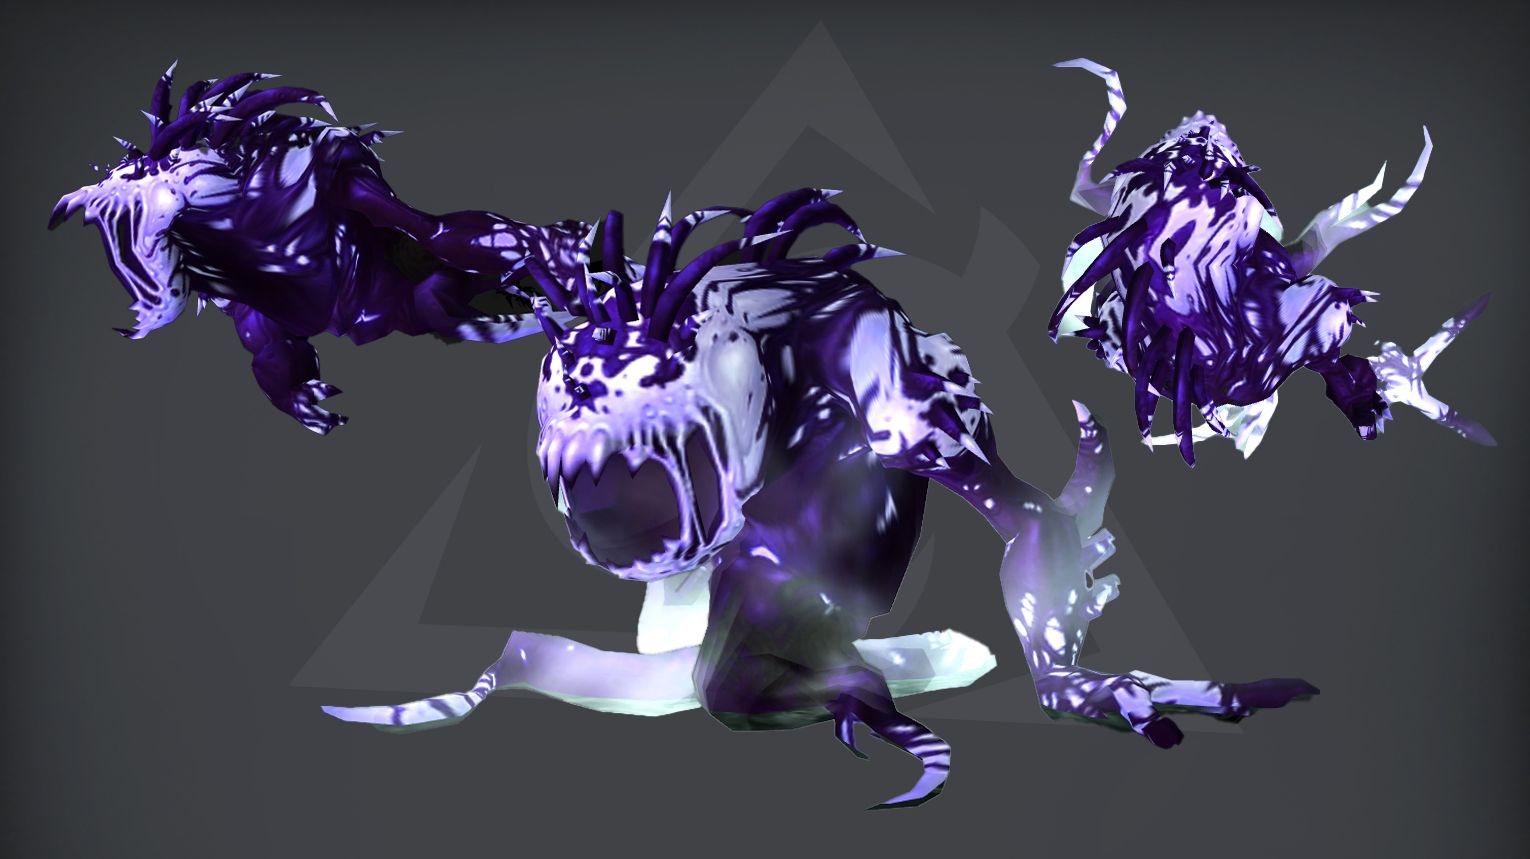
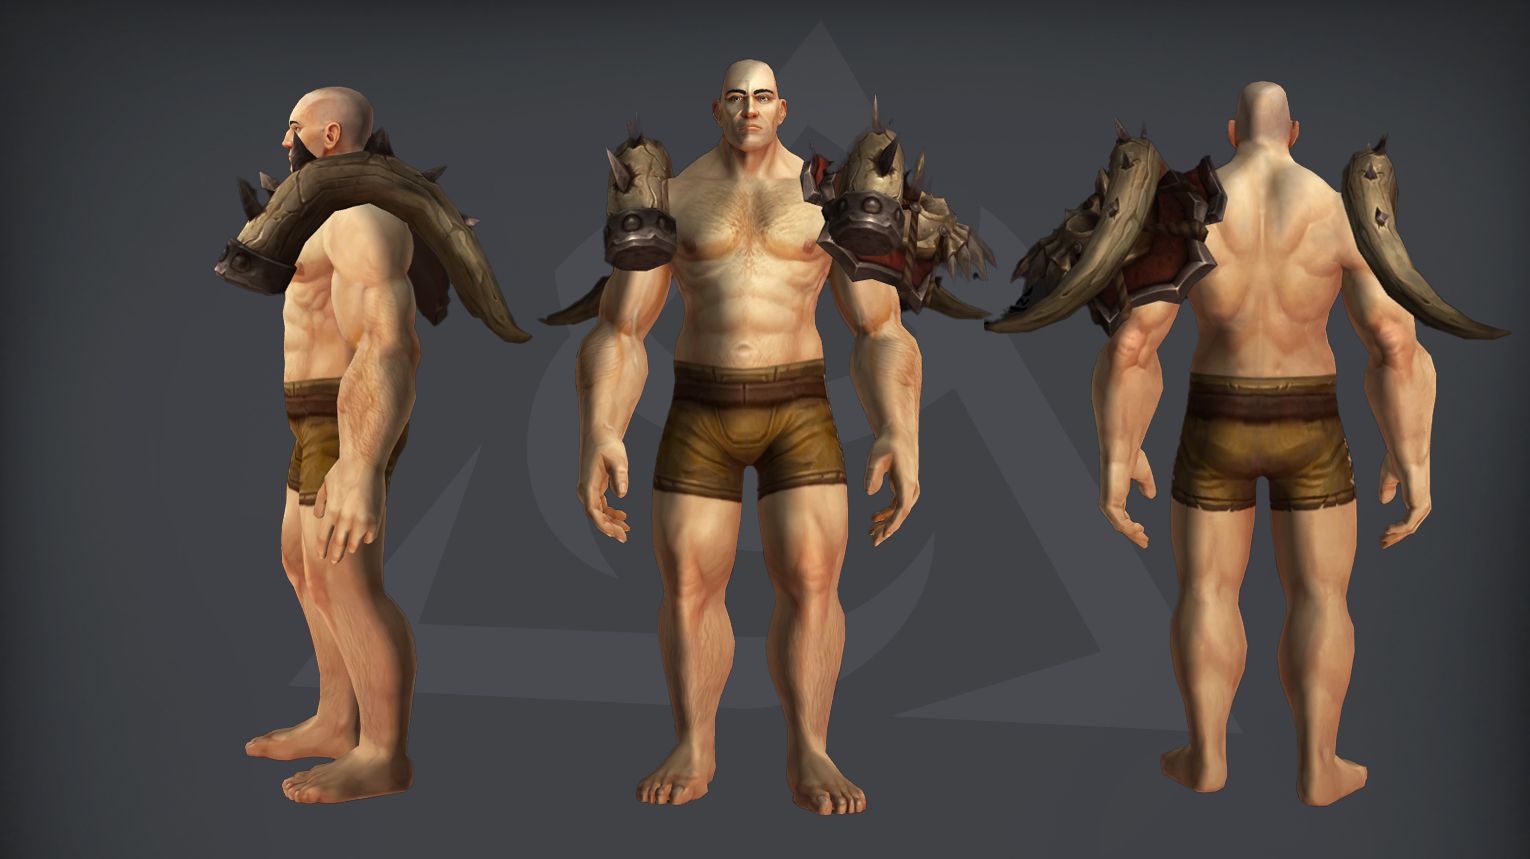
The Siege of Orgrimmar, the final raid of Mists of Pandaria, was released in Patch 5.4. It remains a great source of transmogs, mounts, and achievements in The War Within. This massive 14-boss raid takes you deep into Orgrimmar to face Garrosh Hellscream and his forces.
Legacy raids are fun (and Siege or Orgrimmar is not an exception), but nothing beats the thrill of top-end raiding. Our boost in WoW is the fastest way to get the best gear in the game right now. We work with top teams from both the EU and US, and they’ll carry you through the raid in 1–2 hours. New runs start every hour—jump in and enjoy the loot!
In this guide, we’ll cover:
- Siege of Orgrimmar location
- Bosses and their rewards
- Available mounts, weapons, and transmogs
- Achievements you can earn
- Can you solo Siege of Orgrimmar?
If you’re looking to collect cosmetics or challenge yourself solo, this guide will help you get the most out of the Siege of Orgrimmar in WoW Retail.
Siege of Orgrimmar Entrance and Subregions
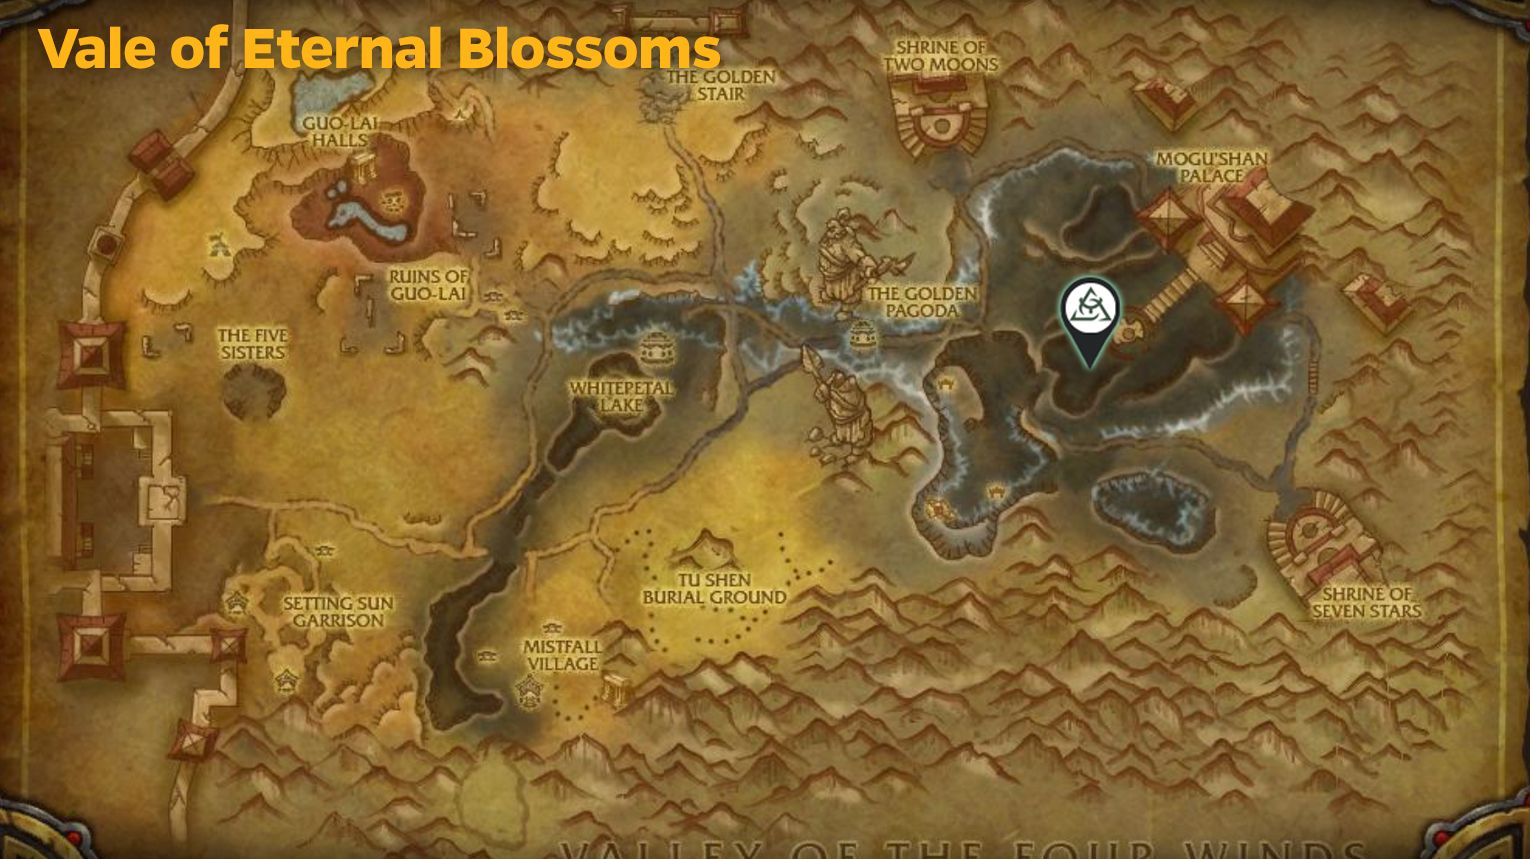
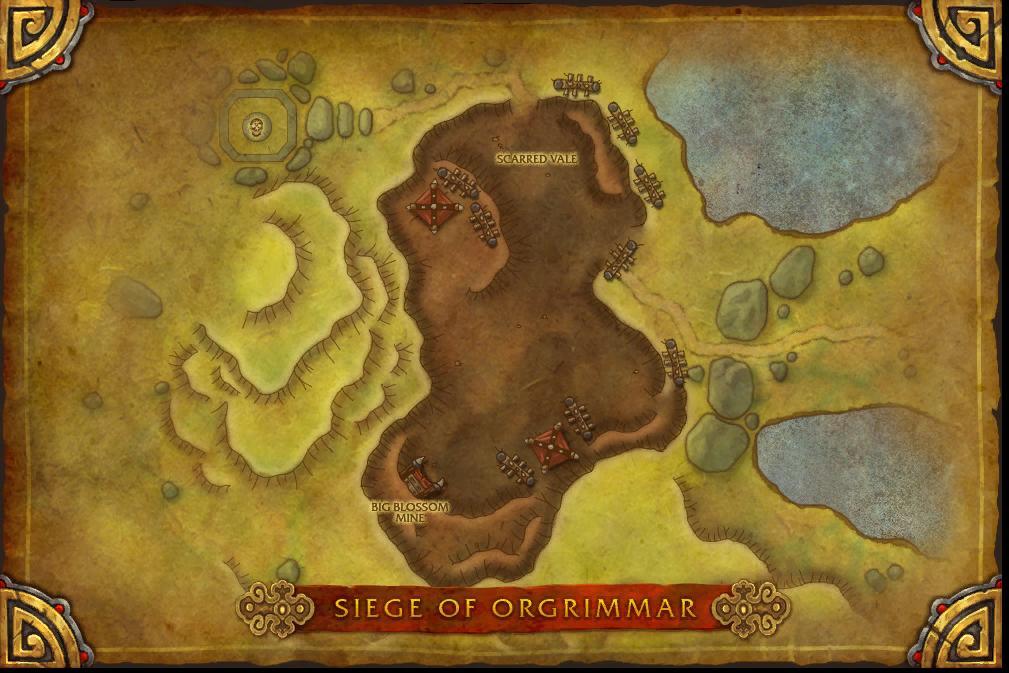
The Siege of Orgrimmar raid is in the Vale of Eternal Blossoms in Pandaria. To get there:
- Travel to Pandaria – Use the portal to Vale of Eternal Blossoms in your faction’s capital (Orgrimmar or Stormwind).
- Head to the Raid Entrance – Go to the eastern part of the Vale, below the stairs leading to Mogu’shan Palace. The entrance is at 87.6, 60.4.
- Walk In – No key or unlock needed—just enter and start the raid.
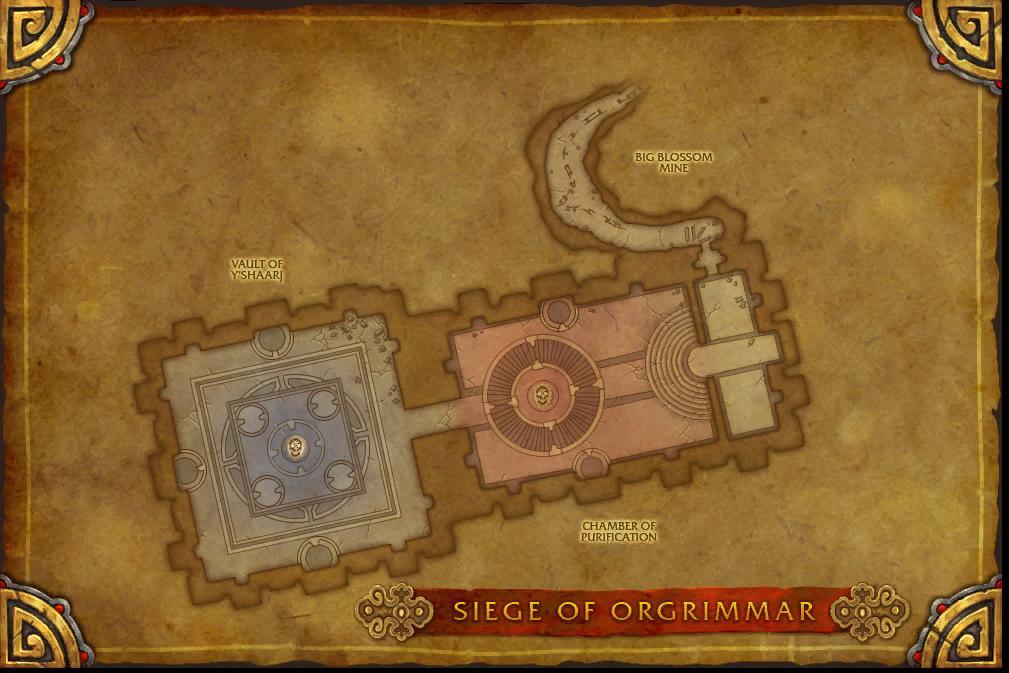
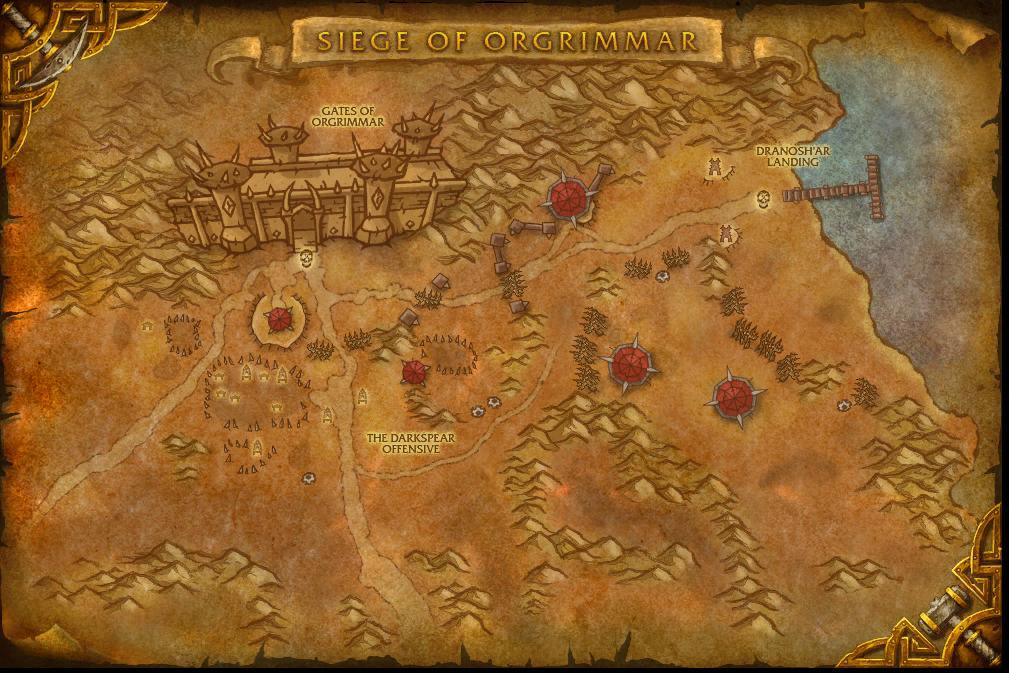
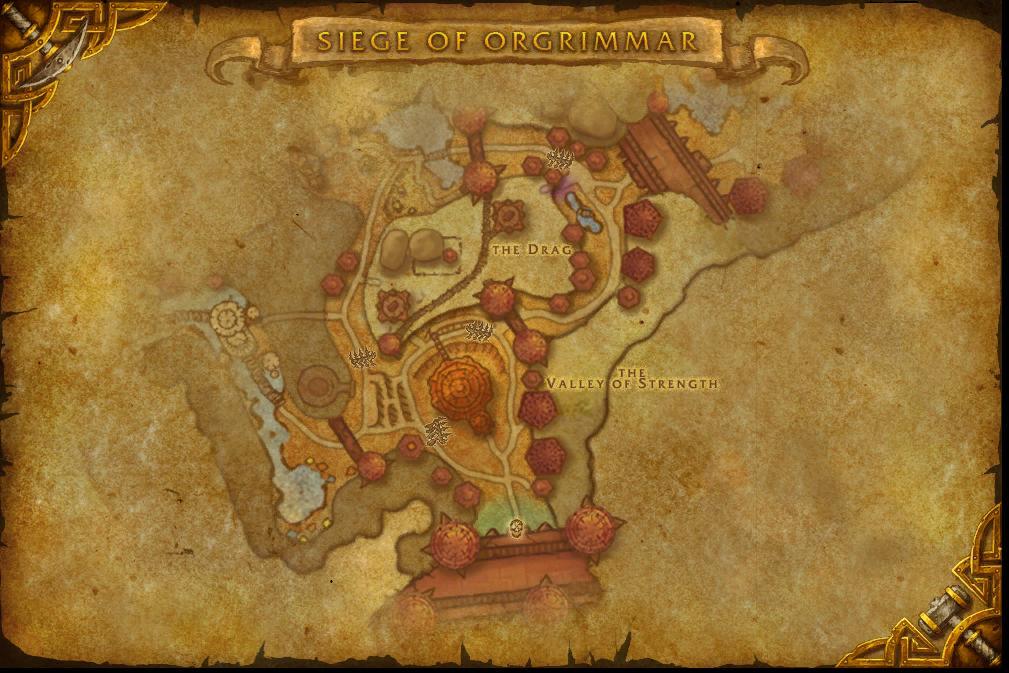
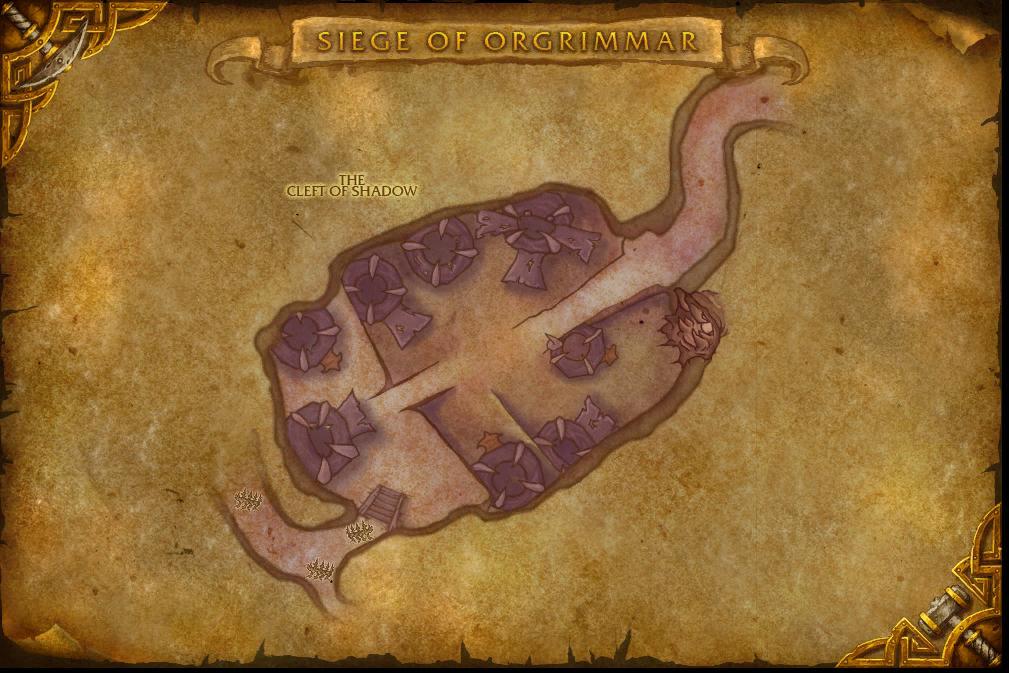
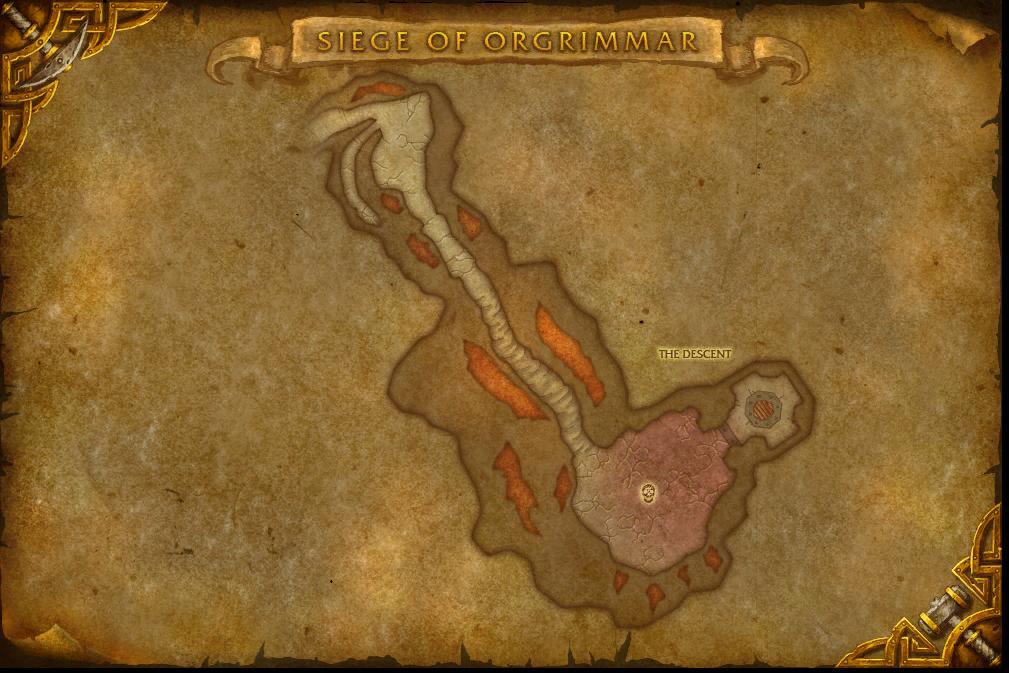
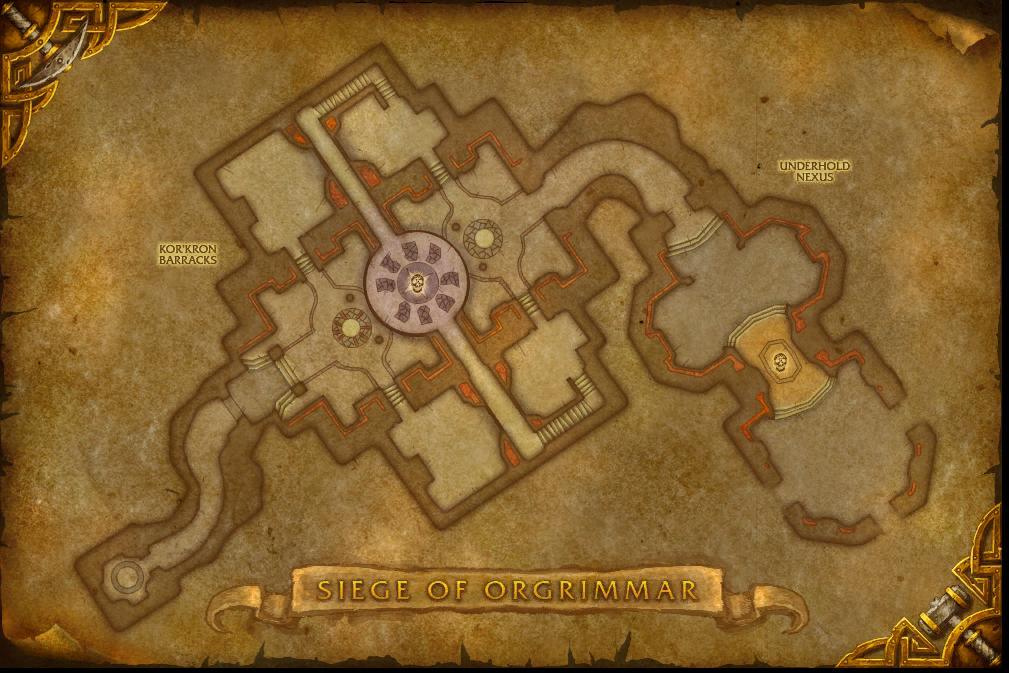
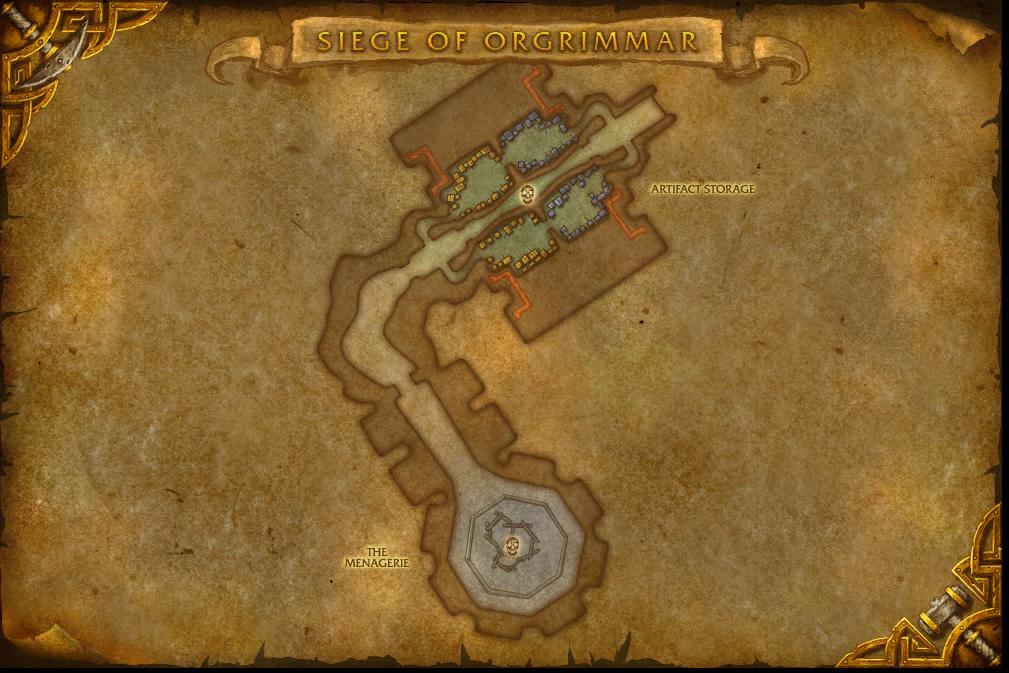
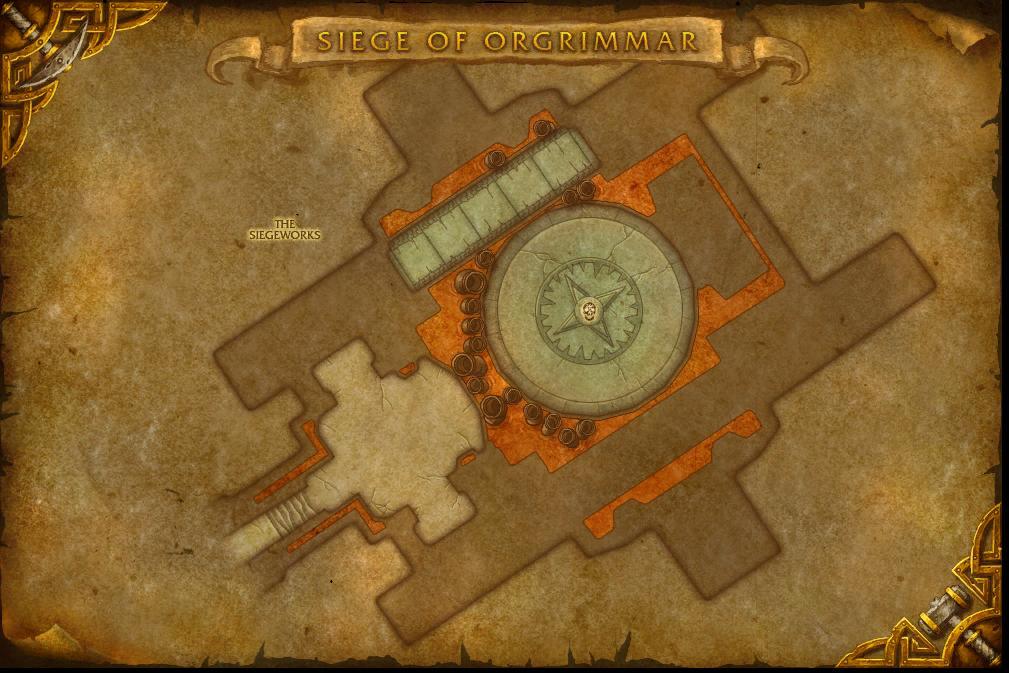
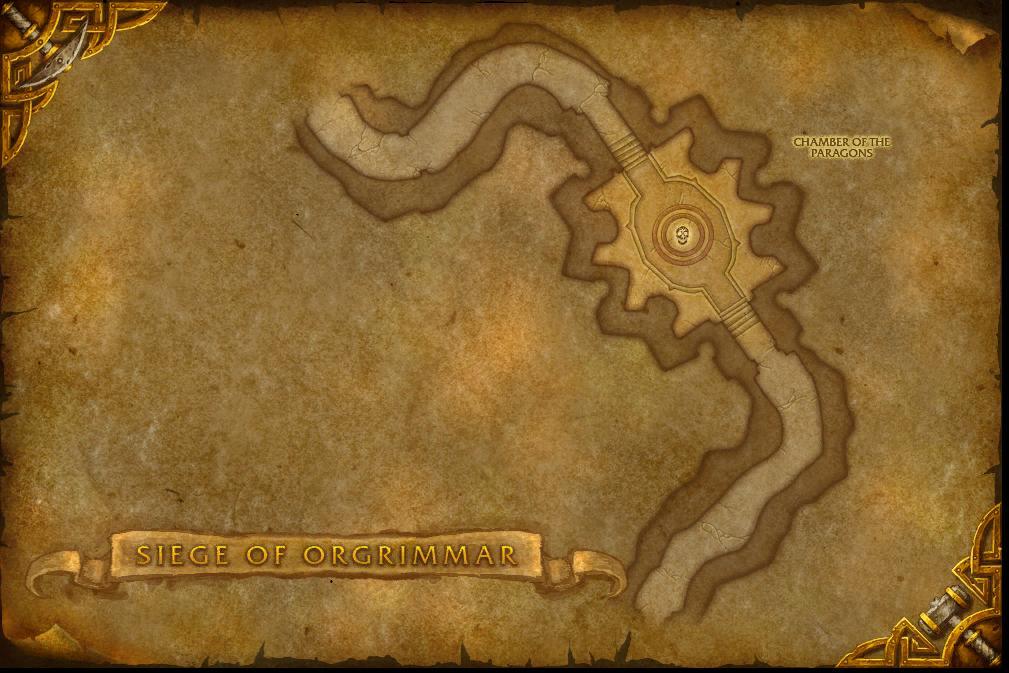
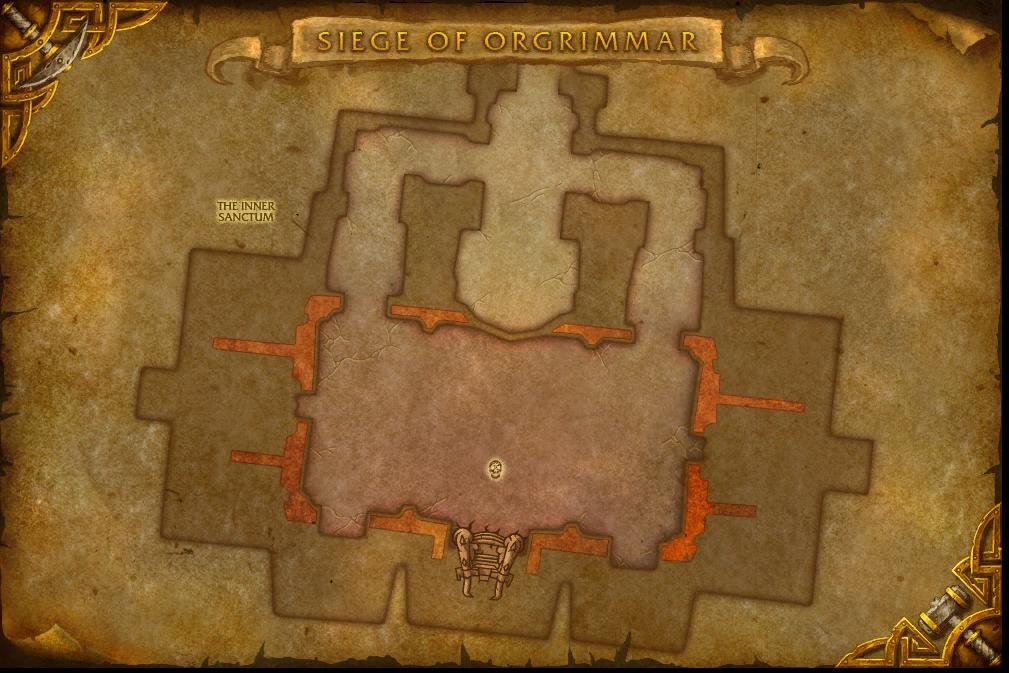
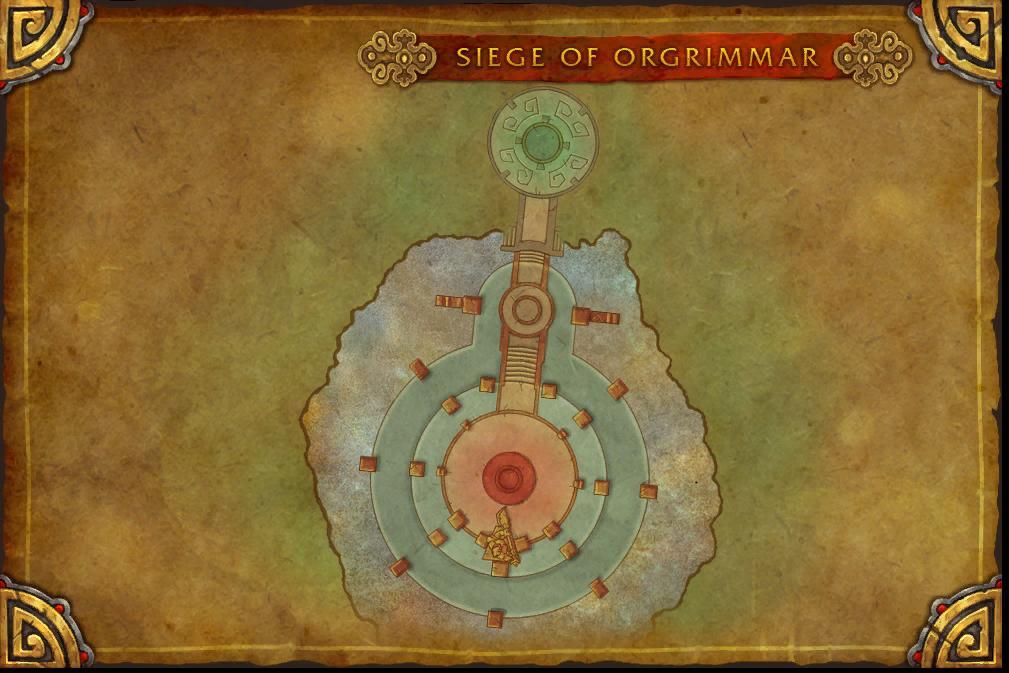
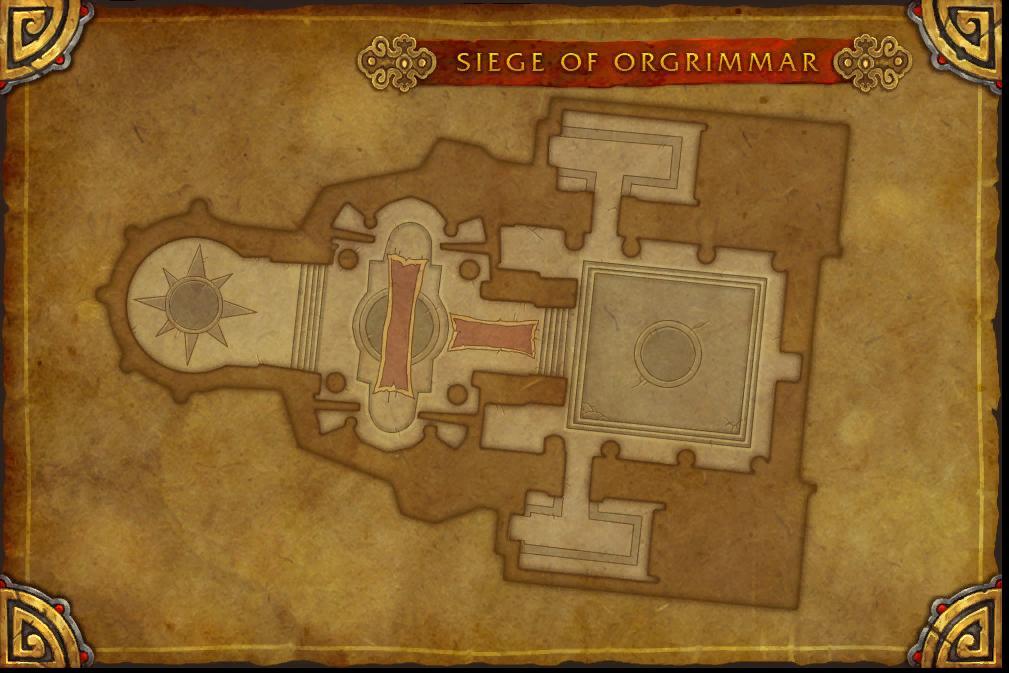
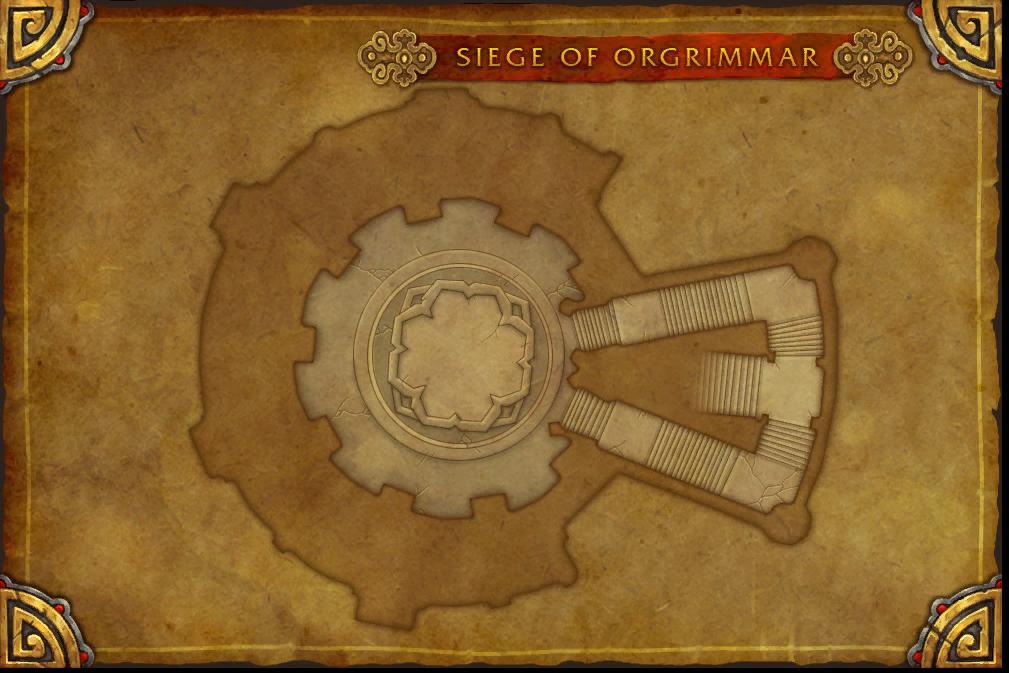
The Siege of Orgrimmar includes the following subregions:
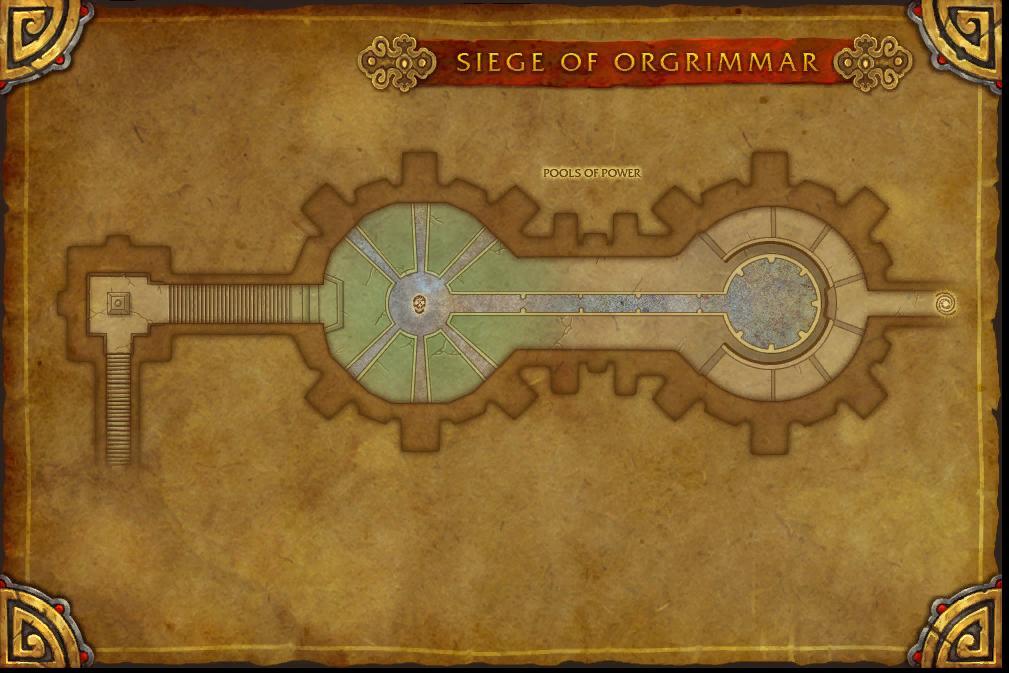
- Pools of Power – First bosses: Immerseus, Fallen Protectors, Norushen.
- Scarred Vale – Sha of Pride fight.
- Gates of Orgrimmar – Galakras and Iron Juggernaut.
- The Valley of Strength – Kor’kron Dark Shaman.
- The Cleft of Shadow – General Nazgrim.
- The Descent – Malkorok.
- Kor’kron Barracks – Spoils of Pandaria.
- The Menagerie – Thok the Bloodthirsty.
- The Siegeworks – Siegecrafter Blackfuse.
- Chamber of the Paragons – Klaxxi fight.
- The Inner Sanctum – Final battle against Garrosh Hellscream.
Each area has unique mechanics and bosses. We’ll break them down next.
Siege of Orgrimmar Collectibles: Mounts, Pets, Transmogs
| Collectible | Source (% drop rate) | Obtainable / Not Obtainable |
| Siege of Orgrimmar Tier Sets | ||
| Reins of Galakras | Glory of the Orgrimmar Raider | Yes |
| Kor’kron Juggernaut | Garrosh Hellscream (1%) | Yes |
| Tusks of Mannoroth | Garrosh Hellscream (1%) | Yes |
| Blackfuse Bombling | Siegecrafter Blackfuse (1%) | Yes |
| Droplet of Y’Shaarj | Sha of Pride (1%) | Yes |
| Kovok | Paragons of the Klaxxi (1%) | Yes |
Siege of Orgrimmar Bosses Overview
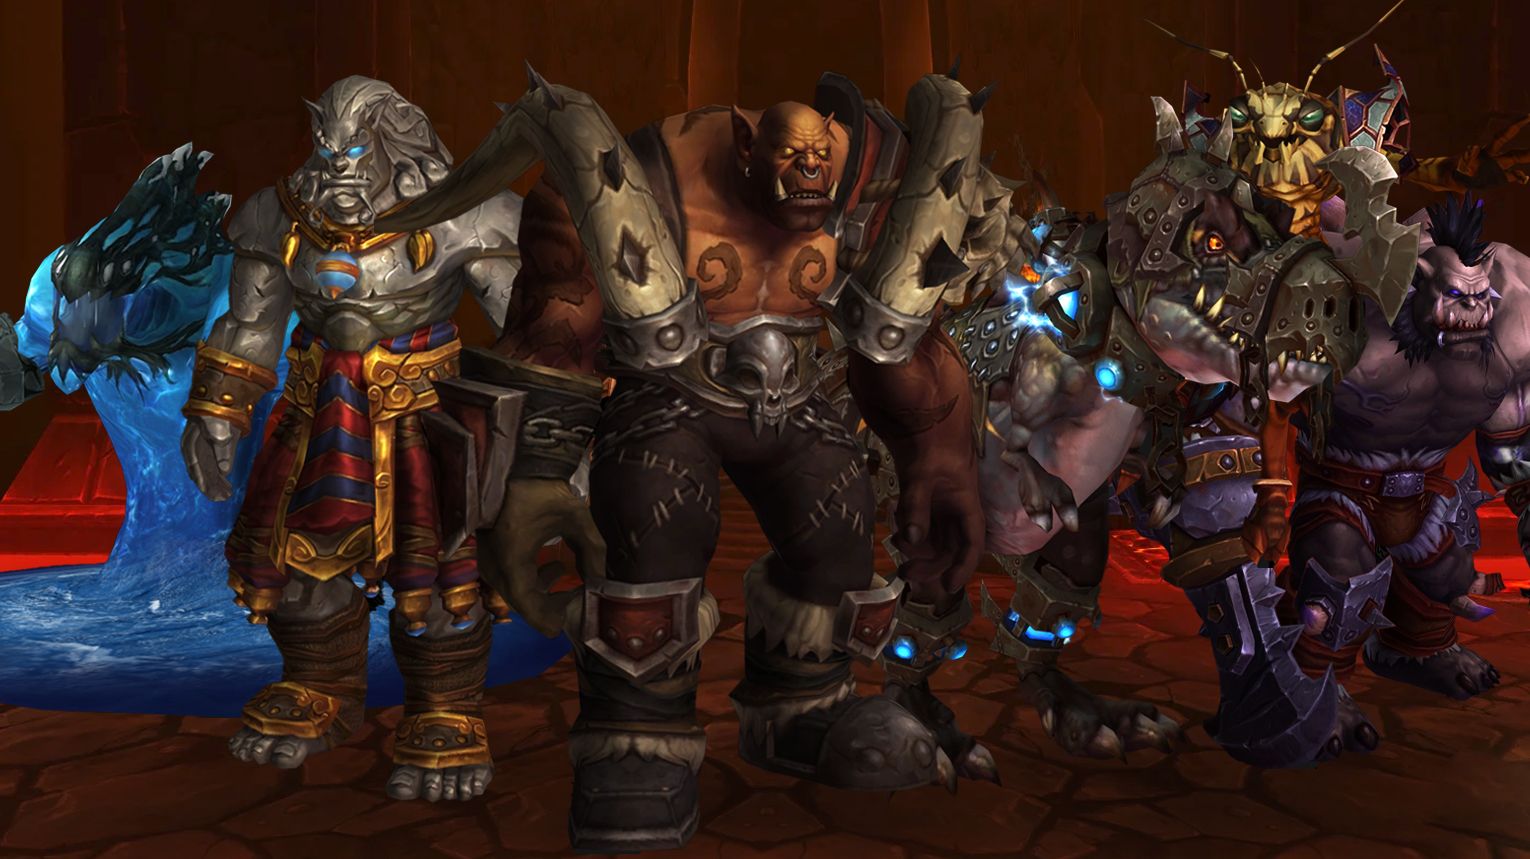
Siege of Orgrimmar is the big finish to World of Warcraft’s Mists of Pandaria expansion. Players fight their way into the Horde capital to stop the evil Warchief Garrosh Hellscream. This huge raid has 14 bosses, taking you from the edges of Orgrimmar to its core. You’ll face twisted sha creatures and Garrosh’s toughest fighters.
The battles are varied and memorable:
- Start by fighting Immerseus, a water elemental that splits into smaller blobs you must recombine
- Take on the Fallen Protectors, three rogue pandaren monks with deadly combo attacks
- Battle the Sha of Pride in a fight where your own arrogance can wipe the raid
- Storm Orgrimmar’s gates against Galakras, using anti-air turrets to bring down the proto-drake
- Face General Nazgrim, who fights like a player warrior with stance changes
- Survive Malkorok‘s brutal smash attacks in a blood-soaked arena
- Outsmart Siegecrafter Blackfuse and his deadly inventions
- Finally confront Garrosh himself in a multi-phase battle where he wields the heart of an Old God
Each fight has unique mechanics that made them challenging when current, but now offer fun solo experiences with great rewards. Below we’ll break down all the bosses and what loot they drop.
Can You Solo Siege of Orgrimmar in The War Within?

In World of Warcraft: Retail (as of The War Within), it is possible to solo the Siege of Orgrimmar raid from Mists of Pandaria (MoP). Since the raid is from an expansion two or more expansions old, it benefits from legacy scaling, meaning your character will deal massively increased damage and take reduced damage.
Requirements:
- Level 60+ (recommended 80 for maximum ease).
- Normal/Heroic/Mythic difficulty available (Mythic is soloable but may have some mechanics to watch for).
- No group needed—just walk in and start fighting.
Loot & Mounts:
- Guaranteed mounts:
- Kor’kron Juggernaut (from Garrosh Hellscream, Mythic only).
- Other rare drops:
- Various transmog sets (especially the Prideful Gladiator and Kor’kron Dark Shaman sets).
![]() Tips for Faster Clearing:
Tips for Faster Clearing:
- Use AoE abilities for trash.
- Skip unnecessary trash where possible.
- If you die, release and run back (no lockout issues in legacy raids).
Immerseus
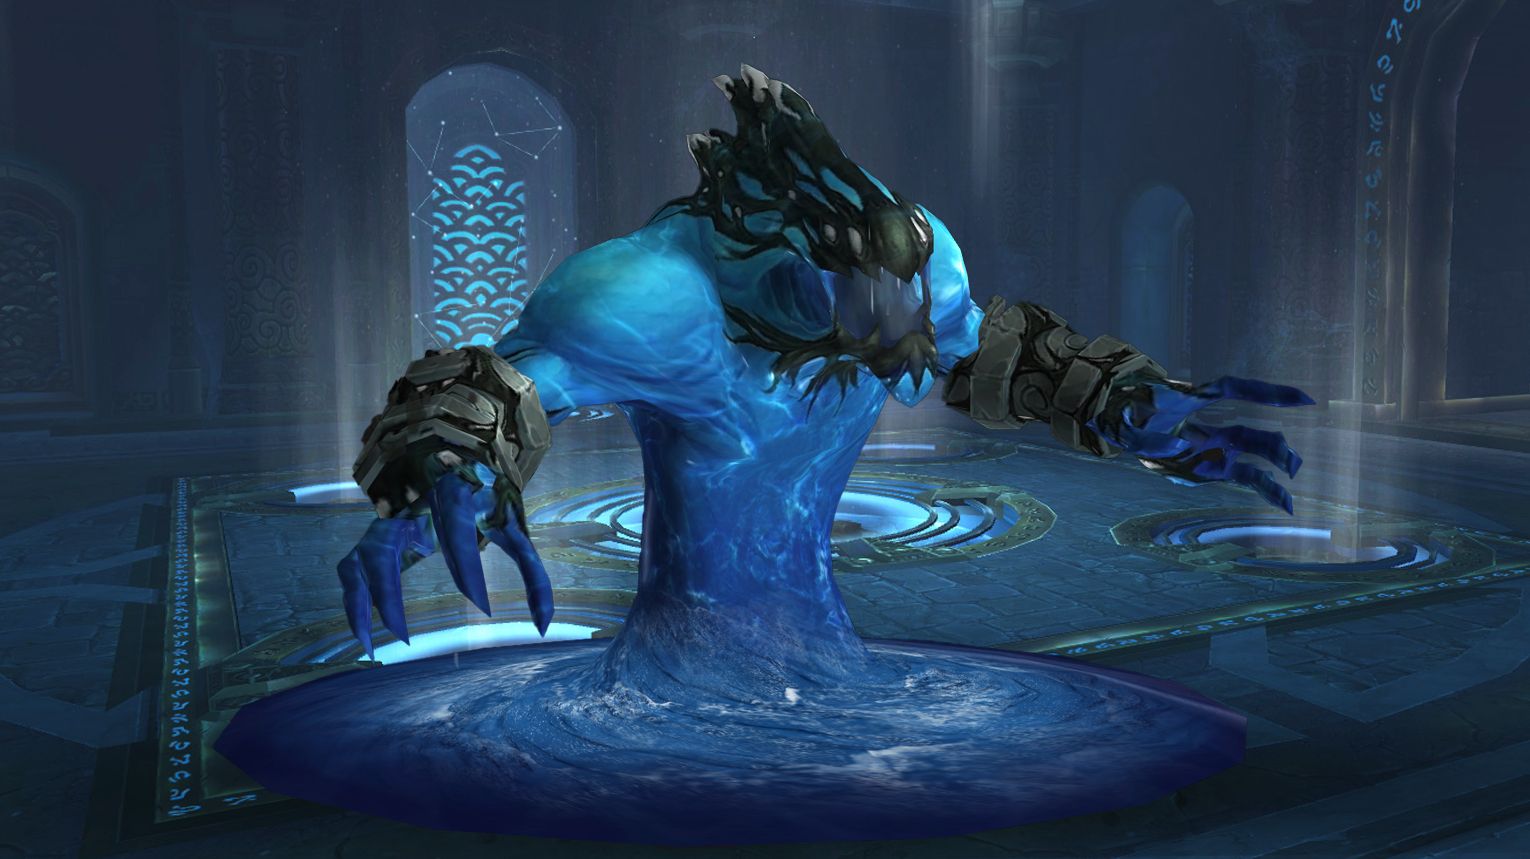
Immerseus alternates between two phases: a stationary Immerseus Phase (dodge void zones, tank-swap for Corrosive Blast) and a Split Phase where adds spawn—kill hostile Sha Puddles and heal friendly Contaminated Puddles to reduce his Corruption (100 → 0 to win). Spread the raid around the room to handle adds efficiently and avoid mechanics like Swirl’s spinning water jet. Use Bloodlust at the start for maximum uptime. Heroic adds Swelling Corruption (spawns adds per attack) and a growing Sha Pool (control by stepping in defensively).
 Preferred Classes:
 Healers: Strong AoE healers (e.g.,
  Restoration Druids,
  Holy Priests) to top Contaminated Puddles.
 DPS: Classes with strong burst/AoE (e.g.,
  Frost Mages,
  Destruction Warlocks) to kill Sha Puddles quickly.
 Tanks: Any tank works; ensure clean swaps for Corrosive Blast.
- Heroic Note:
 Holy Paladins excel at grouping Congealed Sha adds via Righteous Fury.
 Tips:
Tips:
- Positioning:
- Spread raid evenly around the boss (5+ yards apart) to minimize Sha Bolt splash damage and void zone clutter.
- Avoid standing in the center (knockback/damage from Seeping Sha).
- Split Phase:
- DPS should stand near dying Sha Puddles for +25% damage buff (stacks).
- Healers should stand near fully healed Contaminated Puddles for +75% healing buff and mana restore.
- Heroic:
- Handle Swelling Corruption by DPSing in waves (2–3 debuff stacks max) to avoid overwhelming DoT damage.
- Use defensive cooldowns to shrink the growing Sha Pool void zone.
 Strategy:
- Immerseus Phase:
- Tanks face boss away; swap after each Corrosive Blast.
- Dodge Swirl’s moving voids and spinning water jet.
- Move immediately from Sha Bolt void zones.
- Split Phase:
- Prioritize adds closest to the center.
- Slow/stun hostile adds; healers focus on low-health friendly adds.
- Heroic: Assign players to step into Sha Pool periodically to control its growth.
 Bloodlust/Drums:
Use at pull: The first Immerseus Phase is the longest. Later phases are shorter (due to lower Corruption), making Lust less efficient.
 Immerseus loot table:
| Type of Armor | Item | Loot type |
| Cloth | Bolt-Burster Grips | Hands |
| Hood of Swirling Senses | Head | |
| Ichor-Dripping Shoulderpads | Shoulder | |
| Leather | Salt Water Sandals | Feet |
| Hood of Blackened Tears | Head | |
| Bracers of Purified Spirit | Wrist | |
| Puddle Punishers | Feet | |
| Soul-Soaked Gloves | Hands | |
| Plate | Chestplate of Congealed Corrosion | Chest |
| Treads of Unchained Hate | Feet | |
| Waterwalker Greatboots | Feet | |
| Corruption-Rotted Gauntlets | Hands | |
| Pauldrons of Violent Eruption | Shoulder | |
| Greatbelt of Living Waters | Waist | |
| Bracers of Sordid Sleep | Wrist | |
| Bubble-Burst Bracers | Wrist | |
| Any | Encapsulated Essence of Immerseus | 1H Mace |
| Immerseus’ Crystalline Eye | Amulet | |
| Cloak of Misguided Power | Cloak | |
| Seal of Eternal Sorrow | Ring | |
| Trident of Corrupted Waters | Staff | |
| Purified Bindings of Immerseus | Trinket |
The Fallen Protectors

The Fallen Protectors encounter in Siege of Orgrimmar features three bosses—Rook Stonetoe, He Softfoot, and Sun Tenderheart—each with unique abilities. The central mechanic, Desperate Measures, triggers at 66% and 33% health, causing the boss to disappear and summon adds. These adds must be defeated to bring the boss back. All three bosses must be killed within a short window to prevent healing.
 Preferred Classes:
 Tanks:
  Warriors,
  Paladins, and
  Death Knights are preferred for their survivability and cooldowns.
 Healers:
  Priests,
  Druids, and
  Shamans are beneficial for their versatile healing and utility.
 DPS: Classes with strong AoE and single-target damage, such as
  Mages,
  Warlocks, and
  Rogues, are ideal.
 Tips:
Tips:
- Positioning: Tanks should face Rook away from the raid and move He to avoid poison void zones.
- Interrupts: Interrupt Sun’s Sha Sear and Embodied Gloom’s Corruption Shock.
- Dispels: Healers should dispel Shadow Word: Bane quickly.
- Add Management: Prioritize killing Embodied Sorrow during Rook’s Desperate Measures.
 Strategy:
- Phase 1: Focus on bringing Rook to 66% health first, followed by He and Sun.
- Phase 2: Manage Desperate Measures phases by prioritizing adds and using cooldowns.
- Phase 3: Repeat the process for 33% health thresholds and kill all bosses within 10 seconds.
 Bloodlust/Drums:
At the start of the fight to maximize DPS cooldowns and burst down the bosses quickly.
 The Fallen Protectors loot table:
| Type of Armor | Item | Loot type |
| Cloth | Robes of the Tendered Heart | Chest |
| Sha-Seared Sandals | Feet | |
| Shoulderpads of Dou Dou Chong | Shoulder | |
| Lifebane Bracers | Wrist | |
| Leather | Stonetoe’s Tormented Treads | Feet |
| Shoulders of the Roiling Inferno | Shoulder | |
| Sabatons of Defilement | Feet | |
| Grips of Unending Anguish | Hands | |
| Shoulderguards of Dark Meditations | Shoulder | |
| Plate | Shockstriker Gauntlets | Hands |
| Grips of the Fallen Council | Hands | |
| Gaze of Echoing Despair | Head | |
| Darkfallen Shoulderplates | Shoulder | |
| Poisonbinder Girth | Waist | |
| Any | Gloomwrap Greatcloak | Cloak |
| Death Lotus Crossbow | Crossbow | |
| Softfoot’s Last Resort | Fist Weapon | |
| Purehearted Cricket Cage | Off-hand Frill | |
| Petrified Pennyroyal Ring | Ring | |
| Sorrowpath Signet | Ring | |
| Rook’s Unlucky Talisman | Trinket |
Norushen
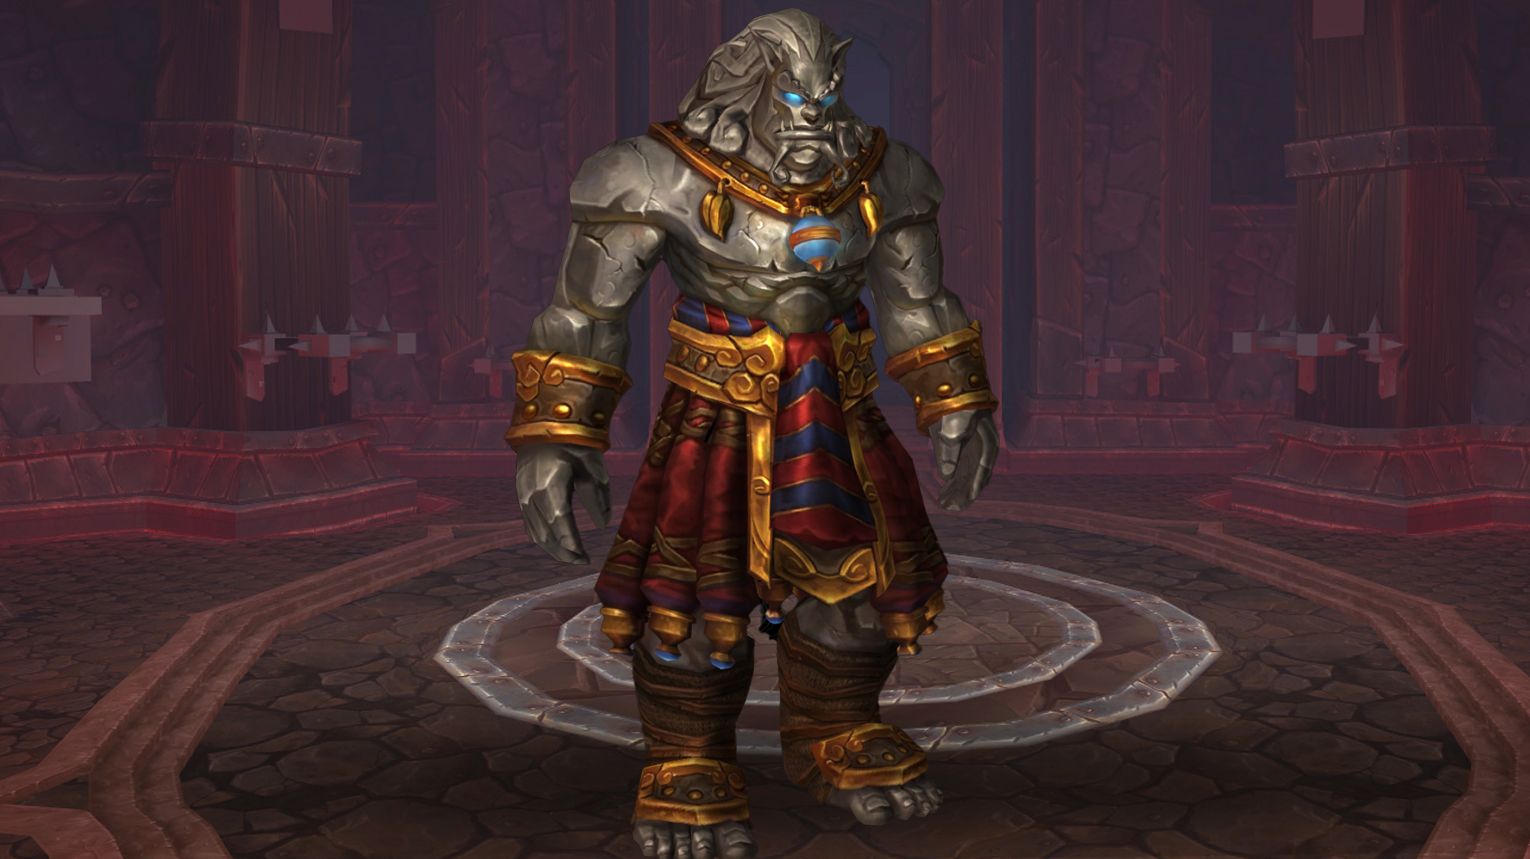
In the Norushen fight, your raid battles the Amalgam of Corruption while managing Corruption, a debuff that reduces effectiveness. Players enter a Test Realm (DPS kill adds, healers sustain NPCs, tanks survive) to purify themselves and regain full power. Key mechanics include dodging the Blind Hatred beam, intercepting Expel Corruption projectiles, and soaking Residual Corruption voids. Prioritize purifying DPS first, then tanks/healers, and use Bloodlust at 50% HP for a burn phase. Adds must die quickly—tunnel vision on the boss is deadly.
 Preferred Classes:
 DPS: High-burst classes (e.g.,
  Mages,
  Warlocks,
  Hunters) to quickly kill adds and burn the boss.
 Tanks: Strong active mitigation (e.g.,
  Paladins,
  Warriors) to handle heavy hits from the Amalgam and adds.
 Healers: Strong raid healers (e.g.,
  Holy Priests,
  Restoration Shamans) to manage escalating raid-wide damage.
 Tips:
Tips:
- Test Realm Priority:
- Send DPS first to maximize raid damage.
- Tanks/healers should enter later to soak void zones (Residual Corruption).
- Add Management:
- Kill Unleashed Essences quickly to prevent buffs to the boss.
- Stun Unleashed Manifestations to reduce raid damage (Burst of Anger).
- Blind Hatred: Avoid the rotating beam—its path is predictable but deadly.
- Corruption Soaking: Assign tanks/healers to stand in Residual Corruption voids (grants +25 Corruption but removes the debuff).
 Strategy:
- Opening Phase:
- 1 tank and 1-2 DPS enter Test Realms immediately.
- Remaining tank handles the first Unleashed Manifestation.
- Mid-Fight:
- Rotate tanks in/out of Test Realms to maintain purification.
- Intercept Expel Corruption projectiles (prevents boss buffs).
- Burn Phase (50% HP):
 Bloodlust/Drums:
At 50% boss HP, when most DPS are purified and adds spawn frequently.
 Norushen loot table:
| Type of Armor | Item | Loot type |
| Cloth | Blight Hurlers | Hands |
| Rime-Rift Shoulders | Shoulder | |
| Sash of the Last Guardian | Waist | |
| Bracers of Broken Causation | Wrist | |
| Leather | Robes of the Blackened Watcher | Chest |
| Boots of Broken Reliance | Feet | |
| Confident Grips | Hands | |
| Gloves of the Golden Protector | Hands | |
| Shadow-Binder’s Kilt | Legs | |
| Leggings of Unabashed Anger | Legs | |
| Quarantine Shoulderguards | Shoulder | |
| Bracers of Final Serenity | Wrist | |
| Plate | Rage-Blind Greathelm | Head |
| Bracers of Blind Hatred | Wrist | |
| Wristplates of Broken Doubt | Wrist | |
| Any | Xifeng, Longblade of the Titanic Guardian | 1H Sword |
| Untainted Guardian’s Chain | Amulet | |
| Drape of the Despairing Pit | Cloak | |
| Reality Ripper Ring | Ring | |
| Norushen’s Enigmatic Barrier | Shield | |
| Fusion-Fire Core | Trinket |
Sha of Pride
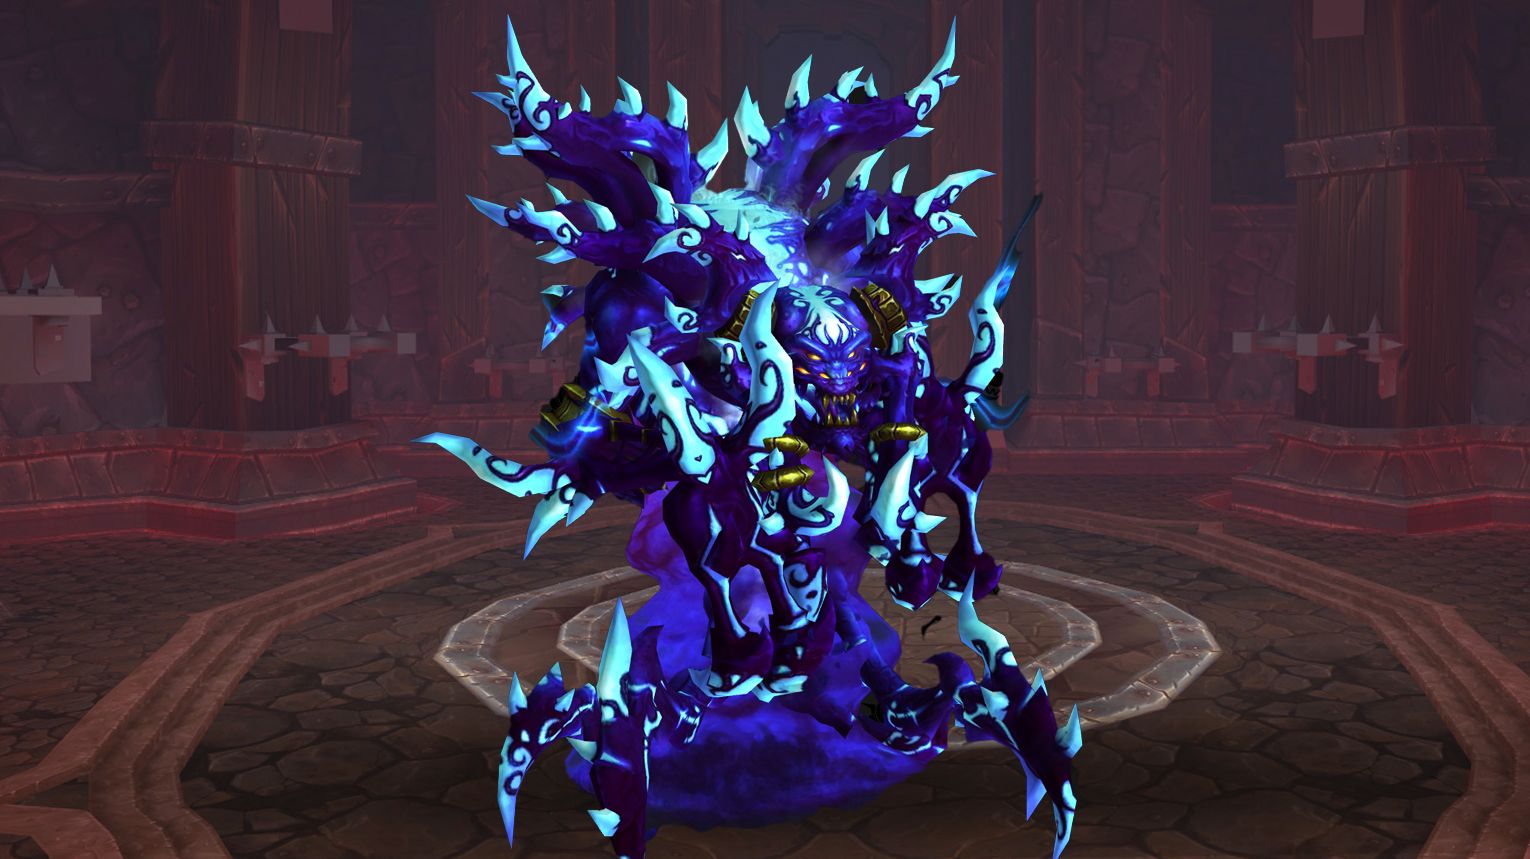
The fight against the Sha of Pride in World of Warcraft is a single-phase encounter with an intense DPS burn stage when the boss reaches 30% health. Players have a Pride resource bar that fills up during the fight, affecting their abilities and causing negative effects when Swelling Pride is cast. The goal is to manage Pride levels to avoid mind control and defeat the boss before the raid is overwhelmed.
 Preferred Classes:
All classes can contribute effectively, but certain specs may have advantages:
 Tanks:
  Death Knights,
  Druids,
  Monks,
  Paladins, and
  Warriors for tank switches and add management.
 Healers:
  Druids,
  Monks,
  Paladins,
  Priests, and
  Shamans for dispelling and raid healing.
 DPS: All classes, with a focus on interrupts and burst damage for adds and the boss.
 Tips:
Tips:
- Tank Switches: Tanks must switch when affected by Wounded Pride.
- Add Management: Focus down Manifestations of Pride quickly and interrupt their spells.
- Positioning: Stack behind the boss to maximize buffs and avoid prison damage.
- Pride Management: Avoid gaining unnecessary Pride and dispel Mark of Arrogance carefully.
- Swelling Pride: Handle the effects based on your Pride level to minimize damage and Pride gain.
 Strategy:
- Tank Switch: Tanks switch on Wounded Pride.
- Add Control: Focus and interrupt Manifestations of Pride.
- Positioning: Stack behind the boss, move for mechanics.
- Pride Management: Avoid unnecessary Pride, dispel Mark of Arrogance with Gift of the Titans.
- Swelling Pride: Handle effects based on Pride level. Burn Phase: Use cooldowns at 30% health to finish the boss quickly.
 Bloodlust/Drums:
After the Sha of Pride reaches 30% health. This phase is intense with high raid damage and a strict DPS requirement to finish the boss before the raid is overwhelmed by Pride.
 Sha of Pride loot table:
| Type of Armor | Item | Loot type |
| Leather | Self-Reflecting Mask | Head |
| Plate | Greaves of Sublime Superiority | Feet |
| Crown of Boastful Words | Head | |
| Any | Greatsword of Pride’s Fall | 2H Sword |
| Necklace of Fading Light | Amulet | |
| Choker of the Final Word | Amulet | |
| Shield of Mockery | Shield | |
| Assurance of Consequence | Trinket | |
| Prismatic Prison of Pride | Trinket |
Galakras
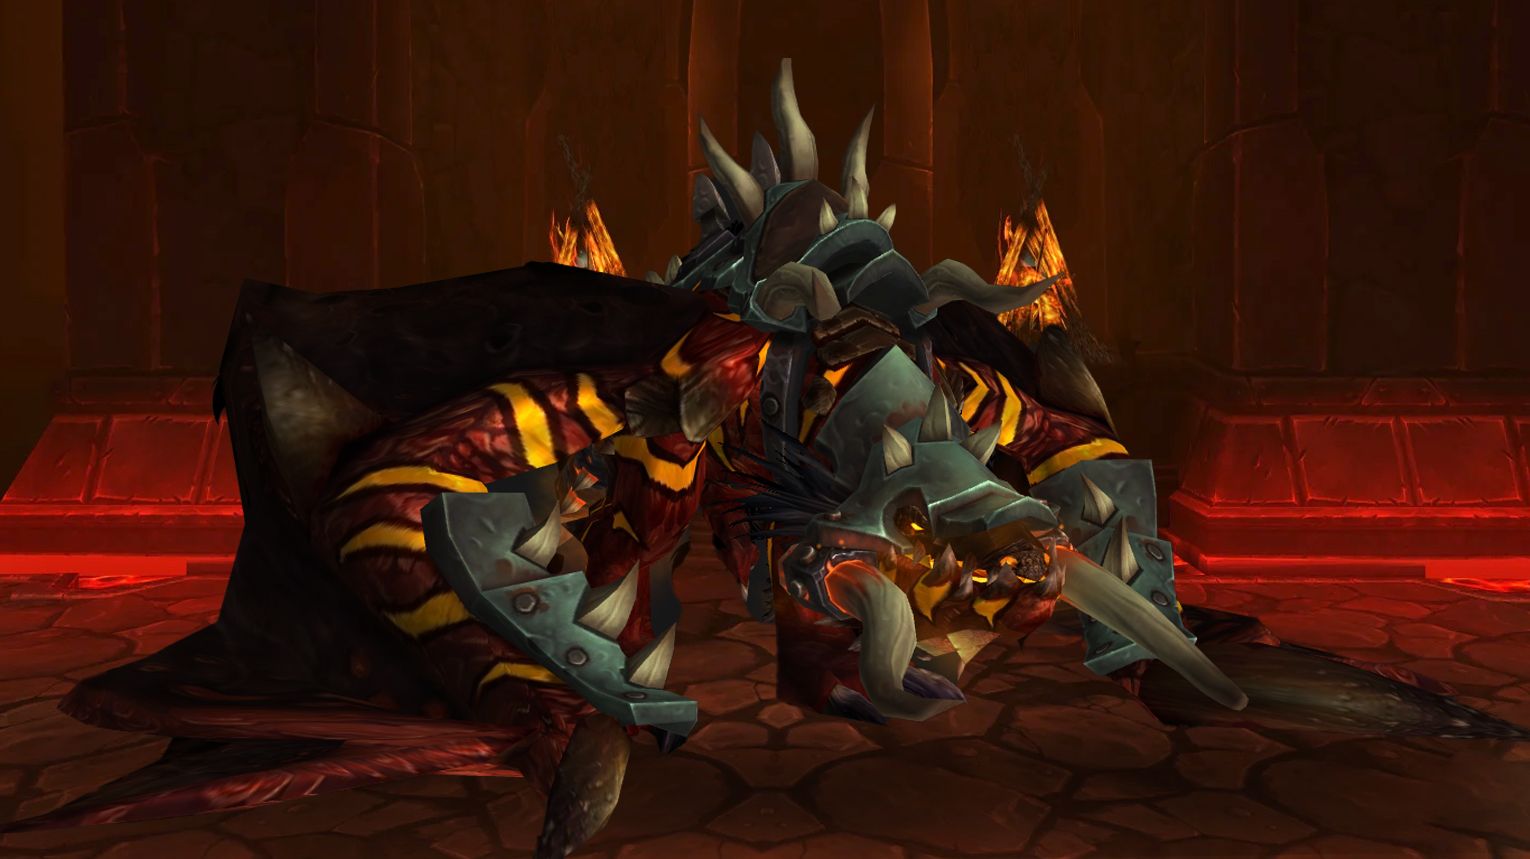
Galakras is a two-phase fight in Siege of Orgrimmar. Phase 1 involves killing waves of adds and mini-bosses to capture two towers, then using their turrets simultaneously to force Galakras to land. Phase 2 is a DPS race—tanks must swap due to a stacking DoT, while the raid soaks fireballs to reduce raid-wide damage. Use Bloodlust/Drums at the start of Phase 2 to beat the escalating damage aura. Preferred classes include mobile tanks, strong AoE healers, and ranged DPS for turret control.
 Preferred Classes:
 Tanks: High-mobility tanks (e.g.,
  Brewmaster Monk,
  Protection Paladin) for handling mini-boss mechanics.
 Healers: Strong AoE healers (e.g.,
  Restoration Shaman,
  Holy Priest) for Phase 2’s pulsing damage.
 DPS:
DPS:
- Ranged:
 Hunters/
  Mages for consistent turret damage and add control.
 - Melee:
 Rogues/
  Warriors for burst damage on mini-bosses.
- Ranged:
- Utility: Classes with immunities (e.g.,
 Mages,
  Hunters) can intercept fireballs safely.
 Tips:
Tips:
Phase 1:
- Prioritize adds: Kill Healing Tide Totems, banners, and Kor’kron Demolishers immediately.
- Tower teams: Split raid evenly (1 tank, 1–2 healers per tower).
- Mini-bosses:
- Korgra: Move her away from Poison Clouds.
- Krugruk/Thranok: Dodge knockbacks and Skull Cracker (run away when chained).
- Dagryn: Avoid Muzzle Spray knockbacks by dancing around the tower.
Phase 2:
- Tank swaps: Required due to stacking Fire DoT.
- Fireball soaking: Melee stack behind boss; ranged group 30yd behind melee to minimize explosion damage.
 Strategy:
- Phase 1 Execution:
- Clear adds efficiently; ignore Dragonmaw Proto-Drakes (use turrets on them later).
- Coordinate tower teams—control bars fill faster with more adds killed.
- Ensure all adds are dead before turreting Galakras to avoid fighting them in Phase 2.
- Phase 2 Execution:
- Positioning: Tight stacks for fireball soaking.
- Healing CDs: Save for high stacks of Pulsing Flames (e.g., Devotion Aura, Spirit Link).
- DPS Focus: Burn boss ASAP; ignore remaining adds unless lethal.
 Bloodlust/Drums:
Optimal Timing: Start of Phase 2 (after Galakras lands). Phase 2 is a DPS race due to the escalating damage aura. Avoid using in Phase 1—adds are not the primary threat.
 Galakras loot table:
| Type of Armor | Item | Loot type |
| Cloth | Bone-Inlaid Sandals | Feet |
| Skydancer Boots | Feet | |
| Flameslinger’s Fiery Cowl | Head | |
| Shoulderpads of Pulsing Protection | Shoulder | |
| Scalebane Bracers | Wrist | |
| Leather | Unrepentant Heels | Feet |
| Korgra’s Venom-Soaked Gauntlets | Hands | |
| Dragonmaw Emergency Strap | Waist | |
| Grips of Tidal Force | Hands | |
| Cannoneer’s Multipocket Gunbelt | Waist | |
| Dagryn’s Fuselight Bracers | Wrist | |
| Plate | Thranok’s Shattering Helm | Head |
| Windfire Legplates | Legs | |
| Krugruk’s Rigid Shoulderplates | Shoulder | |
| Smoldering Drakescale Bracers | Wrist | |
| Arcsmasher Bracers | Wrist | |
| Any | Dagryn’s Discarded Longbow | Bow |
| Swift Serpent Signet | Ring | |
| Extinguished Ember of Galakras | Ring | |
| Galakrond Control Band | Ring | |
| Drakebinder Greatstaff | Staff | |
| Evil Eye of Galakras | Trinket |
Iron Juggernaut
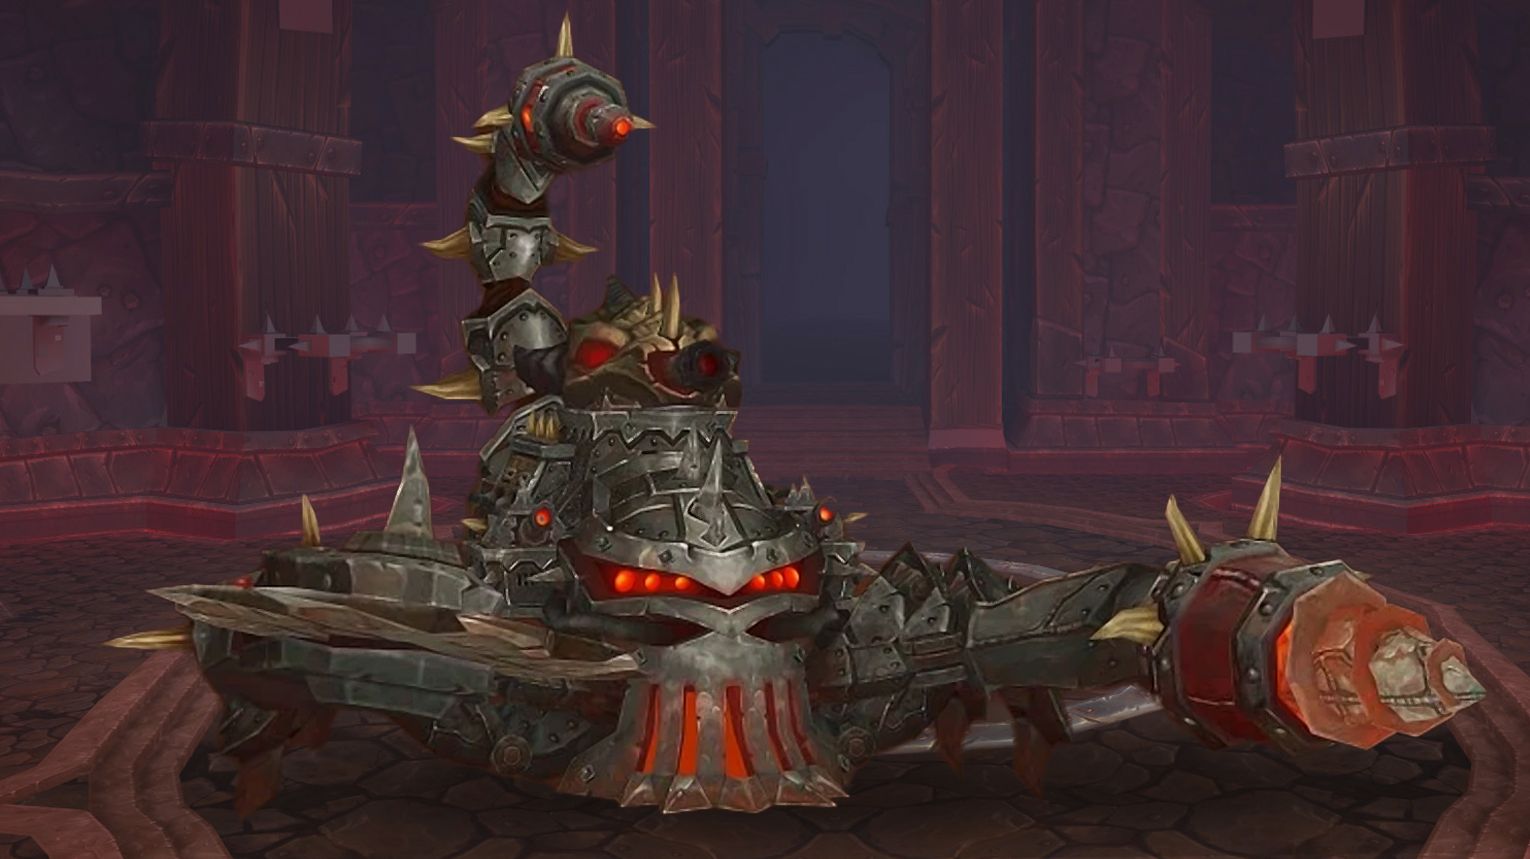
The Iron Juggernaut is a two-phase single-target boss in Siege of Orgrimmar. During the Assault Phase (2 min), tanks swap to handle Flame Vents, while the raid avoids Borer Drill spikes and detonates Crawler Mines. In the Siege Phase (1 min), the boss becomes stationary, knocks players back (Shock Pulse), and deals raid-wide damage—use cooldowns and kite Cutter Laser away from tar patches. Bloodlust on pull for maximum DPS. Heroic adds Ricochet sawblades and Mortar Barrage, countered by stacking at the edge during Siege Phase. Positioning is key to avoid knockbacks and mechanics.
 Preferred Classes:
 Tanks: High-mitigation classes (e.g.,
  Blood DK,
  Protection Paladin) to handle Flame Vents stacks and mine detonation.
 Healers: Strong AoE healers (e.g.,
  Restoration Druid,
  Holy Priest) for Seismic Activity and Demolisher Cannons.
 DPS: Ranged DPS (e.g.,
  Mage,
Mage,  Warlock) favored due to mobility requirements; melee must avoid Borer Drill.
 Tips:
Tips:
- Positioning:
- Keep the boss facing away from the raid to avoid Flame Vents.
- Spread 8+ yards to minimize Mortar Cannon splash damage.
- During Siege Phase, stand near obstacles to avoid being knocked out of healing range.
- Mines: Assign a tank or immunity-class player (e.g., Rogue with Cloak of Shadows) to stomp Crawler Mines.
- Laser Kiting: Players targeted by Cutter Laser must run it away from Explosive Tar patches.
 Strategy:
Assault Phase:
- Tank Swap: At 3–4 stacks of Flame Vents debuff.
- Avoid:
- Borer Drill spikes (dodge erratically moving ground effects).
- Mortar Cannon red circles (move out quickly).
- Mines: Detonate mines promptly to prevent raid-wide explosions.
Siege Phase:
- Stacking: In Heroic, stack at the edge after first Shock Pulse to avoid Mortar Barrage.
- Cooldowns: Use raid-wide defensives (e.g., Aura Mastery, Rallying Cry) for Seismic Activity.
- Laser Handling: Designate a clear kite path for Cutter Laser.
 Bloodlust/Drums:
Optimal Timing: At pull (start of Assault Phase). Maximizes DPS cooldown alignment. No execute phase or late-fight pressure.
 Iron Juggernaut loot table:
| Type of Armor | Item | Loot type |
| Cloth | Shock Pulse Robes | Chest |
| Earthripper Gloves | Hands | |
| Leggings of Furious Flame | Legs | |
| Belt of Ominous Trembles | Waist | |
| Bracers of the Broken Fault | Wrist | |
| Leather | Ricocheting Shoulderguards | Shoulder |
| Laser Burn Bracers | Wrist | |
| Castlebreaker Bracers | Wrist | |
| Treads of Autonomic Motion | Feet | |
| Minelayer’s Padded Boots | Feet | |
| Precision Cutters | Hands | |
| Cavemaker Wristguards | Wrist | |
| Plate | Earthbreaker’s Steaming Chestplate | Chest |
| Borer Drill Boots | Feet | |
| Tar-Coated Gauntlets | Hands | |
| Demolisher’s Reinforced Belt | Waist | |
| Wall-Borer Bracers | Wrist | |
| Any | Seismic Bore | 1H Mace |
| Juggernaut’s Ignition Keys | Amulet | |
| Juggernaut’s Power Core | Off-hand Frill | |
| Laser-Slice Signet | Ring | |
| Juggernaut’s Focusing Crystal | Trinket |
Kor’kron Dark Shaman
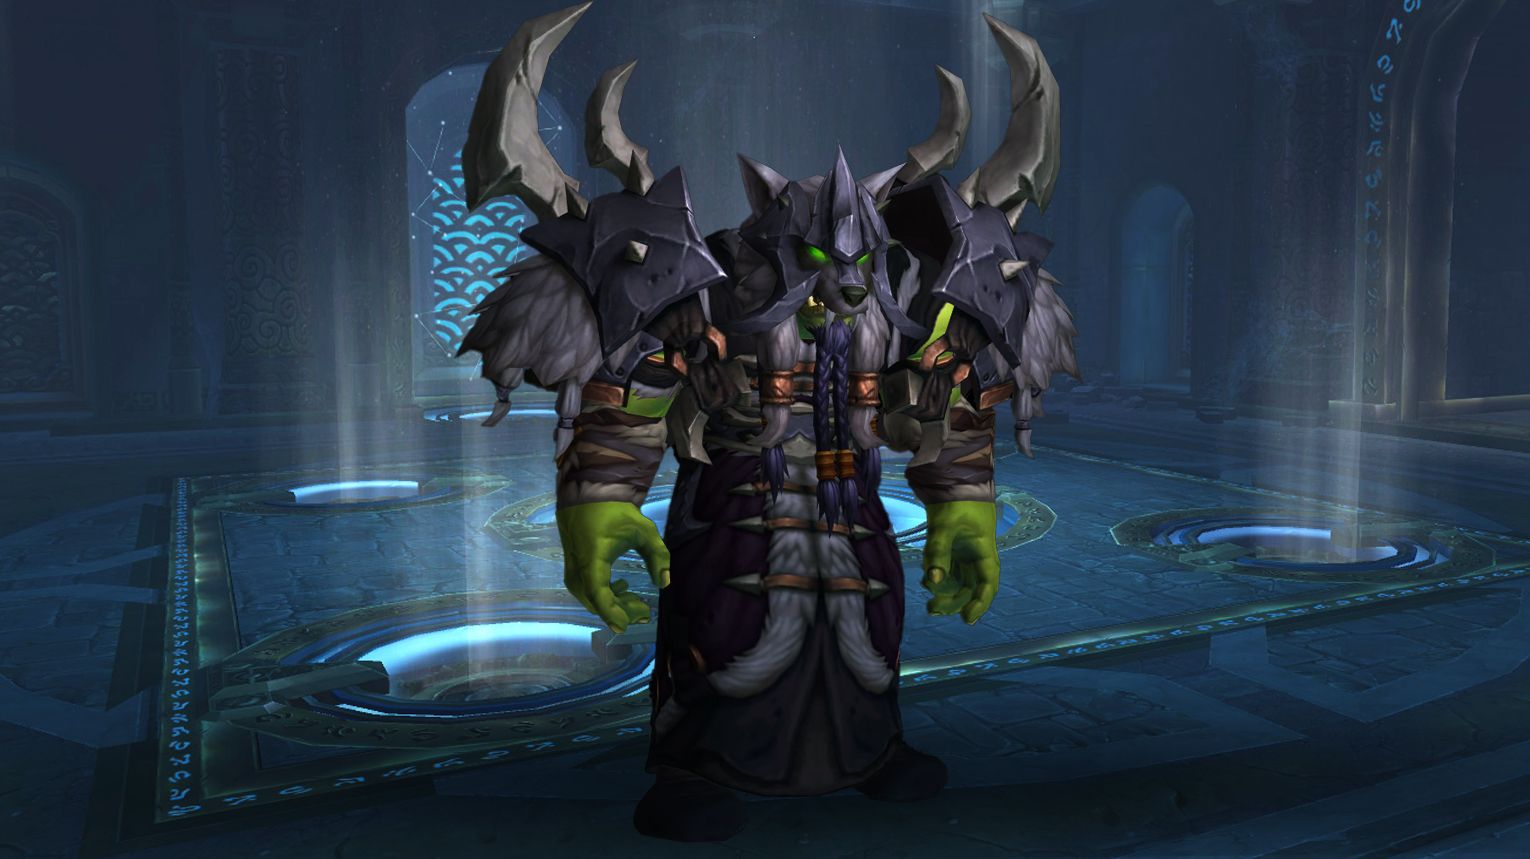
The Kor’kron Dark Shaman encounter in World of Warcraft features two bosses, Earthbreaker Haromm and Wavebinder Kardris, who share health and must be fought simultaneously. Initially, they are accompanied by their mounts, Darkfang and Bloodclaw, which have low health and are quickly defeated. The difficulty of the fight escalates as the bosses’ health decreases, with new abilities being unlocked at 85%, 65%, and 50% health. At 25% health, the bosses gain a buff that increases their damage and haste by 25%.
 Preferred Classes:
 Tanks:
  Brewmaster Monks are preferred for kiting Foul Slimes due to their ability to generate threat at range.
 Healers: All healing specs are viable, but those with strong raid cooldowns are particularly useful.
 DPS:
DPS:
- Ranged DPS is crucial for handling Foul Slimes and avoiding ground effects.
- Melee DPS should be cautious around Foul Geyser.
 Tips:
Tips:
- Tank Switching: Regularly switch tanks to manage the stacking debuff from Froststorm Strike.
- Positioning: Tank the bosses together near the outer edge of the arena to maximize cleave damage and avoid Ashen Walls.
- Avoidance: Players must be aware of their surroundings to avoid abilities like Foul Stream, Falling Ash, and Toxic Storm.
- Cooldowns: Use defensive cooldowns during the sub-25% health phase and when Falling Ash is cast.
 Strategy:
- Initial Phase: Focus on killing Darkfang and Bloodclaw quickly.
- 100-65% Health: Manage tank switches and avoid Toxic Mist and Toxic Storm.
- 65-50% Health: Avoid Foul Stream and kill or kite Foul Slimes from Foul Geyser.
- 50-25% Health: Move away from Ashen Walls and avoid Falling Ash.
- Sub-25% Health: Use defensive cooldowns to manage increased damage and spatial constraints.
 Bloodlust/Drums:
The start of the fight is ideal for maximizing raid DPS with all cooldowns available, but the sub-25% phase may require the extra boost to overcome the increased difficulty.
 Kor’kron Dark Shaman loot table:
| Type of Armor | Item | Loot type |
| Cloth | Toxic Tornado Treads | Feet |
| Iron Wolf Hood | Head | |
| Leather | Darkfang Mask | Head |
| Riou’s Vigilant Leggings | Legs | |
| Damron’s Belt of Darkness | Waist | |
| Haromm’s Horrifying Helm | Head | |
| Shoulderguards of Foul Streams | Shoulder | |
| Belt of the Iron Prison | Waist | |
| Plate | Breastplate of Shamanic Mirrors | Chest |
| Wolf-Rider Spurs | Feet | |
| Shoulderplates of Gushing Geysers | Shoulder | |
| Ashen Wall Girdle | Waist | |
| Shackles of Stinking Slime | Wrist | |
| Any | Haromm’s Frozen Crescent | 1H Axe |
| Kardris’ Scepter | 1H Mace | |
| Ashflare Pendant | Amulet | |
| Poisonmist Nightcloak | Cloak | |
| Bloodclaw Band | Ring | |
| Ring of the Iron Tomb | Ring | |
| Kardris’ Toxic Totem | Trinket | |
| Haromm’s Talisman | Trinket |
General Nazgrim
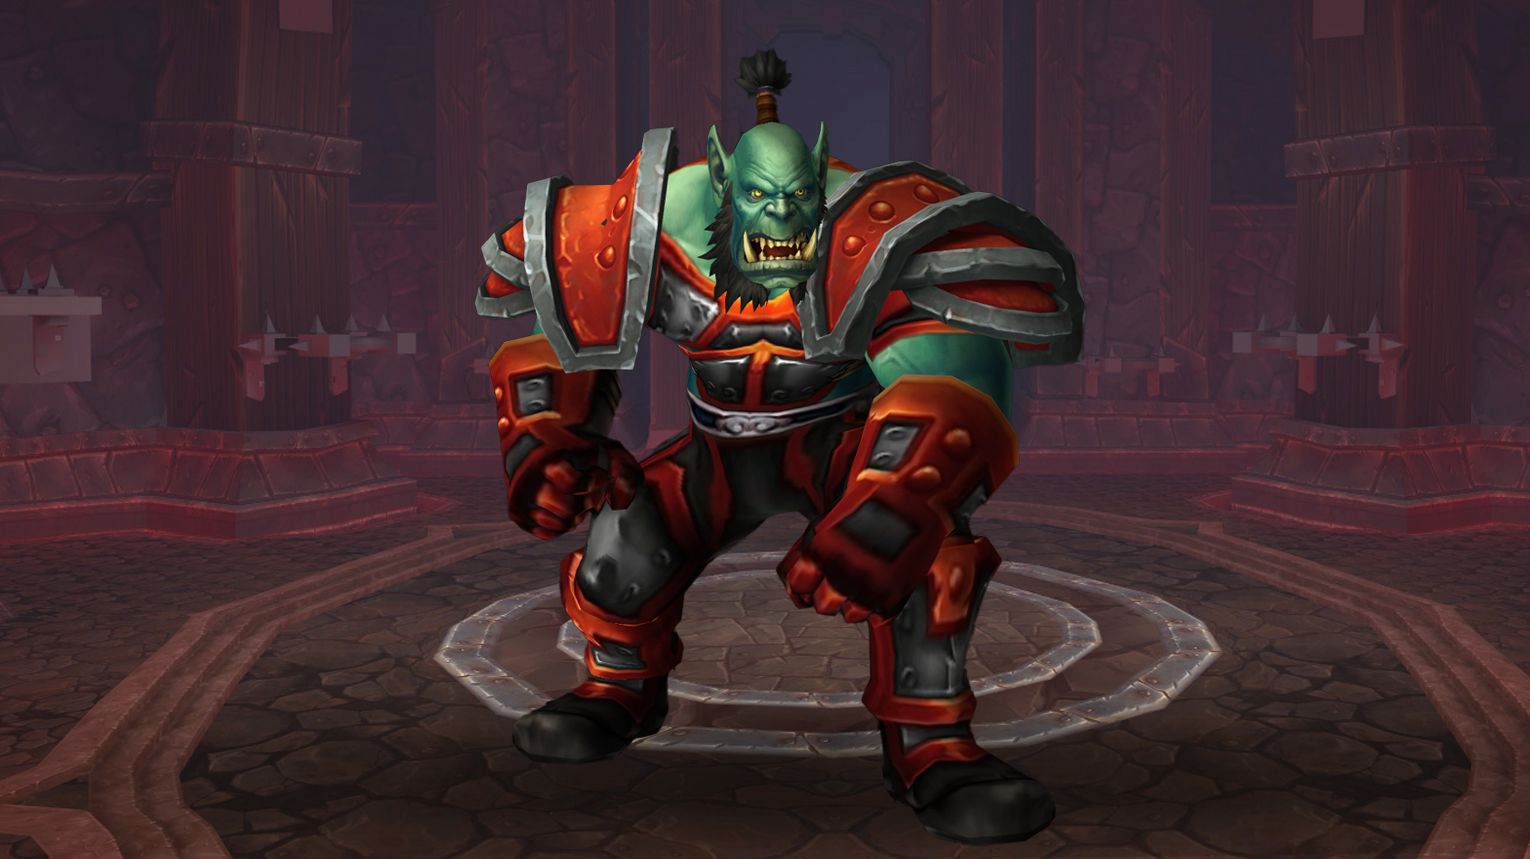
General Nazgrim is a rage-driven boss in Siege of Orgrimmar with Warrior-like abilities. Control his Rage by avoiding mechanics (Aftershocks, Ravager) and not attacking during Defensive Stance. Prioritize killing adds—Warshamans (healers) and Arcweavers (casters) first—while interrupting key spells. Tanks must swap on Sundering Blow stacks and mitigate Execute in Heroic. Use Bloodlust during Berserker Stance (25% damage buff) or at 10% to burn the boss.
 Preferred Classes:
 Tips:
Tips:
- Rage Management:
- Avoid hitting Nazgrim during Defensive Stance (except active tank).
- Dodge Aftershocks (Heroic Shockwave) and Ravager weapons to deny Rage.
- Adds:
- Kill Order: Warshamans > Arcweavers > Assassins > Ironblades.
- Interrupts: Focus on Arcweavers (Magistrike) and Warshamans (Chain Heal).
- Stuns: Use CC on Assassins to prevent Backstabs.
- Tanks: Swap on Sundering Blow stacks; save CDs for Execute (Heroic).
 Strategy:
- Phase 1: Boss & Adds
- Tanks: Swap at 2+ Sundering Blow stacks.
- DPS: Prioritize adds > Nazgrim. Burn Banners instantly.
- Healers: Watch for Bonecracker bleeds and War Song (use raid CDs).
- Positioning: Spread for Heroic Shockwave; move from Aftershocks.
- Heroic Differences:
- Execute: Tanks must mitigate (cast every 15 sec).
- Snipers: Fixate ranged players; face them away to avoid Multi-Shot.
- Final 10%: Lust and ignore adds, kite them to the back.
 Bloodlust/Drums:
During Berserker Stance (Nazgrim takes 25% increased damage).
 General Nazgrim loot table:
| Type of Armor | Item | Loot type |
| Cloth | Sandals of Two Little Bees | Feet |
| Spaulders of Kor’kron Fealty | Shoulder | |
| Leather | Robes of the Warrior’s Fall | Chest |
| Shoulderguards of the Righteous Stand | Shoulder | |
| Ravager’s Pathwalkers | Feet | |
| Crown of Tragic Truth | Head | |
| Any | Arcweaver Spell Sword | 1H Sword |
| Gar’tok, Strength of the Faithful | 2H Mace | |
| Bulwark of the Fallen General | Shield | |
| Nazgrim’s Burnished Insignia | Trinket |
Malkorok
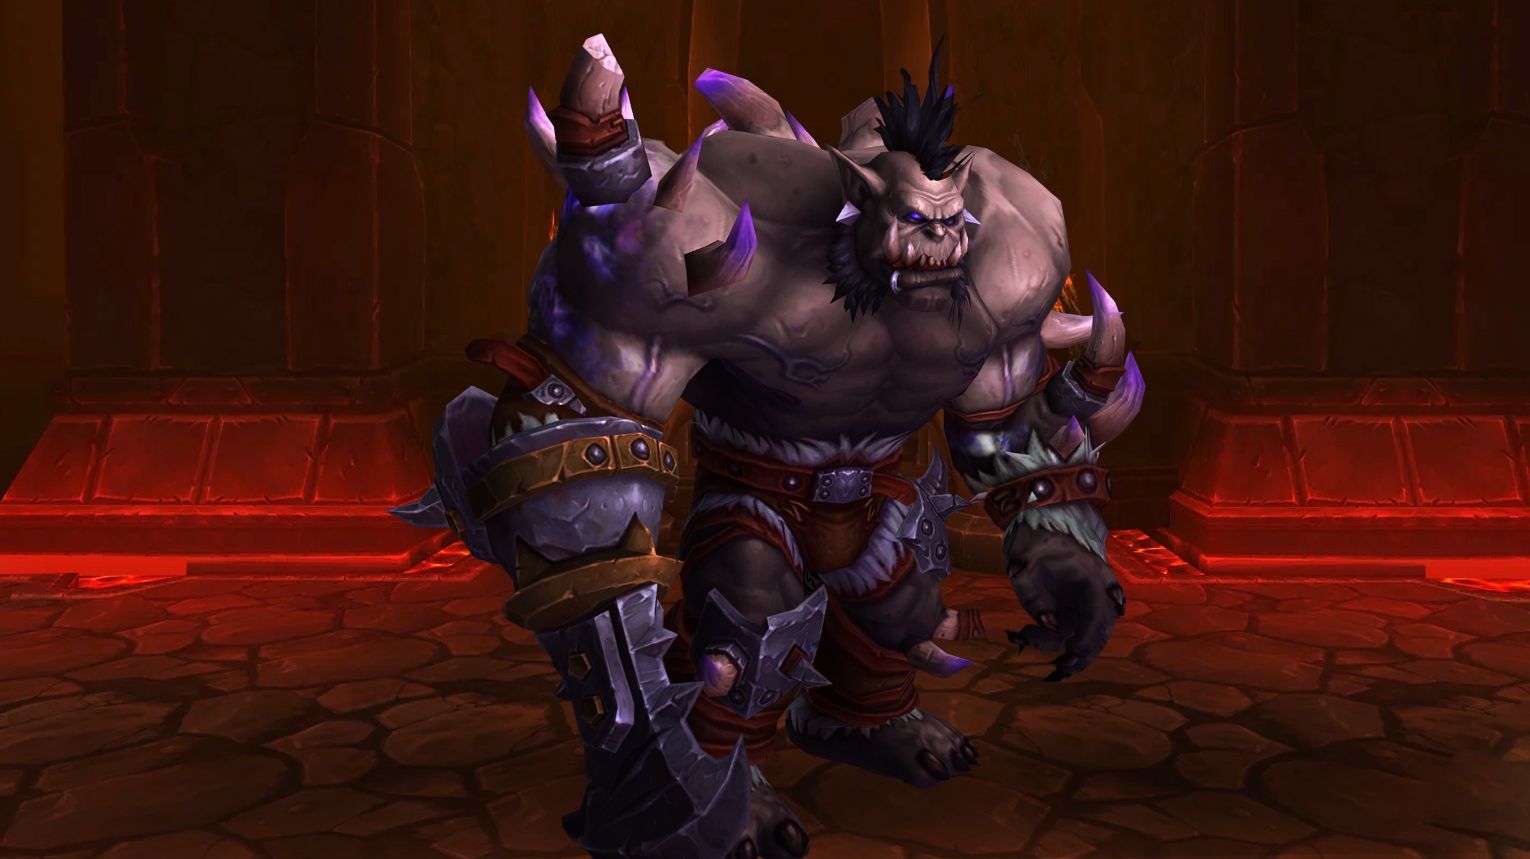
Malkorok alternates between two phases: Might of the Kor’kron (2 minutes), where players rely on damage-absorption shields and dodge frontal attacks (Arcing Smash), and Blood Rage (20 seconds), where the raid stacks to split heavy damage while handling Displaced Energy debuffs. Tanks must swap due to Fatal Strike, and DPS/healers soak Imploding Energy voids. Use Bloodlust on pull to maximize DPS before Relentless Assault stacks escalate. On Heroic, clear Orbs of Corruption with immunities and kill Living Corruptions quickly. Positioning and shield management are key.
 Preferred Classes:
 Tanks: Strong active mitigation (e.g.,
  Death Knight,
  Paladin) to handle Fatal Strike stacks and Blood Rage spikes.
 Healers: High-output healers (
 Disc Priest,
  Resto Shaman) to maintain shields during Ancient Miasma.
 DPS:
DPS:
- Mobility-focused (
 Hunters,
  Mages) to avoid Arcing Smash and soak Imploding Energy.
 - Immunities (
 Rogues,
  Hunters) to clear Orbs of Corruption on Heroic.
- Mobility-focused (
 Tips:
Tips:
- Shield Management: Healers must spam shields (Ancient Miasma)—prioritize players soaking Imploding Energy.
- Positioning:
- Spread 5+ yards apart in Might phase to avoid Seismic Slam splash.
- Stack tightly in front of boss during Blood Rage.
- Debuffs:
- Displaced Energy: Move 8+ yards away before dispelling/expiring.
- Fatal Strike: Tank-swap at 2–3 stacks.
 Strategy:
- Might of the Kor’kron:
- Dodge Arcing Smash cones and mark zones to avoid Breath of Y’Shaarj.
- Assign players to soak Imploding Energy voids (1 per zone).
- Heroic: Kill Living Corruptions quickly; use immunities to clear Orbs of Corruption.
- Blood Rage:
- Stack to split Blood Rage damage; use raid cooldowns (Devotion Aura, Rallying Cry).
- Heroic: Either solo-tank with cooldowns or have raid move through boss to avoid rooted Displaced Energy players.
 Bloodlust/Drums:
On pull to maximize DPS cooldowns and burn the boss before Relentless Assault stacks (damage buff per phase) overwhelm the raid.
 Malkorok loot table:
| Type of Armor | Item | Loot type |
| Cloth | Robes of Riven Dreams | Chest |
| Hood of Perpetual Implosion | Head | |
| Miasmic Skullbelt | Waist | |
| Leather | Lazahk’s Lost Shadowrap | Chest |
| Boots of Perilous Infusion | Feet | |
| Bracers of Averted Fatality | Wrist | |
| Ebon Blood Chestguard | Chest | |
| Wristguards of Ruination | Wrist | |
| Plate | Terrorguard Chestplate | Chest |
| Malkorok’s Giant Stompers | Feet | |
| Legplates of Willful Doom | Legs | |
| Blood Rage Bracers | Wrist | |
| Any | Malkorok’s Skullcleaver | 1H Axe |
| Malkorok’s Tainted Dog Tags | Amulet | |
| Black-Blooded Drape | Cloak | |
| Kor’kron Hand Cannon | Gun | |
| Halberd of Inner Shadows | Polearm | |
| Seal of Sullen Fury | Ring | |
| Ring of Restless Energy | Ring | |
| Visage of the Monstrous | Shield | |
| Frenzied Crystal of Rage | Trinket | |
| Vial of Living Corruption | Trinket |
Spoils of Pandaria
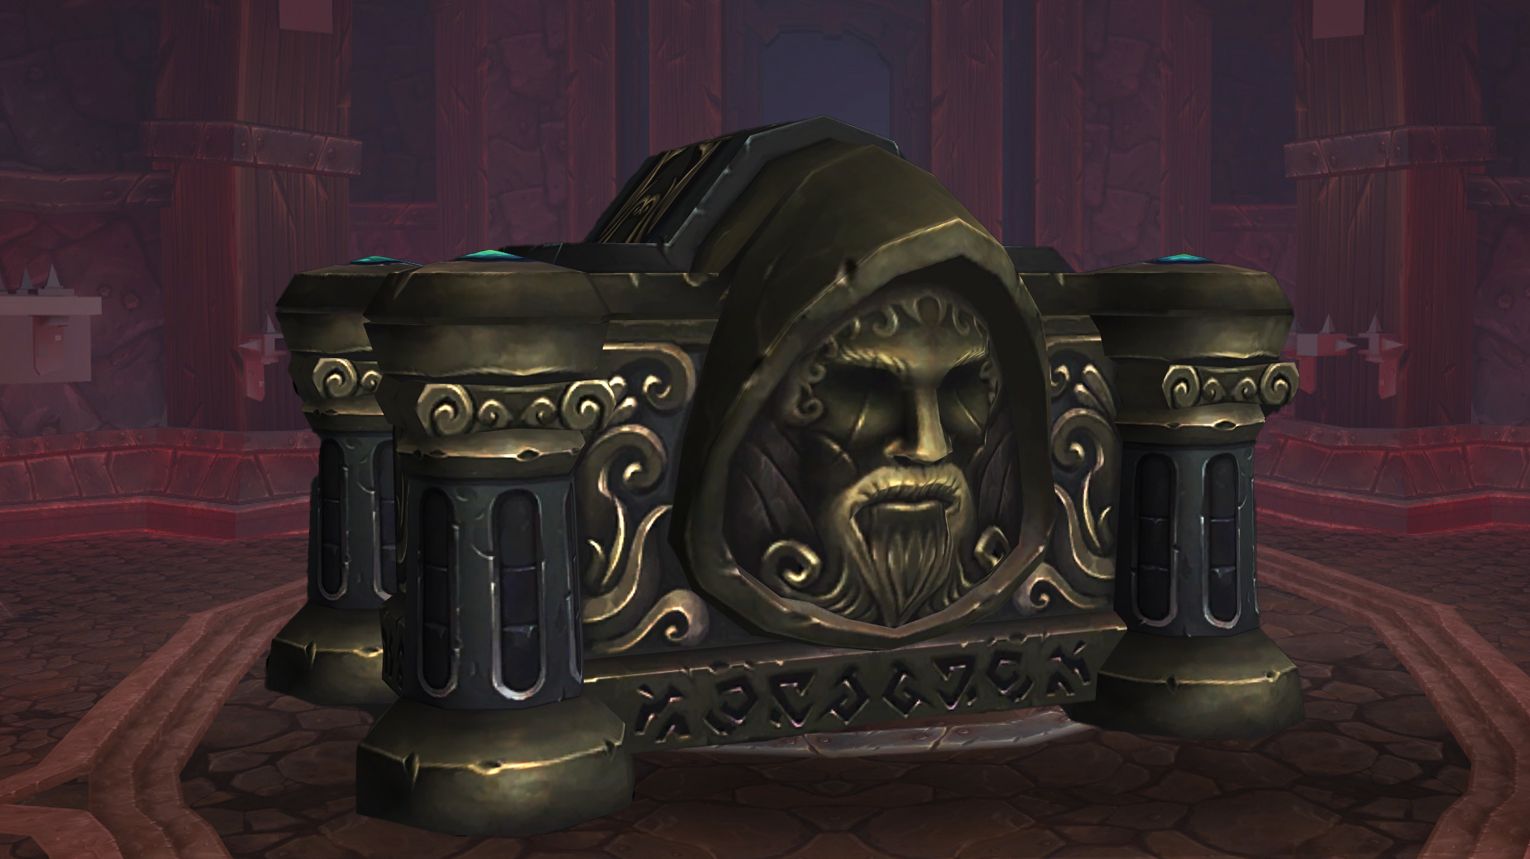
The Spoils of Pandaria is a unique raid encounter where teams split into two groups to clear adds from crates in Mogu and Mantid-themed quadrants. Each group must kill adds to fill an Energy bar (50 Energy), then pull levers to progress before timers expire. Prioritize Pandaren Crates for powerful buffs, manage crate sizes (Light/Stout/Massive) for efficient Energy gain, and handle quadrant-specific mechanics like Set to Blow (Mantid) or Stone Statues (Mogu). Use Bloodlust early for burst damage or save it for tight Heroic-mode phases. Coordination and add control are key—wipe risks include timers or unchecked mechanics like Unstable Sparks (Heroic).
 Preferred Classes:
 Tanks:
- Strong AoE threat (e.g.,
 Protection Paladin,
  Blood DK) for add management.
 - Mobility for kiting Kor’thik Warcallers (Mantid).
- Strong AoE threat (e.g.,
 Healers:
 DPS:
DPS:
- Ranged: Prioritized for handling Unstable Sparks (Heroic) and Stone Statues (Mogu).
 Hunters,
  Mages,
  Warlocks excel.
 - Melee: Strong cleave (e.g.,
 Fury Warrior,
  Retribution Paladin) for clustered adds.
- Ranged: Prioritized for handling Unstable Sparks (Heroic) and Stone Statues (Mogu).
 Tips:
Tips:
- Pandaren Crates: Open these first for raid-wide buffs:
- Brewmaster Spirit: Tank damage buff.
- Mistweaver Spirit: Healer proc
- Windwalker Spirit: DPS proc.
- Energy Management: Avoid over-pulling. Calculate crate sizes to hit 50 Energy efficiently (e.g., 2 Massive = 28 Energy, then supplement with Stout/Lightweight).
- Heroic Mode:
- Unstable Sparks spawn when crates are cleared. Assign ranged to nuke them immediately.
- Crimson Reconstitution (Mogu) now damages players—stay out.
 Strategy:
Mogu Quadrant:
- Prioritize:
- Kill Stone Statues (from Mogu Elders) to reduce boss damage.
- Interrupt Forbidden Magic (Shadow Ritualists).
- Dodge Matter Scramble beams (Anima Golems) by having players stand in both.
- Tanks: Drag mobs out of Crimson Reconstitution healing zones.
Mantid Quadrant:
- Prioritize:
- Set to Blow: Affected players drop bombs in empty areas and avoid detonating them.
- Dispel Residue (Amber Priests) and Rage of the Empress (Wind Wielders).
- Kite Enraged Kor’thik Warcallers.
General:
- Split Raid Evenly: Balance tanks/healers/DPS between quadrants.
- Cleave Lightweight Adds: Open them alongside larger crates for efficient Energy gain.
 Bloodlust/Drums:
Save for final quadrants if struggling with Unstable Sparks or enrage timer.
 Spoils of Pandaria loot table:
| Type of Armor | Item | Loot type |
| Cloth | Mantid Vizier’s Robes | Chest |
| Avool’s Ancestral Bracers | Wrist | |
| Leather | Pandaren Roofsprinters | Feet |
| Klaxxi Grips of Rejuvenation | Hands | |
| Shado-Pan Reliquary Kilt | Legs | |
| Mantid Carapace Augments | Wrist | |
| Ancient Archer’s Chestguard | Chest | |
| Arrowflight Girdle | Waist | |
| Chitin-Link Chain Belt | Waist | |
| Bracers of the Pristine Purifier | Wrist | |
| Plate | Mogu Mindbender’s Greaves | Feet |
| Ominous Mogu Greatboots | Feet | |
| Helm of the Night Watchman | Head | |
| Plate Belt of the War-Healer | Waist | |
| Untarnishable Greatbelt | Waist | |
| Any | Enchanted Shao-Tien Saber | 1H Sword |
| Lost Necklace of the Mogu Empress | Amulet | |
| Seal of the Forgotten Kings | Ring | |
| Ancient Mogu Tower Shield | Shield | |
| Sigil of Rampage | Trinket | |
| Immaculately Preserved Wand | Wand |
Thok the Bloodthirsty
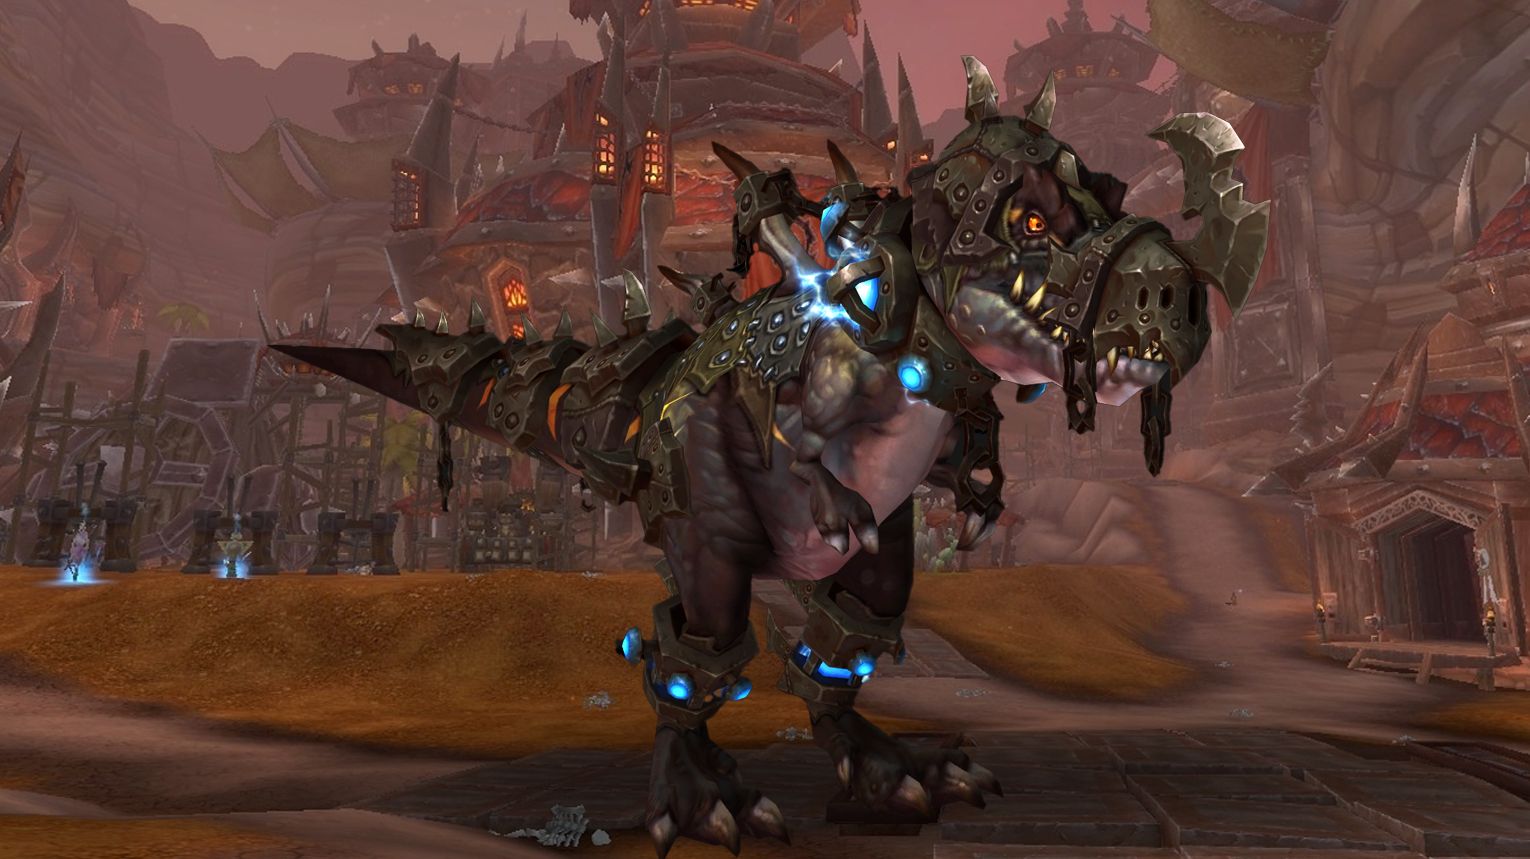
The fight against Thok the Bloodthirsty consists of two alternating phases. Phase One is the initial phase where the raid fights Thok, who uses various abilities. Phase Two is a transition phase where Thok fixates on random raid members, and the raid must free one of three friendly NPCs (Akolik, Gorai, and Montak). Each time an NPC is freed and killed by Thok, Phase One resumes with modified abilities. This cycle continues until all three NPCs are freed, at which point the raid will be stuck in Phase Two, leading to a wipe.
 Preferred Classes:
The fight requires a balanced raid composition with ![]() tanks,
tanks, ![]() healers, and
healers, and ![]() DPS. Specific class advice can be found on forums, but generally, all classes and specs can contribute effectively.
DPS. Specific class advice can be found on forums, but generally, all classes and specs can contribute effectively. ![]() Tanks need to manage Thok‘s frontal cone attacks, healers must handle increasing raid-wide damage, and
Tanks need to manage Thok‘s frontal cone attacks, healers must handle increasing raid-wide damage, and ![]() DPS must focus on killing Thok and handling adds during Phase Two.
DPS must focus on killing Thok and handling adds during Phase Two.
 Tips:
Tips:
 Tanks: Position Thok carefully to avoid his frontal and tail attacks. Perform tank switches to manage debuffs.
 Healers: Be prepared for increasing raid damage and use cooldowns effectively. Avoid casting during Deafening Screech.
 DPS: Focus on Thok during Phase One and switch to the Kor’kron Jailer during Phase Two. Kill ice tombs quickly if Gorai is freed. Everyone: Avoid being in front of or behind Thok. Kite Thok predictably during Phase Two.
 Strategy:
- Phase One: Stack the raid to the side of Thok, perform tank switches, and heal through increasing damage. Use defensive cooldowns to prolong Phase One.
- Phase Two: Kite Thok between designated locations. Kill the Kor’kron Jailer quickly and free an NPC to end the phase.
- Phase One Variations: Adapt to the abilities Thok gains based on the NPC freed. Akolik and Gorai phases allow stacking, while Montak phase requires spreading out due to fiery void zones.
 Bloodlust/Drums:
At the start of the fight to maximize the benefit of all raid members having their cooldowns available.
 Thok loot table:
| Type of Armor | Item | Loot type |
| Cloth | Akolik’s Acid-Soaked Robes | Chest |
| Montak’s Grips of Scorching Breath | Hands | |
| Plate | Icy Blood Chestplate | Chest |
| Any | Gleaming Eye of the Devilsaur | Amulet |
| Aeth’s Swiftcinder Cloak | Cloak | |
| Hvitserk’s Formidable Shanker | Dagger | |
| Festering Primordial Globule | Off-hand Frill | |
| Britomart’s Jagged Pike | Polearm | |
| Devilfang Band | Ring | |
| Signet of the Dinomancers | Ring | |
| Thok’s Acid-Grooved Tooth | Trinket | |
| Thok’s Tail Tip | Trinket |
Siegecrafter Blackfuse
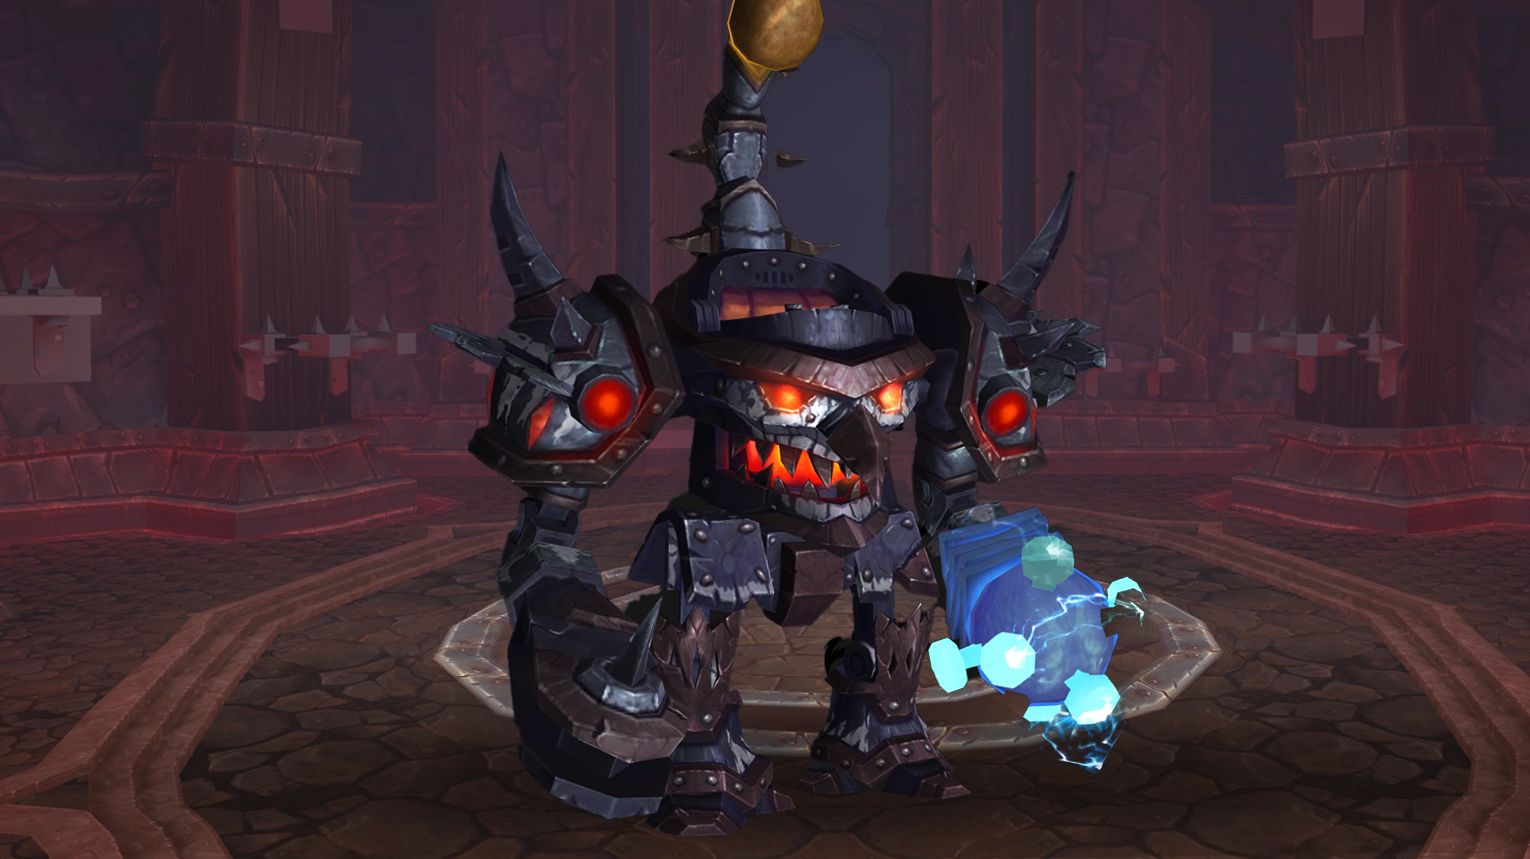
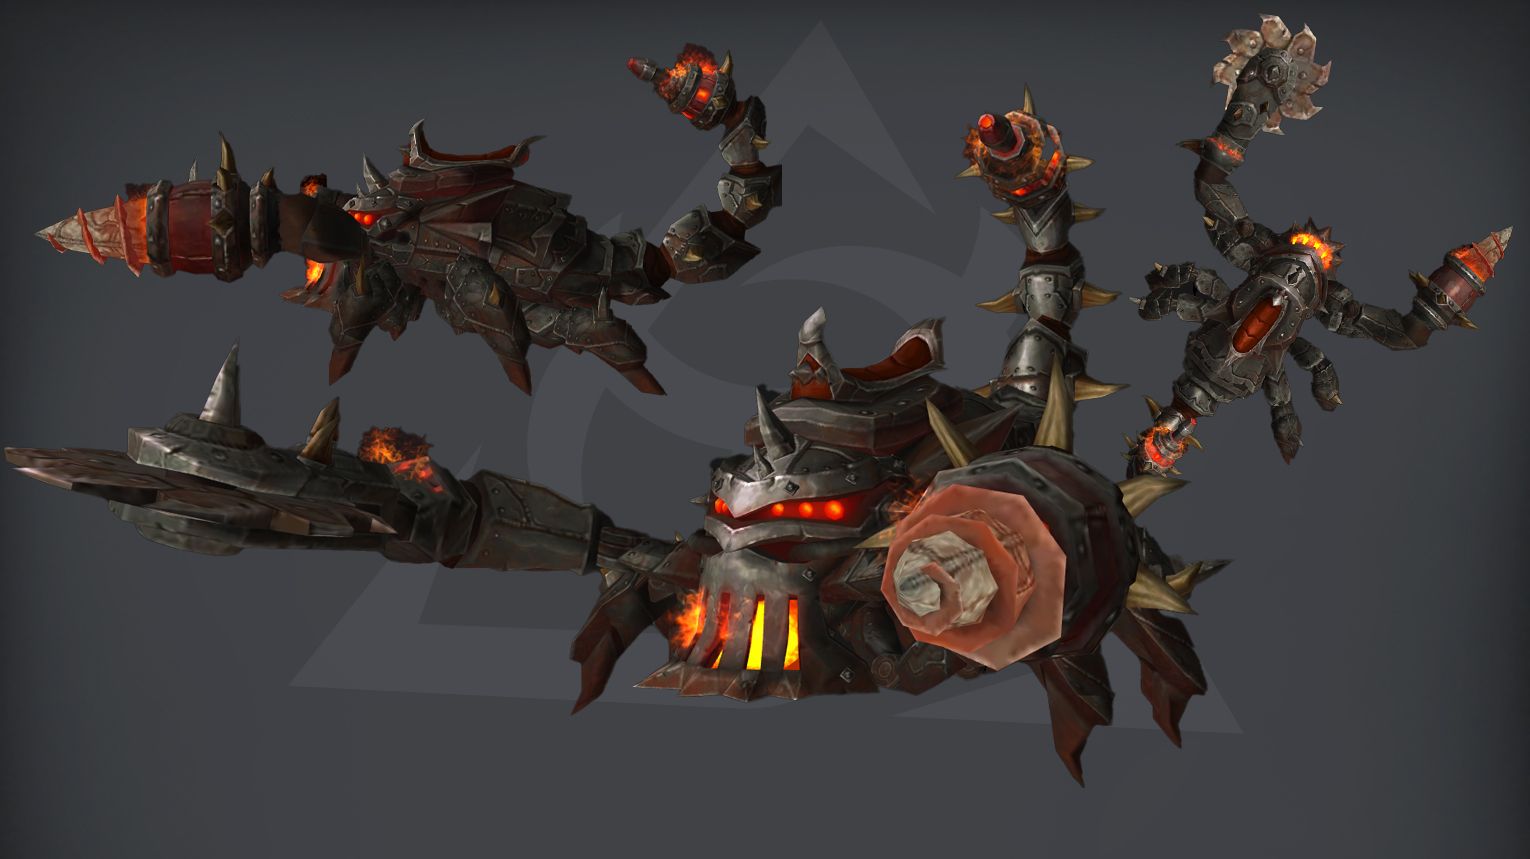
Siegecrafter Blackfuse is a single-phase fight with adds spawning on conveyor belts. Kill one add per wave (prioritize Crawler Mines) to avoid empowered abilities, while tanks manage the boss and Automated Shredders separately. Avoid sawblades, dodge Shockwave Missiles, and kite Laser Turret beams. Use Bloodlust early for maximum DPS. In Heroic mode, Overcharged adds (like splitting mines or rotating fire rings) demand precise coordination.
 Preferred Classes:
 Tanks: Any, but must coordinate swaps for Electrostatic Charge.
 DPS:
DPS:
- High Burst:
 Hunters,
  Mages,
  Rogues (for conveyor belt adds).
 - Sustained AoE:
 Warlocks,
  Shadow Priests (for Crawler Mines).
- High Burst:
 Healers: Strong raid healers (e.g.,
  Restoration Shaman,
  Discipline Priest) due to frequent AoE damage.
- Special Note: Hunters can bypass conveyor belt debuffs using Disengage.
 Tips:
Tips:
- Conveyor Belt Teams:
- Assign 2 DPS (10-man) or 4 DPS (25-man) to alternate waves (60s debuff limits reuse).
- Prioritize killing Crawler Mines (most disruptive) or Electromagnets (clears sawblades).
- Positioning:
- Tank boss near northwestern belt edge to maximize space for Shockwave Missile dodges.
- Keep Automated Shredders 35+ yards from boss to avoid healing.
- Sawblades: Avoid placing them in future safe zones (critical for Heroic Laser Turrets).
- Crawler Mines: Stun/snare during Break-in Period; kill before they detonate.
 Strategy:
- Tanking:
- Swap tanks on Electrostatic Charge stacks.
- Off-tank grabs Automated Shredder, kites it away from boss.
- Conveyor Belt:
- Kill Crawler Mines most waves; allow Electromagnets periodically to clear sawblades.
- Avoid Matter Purification Beams on the belt (instant death).
- Add Management:
- Missile Turret: Dodge shockwaves (orange indicators).
- Laser Turret: Kite beams away from raid.
- Electromagnet: Watch for sawblades pulled toward it.
- Heroic Mode:
- Overcharged Adds: Rotate kills to avoid back-to-back dangerous variants (e.g., Laser Turret rings).
- Hunter Trick: Use Disengage to bypass conveyor debuff.
 Bloodlust/Drums:
Best time to maximize cooldowns and burn boss before mechanics overwhelm.
 Siegecrafter Blackfuse loot table:
| Type of Armor | Item | Loot type |
| Cloth | Fusespark Gloves | Hands |
| Leather | Bomber’s Blackened Wristwatch | Wrist |
| Powder-Stained Totemic Treads | Feet | |
| Bracers of Infinite Pipes | Wrist | |
| Plate | Calixian Bladebreakers | Hands |
| Any | Siegecrafter’s Forge Hammer | 1H Mace |
| Blackfuse’s Blasting Cord | Amulet | |
| Asgorathian Blood Seal | Ring | |
| Lever of the Megantholithic Apparatus | Staff | |
| Ticking Ebon Detonator | Trinket | |
| Dysmorphic Samophlange of Discontinuity | Trinket |
Paragons of the Klaxxi
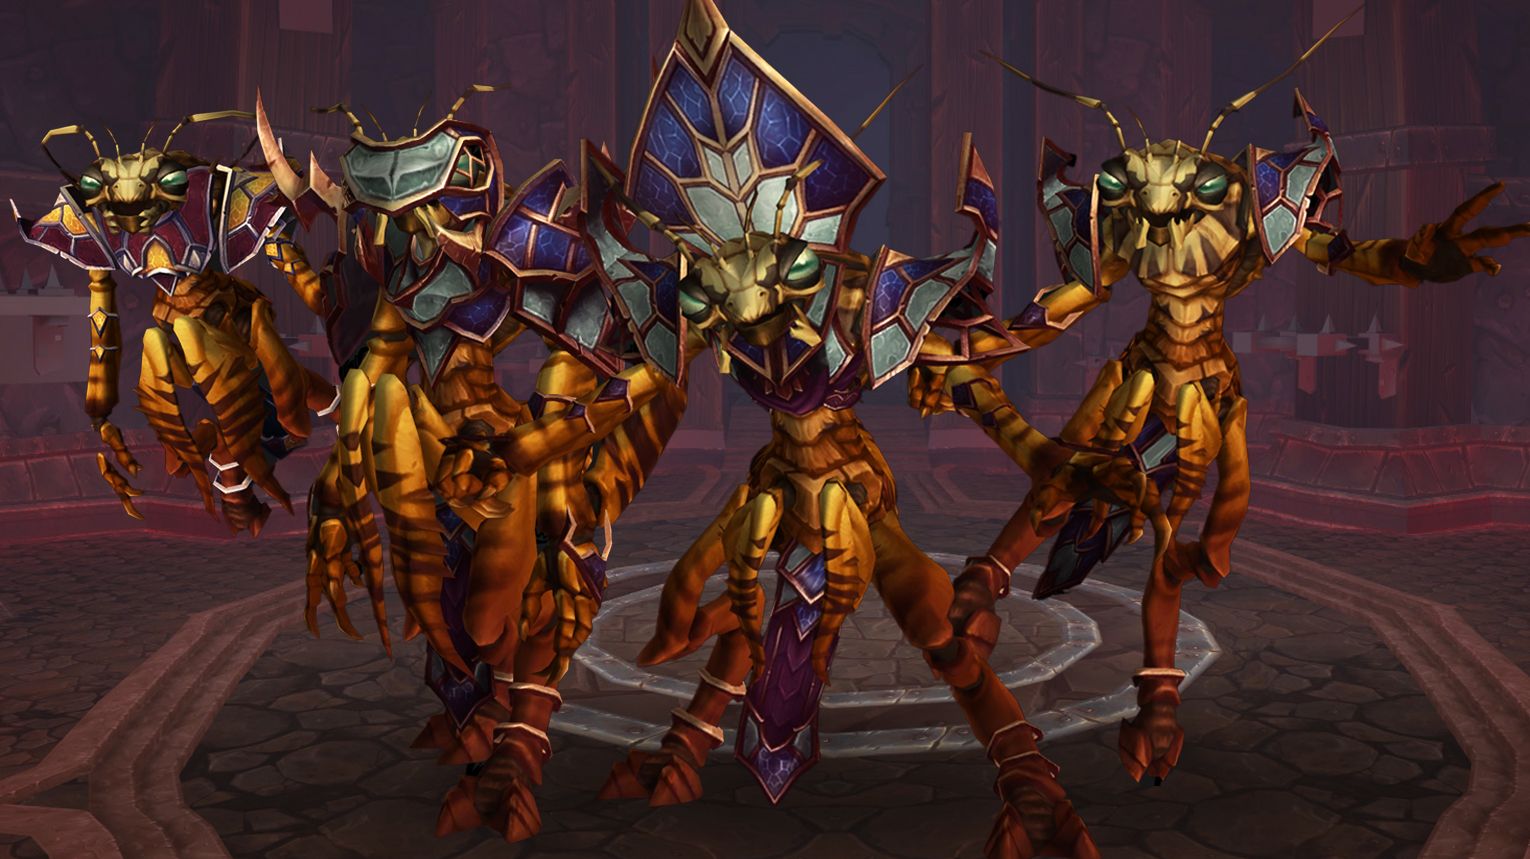
The Paragons of the Klaxxi is a 9-boss encounter where you fight 3 at a time, with a new one joining after each kill. Each dead Paragon grants a unique buff (e.g., healing orbs, damage boosts). Key mechanics include managing tank debuffs (Hewn, Injection), prioritizing adds (Bloods, Amber Parasites), and avoiding lethal abilities (Aim, Fiery Edge). Use Bloodlust early to burn the first Paragons fast. In Heroic, the fight escalates with new abilities like Rapid Fire and a strict kill order (Skeer → Rik’kal → Korven, etc.).
 Preferred Classes:
 Tanks: Strong active mitigation (e.g.,
  Protection Paladin,
  Blood DK) to handle debuffs like Hewn/Genetic Alteration.
 Healers: High burst healing (e.g.,
  Discipline Priest,
  Restoration Shaman) for Diminish and Aim mechanics.
 DPS: Prioritize classes with strong single-target/execute damage (e.g.,
  Affliction Warlock,
  Assassination Rogue) and cleave for adds (e.g.,
  Fury Warrior).
 Tips:
Tips:
- Corpse Buffs: Assign optimal roles (e.g., healers take Ingenious, tanks take Master of Amber).
- Active Mitigation: Tanks must time cooldowns to avoid Injection/Caustic Blood stacks.
- Spread Out: Avoid overlapping Whirling (Ka’roz) and Fiery Edge (Iyyokuk) damage.
- Priority Targets: Focus amber blocks (Encase in Amber), Bloods, and Amber Parasites immediately.
 Strategy:
- Initial Phase (Skeer/Rik’kal/Hisek):
- Mid Fight (Ka’roz/Korven/Iyyokuk):
- Bait Encase in Amber onto non-priority Paragons.
- Use Strong Legs (Ka’roz’s buff) to break amber blocks.
- Late Fight (Xaril/Kaz’tik/Kil’ruk):
- Spread for Toxic Injection (colors: red/blue/yellow).
- Burst Hungry Kunchongs during Mesmerize.
- Dodge Death from Above and Reave (Kil’ruk).
 Bloodlust/Drums:
Opening phase (maximize DPS cooldowns to burn Skeer/Rik’kal quickly).
 Paragons of the Klaxxi loot table:
| Type of Armor | Item | Loot type |
| Cloth | Bracers of Sonic Projection | Wrist |
| Leather | Amber Parasite Wraps | Chest |
| Chestguard of Toxic Injections | Chest | |
| Plate | Gauntlets of Insane Calculations | Hands |
| Any | Korven’s Crimson Crescent | 1H Axe |
| Kil’ruk’s Furious Blade | 1H Sword | |
| Hisek’s Reserve Longbow | Bow | |
| Kovok | Battle Pet | |
| Iyyokuk’s Hereditary Seal | Ring | |
| Kil’ruk’s Band of Ascendancy | Ring | |
| Skeer’s Bloodsoaked Talisman | Trinket |
Garrosh Hellscream
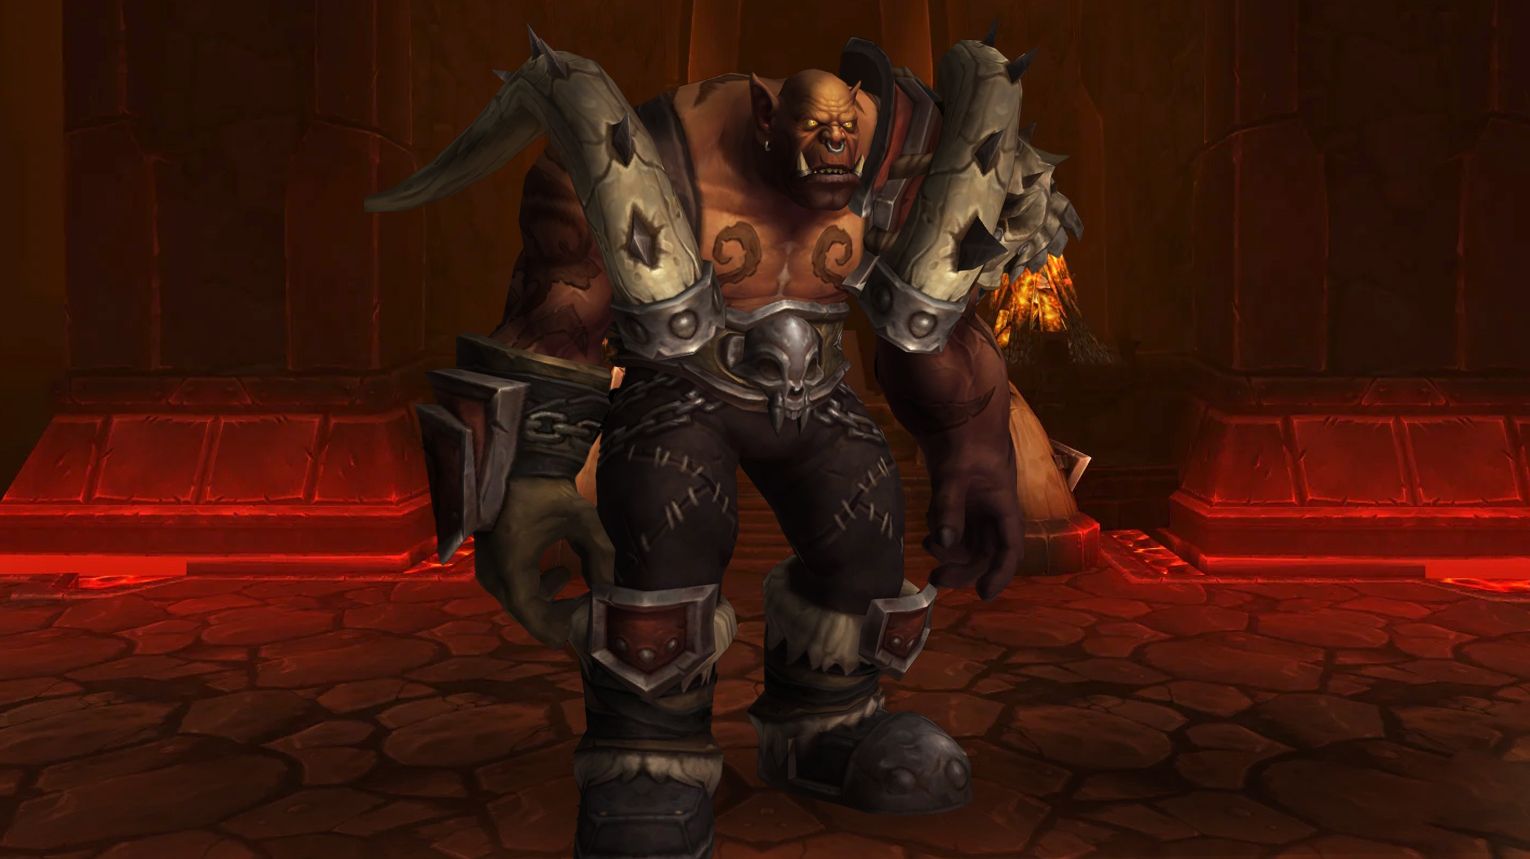
Garrosh Hellscream is a 4-phase fight in Siege of Orgrimmar. Phase 1 involves tanking Garrosh while managing adds (Warbringers, Wolf Riders) and dodging Iron Stars. Transition phases require killing adds in Y’Shaarj’s realm to limit his power. Phases 2/3 introduce empowered abilities (mind control, whirlwinds) and demand tight positioning. Use Bloodlust in Phase 3 (or Heroic Phase 4) to burn him down before mechanics overwhelm the raid. Heroic adds a Stormwind phase with Iron Star kiting and Malice soaking.
 Preferred Classes:
 Tanks: High-mobility tanks (e.g.,
  Brewmaster Monk,
  Protection Paladin) for add management.
 DPS:
DPS:
- Ranged:
 Hunters,
  Mages (for Desecrated Weapon cleanup).
 - Melee:
 Rogues (interrupts),
  Warriors (burst for adds).
- Ranged:
 Healers: Strong AoE healers (
 Resto Druid,
  Holy Priest) for Whirling Corruption raid damage.
- Utility:
 Shamans: Wind Shear for interrupts, Capacitor Totem for stuns.
 Druids: Solar Beam to silence Wolf Riders.
 Tips:
Tips:
- Phase 1:
- Let one Iron Star roll to damage adds (use knockbacks like Typhoon).
- Never interrupt Wolf Riders’ Chain Lightning (triggers buff).
- Transition: Stack for Annihilate avoidance; kill adds fast to limit Garrosh’s energy.
- Phase 2/3:
- Spread for Empowered Whirling Corruption (dodge missiles).
- Tank swap at 8–10 stacks of Gripping Despair.
- Heroic:
- Malice: Rotate players in/out to soak Malicious Blast.
- Iron Stars: Kite into Garrosh to interrupt Manifest Rage.
 Strategy:
- Positioning:
- Ranged stack in corners; move incrementally for Desecrated Weapons.
- Melee stay behind Garrosh to avoid Annihilate.
- Add Priority:
- Wolf Riders (interrupt heals only).
- Warbringers (AoE down).
- Minions of Y’Shaarj (kill isolated to avoid buffs).
- Heroic Phase 4:
- Designate Iron Star kiters (Druids, Priests with speed boosts).
- Use immunities (Ice Block, Divine Shield) to reset Malice stacks.
 Bloodlust/Drums:
Phase 4 (to kill Garrosh before Manifest Rage overwhelms).
 Garrosh Hellscream loot table:
| Type of Armor | Item | Loot type |
| Cloth | Ebon Ritual Hood | Head |
| Belt of the Broken Pact | Waist | |
| Leather | Kor’kron Elite Skullmask | Head |
| Hopeglow Spaulders | Shoulder | |
| Cord of Black Dreams | Waist | |
| Seal of Karmic Return | Waist | |
| Chestguard of Relentless Tyranny | Chest | |
| Cowl of Smoking Dreams | Head | |
| Penetrating Gaze of Y’Shaarj | Head | |
| Shoulderguards of Intended Power | Shoulder | |
| Plate | Chestplate of Fallen Passion | Chest |
| Greathelm of the Warchief | Head | |
| Legplates of Unthinking Strife | Legs | |
| Mantle of Looming Darkness | Shoulder | |
| Tusks of Mannoroth | Shoulder | |
| Spaulders of the Fallen Warchief | Shoulder | |
| Any | Kor’kron Juggernaut | Mount |
| Horned Mace of the Old Ones | 1H Mace | |
| Xal’atoh, Desecrated Image of Gorehowl | 2H Axe | |
| Revelations of Y’Shaarj | Off-hand Frill | |
| Black Blood of Y’Shaarj | Trinket | |
| Curse of Hubris | Trinket |
Siege of Orgrimmar Achievements List
| Achievement | Requirement |
| Downfall | Defeat the bosses within Garrosh’s inner sanctum raid. |
| Gates of Retribution | Kill the bosses in the exterior of Orgrimmar raid. |
| Raid Finder: Siege of Orgrimmar | Slay the enemies on any difficulty. |
| Heroic: Siege of Orgrimmar | Defeat the enemies on Heroic difficulty. |
| Liberator of Orgrimmar | Kill Garrosh Hellscream on Heroic or Mythic difficulty. |
| Heroic: Garrosh Hellscream Guild Run | Slay Garrosh Hellscream on Heroic difficulty while in a guild group. |
| Ahead of the Curve: Garrosh Hellscream (10 player) | Defeat Garrosh Hellscream on 10-Player Normal difficulty or higher, before the release of patch 6.0. |
| Ahead of the Curve: Garrosh Hellscream (25 player) | Kill Garrosh Hellscream on 25-Player Normal difficulty or higher, before the release of patch 6.0. |
| Cutting Edge: Garrosh Hellscream (10 player) | Slay Garrosh Hellscream on 10-Player Heroic difficulty, before the release of patch 6.0. |
| Cutting Edge: Garrosh Hellscream (25 player) | Defeat Garrosh Hellscream on 25-Player Heroic difficulty, before the release of patch 6.0. |
| Realm First! Garrosh Hellscream (10 player) | First guild on the realm to defeat Garrosh Hellscream on 10-player Heroic difficulty while in a guild group. |
| Realm First! Garrosh Hellscream (25 player) | First guild on the realm to defeat Garrosh Hellscream on 25-player Heroic difficulty while in a guild group. |
| Mythic: Garrosh Hellscream | Kill Garrosh Hellscream on Mythic difficulty. |
| Mythic: Fallen Protectors | Slay the Fallen Protectors on Mythic difficulty. |
| Mythic: Galakras | Defeat Galakras on Mythic difficulty. |
| Mythic: General Nazgrim | Kill General Nazgrim on Mythic difficulty. |
| Mythic: Immerseus | Slay Immerseus on Mythic difficulty. |
| Mythic: Iron Juggernaut | Defeat the Iron Juggernaut on Mythic difficulty. |
| Mythic: Kor’kron Dark Shaman | Kill the Kor’kron Dark Shaman on Mythic difficulty. |
| Mythic: Malkorok | Slay Malkorok on Mythic difficulty. |
| Mythic: Norushen | Complete Norushen‘s trial on Mythic difficulty. |
| Mythic: Paragons of the Klaxxi | Defeat the Klaxxi Paragons on Mythic difficulty. |
| Mythic: Sha of Pride | Kill the Sha of Pride on Mythic difficulty. |
| Mythic: Siegecrafter Blackfuse | Slay Siegecrafter Blackfuse on Mythic difficulty. |
| Mythic: Spoils of Pandaria | Complete the Spoils of Pandaria event on Mythic difficulty. |
| Mythic: Thok the Bloodthirsty | Defeat Thok the Bloodthirsty on Mythic difficulty. |
| Glory of the Orgrimmar Raider | Complete the Siege of Orgrimmar raid achievements listed below. |
| Conqueror of Orgrimmar | Kill Garrosh Hellscream on Heroic or Mythic difficulty. |
| Criss Cross | Complete the Spoils of Pandaria encounter on Normal difficulty or higher without any raid member defeating both a Mantid and a Mogu enemy. |
| Fire in the Hole! | Stomp on 6 superheated Crawler Mines and then defeat the Iron Juggernaut on Normal difficulty or higher. |
| Gamon Will Save Us! | Slay General Nazgrim while Gamon is alive and participating in the battle on Normal difficulty or higher. |
| Giant Dinosaur vs. Mega Snail | Open the Thrice-Locked Cage during the Thok the Bloodthirsty encounter on Normal difficulty or higher, and then allow its inhabitant to feast upon Thok’s corpse once you have defeated the encounter. |
| Go Long | Transfer the Mark of Anguish to at least 5 unique players over a total of 200 yards or more during a single Desperate Measures phase, and then defeat the Fallen Protectors on Normal difficulty or higher. |
| Lasers and Magnets and Drills! Oh My! | Defeat Siegecrafter Blackfuse without destroying each of the following weapons on Normal difficulty or higher. |
| No More Tears | Kill Immerseus after killing 10 Tears of the Vale on Normal difficulty or higher. |
| None Shall Pass | Slay the Amalgam of Corruption without allowing any unleashed corruption to fuse with it on Normal difficulty or higher. |
| Now We are the Paragon | Defeat the Paragons after assuming the mantle of three different Paragons on Normal difficulty or higher. |
| Rescue Raiders | Rescue a set of caged prisoners, a group of unwilling combat participants, and Ji Firepaw before defeating the Kor’kron Dark Shaman on Normal difficulty or higher. |

