Mogu’shan Vaults, the first raid in World of Warcraft: Mists of Pandaria, was released on September 25, 2012. It remains a great place to farm unique transmogs, mounts, and achievements in The War Within. This ancient titan vault in Kun-Lai Summit has six bosses, each with their own challenges and rewards.
Mogu’shan Vaults and MoP transmog gear in general is nice to farm, but the best rewards in this game come from high-level PvE. If you want to gear up fast in the current patch, try our cheap WoW boost. Gamingcy’s US and EU teams can clear the hardest World of Warcraft raids on all difficulties (including Mythic and Heroic) and finish them in 1–2 hours. Runs happen every hour, so check the schedule and get started.
This guide will explore:
- Mogu’shan Vaults location
- Bosses and their rewards
- Available mounts, weapons, and transmogs
- Achievements you can earn
- Can you solo Mogu’shan Vaults?
Whether you’re seeking to farm transmogs, mounts, or test your skills, this guide will help you make the most of Mogu’shan Vaults in WoW.
Mogu’shan Vaults Entrance and Subregions
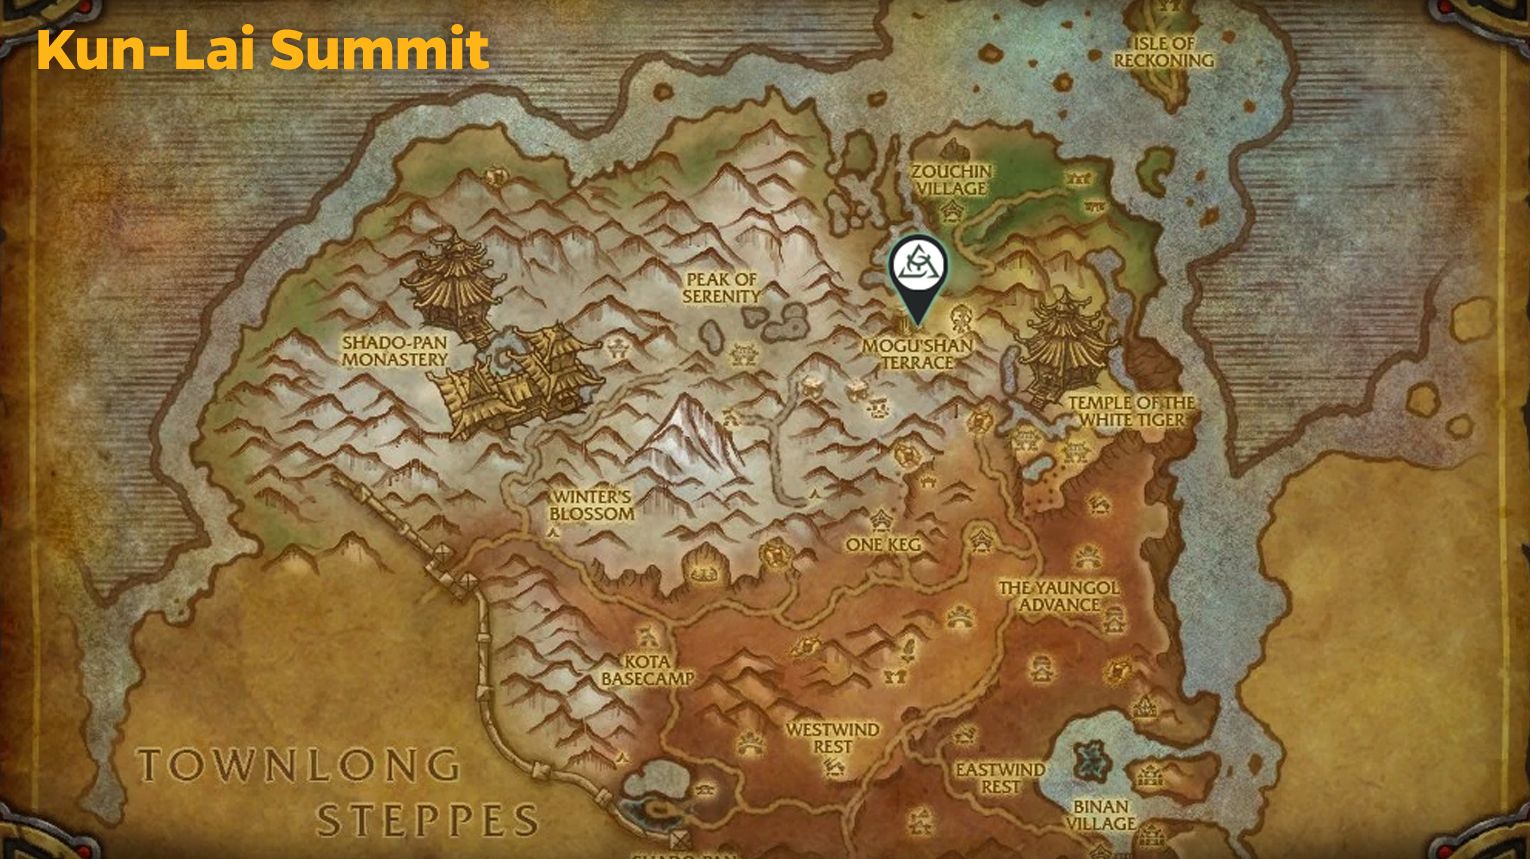
Mogu’shan Vaults is in the Kun-Lai Summit zone in World of Warcraft: Mists of Pandaria. To get there, travel to Kun-Lai Summit in Pandaria. The easiest way is to take the flight path to One Keg or Temple of the White Tiger and head northeast toward the Mogu’shan Terrace.
The raid entrance is at 74.0, 17.5, up a long staircase guarded by Mogu statues. Just walk through the giant doors to enter the vault and start your raid.
Inside, you’ll progress through different chambers as you defeat each boss in order.
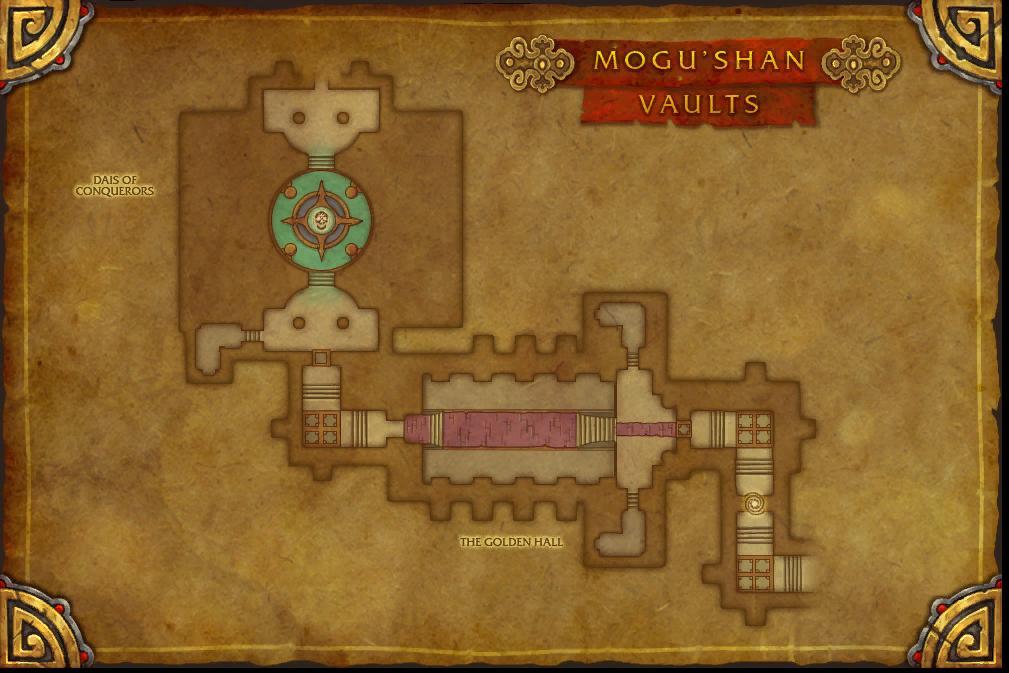
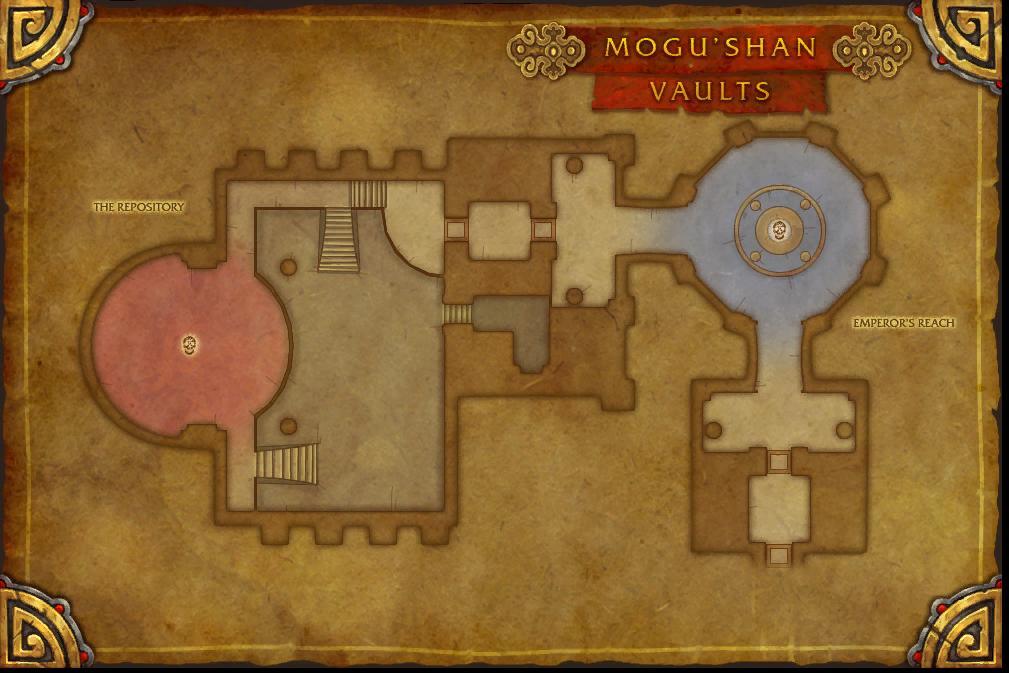
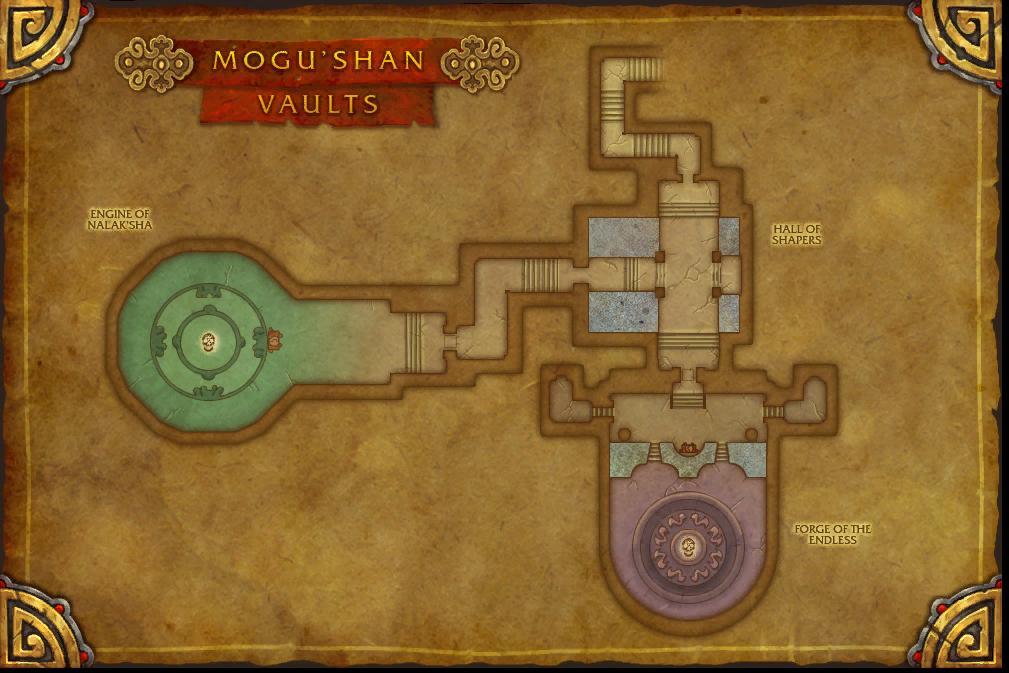
Mogu’shan Vaults has the following sections:
- Dais of Conquerors (The Stone Guard)
- The Repository (Feng the Accursed, Gara’jal the Spiritbinder)
- The Emperor’s Approach (The Spirit Kings, Elegon)
- Forge of the Endless (Will of the Emperor)
Each area has its own challenges and bosses, which we’ll cover next. If you want to clear the MV (or any other PvE instance) with the best teammates of the game community, check our WoW raid boosting services. Dozens of professional players are online 24/7 to help you defeat the hardest bosses and get any PvE gear, mounts, and transmogs.
Mogu’shan Vaults Collectibles: Mounts, Pets, Transmogs
| Collectible | Source | Obtainable / Not Obtainable |
| Mogu’shan Vaults Tier Sets | ||
| Reins of the Heavenly Crimson Cloud Serpent | Glory of the Pandaria Raider | Yes |
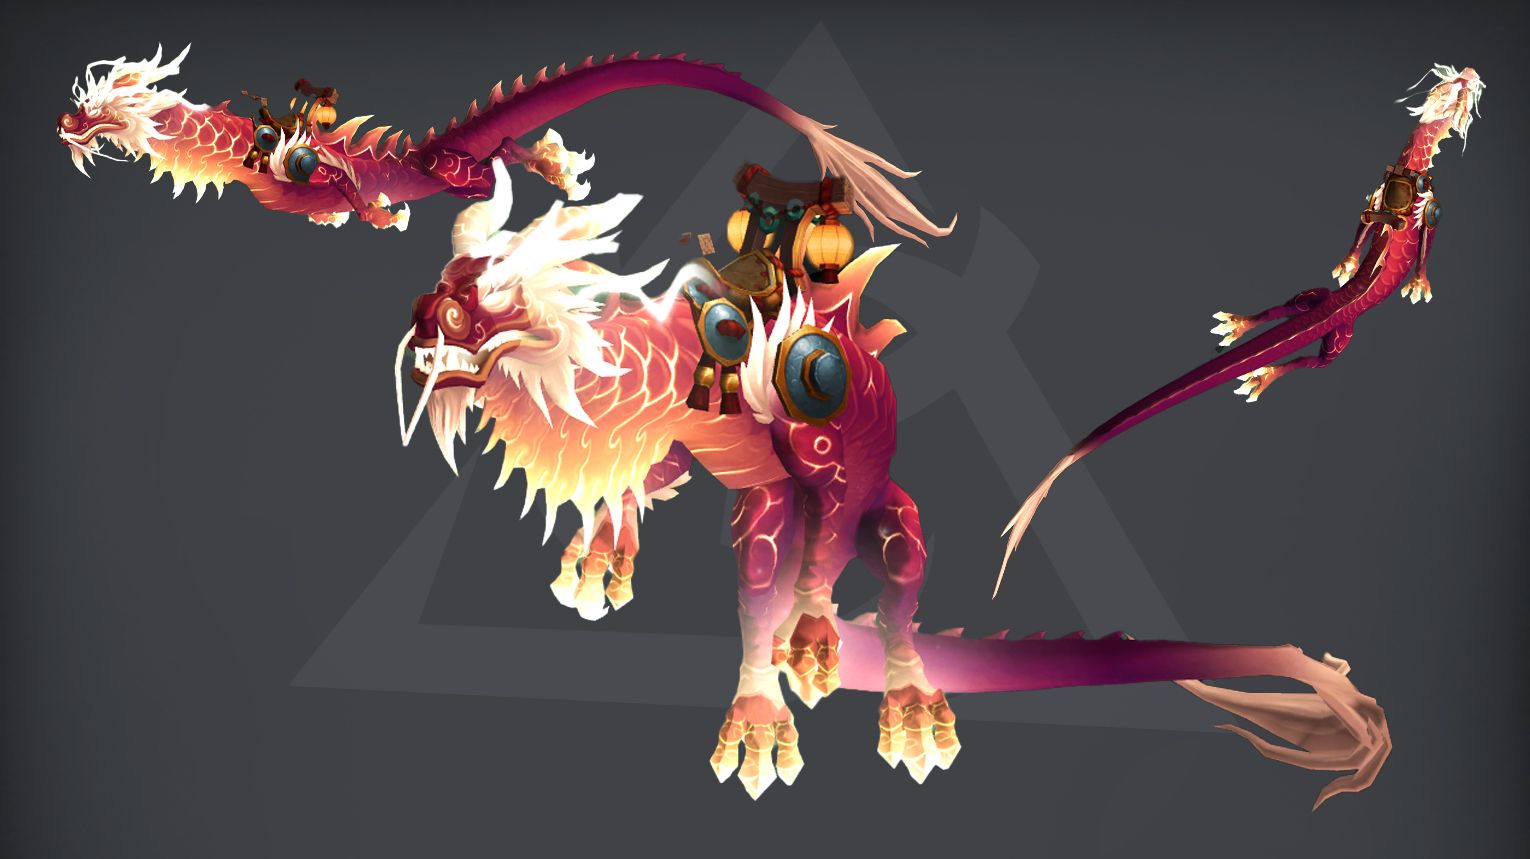
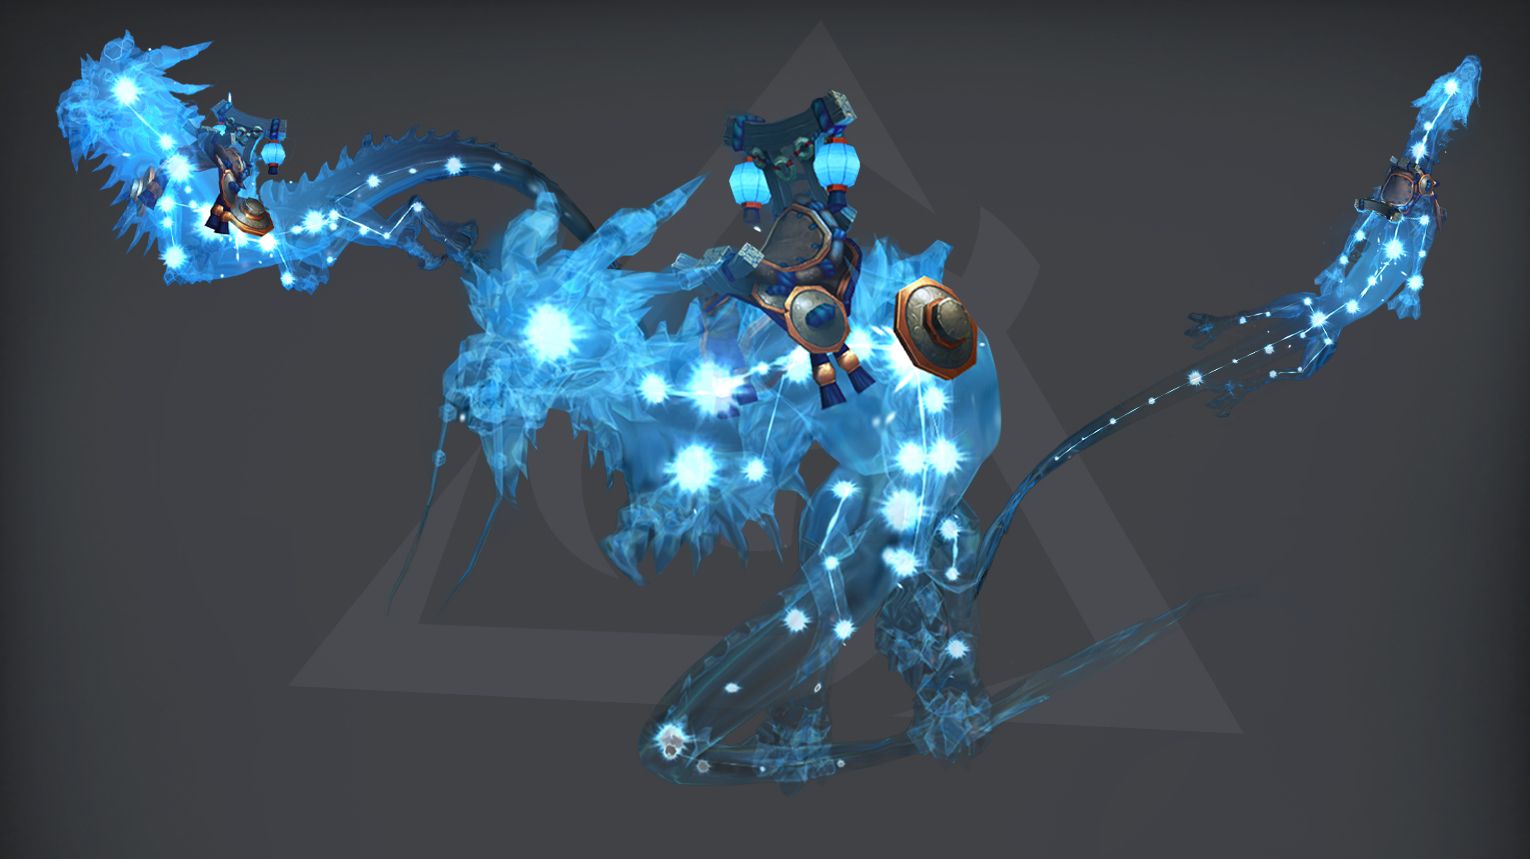
| Reins of the Astral Cloud Serpent | Elegon (4% drop rate) | Yes |
Mogu’shan Vaults Bosses Overview
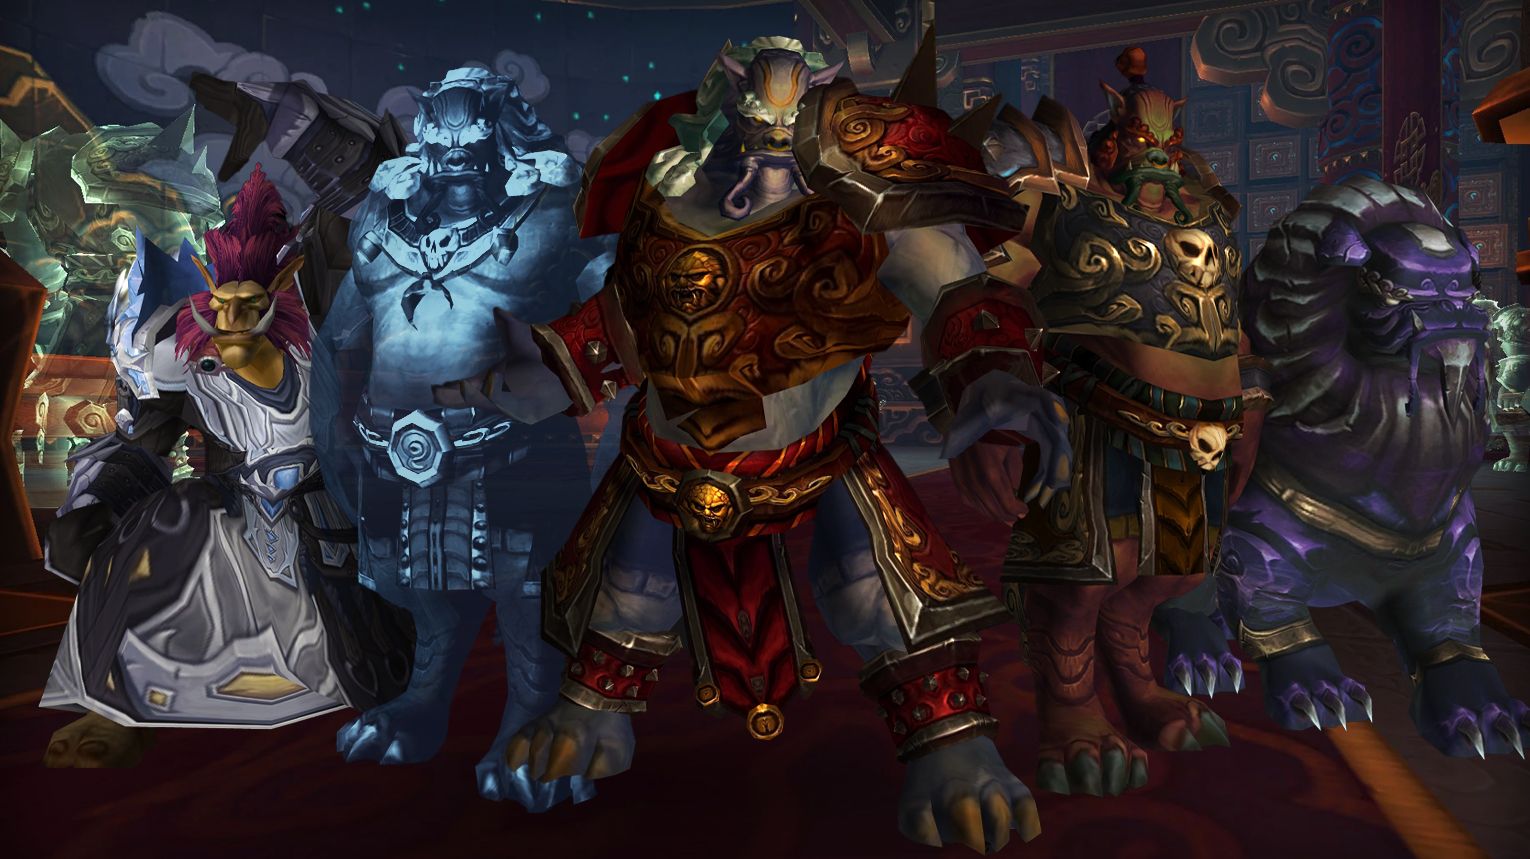
Mogu’shan Vaults is an ancient titan vault in World of Warcraft: Mists of Pandaria, where players battle the remnants of the Mogu empire. The raid has six bosses, each testing different skills—from coordinated group tactics to fast reflexes.
You start with The Stone Guard, a trio of stone dogs that must be tanked carefully. Next is Feng the Accursed, a sorcerer who shifts between deadly elemental magic. Gara’jal the Spiritbinder forces players to split between two realms, while The Spirit Kings resurrect four ancient warlords with unique mechanics.
The final challenges are Elegon, a celestial dragon with a complex energy-draining fight, and Will of the Emperor, a massive battle against twin Mogu rulers and their endless armies.
Below, we’ll break down each boss fight and their loot.
Can You Solo Mogu’shan Vaults in The War Within?

Soloing Mogu’shan Vaults in Retail WoW is a fast way to farm transmog, mounts, and pets from Mists of Pandaria. The raid is easy for high-level characters, but a few bosses have mechanics worth knowing. This guide covers the best loot, quick strategies, and how to avoid wasting time.
![]() General Tips:
General Tips:
- Recommended Level: 60+ (The War Within characters will obliterate it).
- Difficulty: Easily soloable on Normal, Heroic, and even Raid Finder (if you can queue alone).
- Speed: Use movement abilities (DH glide, Mage blink) to save time.
- Problem Bosses: Only Elegon and Spirit Kings have slight mechanics—just burst them.
Loot & Mount:
- Mount Drop: Astral Cloud Serpent (Elegon, ~1% drop rate).
- Transmog: Tier 14 sets (Warrior, Paladin, Hunter, etc.).
- Pets: Sunfur Panda (from trash mobs).
The Stone Guard
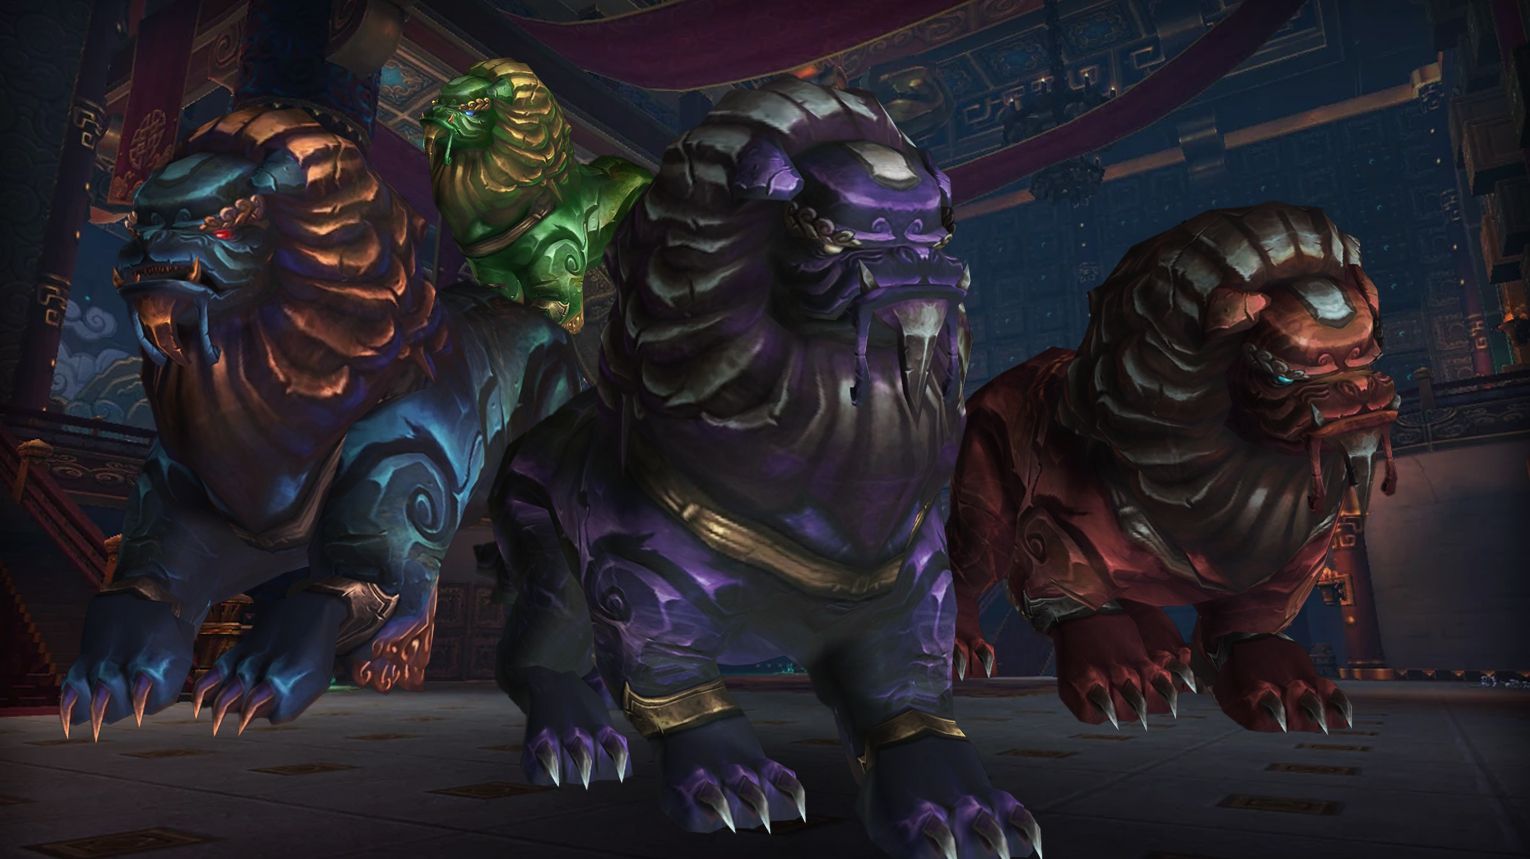
The Stone Guard is a single-phase fight with 4 Quilen Guardians (3 in 10-man) sharing a health pool. Guardians gain energy when near each other; at 100 energy, they Overload, dealing heavy raid damage unless the raid is protected by their matching Petrification debuff (90% reduction). Control energy by keeping the petrifying Guardian close to one other Guardian while avoiding unintended Overloads. Dodge mechanics like Amethyst Pools, Cobalt Mines, and manage Jasper Chains with a buddy system. Use Bloodlust at the start for maximum DPS. Heroic adds tile-energizing for a damage buff.
 Preferred Classes:
 Tanks: Any, but must coordinate taunts for positioning.
 DPS:
DPS:
- Strong cleave/AoE (e.g.,
 Arms Warrior,
  Rogue).
 - Multi-DoT classes (
 Warlocks,
  Shadow Priests,
  Balance Druids).
- Strong cleave/AoE (e.g.,
 Healers: Strong raid healers (e.g.,
  Restoration Shaman,
  Holy Priest) due to frequent AoE damage.
 Tips:
Tips:
- Positioning:
- Keep the petrifying Guardian near one other Guardian to feed energy.
- Rotate which Guardian is paired to avoid unintended Overloads.
- Avoidables:
- Amethyst Pool: Move out of purple void zones.
- Cobalt Mine: Dodge or intentionally detonate (use immunities).
- Jasper Chains: Buddy system—linked players stay close or break chains during Jasper Petrification.
- Petrification:
- Overloads must break Petrification before it paralyzes the raid.
- Watch for slowing movement speed as stacks increase.
 Strategy:
- Energy Management:
- Tanks must taunt-swap Guardians to control proximity (every ~20 sec).
- Always pair the petrifying Guardian with the lowest-energy Guardian.
- Heroic Mode:
- Click crystals to gain debuffs, then step on tiles to buff raid damage/Spirit (Energized Tiles).
- Reset tiles at 75% and 40% boss health.
 Bloodlust/Drums:
Optimal Timing: Start of the fight (to maximize potions/CDs).
 The Stone Guard loot table:
| Type of Armor | Item | Loot type |
| Cloth | Claws of Amethyst | Hands |
| Jade Dust Leggings | Legs | |
| Ruby-Linked Girdle | Waist | |
| Leather | Stoneflesh Leggings | Legs |
| Stonebound Cinch | Waist | |
| Stonefang Chestguard | Chest | |
| Sixteen-Fanged Crown | Head | |
| Stonemaw Armguards | Wrist | |
| Plate | Jasper Clawfeet | Feet |
| Heavenly Jade Greatboots | Feet | |
| Star-Stealer Waistguard | Waist | |
| Any | Beads of the Mogu’shi | Amulet |
| Stoneclaw | Battle Pet | |
| Cape of Three Lanterns | Cloak | |
| Dagger of the Seven Stars | Dagger |
Feng the Accursed
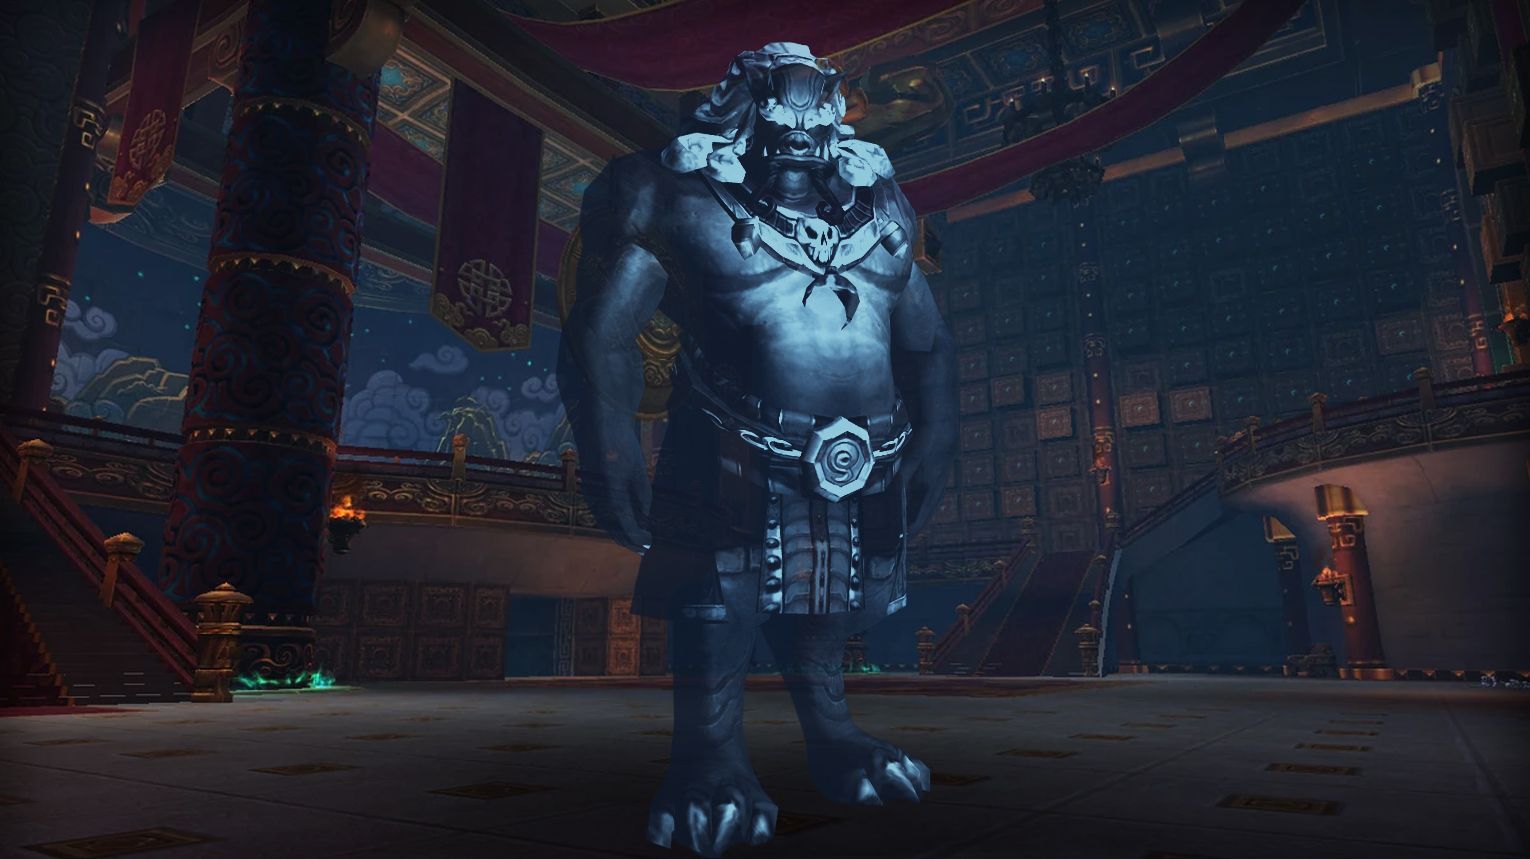
Feng the Accursed is a three-phase boss (four in Heroic) that cycles through spirits (Fist, Spear, Staff, and Shield in Heroic), each with unique mechanics. Tanks must manage stacking debuffs (swap at 2 stacks) and use special abilities (Nullification Barrier to block magic, Shroud of Reversal to mimic boss spells). Key mechanics include dodging Lightning Fists, controlling Wildfire patches, and stacking/spreading for Arcane Resonance/Velocity. Use Bloodlust in Phase 2 (Normal) or early in Heroic to skip high-damage mechanics. Heroic adds a Shield phase with adds that must be killed before they heal the boss.
 Preferred Classes:
 Tanks: Classes with strong active mitigation (e.g.,
  Paladin,
  Warrior) to handle debuffs.
 Healers: High raid-healing output (e.g.,
  Holy Priest,
  Resto Shaman) for Phase 3 and Heroic Shield phase.
 DPS:
DPS:
- Melee: Strong single-target (e.g.,
 Rogue,
  Fury Warrior) for consistent damage during Epicenter.
 - Ranged: Mobility-focused (e.g.,
 Hunter,
  Mage) to handle Wildfire/Arcane Resonance.
- Melee: Strong single-target (e.g.,
 Tips:
Tips:
- Phase 1 (Fist):
- Use Shroud of Reversal to stun the boss during Epicenter by mimicking Lightning Fists.
- Backup plan: Stack raid under Nullification Barrier during Epicenter.
- Phase 2 (Spear):
- Drop Wildfire Sparks in a designated area (e.g., edge of room).
- Use Nullification Barrier on the boss during Draw Flame (especially near 33%) to prevent buff stacks.
- Phase 3 (Staff):
- Ranged/healers spread for Arcane Resonance, then stack briefly for Arcane Velocity.
- Melee stay in melee range to avoid Resonance.
 Strategy:
- Heroic Mode:
- Phase Order: Staff → Fist → Shield → Spear (prioritize hardest phases early).
- Shield Phase: Stack raid to cleave Soul Fragments; use Nullification Barrier on the shield to despawn adds.
- Tank Coordination: Swap at 2 stacks of debuffs; use Shroud to mimic abilities (e.g., Lightning Fists for stuns).
 Bloodlust/Drums:
Phase 1 (Staff) or Phase 2 (Fist) to mitigate high early damage
 Feng the Accursed loot table:
Gara’jal the Spiritbinder
Gara’jal is a single-phase fight split between the Normal World (boss) and Spirit World (adds). Players enter the Spirit World via Spirit Totems to kill adds and reduce raid damage, while Voodoo Dolls force shared damage among 2-3 players (including the tank). At 20% HP, the boss enrages, stopping totem spawns and escalating damage—use Bloodlust here. Tanks must handle Shadowy Attacks (blockable by Warriors) and Banishment to kill adds in the Spirit World. Assign dedicated teams for Spirit World rotations to manage adds and healer mana.
 Preferred Classes:
- Tanks:
 Warriors (best for Shield Block mitigating Shadowy Attacks) and
  Monks (Stagger works oddly well).
- Avoid
 DKs/
DKs/  Paladins/
  Druids (less reliable mitigation for Shadowy Attacks).
- DPS:
- AoE/Multi-DoT classes (e.g.,
 Warlocks,
  Shadow Priests) for Spirit World adds.
 - Single-target DPS stay in Normal World (e.g.,
 Rogues,
  Hunters).
- AoE/Multi-DoT classes (e.g.,
- Healers: All can work, but rotations into Spirit World are critical for mana regeneration.
 Tips:
Tips:
- Spirit World Priority:
- Kill Shadowy Minions ASAP to reduce raid damage.
- Healers must top off players to enable Return Soul (exit button).
- Voodoo Dolls:
- Use personal/raid cooldowns if health drops low.
- Tanks should time active mitigation for Shadowy Attacks (every 8s).
- Totem Management:
- Pre-assign groups to enter Spirit World (rotate healers for mana).
- Backup players needed due to Voodoo Dolls RNG.
- Frenzy (20% HP):
- Save Bloodlust/heroism for this phase.
- Stack raid cooldowns for survival.
 Strategy:
- Normal World:
- Focus boss DPS; off-tank taunts when main tank is Banished.
- Healers prioritize Voodoo Doll targets (high damage intake).
- Spirit World:
- DPS: Burst down adds; some may leave early after refreshing Spiritual Innervation (haste/resource buff).
- Healers: Top players quickly, then spam heals for mana regen.
- Heroic Differences:
- Frail Soul: Prevents re-entering Spirit World for 30s (assign backup teams).
- Tanks face 3 Severers of Souls (DPS should assist if needed).
 Bloodlust/Drums:
Optimal Timing: At 20% HP (Frenzy phase).
 Gara’jal loot table:
The Spirit Kings
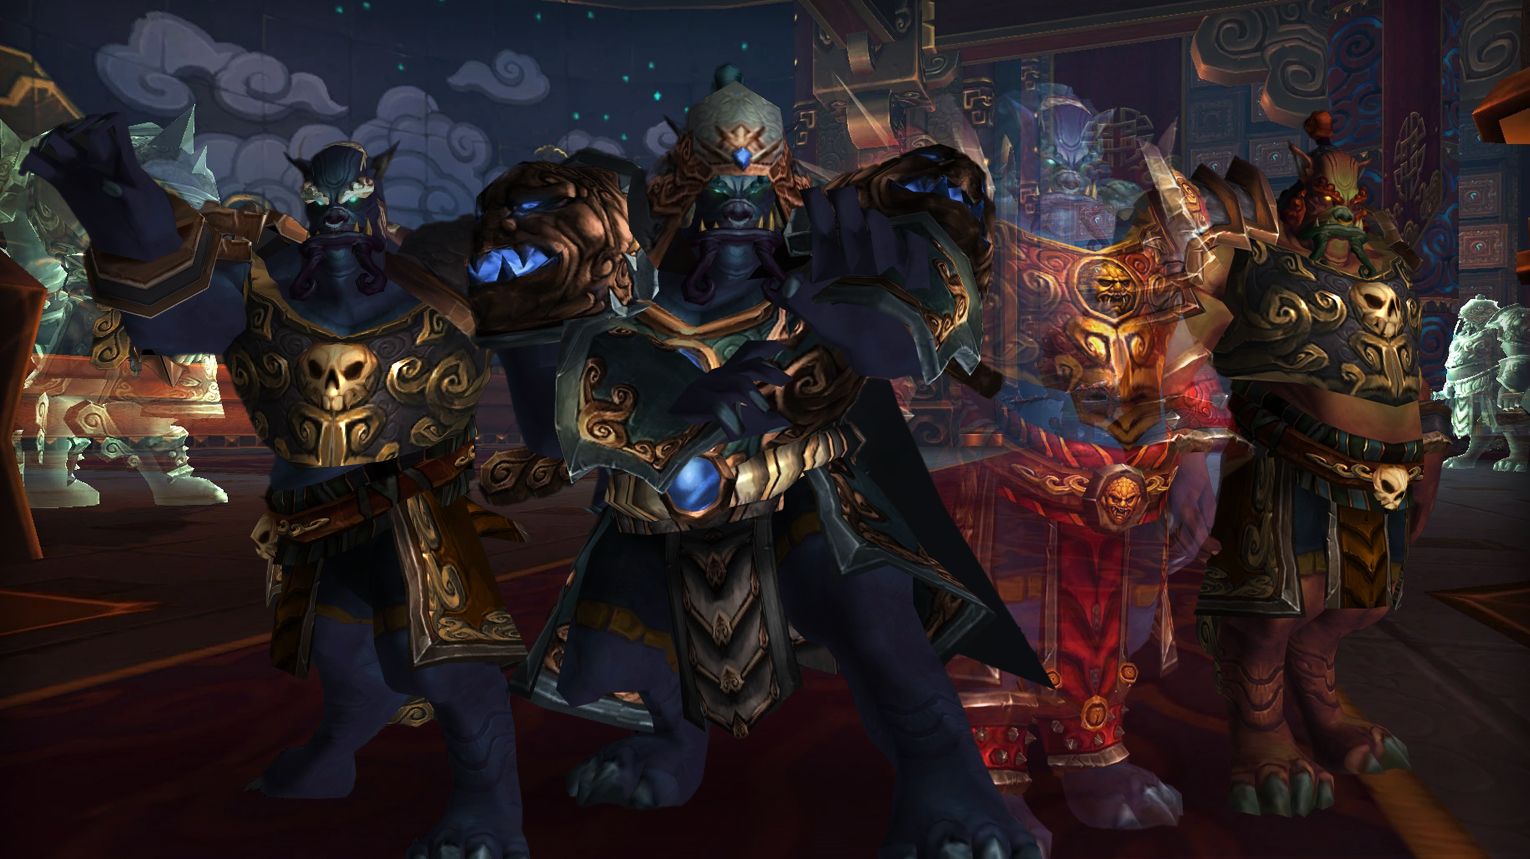
The Spirit Kings is a sequential council fight against four bosses (Qiang, Subetai, Zian, Meng), each leaving behind a retained ability. Key mechanics include dodging Flanking Orders, spreading for Pillage, kiting Undying Shadows, and managing Maddening Shout by stacking/AoE-breaking. Heroic mode adds overlapping bosses at 30% health and deadly shields (stop DPS/dispel!). Use Bloodlust early for a clean burn or late for Meng’s insanity phase. Prioritize positioning, interrupts, and dispels to survive escalating mechanics.
 Preferred Classes:
 Tanks: High-mobility tanks (e.g.,
  Monk,
Monk,  Druid) to handle frontal attacks and positioning.
 Healers: Strong AoE healers (
 Holy Priest,
  Resto Druid) for raid-wide damage.
 DPS:
DPS:
- Ranged (
 Mage,
Mage,  Hunter) to handle Undying Shadows and spread for Pillage/Rain of Arrows.
 - Interrupts (
 Rogue,
  Shaman) for Shadow Blast/Crazy Thought.
 - Dispel classes (
 Priest,
  Shaman) for Heroic shields/debuffs.
- Ranged (
 Tips:
Tips:
- Positioning:
- Stack for Qiang’s Massive Attacks, but spread for Subetai/Zian.
- Kite Undying Shadows to edges to avoid void zones.
- Key Mechanics:
- Flanking Orders: Always move perpendicular to the Mogu wave.
- Maddening Shout: Stack and use low-damage AoE (e.g., Hunter’s Volley) to break the effect.
- Heroic Mode:
- Stop DPS during Shield of Darkness (Zian) and Impervious Shield (Qiang).
- Stun Subetai during Sleight of Hand.
 Strategy:
- Qiang:
- Tanks face boss away; raid stacks to split Massive Attacks.
- Dodge Annihilate (run through boss) and Flanking Orders.
- Subetai:
- Spread to minimize Pillage targets.
- Interrupt Rain of Arrows stuns quickly.
- Zian:
- Interrupt Shadow Blast; spread for Charged Shadows.
- Kill Undying Shadows at edges.
- Meng:
- Manage Insanity: Interrupt Crazy Thought below 60, let it cast above.
- Cowardice Phase: Stop DPS to avoid reflect damage.
 Bloodlust/Drums:
During Meng (hardest phase) to shorten high-insanity periods.
 The Spirit Kings loot table:
Elegon
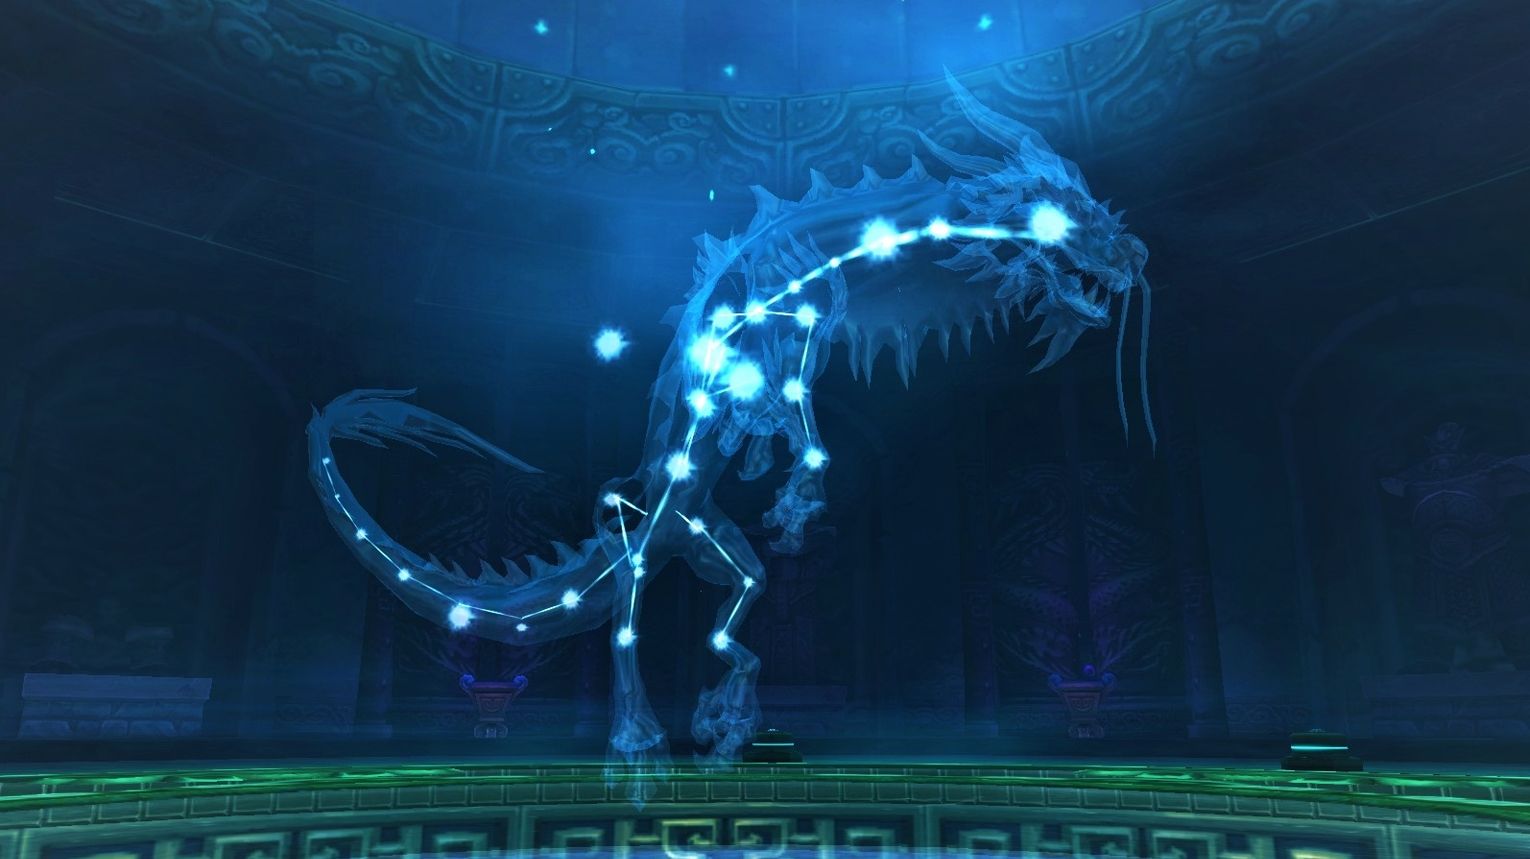
The Elegon encounter in Mogu’shan Vaults is a complex, multi-phase fight that tests your raid’s coordination, positioning, and DPS capabilities. The fight consists of three main stages that repeat in a cycle, with each stage introducing unique mechanics and challenges. The room is divided into an Inner Ring and an Outer Ring, each with specific roles during different phases of the fight. The Inner Ring provides a damage and healing boost but also applies a stacking debuff that increases damage taken. The Outer Ring is a safe zone used for resetting debuffs and managing certain fight mechanics.
 Preferred Classes:
 Tanks: At least two tanks are required, with one tanking Elegon and the other handling adds like the Celestial Protectors. In Heroic mode, three tanks may be necessary to manage the increased complexity and damage output.
 Healers: The number of healers depends on the raid size and difficulty. Typically, 2 healers are sufficient for 10-man raids, while 5-6 healers are needed for 25-man raids. Healers must be prepared to handle significant raid-wide damage, especially during transitions between stages.
 DPS: A mix of ranged and melee DPS is ideal. Ranged DPS should focus on quickly switching targets and managing adds, while melee DPS should prioritize Elegon and the Celestial Protectors. Classes with strong AoE capabilities are particularly useful during Stage Two.
 Tips:
Tips:
- Positioning: Ranged DPS and healers should stack near the edge of the Inner Ring to easily reset their Overcharged debuff. Melee DPS and tanks should be positioned to quickly switch targets and move out of the Inner Ring when necessary.
- Debuff Management: All raid members must regularly reset their Overcharged debuff by briefly leaving the Inner Ring. This is crucial to avoid taking excessive damage, especially during high-damage phases.
- Add Control: Celestial Protectors should be tanked within the Inner Ring but killed in the Outer Ring to minimize the damage from Total Annihilation. Energy Charges in Stage Two must be prioritized and killed quickly to prevent them from reaching their destination.
- Communication: Clear communication is essential for coordinating movements, add control, and debuff resets. Assign specific tasks to raid members, such as interrupting casts or soaking damage from Total Annihilation.
 Strategy:
- Stage One: Focus on DPSing Elegon while managing the Celestial Protectors. Tanks should face Elegon away from the raid to avoid Cleansing Breath damage. Healers must dispel Closed Circuit and be prepared for the raid-wide damage from Total Annihilation.
- Stage Two: Prioritize killing Energy Charges to increase Elegon‘s damage taken. Use AoE abilities to quickly eliminate the charges and maximize DPS on Elegon during Draw Power.
- Stage Three: Split the raid into groups to efficiently kill the Empyreal Focuses. Avoid Energy Conduits and dodge Energy Cascades. Tanks should pick up Cosmic Sparks and healers must focus on raid-wide healing.
 Bloodlust/Drums:
It should be used after the second cycle, when Elegon is taking the most increased damage.
 Elegon loot table:
| Type of Armor | Item | Loot type |
| Cloth | Galaxyfire Girdle | Waist |
| Orbital Belt | Waist | |
| Leather | Chestguard of Total Annihilation | Chest |
| Phasewalker Striders | Feet | |
| Shoulders of Empyreal Focus | Shoulder | |
| Plate | Starcrusher Gauntlets | Hands |
| Crown of Keening Stars | Head | |
| Any | Elegion, the Fanged Crescent | 1H Axe |
| Starshatter | 2H Sword | |
| Celestial Gift | Battle Pet | |
| Reins of the Astral Cloud Serpent | Mount | |
| Band of Bursting Novas | Ring | |
| Light of the Cosmos | Trinket | |
| Vial of Dragon’s Blood | Trinket | |
| Bottle of Infinite Stars | Trinket | |
| Torch of the Celestial Spark | Wand |
Will of the Emperor
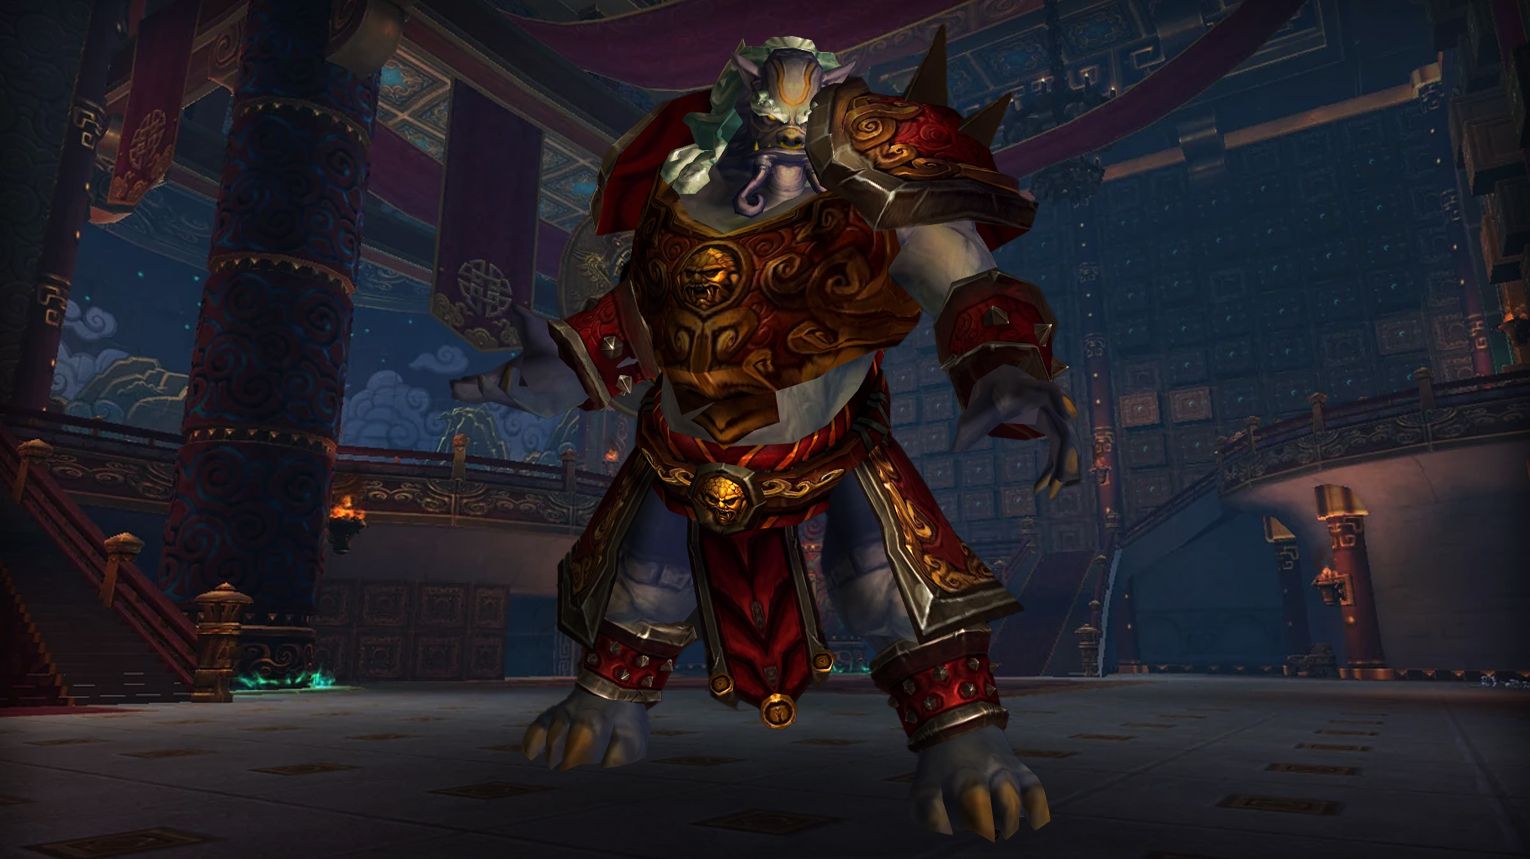
The Will of the Emperor in Mogu’shan Vaults is a two-phase fight: first, manage waves of adds (prioritize Courage > Strength > Rage), then duel two bosses (Jan-xi & Qin-xi) while adds keep spawning. Avoid their Devastating Combos (dodge directional attacks) and exploit Opportunistic Strike for extra damage. Use Bloodlust/Drums during Titan Gas phases for maximum DPS. Heroic mode adds Titan Sparks, requiring immunity classes to safely detonate them. Success hinges on add control, boss mechanics awareness, and coordinated cooldowns.
 Preferred Classes:
 Tanks: High-mobility classes (e.g.,
  Warriors,
  Druids) to dodge Devastating Combos.
 DPS:
DPS:
- Melee:
 Rogues/
  Hunters for mobility to avoid boss mechanics.
 - Ranged:
 Mages/
  Warlocks for burst AoE on adds.
- Melee:
 Healers: Strong raid healers (e.g.,
  Resto Druids,
  Holy Priests) for Titan Gas phases.
 Tips:
Tips:
- Phase 1:
- Courage adds: Attack from behind; slow/kill quickly to prevent tank debuffs.
- Strength adds: Nuke fast to avoid escalating stun radii.
- Rage adds: Kite/stun until DPS can cleave them.
- Phase 2:
- Boss positioning: Keep bosses 60+ yards apart to avoid overlapping Devastating Arcs.
- Avoid Combos: Learn animations (weapon stance indicates attack direction).
- Titan Gas: Save raid/defensive cooldowns for this phase.
 Strategy:
- Add Priority: Courage > Strength > Rage.
- Boss Mechanics:
- Tanks must sidestep Devastating Arcs and stay 13–15 yards away to avoid Stomp.
- Ranged/healers form a triangle with bosses to stay safe.
- Heroic Mode:
- Titan Sparks: Have immunity players detonate them away from bosses/adds.
- Crowd-control early Rage adds to cluster Sparks for efficient detonation.
 Bloodlust/Drums:
Optimal Timing: During Phase 2 Titan Gas, when:
- Raid damage buff is active (+25% melee damage).
- No new adds spawn (first 20 sec of Titan Gas).
- Bosses are vulnerable to burst DPS.
 Will of the Emperor loot table:
Mogu’shan Vaults Achievements List
| Achievement | Requirement |
| Guardians of Mogu’shan | Defeat the first three bosses. |
| The Vault of Mysteries | Defeat the final three bosses. |
| Raid Finder: Mogu’shan Vaults | Defeat the enemies in the Mogu’shan Vaults on any difficulty. |
| Mogu’shan Vaults | Defeat the enemies in the Mogu’shan Vaults on Normal difficulty or higher. |
| Mogu’shan Vaults Guild Run | Defeat the bosses while in a guild group. |
| Heroic: Mogu’shan Vaults | Defeat the enemies in the Mogu’shan Vaults on Heroic difficulty. |
| Heroic: Will of the Emperor | Defeat the Will of the Emperor on Heroic difficulty. |
| Heroic: Will of the Emperor Guild Run | Defeat the Will of the Emperor encounter on Heroic difficulty while in a guild group. |
| Ahead of the Curve: Will of the Emperor | Defeat the Will of the Emperor on Normal difficulty, before the release of patch 5.2. |
| Cutting Edge: Will of the Emperor | Defeat the Will of the Emperor on Heroic difficulty, before the release of patch 5.2. |
| Realm First! Will of the Emperor | First guild on the realm to defeat the Will of the Emperor encounter on Heroic difficulty while in a guild group. |
| Heroic: Elegon | Defeat Elegon on Heroic difficulty. |
| Heroic: Feng the Accursed | Defeat Feng the Accursed on Heroic difficulty. |
| Heroic: Four Kings | Defeat the Spirit Kings on Heroic difficulty. |
| Heroic: Gara’jal the Spiritbinder | Defeat Gara’jal the Spiritbinder on Heroic difficulty. |
| Heroic: Stone Guard | Defeat The Stone Guard on Heroic difficulty. |
| And… It’s Good! | Fly through the discs above the Engine of Nalak’sha on Normal or Heroic difficulty. |
| Must Love Dogs | Defeat The Stone Guard on Normal or Heroic difficulty while every member of your raid is accompanied by a canine companion pet. |
| Raiding with Leashes VI: Pets of Pandaria | Collect all of the battle pets listed below from Mogu’shan Vaults, Terrace of Endless Spring, and Heart of Fear. |
| Show Me Your Moves! | Defeat the Will of the Emperor on Normal or Heroic difficulty after all members of the raid execute an Opportunistic Strike on the same construct within a single Unbalanced phase. |
| Sorry, Were You Looking for This? | Successfully activate the Ancient Mogu Artifact during the Gara’jal the Spiritbinder encounter on Normal or Heroic difficulty. |
| Straight Six | Deactivate six Empyreal Focuses within 10 seconds of each other, and then defeat Elegon on Normal or Heroic difficulty. |

