Heart of Fear, introduced in World of Warcraft: Mists of Pandaria, is a raid instance that opened on October 30, 2012. It is part of Tier 14 in the PvE raid progression and offers valuable rewards and challenges. The raid is available in 10 and 25-man sizes, as well as in LFR format, with both normal and heroic versions for each encounter.
While legacy raids and Heart of Fear transmogs are fun to collect, the real action in WoW starts with high-level PvE. If you want the best loot from the current patch, try our buy Manaforge Omega raid boosting. Top EU and US teams that work with Gamingcy clear this raid very fast—usually within 1–2 hours. Runs start every hour, so pick your time and join in. Let’s get back to the guide.
This guide will explore:
- Heart of Fear location
- Bosses and their rewards
- Available mounts, weapons, and transmogs
- Achievements you can earn
- Can you solo Heart of Fear?
This guide will help you get the most out of Heart of Fear in WoW Retail (The War Within), whether you’re collecting cosmetics or challenging yourself solo.
Heart of Fear Entrance and Subregions
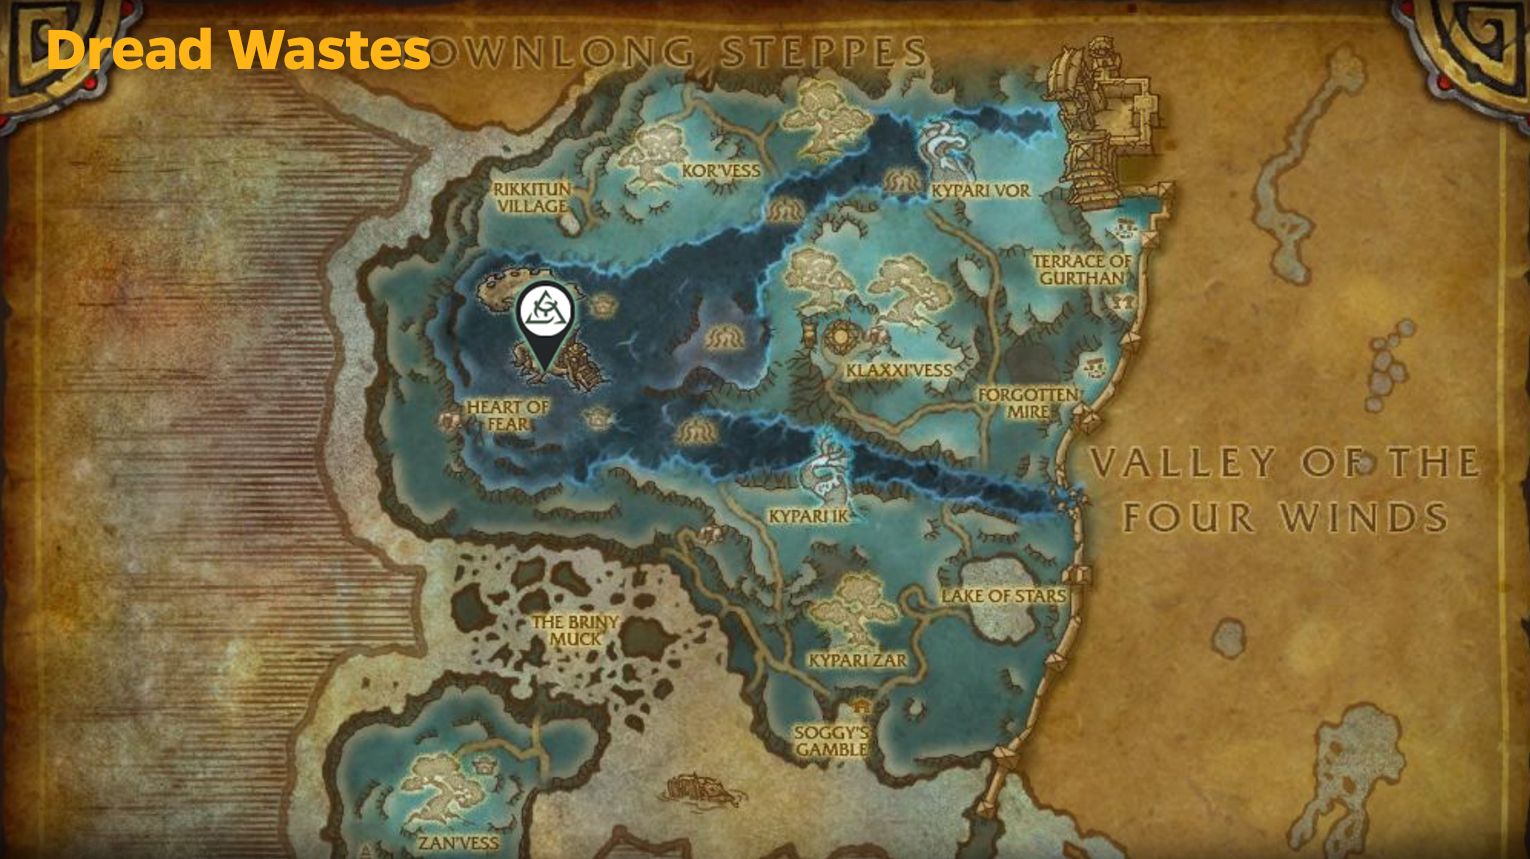
The Heart of Fear is in the Dread Wastes zone in Mists of Pandaria. To get there:
- Travel to Pandaria (use the portal in Stormwind or Orgrimmar).
- Head to the Dread Wastes in the far west.
- The raid entrance is at 39.0, 34.8, inside a massive, eerie hive structure.
Once inside, you’ll fight through different sections of the mantid empire’s stronghold.
Heart of Fear Subregions:
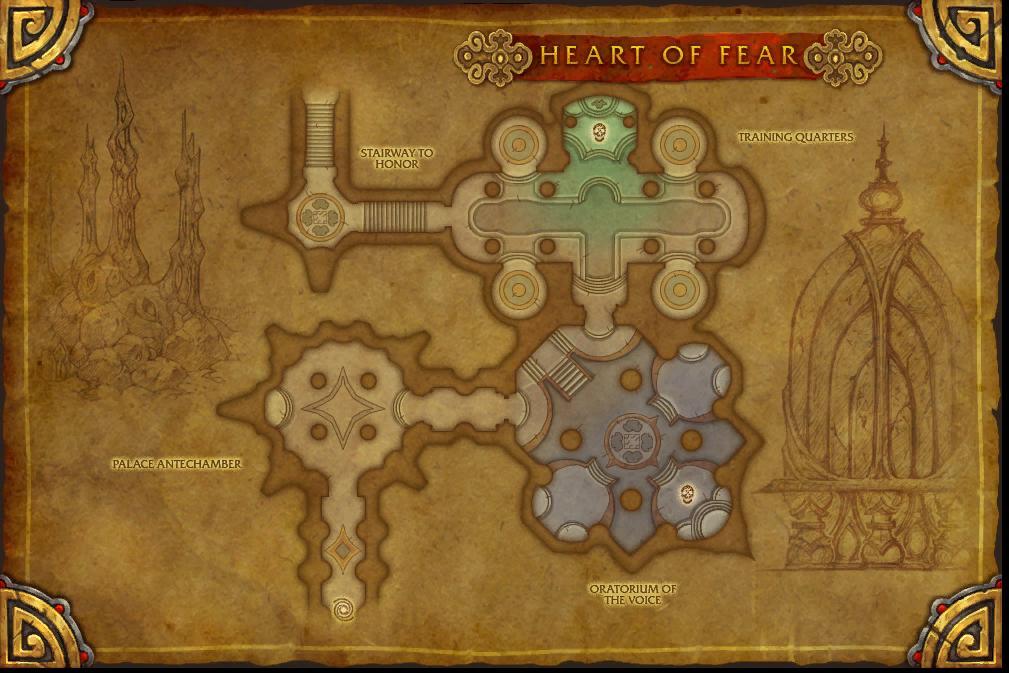
- The Oratorium of the Voice (Imperial Vizier Zor’lok)
- The Screaming Hall (Blade Lord Ta’yak)
- The Clutches of Shek’zeer (Garalon)
- The Amber Vaults (Wind Lord Mel’jarak)
- The Forgotten Mire (Amber-Shaper Un’sok)
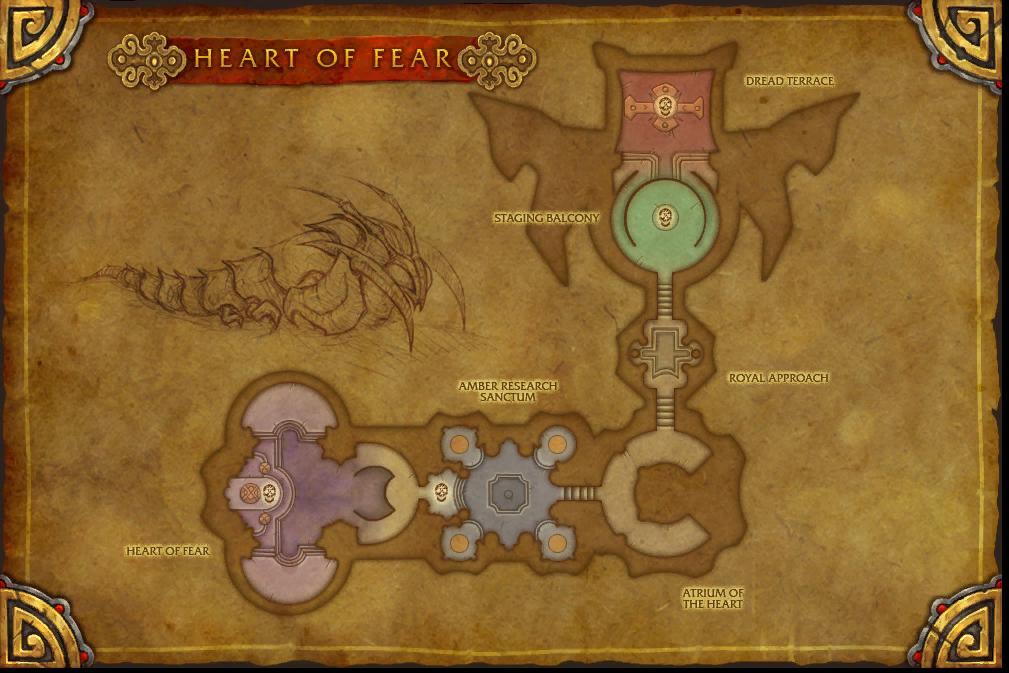
- The Heart of Fear (Grand Empress Shek’zeer)
Each area has its own atmosphere and challenges as you push deeper into the raid.
Heart of Fear Collectibles: Mounts, Pets, Transmogs
| Collectible | Source | Obtainable / Not Obtainable |
| Heart of Fear Tier 14 Armor Sets | ||
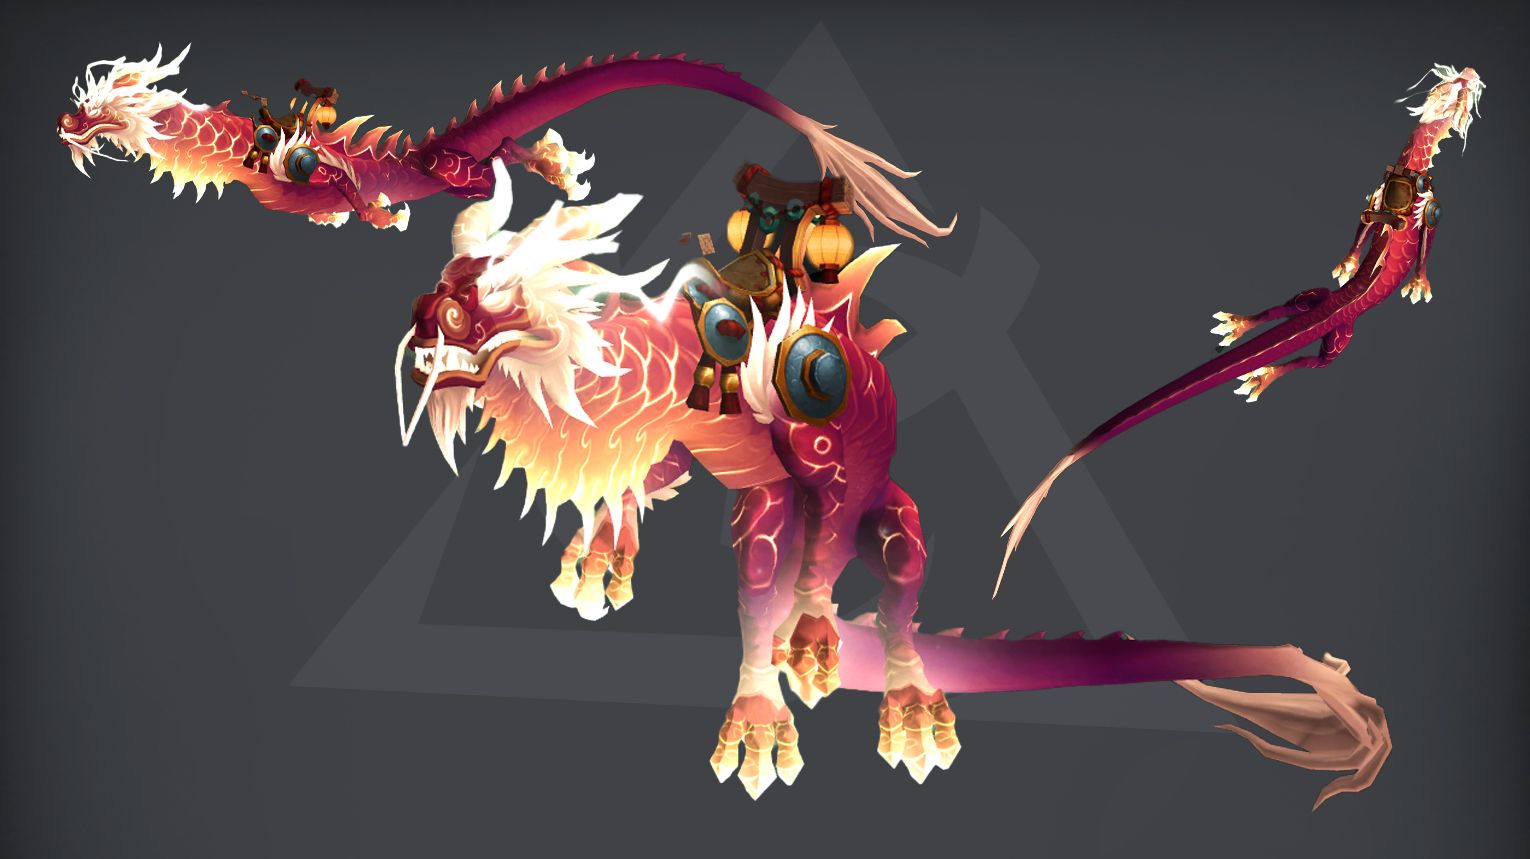
| Reins of the Heavenly Crimson Cloud Serpent | Glory of the Pandaria Raider | Yes |
Heart of Fear Bosses Overview
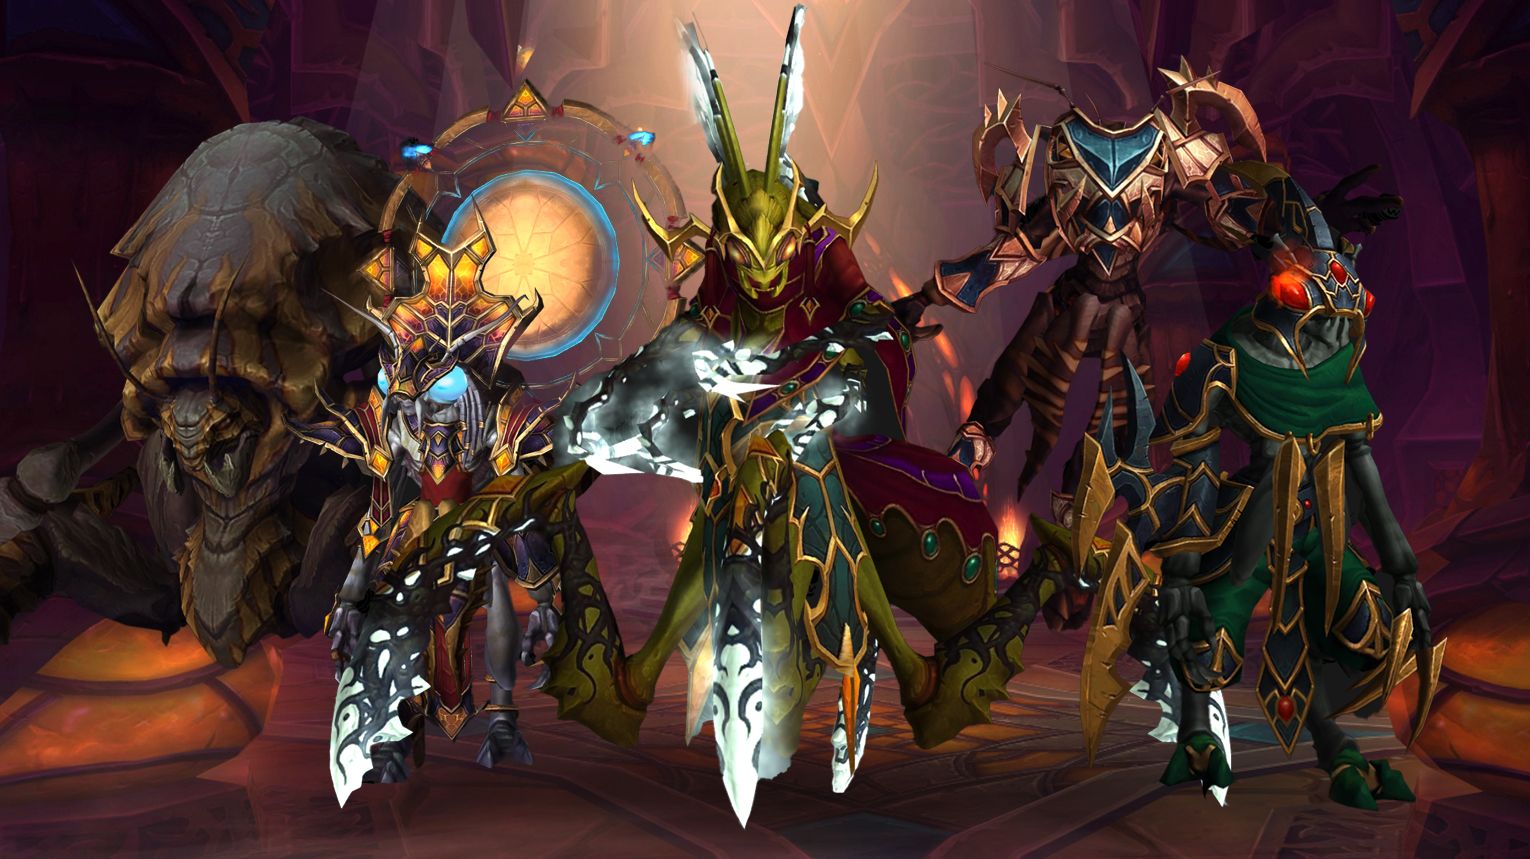
The Heart of Fear is a creepy insect-themed raid in Mists of Pandaria, where players battle the mantid empress Shek’zeer and her corrupted forces. This raid has six bosses, each with unique mechanics tied to the mantid swarm’s deadly nature.
You’ll face:
- Imperial Vizier Zor’lok, a mantid overseer who forces players to dodge deadly sound waves
- Blade Lord Ta’yak, a whirlwind of blades who chases players in a chaotic final phase
- Garalon, a massive scorpion that requires careful positioning to defeat
- Wind Lord Mel’jarak, commanding an army of mantid warriors in a hectic add fight
- Amber-Shaper Un’sok, who turns players into amber monsters with dangerous abilities
- Grand Empress Shek’zeer, the final showdown in her throne room, where she uses mind control and deadly swarms
Each fight tests different skills – from movement and positioning to add control and quick reactions. The raid drops unique insect-themed armor sets and rare weapons.
Below, we’ll break down each boss fight and its loot tables.
Can You Solo Heart of Fear in The War Within?
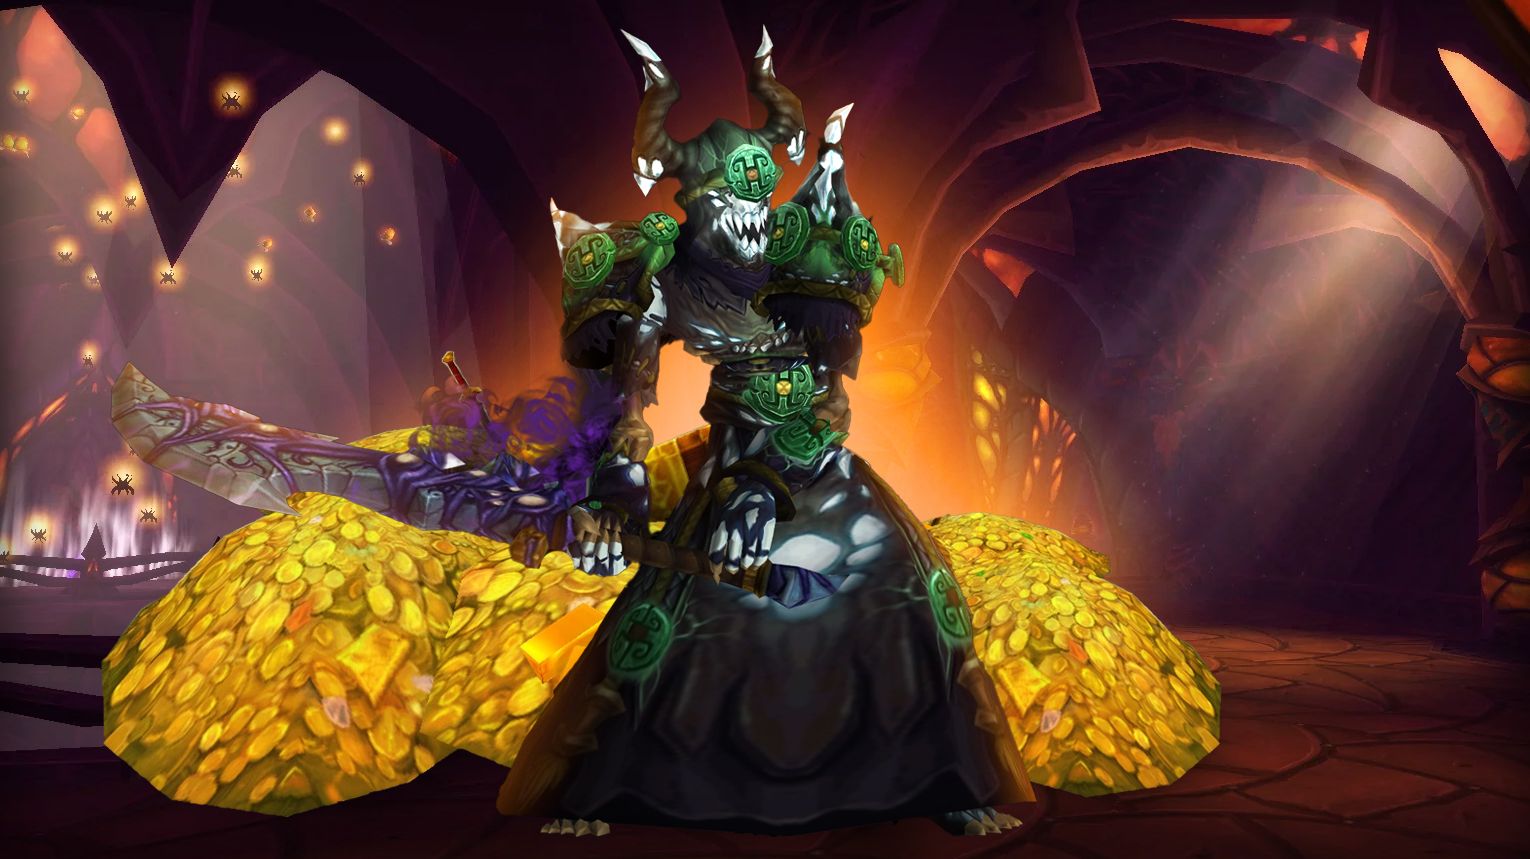
Farming Heart of Fear solo is an easy way to get unique transmog sets and achievements from Mists of Pandaria. Since the raid is old, most classes can solo it without trouble at level 80, but a few bosses have mechanics worth knowing.
Level & Gear:
- You must be at least level 35+ to enter (since MoP raids have a level 30 requirement), but being level 80 makes it trivial.
- Even basic The War Within gear will let you one-shot most enemies.
Boss Mechanics (Simplified for Solo):
- Imperial Vizier Zor’lok – Just burn him down; avoid his “Force and Verve” sound circles if you want, but they won’t kill you.
- Blade Lord Ta’yak – Ignore mechanics; he’ll die before doing anything dangerous.
- Garalon – Stand in front and DPS; his legs don’t matter anymore.
- Wind Lord Mel’jarak – Kill him fast; his adds won’t be an issue.
- Amber-Shaper Un’sok – Burst before he does any real mechanics.
- Grand Empress Shek’zeer – Phase 1: Kill her quickly. Phase 2: If she goes into the air, just wait until she lands (or use ranged attacks).
Loot & Mount:
- Transmog gear (especially the insect-themed sets) drops here.
- Gold from vendoring loot.
Imperial Vizier Zor’lok
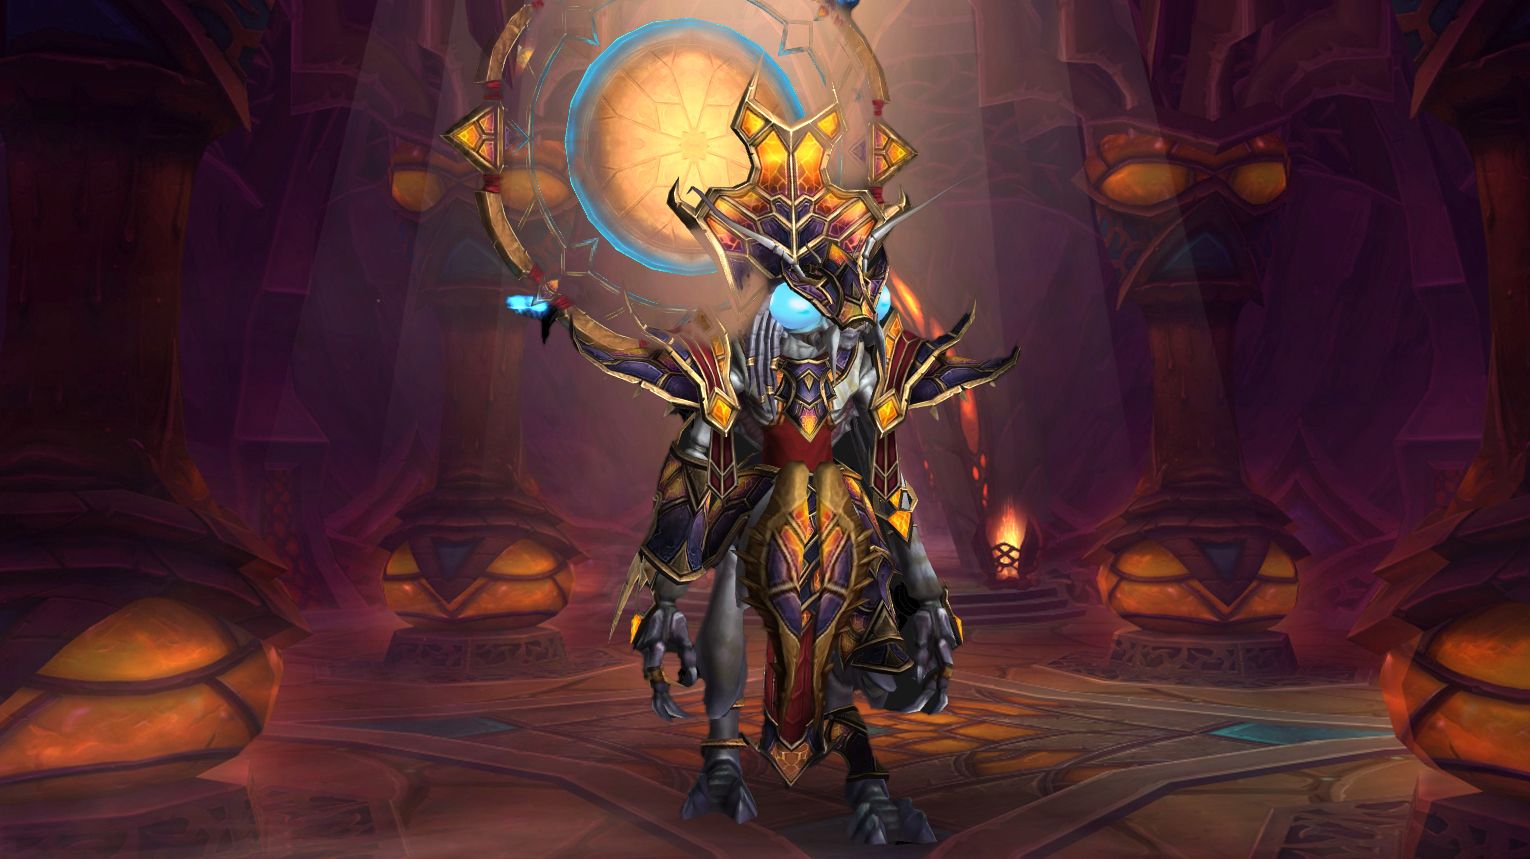
Imperial Vizier Zor’lok is a two-phase boss in Throne of Thunder. In Phase 1, he cycles through three platforms, each with a unique mechanic: Force and Verve (hide under shields), Attenuation (dodge disks), and Convert (break mind control). At 40% HP (Phase 2), he moves to the center, gains buffs, and combines all abilities. Use Bloodlust in Phase 2 for maximum DPS. Heroic adds echoes of past mechanics, requiring split teams to handle. Key roles: tanks intercept beams, healers prioritize raid-wide damage, and DPS focus mechanics.
 Preferred Classes:
 Tanks: High-mobility classes (e.g.,
  Druids,
  Monks) to intercept Exhale and handle echoes.
 Healers: Strong AoE healers (
 Holy Priests,
  Resto Druids) for Force and Verve.
 DPS:
DPS:
- Ranged:
 Hunters/
  Mages for kiting echoes and avoiding Attenuation.
 - Melee:
 Rogues/
  Warriors for burst to break Convert quickly.
- Ranged:
- Utility:
 Warlocks (Demonic Gateway) and
  Druids (Stampeding Roar) help with platform transitions.
 Tips:
Tips:
- Phase 1:
- Force and Verve: Assign groups to shields (melee+tank under closest, ranged split).
- Attenuation: Move in a spiral pattern to dodge disks.
- Convert: Focus mind-controlled players to 50% HP.
- Phase 2:
- Stack in the center, spread for Attenuation, and group for Force and Verve shields.
- Heroic Mode:
- Assign tanks/healers to handle echoes left on platforms.
- Use immunities (Ice Block, Divine Shield) to survive unshielded Force and Verve.
 Strategy:
- Phase 1:
- SW Platform: Assign 3 groups to shields (4 players/shield in 10-man).
- NE Platform: Dodge disks by circling the boss.
- SE Platform: Burst mind-controlled players fast.
- Phase 2:
- Lust at 40% during the center phase.
- Prioritize boss DPS; ignore the final Echo of Attenuation (tank it away).
 Bloodlust/Drums:
Best Timing: Phase 2 (40% HP) when the boss is stationary and mechanics intensify.
 Imperial Vizier Zor’lok loot table:
Blade Lord Ta’yak
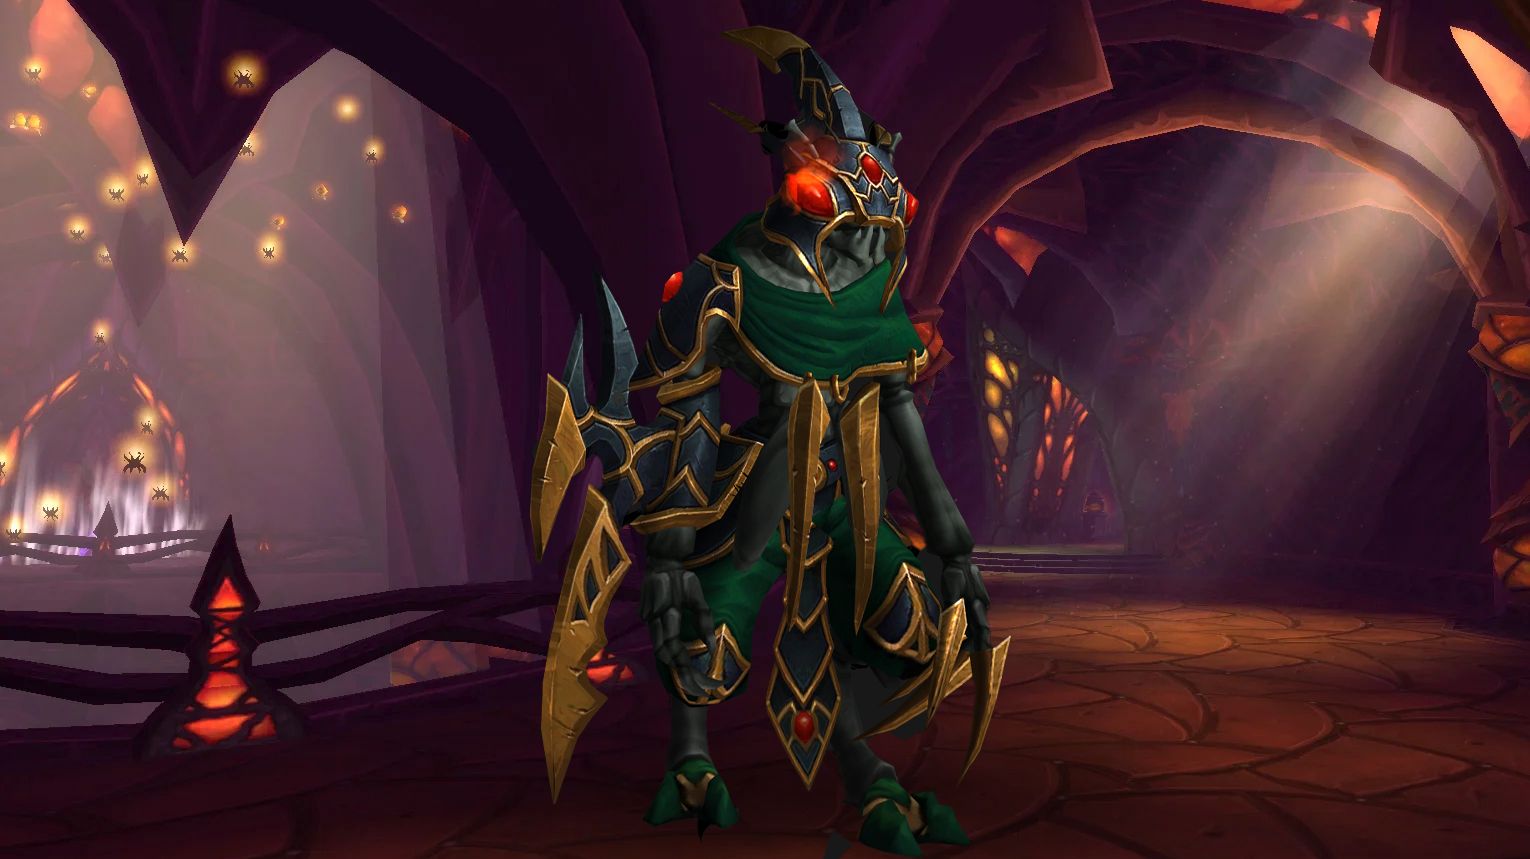
Blade Lord Ta’yak is a two-phase boss in Heart of Fear. Phase 1 (100–20% HP) requires tight stacking for Unseen Strike (to split damage) and spreading for Wind Step, while avoiding persistent tornadoes. Phase 2 (<20% HP) is a movement-heavy dash down a corridor, dodging tornadoes to reach the boss. Use Bloodlust early in Phase 1 to minimize Intensify stacks and tornado clutter. Heroic adds Blade Tempest, forcing the raid to run away when pulled in. The Candle in the Wind achievement involves lighting braziers during Phase 2.
 Preferred Classes:
 Tanks: Two tanks are required to swap due to Overwhelming Assault debuff.
 Healers: Strong AoE healers (e.g.,
  Resto Druid,
  Holy Priest) for Unseen Strike and Wind Step bleeds.
 DPS:
DPS:
- High single-target damage (e.g.,
 Affliction Warlock,
  Fire Mage) to push phases quickly.
 - Mobile classes (e.g.,
 Hunters,
  Frost DKs) excel in Phase 2 tornado dodging.
- High single-target damage (e.g.,
 Tips:
Tips:
- Phase 1:
- Stack tightly for Unseen Strike (mark a melee player for consistency).
- Spread 8+ yards to minimize Wind Step targets.
- Ranged/healers should position themselves near walls to control tornado spawns.
- Phase 2:
- Use movement abilities (e.g., Dash, Blink) to dodge tornadoes in the corridor.
- Pre-place HoTs before the phase transition to mitigate raid-wide damage.
- At 10% HP, preemptively move to the opposite end to avoid backtracking.
- General:
- Personal cooldowns (Anti-Magic Shell, Dispersion) can save players knocked into tornadoes.
 Strategy:
- Phase 1:
- Tanks: Swap after each Overwhelming Assault.
- Raid: Designate a stacking spot (e.g., marked tank) for Unseen Strike.
- Positioning: Pull boss to new alcoves as tornadoes clutter the room.
- Phase 2:
- Movement: Stick to one lane, switch only when tornadoes approach.
- DPS: Prioritize DoTs on the boss while moving.
- Healers: Use instant casts (e.g., Renew, Riptide) during movement.
 Bloodlust/Drums:
Phase 1: Use after an Unseen Strike when the raid is spread out.
 Blade Lord Ta’yak loot table:
Garalon
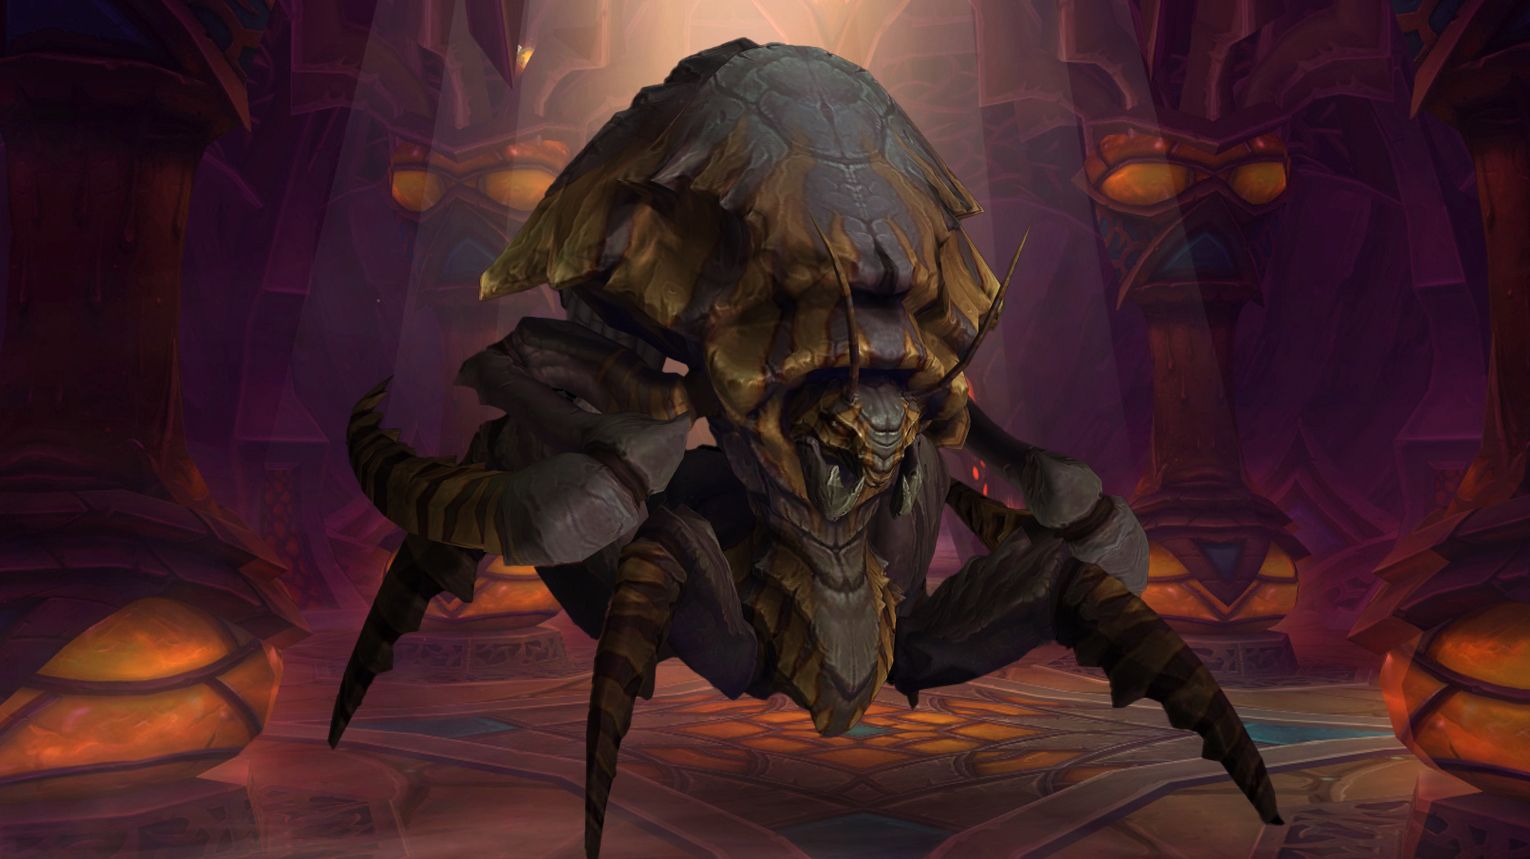
Garalon is a kiting-focused raid boss in Heart of Fear where the boss fixates on a player with the Pheromones debuff. The raid must pass this debuff to avoid stacking damage while killing his four legs to slow him and deal extra damage. Tanks must soak Furious Swipe to prevent enrage stacks, and players must avoid standing under Garalon to prevent Crush. Use Bloodlust at the start for maximum DPS. In Heroic mode, Garalon stops kiting at 33% HP and must be tanked normally.
 Preferred Classes:
- Kiting Pheromones:
 Hunters (high mobility, ranged DPS).
 Tanks (durable, can handle movement).
 Healers (if needed, but movement may hinder casting).
- DPS:
 Combat Rogues (Blade Flurry cleave).
 Arms Warriors (Sweeping Strikes).
 Fire Mages (Inferno Blast cleave).
 Tips:
Tips:
- Pheromone Management:
- Pass the debuff at ~20 stacks to minimize raid damage.
- Avoid accidental passes (players standing too close).
In LFR, one player can hold Pheromones indefinitely.
- Kiting:
- Move along the edges of the room to conserve space.
- Overlap Pheromone Trail void zones to minimize obstruction.
- Legs:
- Always kill all four legs ASAP for the slow + damage.
- Melee DPS must stand near legs for Weak Points (+100% damage).
- Avoid standing under Garalon (triggers Crush).
- Tanks:
- Always stay in front to soak Furious Swipe.
- Adjust position as Garalon turns toward the kiter.
 Strategy:
- Phase 1 (100%-33% HP):
- Engage: Assign initial Pheromone carrier (preferably Hunter/tank).
- Kite: Pheromone carrier moves Garalon along the room’s edge.
- Leg Duty: DPS focus legs (prioritize Weak Points buff).
- Debuff Rotation: Pre-assign 3-4 (10-man) or 6-8 (25-man) players to pass Pheromones.
- Crush Timing: Coordinate Pheromone passes to avoid overlapping with high raid damage.
- Phase 2 (<33% HP) (Heroic Only):
- Garalon stops kiting and melees the tank.
- Tanks must keep boss positioned while raid continues DPS.
- Optional: Pre-weaken legs before 33% and kill them after transition for burst damage.
 Bloodlust/Drums:
At pull (maximize cooldowns, full raid alive).
 Garalon loot table:
| Type of Armor | Item | Loot type |
| Cloth | Sandals of the Unbidden | Feet |
| Xaril’s Hood of Intoxicating Vapors | Head | |
| Shoulders of Foaming Fluids | Shoulder | |
| Leather | Robes of Eighty Lights | Chest |
| Bonebreaker Gauntlets | Hands | |
| Vestments of Steaming Ichor | Chest | |
| Grips of the Leviathan | Hands | |
| Plate | Garalon’s Graven Carapace | Chest |
| Grasps of Panic | Hands | |
| Garalon’s Hollow Skull | Head | |
| Any | Necklace of Congealed Weaknesses | Amulet |
| Spawn of Garalon | Battle Pet | |
| Stormwake Mistcloak | Cloak | |
| Legbreaker Greatcloak | Cloak | |
| Ring of the Shattered Shell | Ring |
Wind Lord Mel’jarak
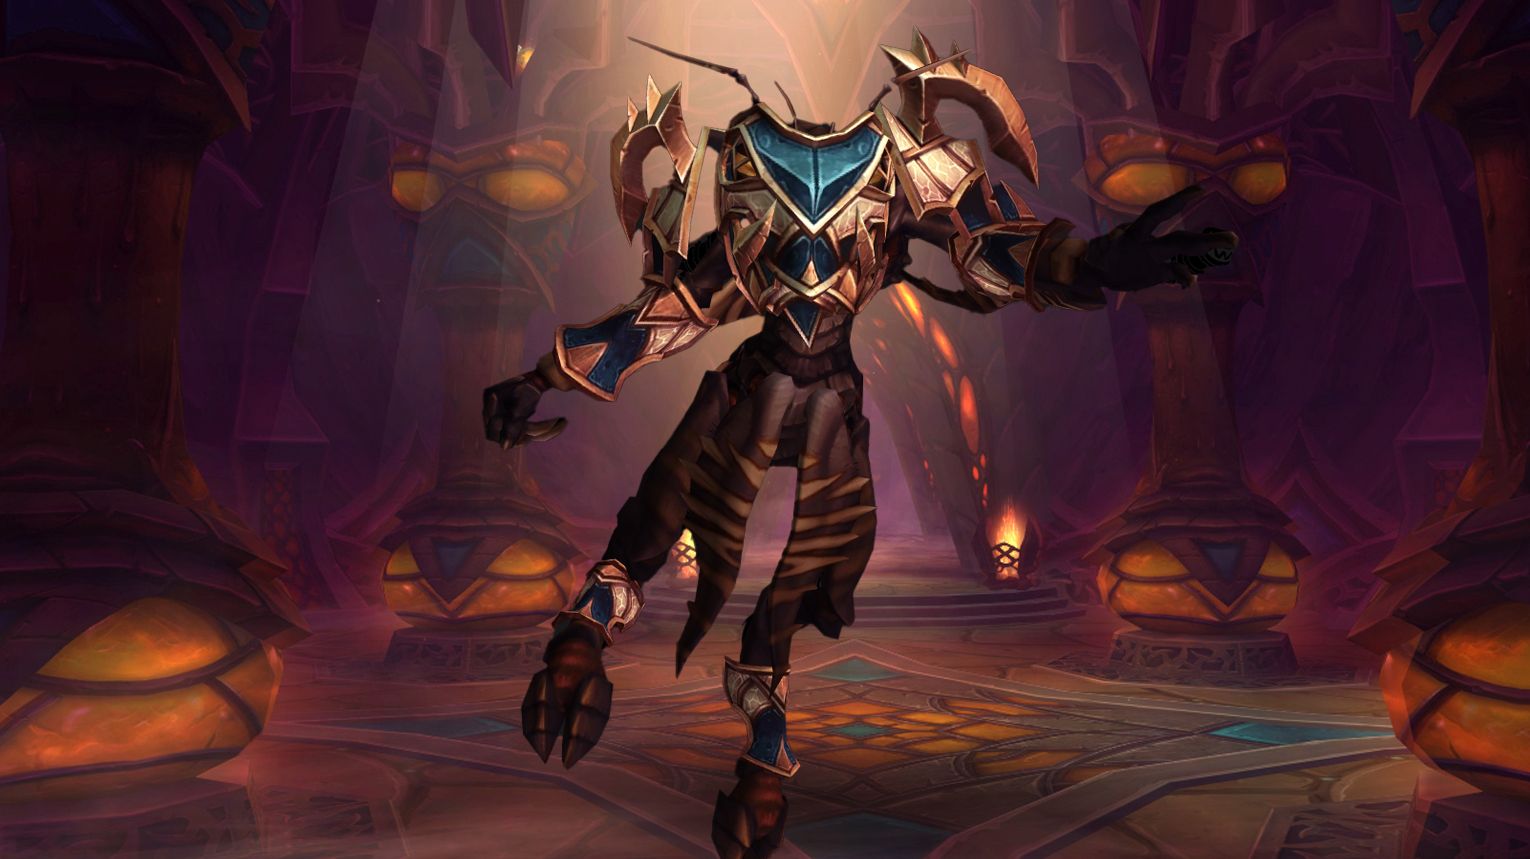
The encounter against Wind Lord Mel’jarak is a single-phase fight where you face Mel’jarak and nine adds: three Sra-thik Amber-Trappers, three Kor’thic Elite Blademasters, and three Zar’thik Battle-Menders. The adds become active as soon as you engage the boss. Handling and killing the adds is crucial, as they have unique mechanics that influence your raid strategy. The adds share a health pool and have the same abilities. Killing three adds of the same kind grants Mel’jarak a stack of a buff that increases his damage done and damage taken. Adds can be crowd-controlled, but there are limits based on the number of adds alive.
 Preferred Classes:
 Tanks: At least two tanks are preferred, with one tanking Mel’jarak and the other tanking the remaining adds.
 Healers: Multiple healers are necessary due to the high damage output from Mel’jarak and the adds.
 DPS: Classes with strong AoE damage and crowd-control abilities are beneficial. Interrupts and dispels are crucial for handling the Battle-Menders and Blademasters.
 Tips:
Tips:
- Crowd Control: Use crowd-control abilities effectively to manage the adds. Prioritize crowd-controlling the Battle-Menders and Blademasters.
- Positioning: Spread out in a circle around the boss to minimize damage from Whirling Blade and avoid multiple players being caught in Amber Prison.
- Communication: Clear communication is essential for handling add abilities and crowd control.
- Cooldowns: Use defensive cooldowns during high-damage phases, such as Rain of Blades and Kor’thik Strike.
 Strategy:
- Tanking: One tank should pick up Mel’jarak and one or two adds, while the other tank handles the remaining adds.
- Crowd Control: Crowd-control as many adds as the limit allows. Prioritize crowd-controlling the Battle-Menders and Blademasters.
- Add Management: Kill the adds in a specific order based on your raid’s strengths and weaknesses. Aim to kill the Battle-Menders first, followed by the Blademasters, and finally the Amber-Trappers.
- Handling Add Abilities:
- Interrupt Mending cast by the Battle-Menders.
- Dispel Quickening from the adds.
- Free players from Amber Prison.
- Move away from Wind Bombs and avoid triggering them after they arm.
- DPS Priority: Focus on killing the adds before damaging Mel’jarak. Use DoTs and cleaving attacks to deal damage to Mel’jarak while killing the adds.
 Bloodlust/Drums:
Add Burn Phase: Use Bloodlust/Drums when burning down a specific type of add, especially if you are trying to kill them before they cast a crucial ability.
 Wind Lord Mel’jarak loot table:
Amber-Shaper Un’sok
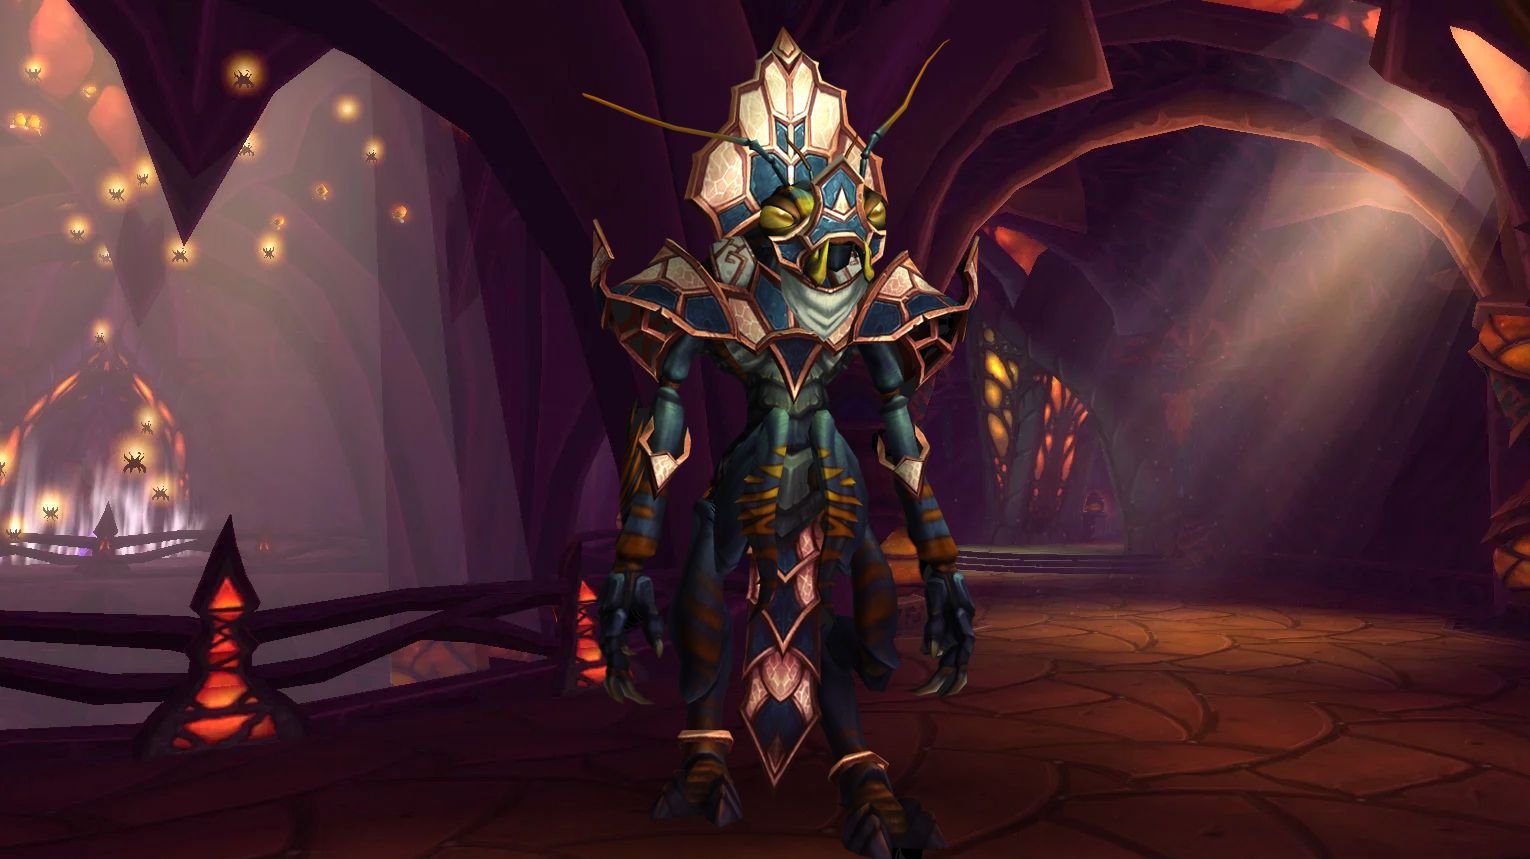
Amber-Shaper Un’sok is a 3-phase boss in Mists of Pandaria where players must manage Mutated Constructs (vehicle mechanics) to stack Destabilize (damage debuff) and interrupt deadly Amber Explosions. Phase 1 (100–70% HP) focuses on adds and Constructs, Phase 2 (70% HP) requires killing an immune boss’s add, and Phase 3 is a burn phase with enraged damage. Key tips: interrupt casts, prioritize Constructs under 20% HP, and use Bloodlust in Phase 3. Heroic adds respawning adds and Amber Globules to kite.
 Preferred Classes:
 Tanks: Must handle Construct mechanics in Phase 1.
 Ranged DPS: Prioritize killing Living Ambers and Mutated Constructs.
 Healers: Strong single-target healers (e.g.,
  Paladins) for Parasitic Growth debuff.
- Utility: Classes with immunities (Ice Block, Divine Shield) to clear Parasitic Growth.
 Tips:
Tips:
- Mutated Construct:
- Use Struggle for Control to interrupt Amber Explosion.
- Apply Amber Strike to stack Destabilize on boss/add.
- Exit with Break Free before Willpower depletes (requires Construct <20% HP).
- Avoid consuming Burning Amber (void zones) unless necessary (increases Construct HP).
- Living Ambers:
- Kill them one by one (AoE heals nearby adds).
- Position deaths to cluster void zones for later Consume Amber.
- Phase 2:
- Mutated Construct must interrupt Amber Monstrosity’s Amber Explosion.
- Ranged stay >15yds to avoid Massive Stomp.
- Phase 3:
- Burn boss aggressively; ignore Constructs if needed.
- Use Bloodlust/Time Warp here (or Phase 2 if struggling).
 Strategy:
- Phase 1:
 Tanks: Maximize Destabilize stacks on boss by delaying Construct exit.
 DPS: Prioritize Constructs > Living Ambers > boss.
 Healers: Minimize healing on Parasitic Growth targets (use absorbs).
- Phase 2:
- Focus Amber Monstrosity.
- Assign one player to stay in Construct long-term (consuming void zones for Willpower).
- Phase 3:
- Stack Destabilize and burn boss.
- Kite Amber Globules (Heroic only) into each other to despawn.
 Bloodlust/Drums:
Optimal: Phase 3 (boss enrage) for fastest kill.
 Amber-Shaper Un’sok loot table:
Grand Empress Shek’zeer
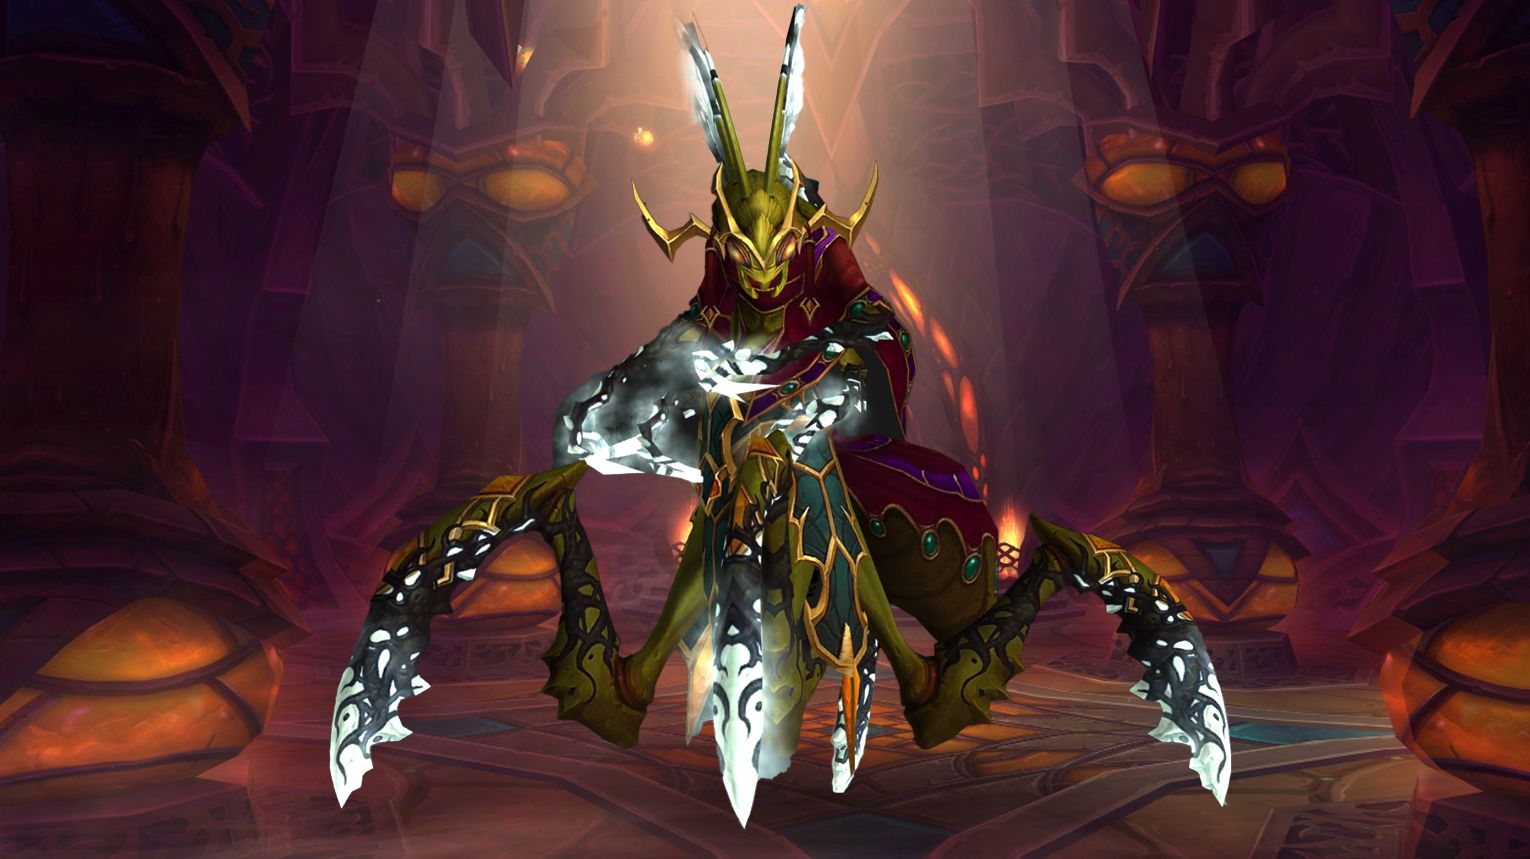
The encounter against Grand Empress Shek’zeer is a three-phase fight. Phases One and Two alternate until the boss reaches 30% health, at which point Phase Three begins. Phase One lasts for 2 minutes and 30 seconds, during which the raid faces Grand Empress Shek’zeer alone. Phase Two starts after Phase One ends, and the raid must deal with adds while Shek’zeer is not present. Phase Three is a burn phase that begins when Shek’zeer reaches 30% health and ends when the boss is defeated. The fight has an enrage timer that allows for at least two Phase One-Two alternations, but high DPS should enable the raid to go through only one such alternation.
 Preferred Classes:
 Tanks: Two tanks are required to alternate tanking Shek’zeer due to the Eyes of the Empress debuff.
 Healers: Up to 4 healers in 10-man and up to 9 in 25-man are suggested due to the brutal raid damage in Phases One and Three.
 DPS: Ranged DPS are preferred for handling the Dissonance Fields and interrupting Dispatch. Melee DPS should focus on the adds during Phase Two.
 Tips:
Tips:
- Positioning: Spread out at least 5 yards apart to avoid unnecessary damage from Dread Screech and Visions of Demise.
- Communication: Clear communication is crucial for handling the Dissonance Fields and coordinating the creation of Amber Traps.
- Cooldowns: Use raid cooldowns like Rallying Cry and Tranquility to mitigate the damage from the Dissonance Field explosions and other high-damage abilities.
 Strategy:
- Phase One:
- Tanks should switch at 4 stacks of Eyes of the Empress.
- Designate a Dissonance Field to kill first and have the player affected by Cry of Terror move inside it.
- Use raid cooldowns to mitigate the damage from the Dissonance Field explosions.
- Phase Two:
- Kill the Windblades before the Reavers and aim to trap the Reavers in Amber Traps.
- Interrupt Dispatch and kite Windblades that fixate on players.
- Create Amber Traps by merging Sticky Resin void zones.
- Phase Three:
- Remain spread out to minimize the impact of Visions of Demise.
- Tanks should alternate tanking the boss and face her away from the raid.
- Dispel Visions of Demise as soon as possible.
- Use all raid cooldowns to stay alive and increase DPS on the boss.
 Bloodlust/Drums:
Phase Three, as it is the most intense phase and coincides with the execute phase for many DPS classes.
 Grand Empress Shek’zeer loot table:
Heart of Fear Achievements List
| Achievement | Requirement |
| Nightmare of Shek’zeer | Defeat the final three bosses. |
| The Dread Approach | Defeat the first three bosses. |
| Raid Finder: Heart of Fear | Defeat the enemies in the Heart of Fear on any difficulty. |
| Heart of Fear | Defeat the enemies in the Heart of Fear on Normal difficulty or higher. |
| Heart of Fear Guild Run | Defeat the bosses while in a guild group. |
| Heroic: Heart of Fear | Defeat the enemies in the Heart of Fear on Heroic difficulty. |
| Heroic: Grand Empress Shek’zeer | Defeat Grand Empress Shek’zeer on Heroic difficulty. |
| Heroic: Grand Empress Shek’zeer Guild Run | Defeat Grand Empress Shek’zeer on Heroic difficulty while in a guild group. |
| Ahead of the Curve: Grand Empress Shek’zeer | Defeat Grand Empress Shek’zeer on Normal difficulty, before the release of patch 5.2. |
| Cutting Edge: Grand Empress Shek’zeer | Defeat Grand Empress Shek’zeer on Heroic difficulty, before the release of patch 5.2. |
| Realm First! Grand Empress Shek’zeer | First guild on the realm to defeat Grand Empress Shek’zeer on Heroic difficulty while in a guild group. |
| Heroic: Amber-Shaper Un’sok | Defeat Amber-Shaper Un’sok on Heroic difficulty. |
| Heroic: Blade Lord Ta’yak | Defeat Blade Lord Ta’yak on Heroic difficulty. |
| Heroic: Garalon | Defeat Garalon on Heroic difficulty. |
| Heroic: Imperial Vizier Zor’lok | Defeat Imperial Vizier Zor’lok on Heroic difficulty. |
| Heroic: Wind Lord Mel’jarak | Defeat Wind Lord Mel’jarak on Heroic difficulty. |
| Sha of Fabulous | Collect any class armor set from the Heart of Fear and Terrace of Endless Spring. |
| Candle in the Wind | Defeat Blade Lord Ta’yak while all four braziers are lit on Normal or Heroic difficulty. |
| I Heard You Like Amber… | Kill Living Amber in Burning Amber until at least 8 pools overlap, and then defeat Amber-Shaper Un’sok on Normal or Heroic difficulty. |
| Less Than Three | Defeat Wind Lord Mel’jarak without crowd-controlling more than 2 of his swarm at once on Normal or Heroic difficulty. |
| Like an Arrow to the Face | Defeat Garalon on Normal or Heroic difficulty without destroying any of his legs. |
| Raiding with Leashes VI: Pets of Pandaria | Collect all of the battle pets listed below from Mogu’shan Vaults, Terrace of Endless Spring, and Heart of Fear. |
| Timing is Everything | Defeat two Kor’thik Reavers within 10 seconds of each other, and then defeat Grand Empress Shek’zeer on Normal or Heroic difficulty. |

