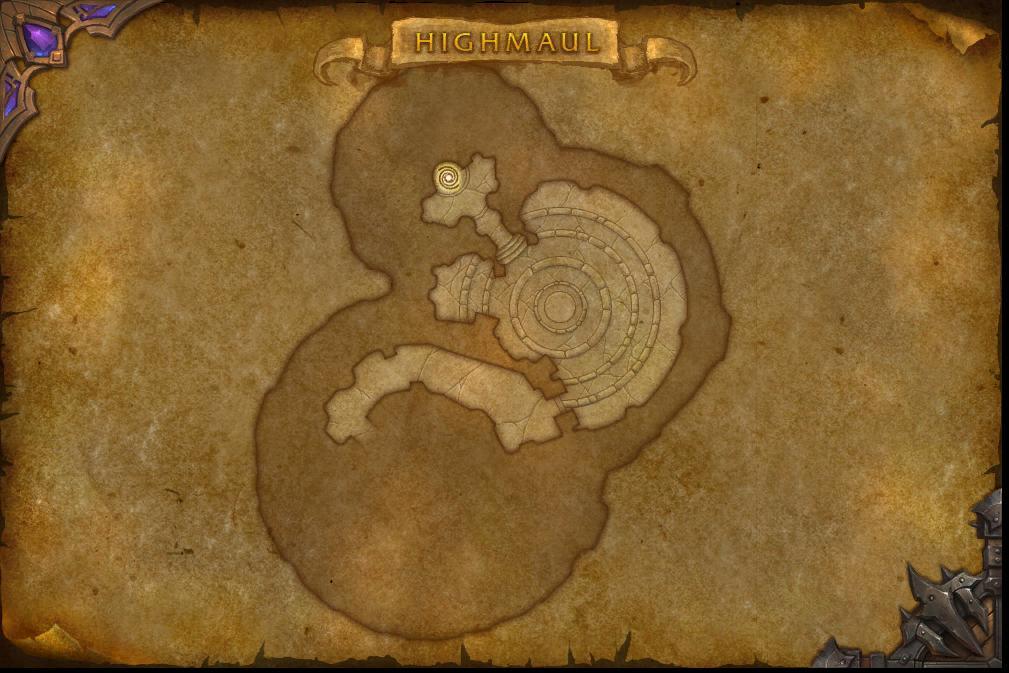
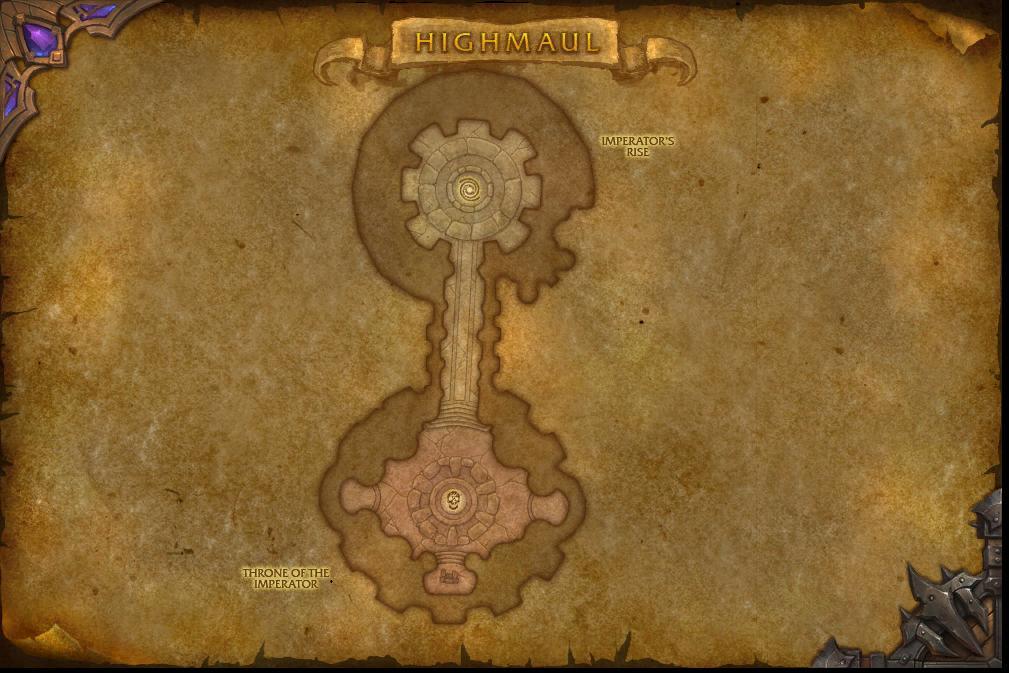
Highmaul is the first raid in Warlords of Draenor, opened in December 2014. Located in Nagrand, this ogre stronghold offers amazing transmog gear, achievements, and a chance to test your skills against powerful bosses if you want to clear it solo.
Legacy farming is fine, but if you want to stay competitive, you need the newest PvE gear. Our Manaforge Omega boost is the answer. Skilled US and EU teams finish the raid in 1–2 hours, no matter the difficulty: Normal, Heroic, or Mythic. Hourly runs are open now—grab your spot.
This guide will explain:
- Highmaul location
- Bosses and their rewards
- Available mounts, weapons, and transmogs
- Achievements you can earn
- Can you solo Highmaul?
Whether you’re farming WoD raids for cosmetics, testing your solo skills, or want to check the Highmaul location, this guide will help you make the most of your runs in WoW Retail.
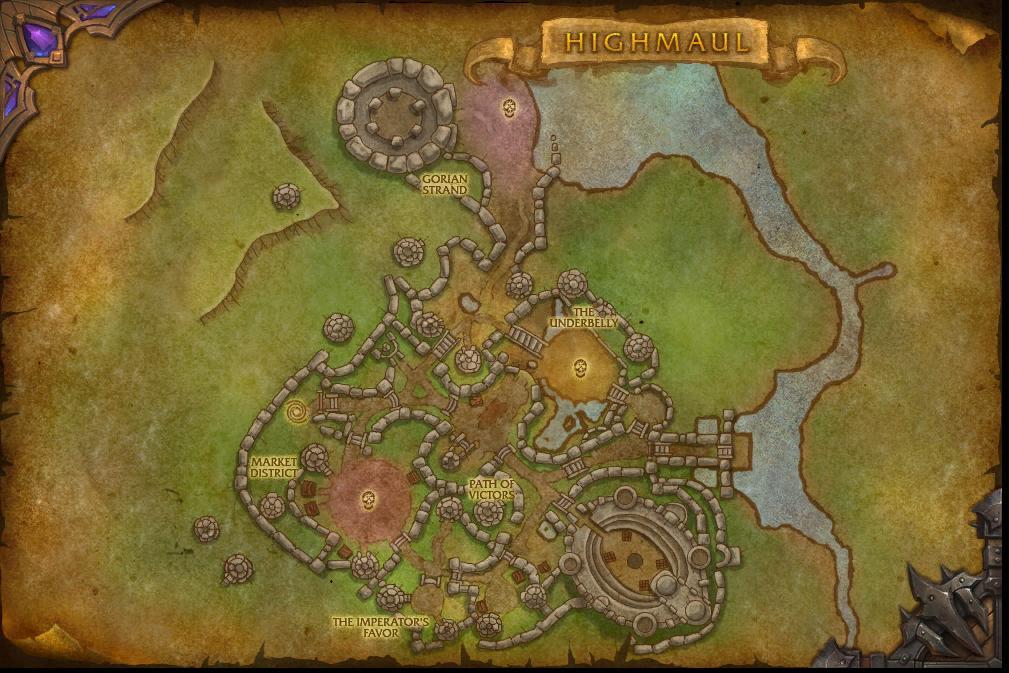
Highmaul Entrance and Subregions
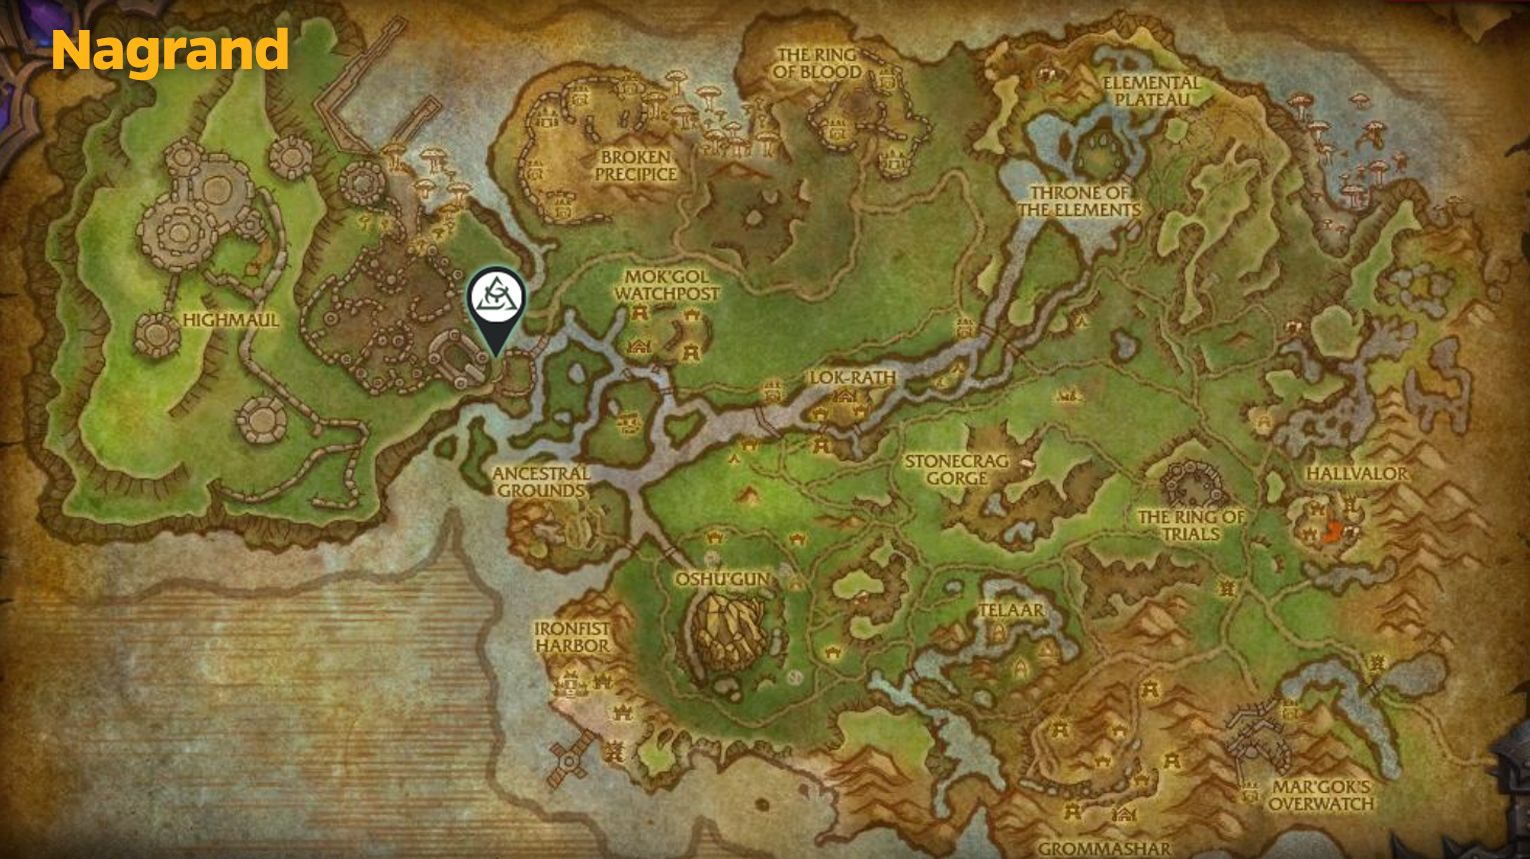
Highmaul is located in the Nagrand zone in World of Warcraft: Warlords of Draenor. Highmaul is in northwestern Nagrand (Warlords of Draenor). To get there:
- Fly to Rilzit Mugshot (closest flight path).
- Head northwest to the massive ogre coliseum.
- The entrance is at /way Nagrand 36.2, 38.0, with a repair vendor right outside.
The entrance is guarded by Bogruk, a repair vendor, who is right outside the instance. Follow the path, be cautious of any enemies, and you’ll reach the main gates. Once at the entrance, walk through the doors to enter the raid and begin your adventure. If you want to get amazing professional teammates, buy boost in WoW at Gamingcy: we have over 2000 expert gamers ready to help you with new and old game content.
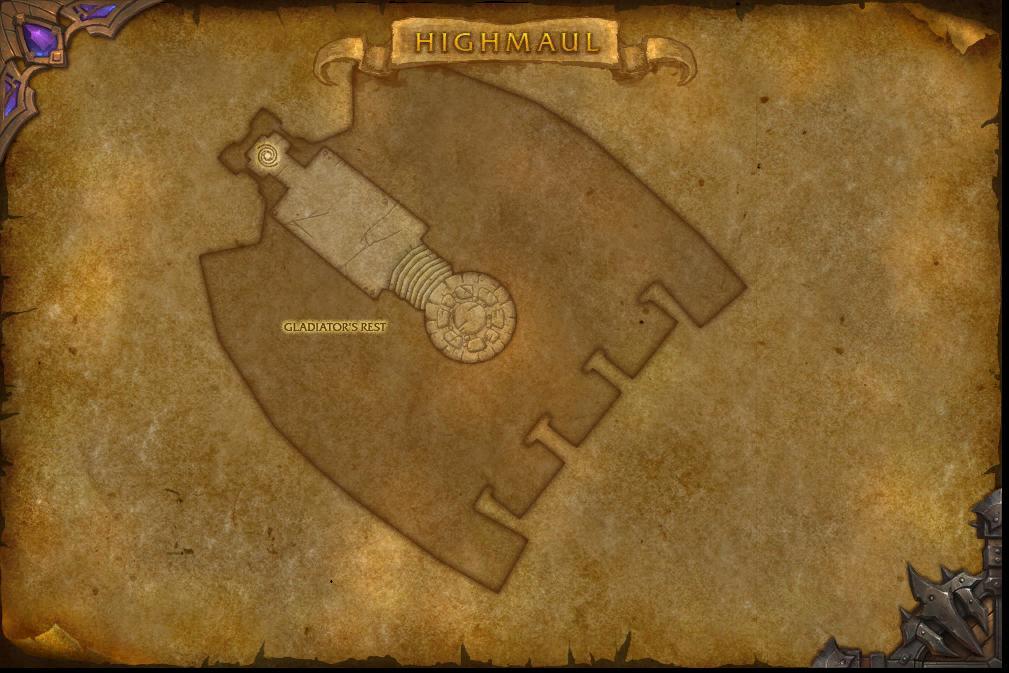
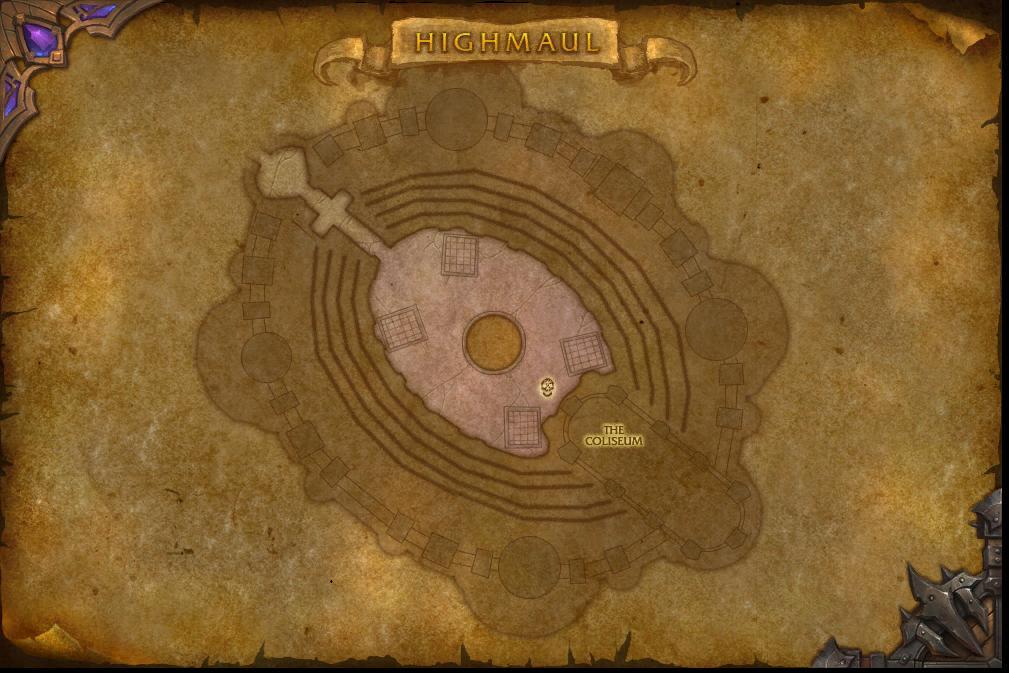
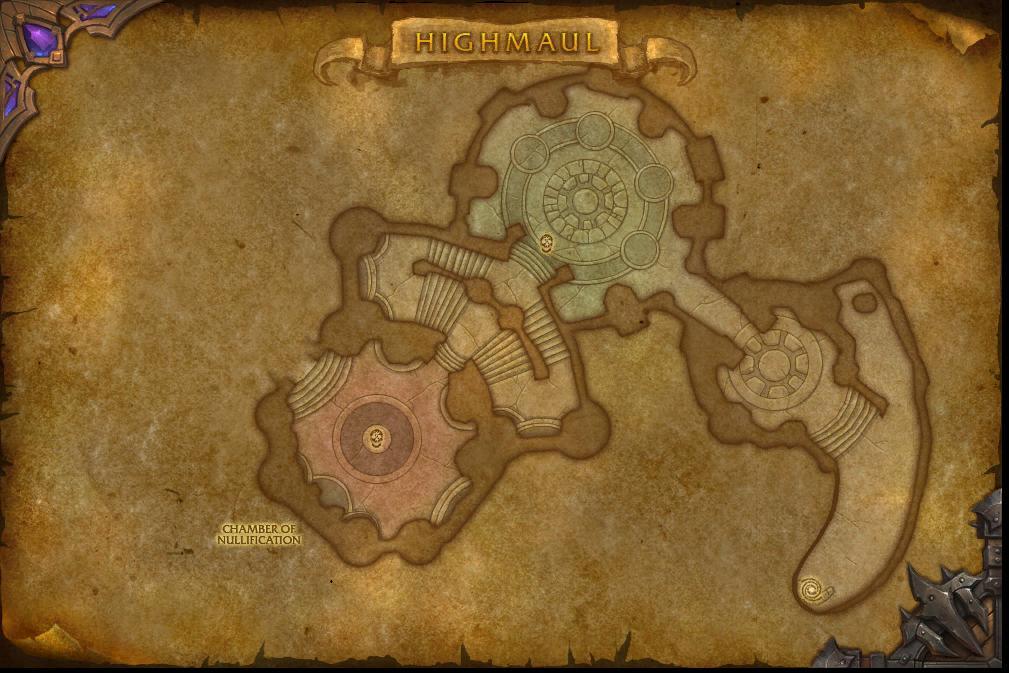
Inside, you fight through different sections of the ogre empire:
- The Coliseum – Kargath Bladefist’s arena.
- The Underbelly – Dark, winding tunnels (The Butcher, Brackenspore).
- Tectus’s Chasm – Rocky terrain with earth-shaking fights.
- Imperator’s Rise – Mar’gok’s throne room (final boss).
Each area has unique mechanics and bosses—no fancy teleports, just straight-up brawls in ogre territory.
Highmaul Collectibles: Mounts, Pets, Transmogs
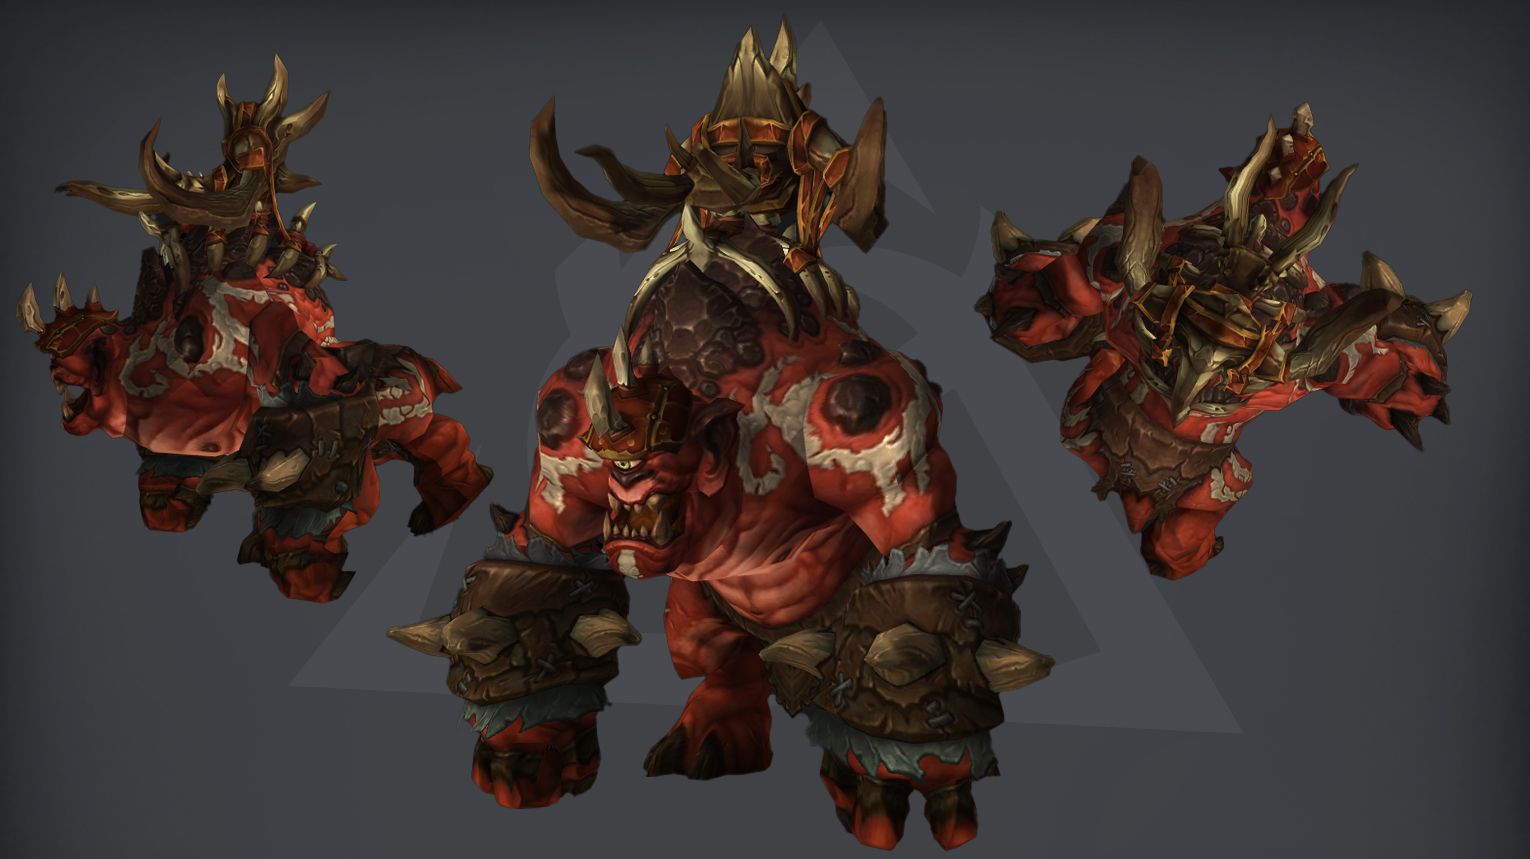
| Collectible | Source | Obtainable / Not Obtainable |
| Gorestrider Gronnling | Glory of the Draenor Raider | Yes |
Highmaul Bosses Overview
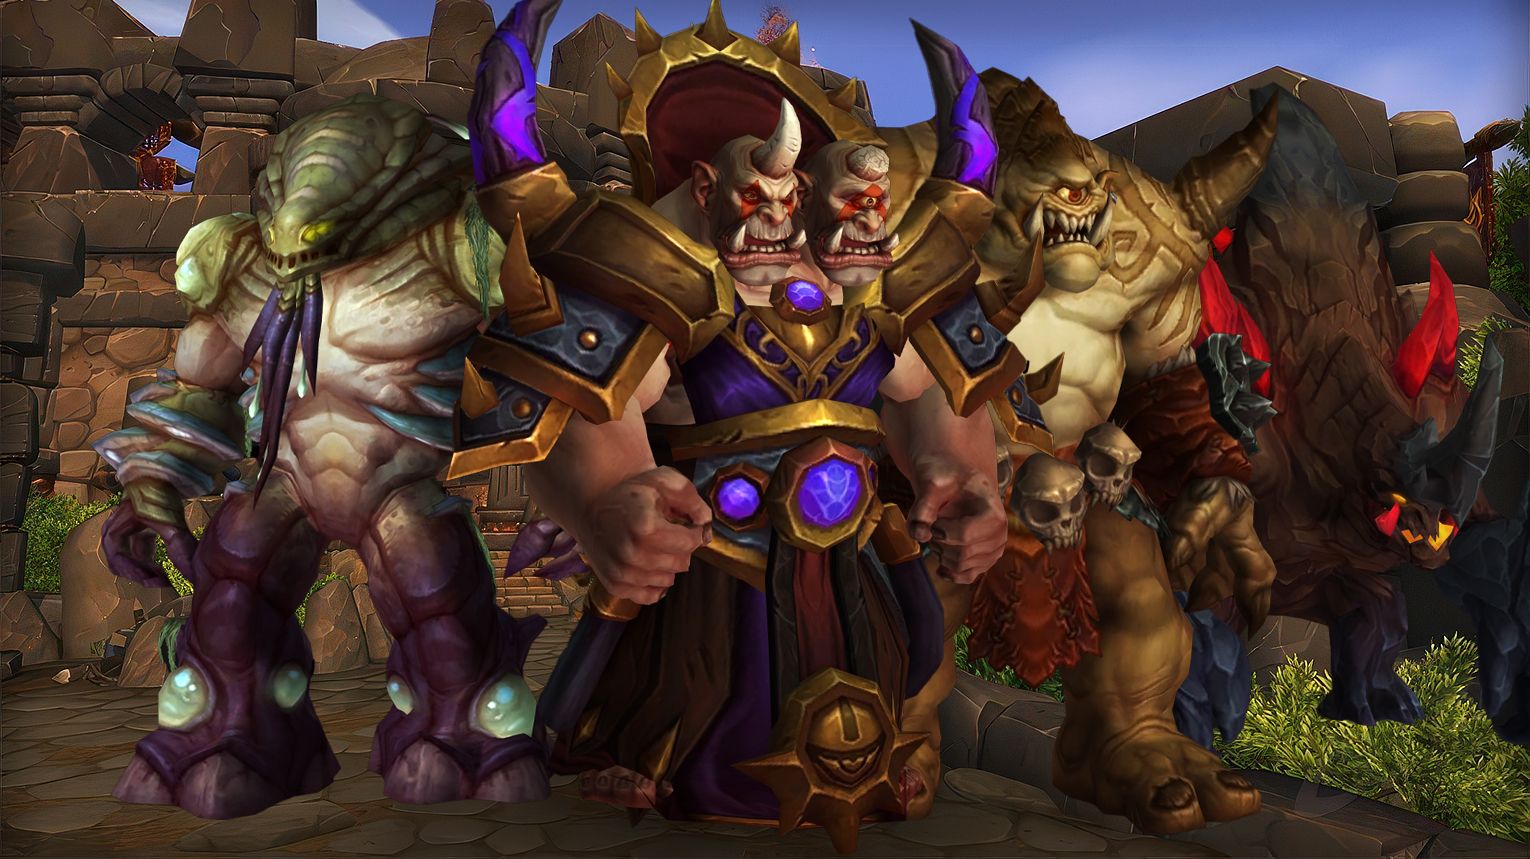
Highmaul is the brutal ogre stronghold raid from Warlords of Draenor, where players battle through seven savage encounters in the heart of Draenor. The raid starts with Kargath Bladefist, a deadly gladiator who fights you in his own coliseum, complete with traps and arena hazards. Next comes The Butcher, a mindless killing machine that forces your raid to outlast his relentless cleaves.
Fights get more complex as you progress—Tectus splits into smaller copies of himself, Brackenspore summons waves of fungal minions, and the Twin Ogron duo must be tanked carefully to avoid their devastating combined attacks. The final challenge is Imperator Mar’gok, a sorcerer-king who warps reality itself, forcing your raid to adapt to shifting mechanics in an epic throne room battle.
Below, we’ll break down each boss, their key mechanics, and the loot they drop.
Can You Solo Highmaul in The War Within?
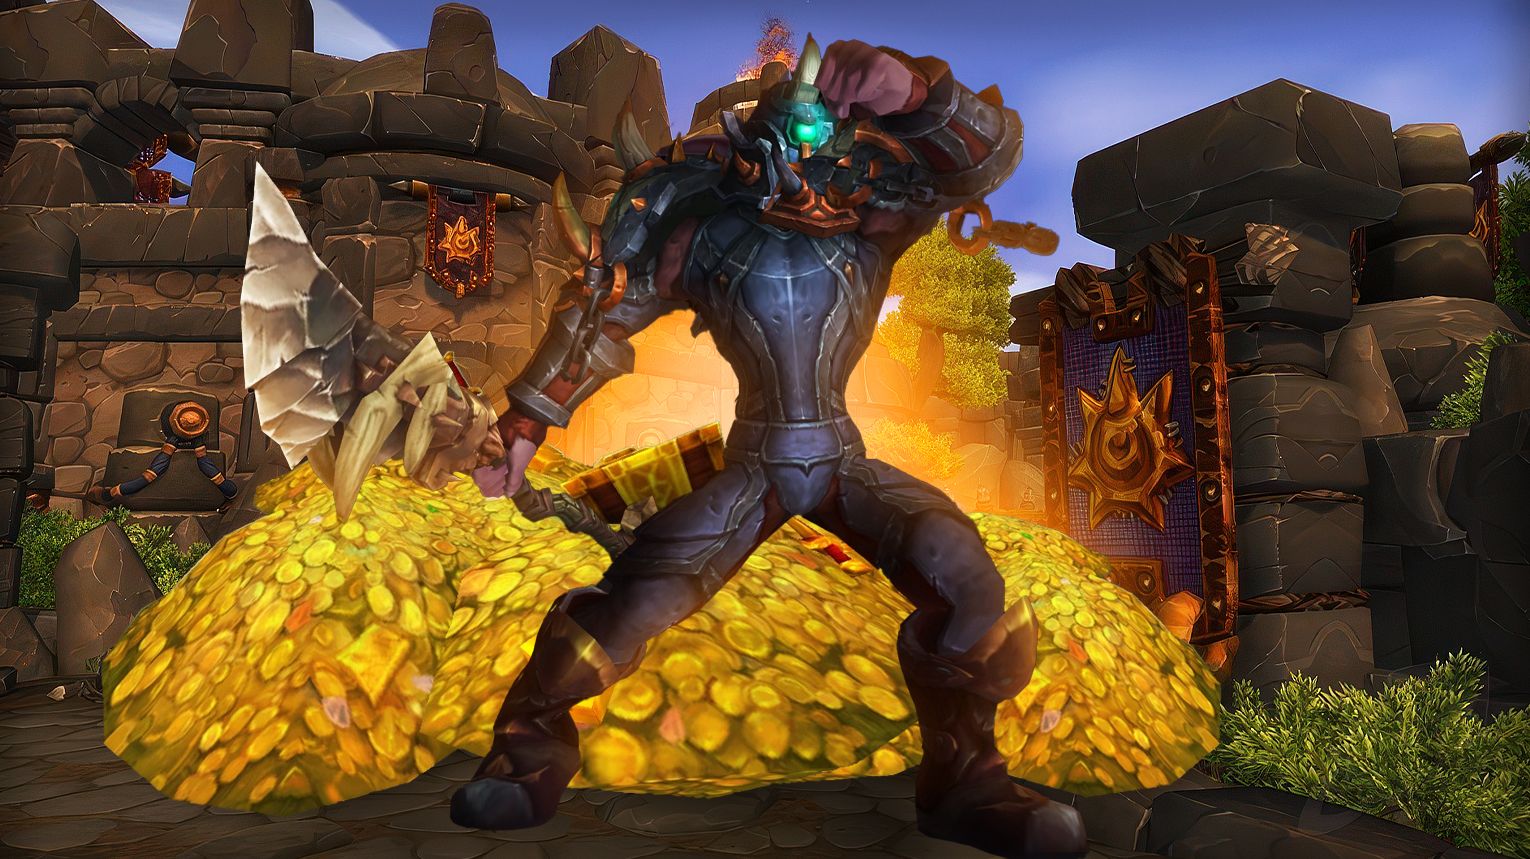
Farming Highmaul solo in The War Within is a great method to gather transmog sets, mounts, pets, and achievements from the Warlords of Draenor expansion.
General Tips:
- Recommended Level: 60+ (trivial at 80).
- Difficulty: Normal/Heroic is easily soloable; Mythic may require more gear/skill.
- No Mechanics Needed: Most bosses die before mechanics matter.
- Fast Clearing: Use a mount with “Pathfinder” (WoD flying) or speed boosts (e.g., Druid travel form).
Loot & Farming:
- Transmog: Tier 17 lookalike sets (Warrior, Paladin, Hunter, etc.).
- Mount: None in Highmaul, but Blackhand in Blackrock Foundry drops the Ironhoof Destroyer.
- Achievements: Can be soloed for Glory of the Draenor Raider.
Kargath Bladefist
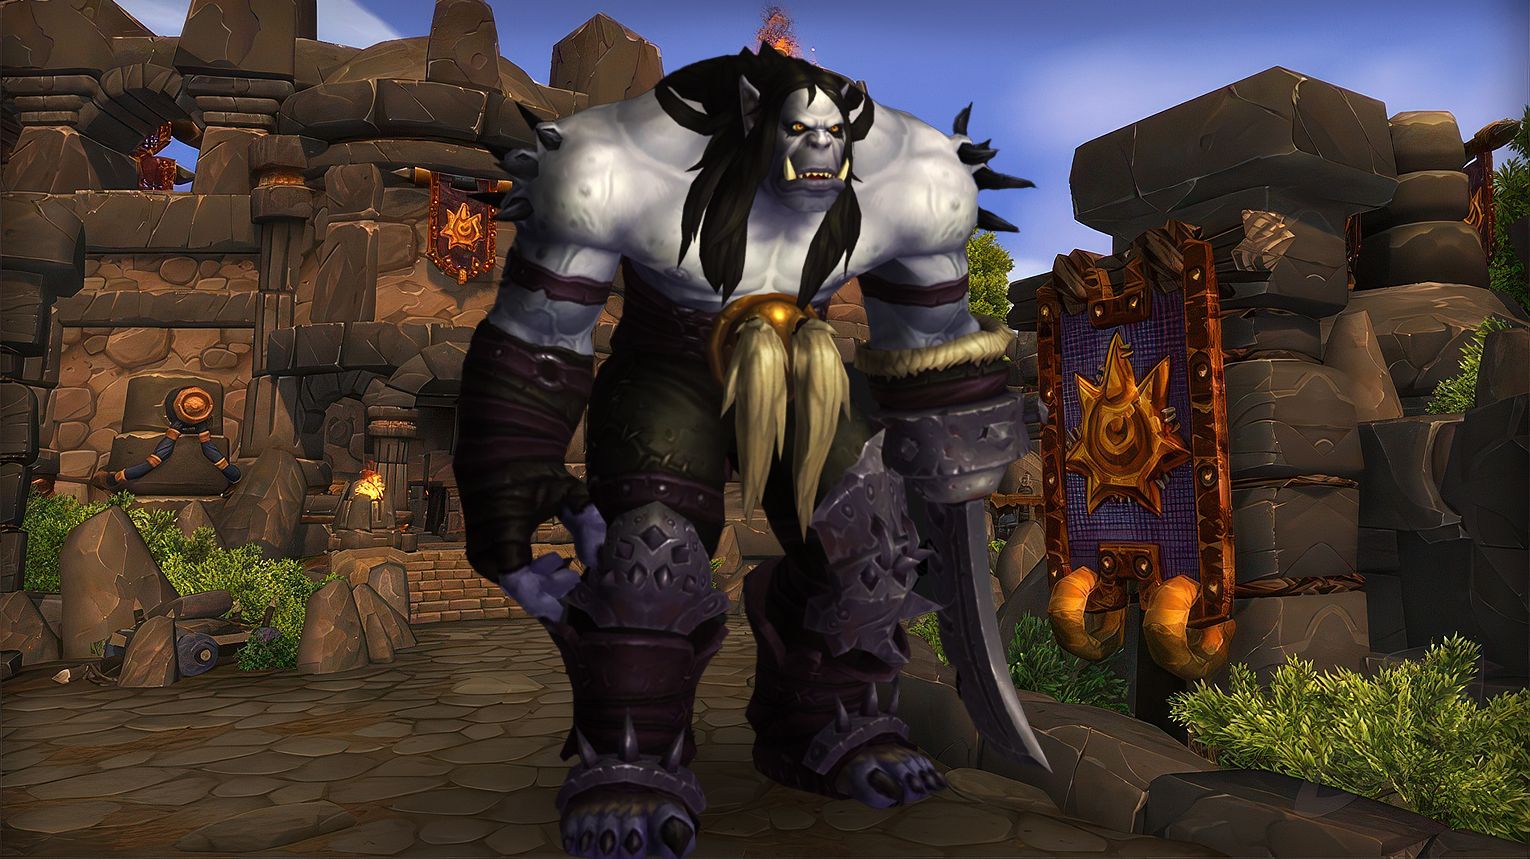
Kargath Bladefist is the first boss in Highmaul, featuring Chain Hurl (sending players to fight adds in stands) and Berserker Rush (kite him through Flame Pillars). Tanks must swap after Impale to manage Open Wounds, while DPS prioritize adds in stands. Ranged/healers spread to avoid Blade Dance and Mauling Brew. On Mythic, maximize Roar of the Crowd by kiting Berserker Rush longer and killing adds efficiently. Use Bloodlust early (LFR/Normal) or during high Favor (Mythic).
 Preferred Classes:
 Tanks: Classes with strong mitigation for Impale (e.g.,
  Paladin,
  Warrior).
 Healers: Strong single-target healers (e.g.,
  Holy Paladin) for tank damage.
 DPS
DPS
- Stands Team: AoE specialists (e.g.,
 Frost Mage,
  Affliction Warlock).
 - Kiting Berserker Rush: Mobile ranged (e.g.,
 Hunter,
  Mage).
 - Mythic: Classes with immunities/speed boosts (e.g., Paladin’s BoP, Mage’s Blink).
- Stands Team: AoE specialists (e.g.,
 Tips:
Tips:
- Chain Hurl Team:
- Pre-assign 1 tank (lowest Open Wounds stacks), 1 healer, 3 AoE DPS.
- Focus Iron Bombers and Drunken Bileslingers in stands.
- Berserker Rush:
- Kite Kargath through Flame Jet (active pillars marked by skulls).
- Avoid tiger pits during kiting.
- Tanks:
- Swap after Impale to manage Open Wounds.
- Keep Kargath centered to preserve pillars.
- General:
- Spread out to avoid Blade Dance splash.
- Dodge Mauling Brew (green circles) and Iron Bomb explosions.
 Strategy:
- Phase 1 (Coliseum):
- Tanks hold boss mid-platform.
- Ranged/healers stay spread; melee stay behind boss.
- Assign pillars for Berserker Rush kiting paths.
- Phase 2 (Stands):
- Chain Hurl team kills adds quickly to reduce raid damage.
- Avoid Fire Bomb (Iron Bomber death explosion).
- Mythic-Specific:
- Maximize Roar of the Crowd by kiting Berserker Rush longer and killing adds efficiently.
- Use Bloodlust during high Favor buffs (50+).
- Kite Ravenous Bloodmaw tigers through Flame Jets for extra Favor.
 Bloodlust/Drums:
Open with Bloodlust for maximum uptime.
 Kargath Bladefist loot table:
| Type of Armor | Item | Loot type |
| Cloth | Vilebreath Mask | Head |
| Leather | Throat-Ripper Gauntlets | Hands |
| Chestguard of the Roaring Crowd | Chest | |
| Grips of Vicious Mauling | Hands | |
| Treads of Sand and Blood | Feet | |
| Plate | Casque of the Iron Bomber | Head |
| Any | Champion’s Medallion | Amulet |
| Fireproof Greatcloak | Cloak | |
| Illusion: Mark of the Shattered Hand | Illusion | |
| The Bladefist | Fist Weapon | |
| Bileslinger’s Censer | Off-hand | |
| Grunt’s Solid Signet | Ring | |
| Kargath’s Last Link | Ring |
The Butcher
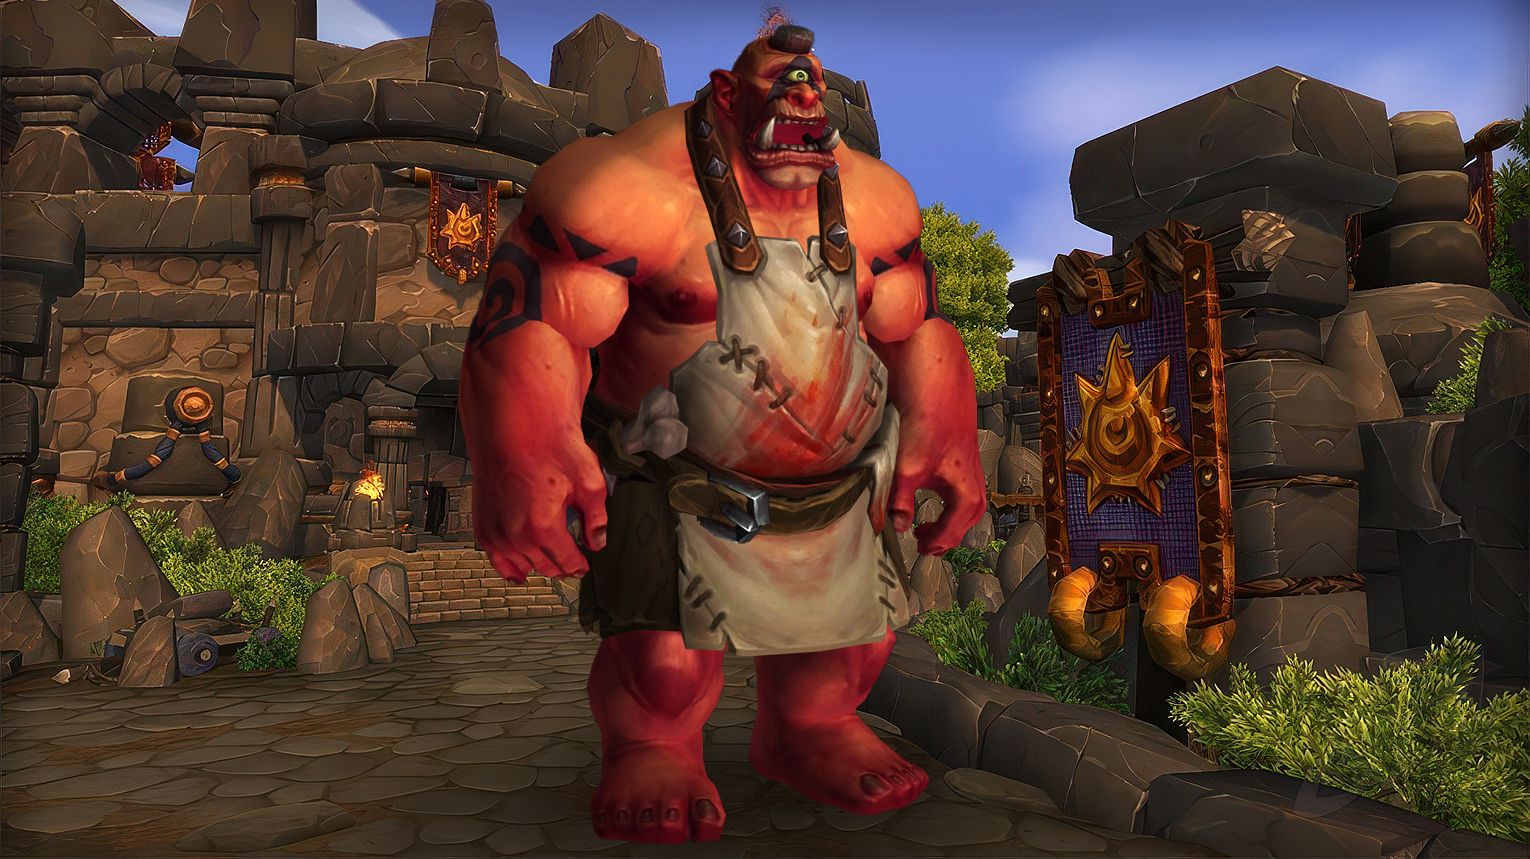
The Butcher is a DPS-heavy fight in Highmaul, focusing on Cleave management. Assign two melee groups to rotate soaking Cleave (3 stacks each) while ranged baits Bounding Cleave. Tanks must swap at 3–4 stacks of The Tenderizer and stack to split damage. At 30% HP, the boss Frenzies—use Bloodlust and cooldowns to burn him quickly. Avoid stacking too high on Gushing Wounds (5 stacks = instant death).
 Preferred Classes:
 Tanks: High-mitigation classes (e.g.,
  Protection Paladin,
  Blood DK) for The Tenderizer stacks.
DPS: Melee: Classes with cleave (e.g.,
  Warrior,
  Ret Paladin) for consistent damage.
 Ranged: Mobile classes (e.g.,
  Hunter,
  Mage) to bait Bounding Cleave.
 Healers: Strong AoE healers (e.g.,
  Resto Druid,
  Holy Priest) for Gushing Wounds.
 Tips:
Tips:
- Cleave Soaking:
- Assign 2 groups of 3–4 players (left/right legs) to rotate stacks.
- A “trigger” player steps in to draw 3 Cleaves (3 stacks), then swaps.
- Bounding Cleave: Ranged/healers stack post-knockback to bait safely.
- Tanks: Swap at 3–4 stacks of The Cleaver/Tenderizer; use CDs for high stacks.
- Frenzy Phase (30% HP): Pop Bloodlust and personal/raid CDs.
 Strategy:
 Bloodlust/Drums:
At 30% HP (Frenzy phase) to shorten the most dangerous part.
 The Butcher loot table:
| Type of Armor | Item | Loot type |
| Cloth | Slaughterhouse Spaulders | Shoulder |
| Meatmonger’s Gory Grips | Hands | |
| Leather | Belt of Bloody Guts | Waist |
| Bracers of Spare Skin | Wrist | |
| Hood of Dispassionate Execution | Head | |
| Plate | Gauntlets of the Heavy Hand | Hands |
| Entrail Squishers | Feet | |
| Any | Cloak of Frenzied Rage | Cloak |
| Butcher’s Bloody Cleaver | 1H Axe | |
| Butcher’s Terrible Tenderizer | 1H Mace | |
| Gutwrench Ring | Ring | |
| Flenser’s Hookring | Ring | |
| Scales of Doom | Trinket |
Tectus
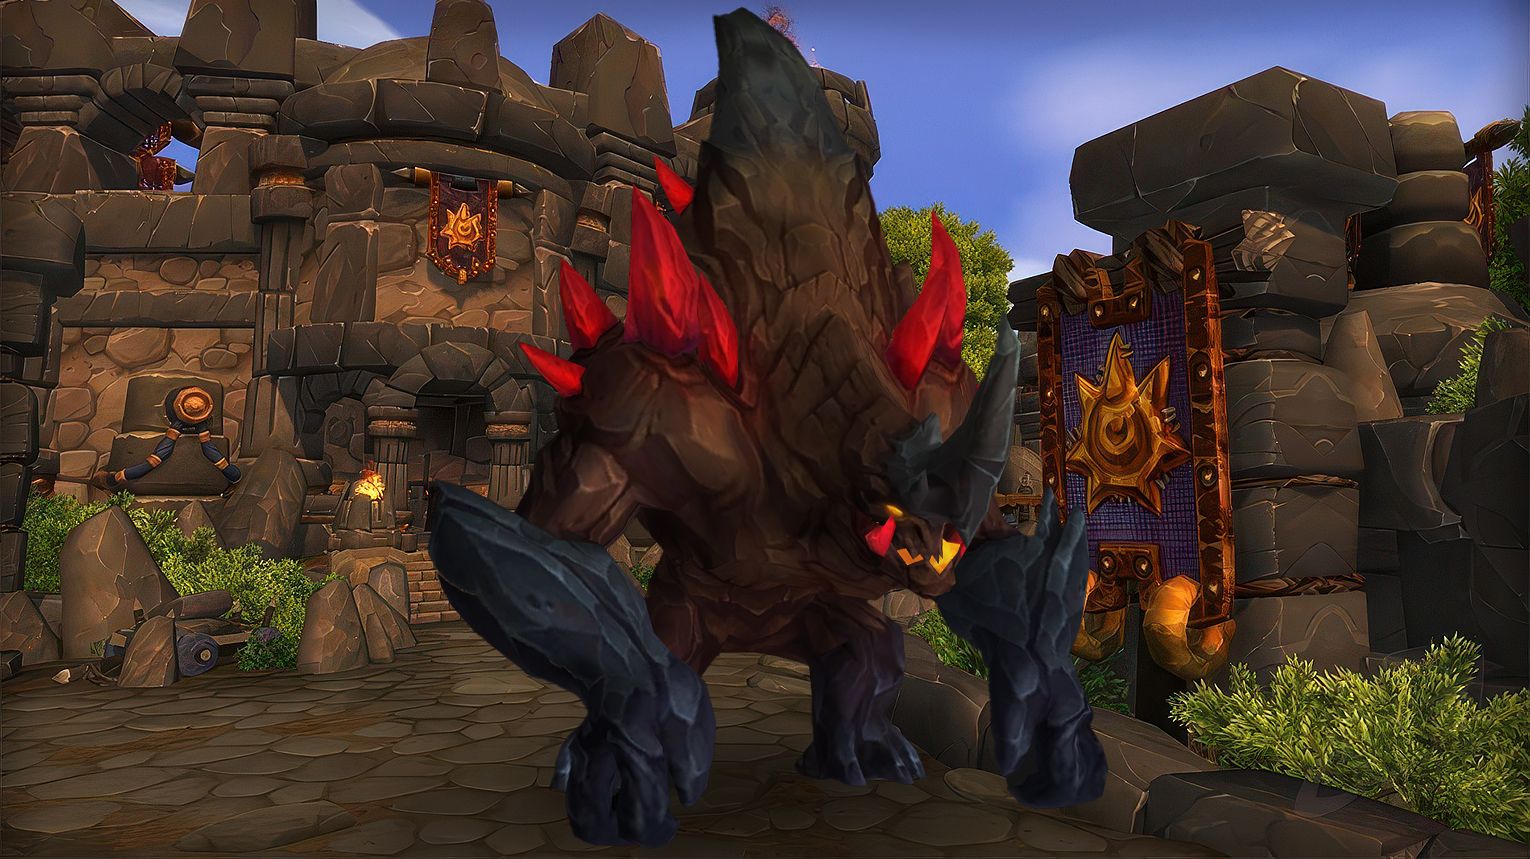
Tectus is a Highmaul boss with heavy movement and add management. He splits into 2 Shards when killed, which then split into 4 Motes each. Key mechanics include dodging Earthen Pillar (25 Energy), avoiding Crystalline Barrage, and stunning Night-Twisted Earthwarpers to block Gift of Earth. Optimal Bloodlust timing is during the Mote phase (4 Motes + 1 Shard) for quick burns. Tanks must manage Accretion stacks and split adds, while DPS focuses on burst damage during Tectonic Upheaval.
 Preferred Classes:
 Tanks: Strong active mitigation (e.g.,
  Protection Paladin for stuns).
 DPS: High burst/AoE (e.g.,
  Fire Mage,
  Demonology Warlock,
  Unholy DK).
 Healers: Strong raid-cooldowns (e.g.,
  Resto Druid,
  Holy Paladin).
 Tips:
Tips:
- Pillar Placement: Ranged/healers should stay near edges to avoid blocking LoS.
- Barrage Handling: Move counter-clockwise to avoid cluttering pillar paths.
- Adds: Stun-lock Earthwarpers to prevent Gift of Earth.
- Kill Order:
- Tectus → 1st Shard → 4 Motes → 2nd Shard → 4 Motes.
 Strategy:
- Phase 1 (Tectus):
- Stack ranged/healers at edges.
- Tanks swap on Accretion stacks.
- Dodge Earthen Pillar/Fracture.
- Phase 2 (Shards):
- Each tank takes 1 Shard. Burn one Shard during Tectonic Upheaval.
- Phase 3 (Motes):
- Split Motes between tanks (or have one tank hold all 4).
- Use Bloodlust here (see below).
 Bloodlust/Drums:
During Mote phase (4 Motes + 1 Shard active) for quick burns.
 Tectus loot table:
| Type of Armor | Item | Loot type |
| Cloth | Crystal-Woven Bracers | Wrist |
| Leather | Mountainwalker’s Boots | Feet |
| Living Mountain Shoulderguards | Shoulder | |
| Plate | Legplates of Fractured Crystal | Legs |
| Any | Flechette-Riddled Chain | Amulet |
| Illusion: Rockbiter | Illusion | |
| Ring of Infinite Accretion | Ring | |
| Eye of Tectus | Ring | |
| Earthfury Band | Ring | |
| Signet of Crystalline Barrage | Ring | |
| Earthwarped Bladestaff | Staff | |
| Spire of Tectus | Staff | |
| Pillar of the Earth | Trinket | |
| Tectus’ Beating Heart | Trinket |
Brackenspore
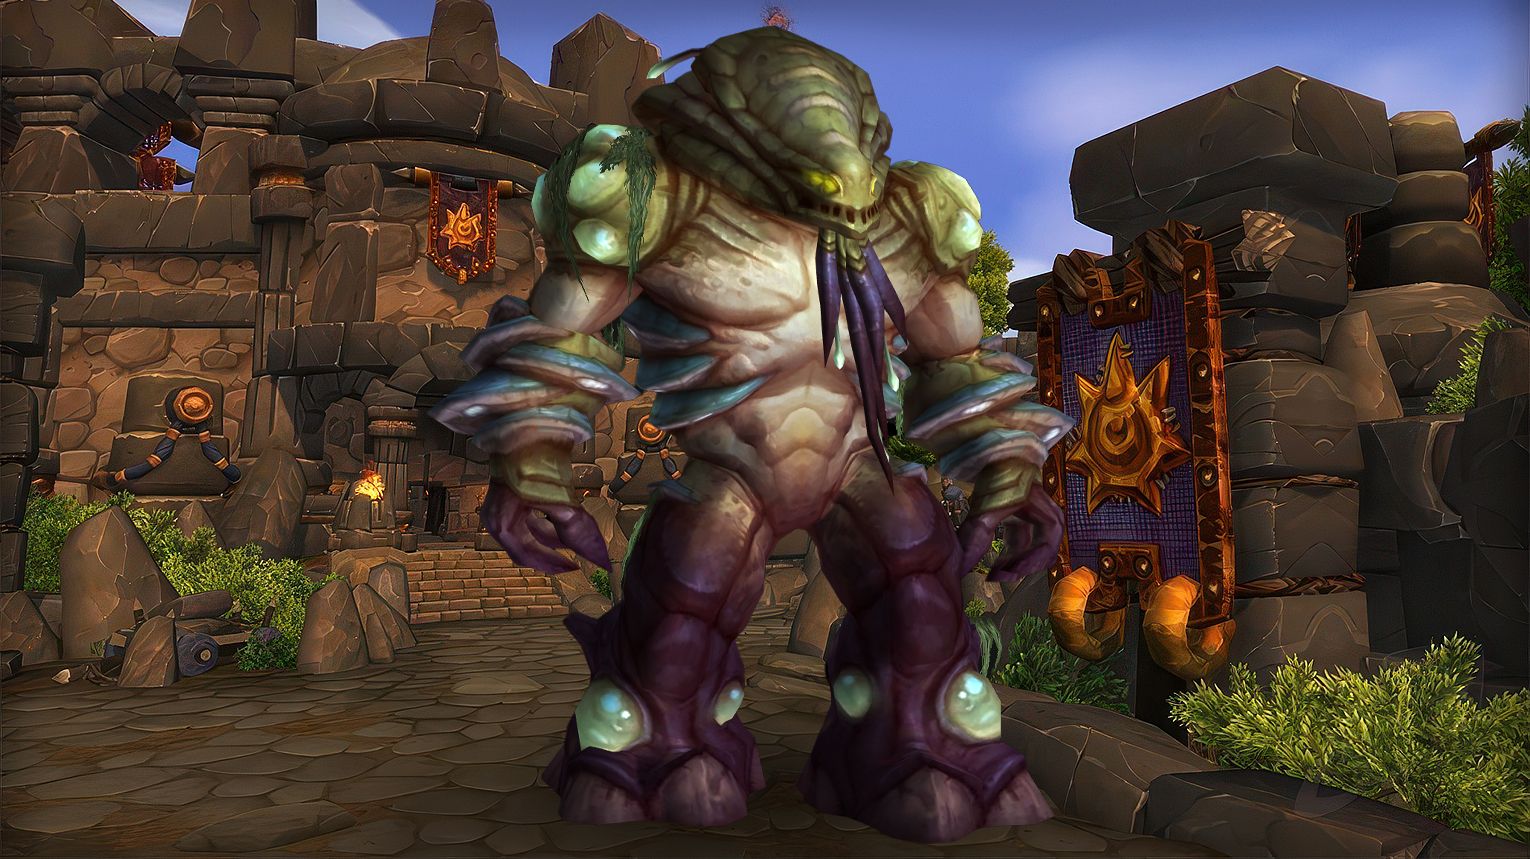
Brackenspore (Highmaul) is an add-heavy fight with two key mechanics: managing beneficial mushrooms (heal them for raid-wide buffs) and controlling Creeping Moss (use Flamethrowers to clear it). Prioritize killing Fungal Flesh-Eaters (interrupt Decay), while avoiding Spore Shot and Mind Fungus debuffs. Tanks must swap at 4 Rot stacks and face the boss away for Necrotic Breath. Use Bloodlust at the start for maximum DPS. On Mythic, watch for Call of the Tides (waves) and Exploding Fungus (instant AoE damage).
 Preferred Classes:
 Tanks: Classes with strong interrupts (e.g.,
  DKs,
DKs,  Warriors) for Decay.
 DPS:
DPS:
- Ranged:
 Hunters,
  Mages (for Spore Shooters and Moss control).
 - Melee:
 Rogues (interrupts), classes with cleave (for adds).
 - Flamethrower Duty: Mobile ranged DPS (e.g.,
 Hunters,
  Balance Druids).
- Ranged:
 Healers: Classes with strong AoE heals (e.g.,
  Resto Druids,
  Holy Priests) for mushrooms.
 Tips:
Tips:
- Mushrooms:
- Living Mushroom: Heal to full before Infesting Spores for raid-wide healing.
- Rejuvenating Mushroom: Keep alive for mana/HP regeneration.
- Add Priority: Fungal Flesh-Eater > Spore Shooters > Mind Fungus.
- Movement:
- Avoid Creeping Moss (slows + damage).
- Ranged intercept Spore Shot away from melee.
- Stay out of Mind Fungus AoE (debuffs casters).
 Strategy:
 Tanks:
- Swap Brackenspore at 4 stacks of Rot.
- Face boss away for Necrotic Breath.
- Kite adds away from moss and into mushroom buffs.
 DPS:
DPS:
- Focus Flesh-Eaters first (interrupt Decay).
- Assign 2 players to Flamethrowers for moss control.
 Healers:
- Pre-heal mushrooms before Infesting Spores.
- Use raid CDs if no Living Mushroom is active.
 Bloodlust/Drums:
Start of fight (minimal movement, max DPS on boss/adds).
 Brackenspore loot table:
| Type of Armor | Item | Loot type |
| Cloth | Robes of Necrotic Whispers | Chest |
| Girdle of the Infected Mind | Waist | |
| Leather | Sandals of Mycoid Musing | Feet |
| Deep Walker Paulders | Shoulder | |
| Moss-Woven Mailshirt | Chest | |
| Plate | Fleshchewer Greatbelt | Waist |
| Mosscrusher Sabatons | Feet | |
| Any | Collar of Wailing Mouths | Amulet |
| Crystalline Branch of the Brackenspore | Bow | |
| Cloak of Creeping Necrosis | Cloak | |
| Maw of Souls | Shield | |
| Bottle of Infesting Spores | Trinket |
Twin Ogron
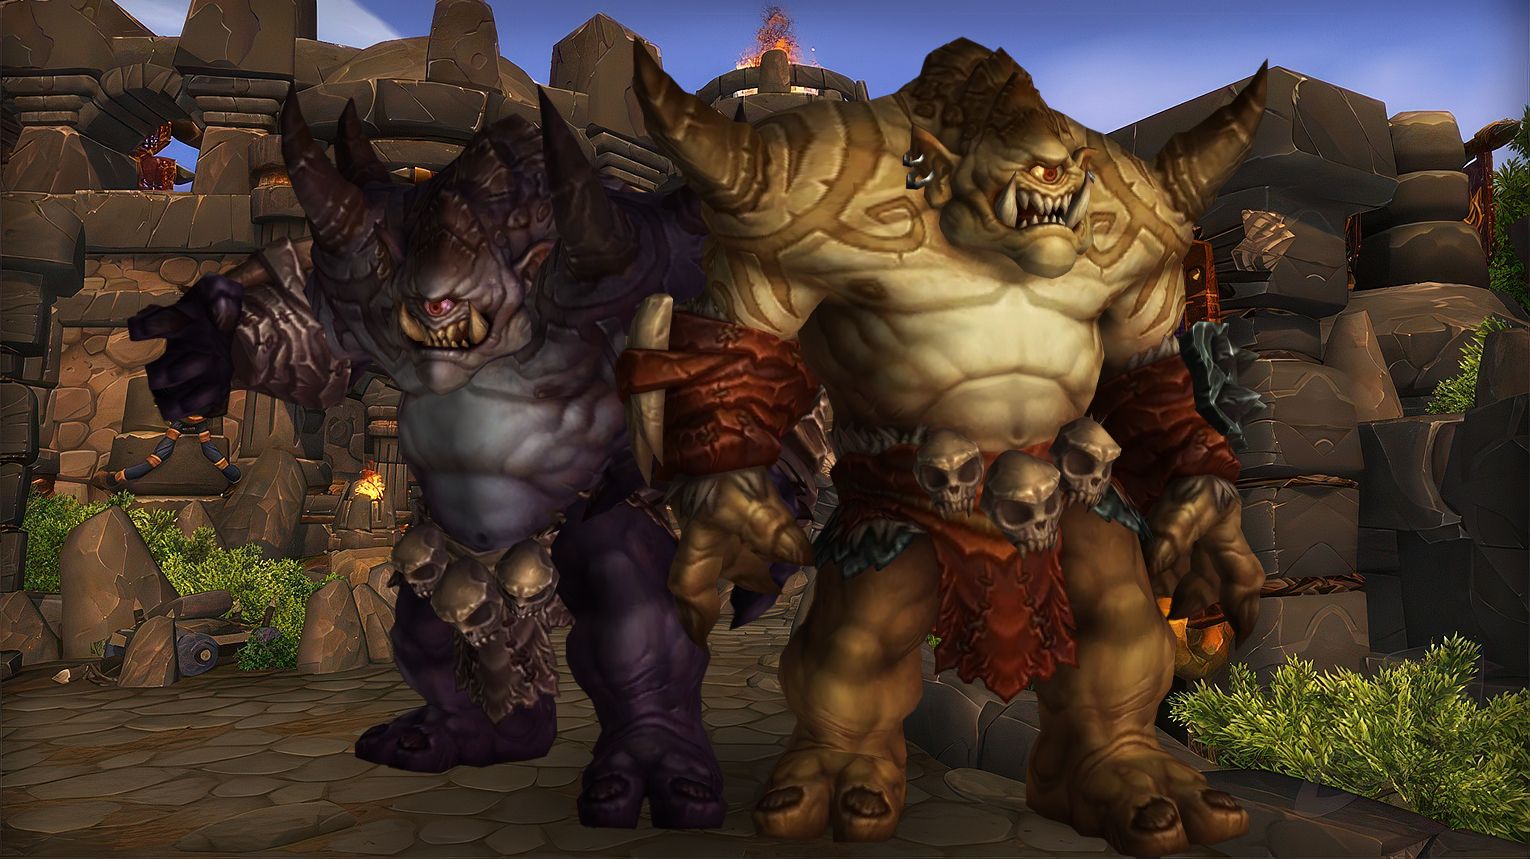
The Twin Ogron (Phemos and Pol) in Highmaul is a dynamic twin-boss fight with shared health and energy-based abilities. Key mechanics include dodging Quake/Blaze fire walls, stacking for Enfeebling Roar, and avoiding Shield Charge/Pulverize. Tanks must keep bosses together to prevent enrage, while DPS cleave both. Use Bloodlust early for max uptime, and on Mythic, watch for Arcane Twisted empowered abilities. Loot includes strong trinkets like Pol’s Blinded Eye and weapons like Phemos’ Double Slasher.
 Preferred Classes:
 Tanks: High-mobility tanks (e.g.,
  Warriors,
  Monks) to handle boss repositioning.
 DPS: Classes with strong cleave/AoE (e.g.,
  Warlocks,
  Frost DKs) and multidotting (e.g.,
  Shadow Priests).
 Healers: Strong raid healers (e.g.,
  Resto Druids,
  Holy Priests) for handling Enfeebling Roar and Blaze stacks.
 Tips:
Tips:
- Quake/Blaze (Phemos): Hide behind one weapon to minimize fire walls.
- Enfeebling Roar: Entire raid must stack to split damage/debuff duration.
- Pulverize (Pol): Spread slightly and dodge ground effects.
- Tank Note: Keep bosses together to avoid their enrage (increased attack speed when separated).
 Strategy:
- Phase 1 (Quake/Blaze):
- Phemos throws weapons → raid moves behind one weapon.
- Dodge fire walls and avoid Blaze stacks (3+ can be lethal).
- Phase 2 (Ability Rotation):
- Phemos: Tank drags him away for Whirlwind (33 Energy).
- Pol: Dodge Shield Charge (33 Energy) and stop casting during Interrupting Shout (66 Energy).
- Overlap Handling: If Enfeebling Roar (66 Energy) and Pulverize (100 Energy) overlap, stack and dodge together.
- Repeat: Cycle mechanics while maintaining cleave damage.
 Bloodlust/Drums:
Opening 20-30 seconds (least movement, maximum DPS).
 Twin Ogron loot table:
| Type of Armor | Item | Loot type |
| Cloth | Sea-Cursed Leggings | Legs |
| Leather | Treacherous Palms | Hands |
| Bracers of the Crying Chorus | Wrist | |
| Belt of Imminent Lies | Waist | |
| Plate | Chestplate of Arcane Volatility | Chest |
| Any | Odyssian Choker | Amulet |
| Cloak of Ruminant Deception | Cloak | |
| Phemos’ Double Slasher | 1H Axe | |
| Golden-Tongued Seal | Ring | |
| Absalom’s Bloody Bulwark | Shield | |
| Pol’s Blinded Eye | Trinket | |
| Shards of Nothing | Trinket |
Ko’ragh
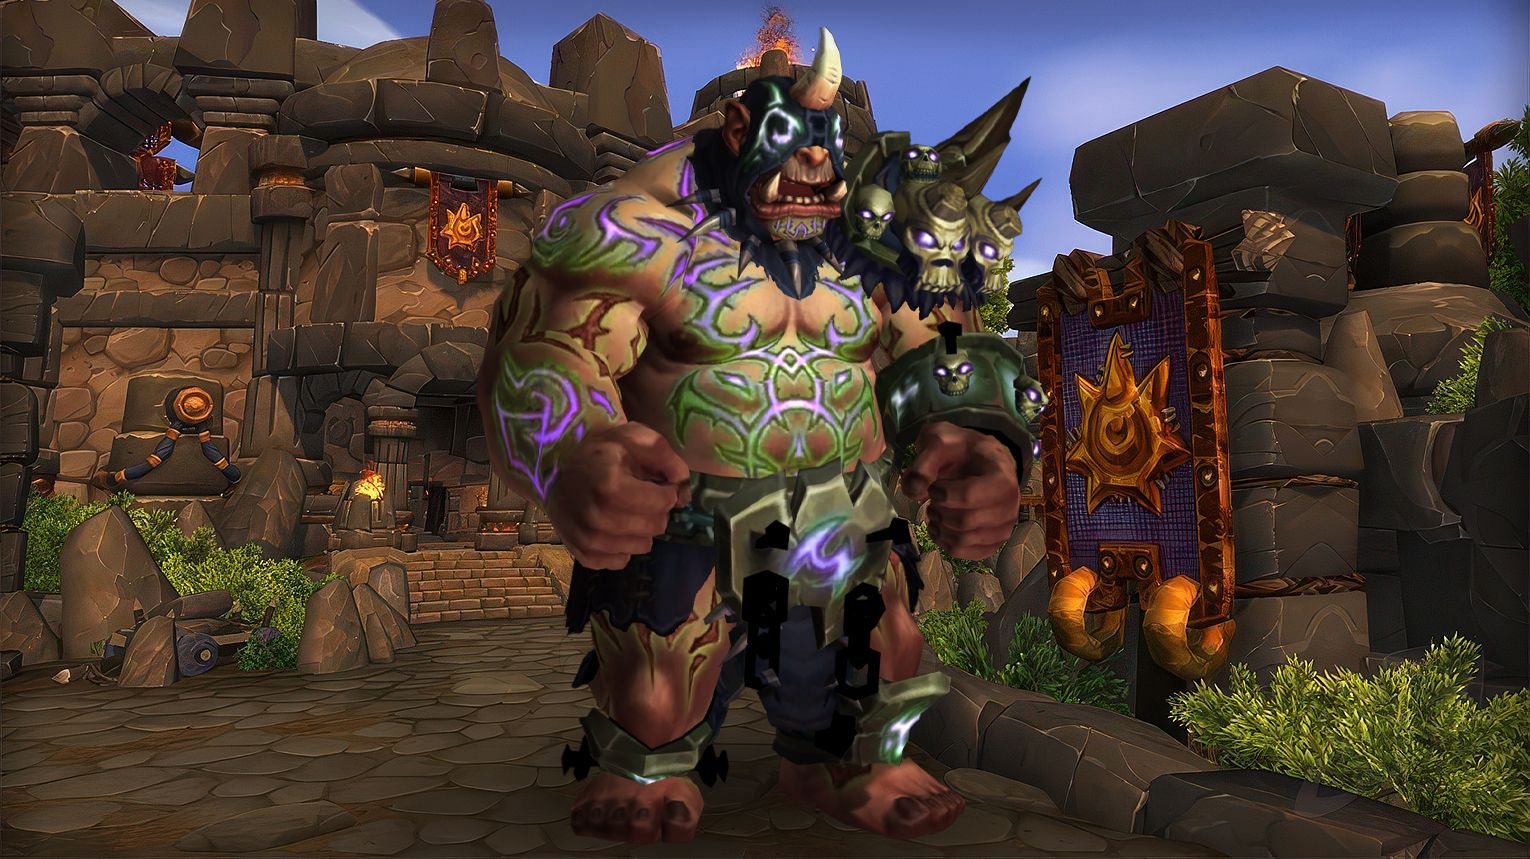
Ko’ragh is a magic-absorbing boss in Highmaul whose Nullification Barrier requires magical DPS to break while physical DPS burns his health. Key mechanics include Overflowing Energy orbs (soaked by players with barriers from standing in Rune of Nullification) and Expel Magic effects (spread for Fire, dodge Frost, taunt-swap for Arcane). Tanks must drag Volatile Anomaly adds into Suppression Fields before killing them. Use Bloodlust early to push phases before overlapping mechanics. Mythic adds Fel flames and mind-controlled orb-soakers needing physical DPS to break.
 Preferred Classes:
 Tanks: High-mobility classes (e.g.,
  Warrior,
  Druid) to handle Expel Magic: Arcane and kite adds.
 Healers: Strong single-target healers (e.g.,
  Disc Priest,
  Holy Pally) for Caustic Energy damage.
 DPS:
DPS:
- Physical DPS (e.g.,
 Rogue,
  Hunter) to bypass Nullification Barrier.
 - Ranged DPS prioritized for orb-soaking due to mobility.
- Physical DPS (e.g.,
 Tips:
Tips:
- Orb Soaking: Assign 3–5 ranged players to rotate Rune of Nullification entries.
- Expel Magic: Fire: Spread before detonation/dispel.
- Expel Magic: Frost: Move away from orbs; use speed boosts.
- Volatile Anomalies: Tanks must drag them into Suppression Fields before they die.
 Strategy:
- Phase 1 (Barrier Active):
- Magical DPS deplete the barrier; physical DPS focus boss HP.
- Tanks swap on Expel Magic: Arcane (affected tank runs away).
- Rune of Nullification:
- 1–2 players enter, soak Caustic Energy to gain a barrier, then exit if low.
- Soak Overflowing Energy orbs to prevent raid damage.
- Adds: Kill Volatile Anomalies only inside Suppression Fields.
- Healing CDs: Use for Expel Magic: Shadow (raid-wide heal absorb).
 Bloodlust/Drums:
Start of fight (least movement, max DPS to break first barrier quickly).
 Ko’ragh loot table:
| Type of Armor | Item | Loot type |
| Cloth | Destablized Sandals | Feet |
| Leather | Rune-Enscribed Hood | Head |
| Leggings of Broken Magic | Legs | |
| Plate | Bracers of Mirrored Flame | Wrist |
| Any | Ko’ragh’s Family Locket | Amulet |
| Cloak of Searing Shadows | Cloak | |
| Ko’ragh’s Boot Knife | Dagger | |
| Seal of Unbound Frost | Ring | |
| Spell-Sink Signet | Ring | |
| Emblem of Caustic Healing | Trinket | |
| Gar’tash, Hammer of the Breakers | 2H Mace | |
| Rod of Fel Nullification | Wand |
Imperator Mar’gok
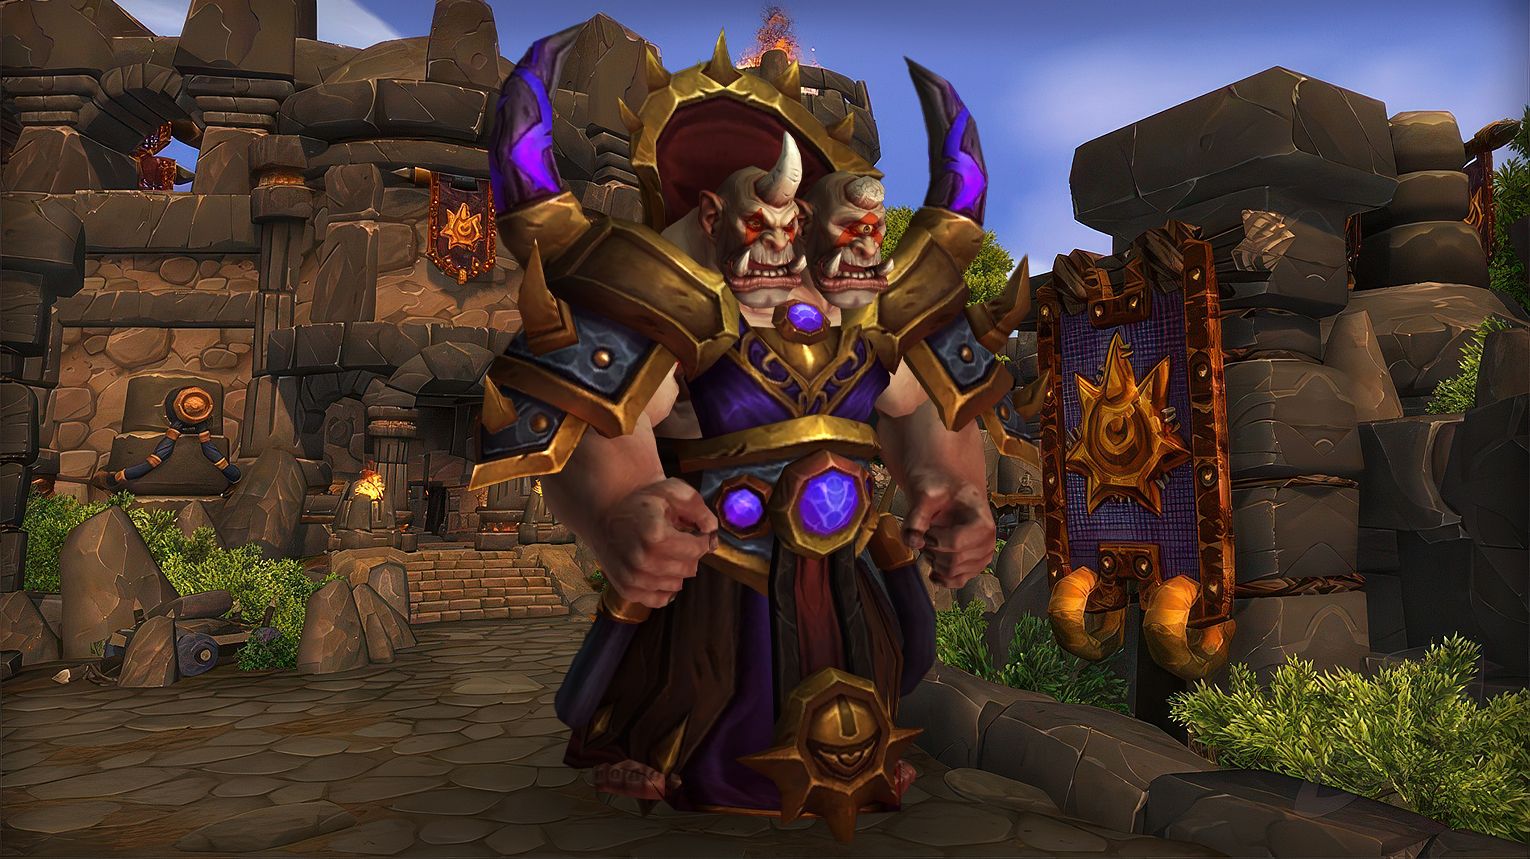
Imperator Mar’gok is the final boss of Highmaul, featuring four phases with escalating mechanics. Key abilities include Branded (isolate high stacks), Mark of Chaos (tank swap + deadly AoE), Force Nova (run through waves), and Destructive Resonance (avoid mines). Intermissions (55% and 25%) add Warmages and Anomalies—kill Warmages first, stagger Anomaly deaths. Use Bloodlust in Intermission 2 to burn adds before the chaotic Phase 4 (Replication). Tanks need mobility, DPS must prioritize adds, and healers require strong raid CDs for Nova/Detonations.
 Preferred Classes:
 Tanks: High-mobility classes (e.g.,
  Warrior,
  DK) to handle Mark of Chaos positioning.
 DPS: Strong AoE (for adds like Arcane Aberrations) and interrupts (for Warmages).
 Healers: Strong raid cooldowns (e.g., Druid’s Tranquility, Priest’s Hymn) for Force Nova and Destabilize.
 Tips:
Tips:
- Branded:
- ≥5 stacks: Run away from the raid to expire the debuff.
- In Phase 2 (Displacement), stand at the edge of your ring while others move opposite.
- Destructive Resonance: Mines persist 1–2 minutes—drop them at the room’s edges.
- Intermissions: Focus Warmages first, then Anomalies (stagger their deaths to reduce Destabilize damage).
 Strategy:
- Phase 1:
- Tanks swap on Mark of Chaos and drag boss clockwise.
- Kill Arcane Aberrations immediately.
- Phase 2 (Displacement):
- Force Nova: Run forward to avoid knockback.
- Mark of Chaos: Tank gets teleported—adjust positioning.
- Intermission 1:
- Kill Warmages first; tanks kite Anomalies away from Dominance Aura.
- Phase 3 (Fortification):
- Mark of Chaos: Tank is rooted—pre-move or use mobility skills.
- Force Nova: Three waves—use raid CDs.
- Phase 4 (Replication):
- Orbs of Chaos: Dodge the 8 spreading orbs after Mark detonates.
- Arcane Remnants: Tank and cleave down after Aberration dies.
 Bloodlust/Drums:
During Intermission 2 (at 25%) to burn Gorian Reaver and Anomalies before Phase 4.
 Imperator Mar’gok loot table:
| Type of Armor | Item | Loot type |
| Cloth | Robes of the Arcane Ultimatum | Chest |
| Leather | Nether Blast Leggings | Legs |
| Face Kickers | Feet | |
| Plate | Uncrushable Shoulderplates | Shoulder |
| Any | Choker of Violent Displacement | Amulet |
| Reaver’s Nose Ring | Amulet | |
| Shockwave Signet | Ring | |
| Staff of the Grand Imperator | Staff | |
| Captive Micro-Aberration | Trinket | |
| Evergaze Arcane Eidolon | Trinket | |
| Mark of Rapid Replication | Trinket | |
| Quiescent Runestone | Trinket | |
| Gor’gah, High Blade of the Gorians | 2H Sword |
Highmaul Achievements List
| Achievement | Requirement |
| Arcane Sanctum | Defeat the bosses barring the way from the beach into the interior of the Arcane Sanctum. |
| Highmaul Guild Run | Kill the bosses of Highmaul on Normal difficulty or higher, while in a guild group. |
| Imperator’s Fall | Slay Imperator Mar’gok atop his citadel. |
| Ahead of the Curve: Imperator’s Fall | Defeat Mar’gok atop his citadel on Heroic difficulty or higher, before the release of patch 6.2. |
| Cutting Edge: Imperator’s Fall | Complete the Imperator Mar’gok encounter on Mythic difficulty, before the release of patch 6.2. |
| Mythic: Imperator’s Fall | Complete the Mar’gok encounter on Mythic difficulty. |
| Mythic: Imperator’s Fall Guild Run | Complete the Imperator Mar’gok encounter on Mythic difficulty, while in a guild group. |
| Realm First! Imperator’s Fall | First guild on the realm to complete the Mar’gok encounter on Mythic difficulty while in a guild group. |
| Mythic: Brackenspore | Kill Brackenspore on Mythic difficulty. |
| Mythic: Kargath Bladefist | Slay Kargath Bladefist on Mythic difficulty. |
| Mythic: Ko’ragh | Defeat Ko’ragh on Mythic difficulty. |
| Mythic: Tectus | Kill Tectus on Mythic difficulty. |
| Mythic: The Butcher | Slay The Butcher on Mythic difficulty. |
| Mythic: Twin Ogron | Defeat the Twin Ogron on Mythic difficulty. |
| A Fungus Among Us | Gain 15 stacks of Burning Infusion and then defeat Brackenspore on Normal difficulty or higher. |
| Brothers in Arms | Kill the Twin Ogron without their Disposition ever exceeding 30% on Normal difficulty or higher. |
| Chapter II: Gul’dan Strikes Back | Complete Khadgar’s legendary Highmaul raid quests and save his life when things take a turn for the worse. |
| Hurry Up, Maggot! | Cause The Butcher to slay 6 Maggots before defeating him on Normal difficulty or higher. |
| Lineage of Power | Empower and defeat a Fortified Replicating Gorian Warmage and then defeat Imperator Mar’gok on Normal difficulty or higher. |
| More Like Wrecked-us | Slay Tectus by destroying all eight Motes of Tectus within 10 seconds of each other on Normal difficulty or higher. |
| Pair Annihilation | Defeat Ko’ragh with fewer than 15 Overflowing Energy orbs touching the ground or players without Nullification Barrier, on Normal difficulty or higher. |

