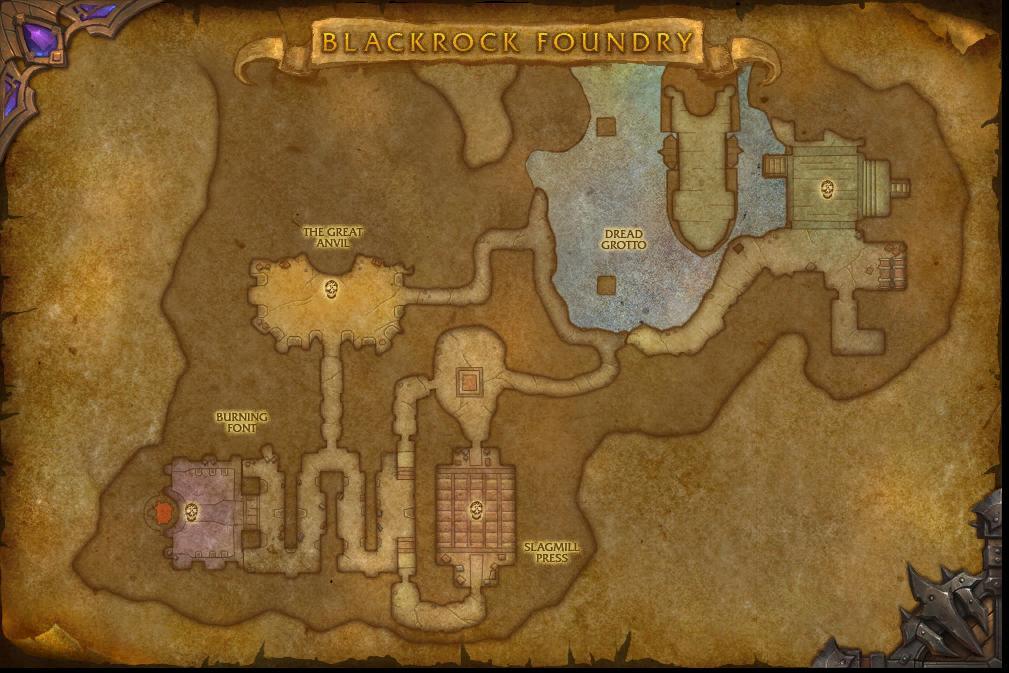
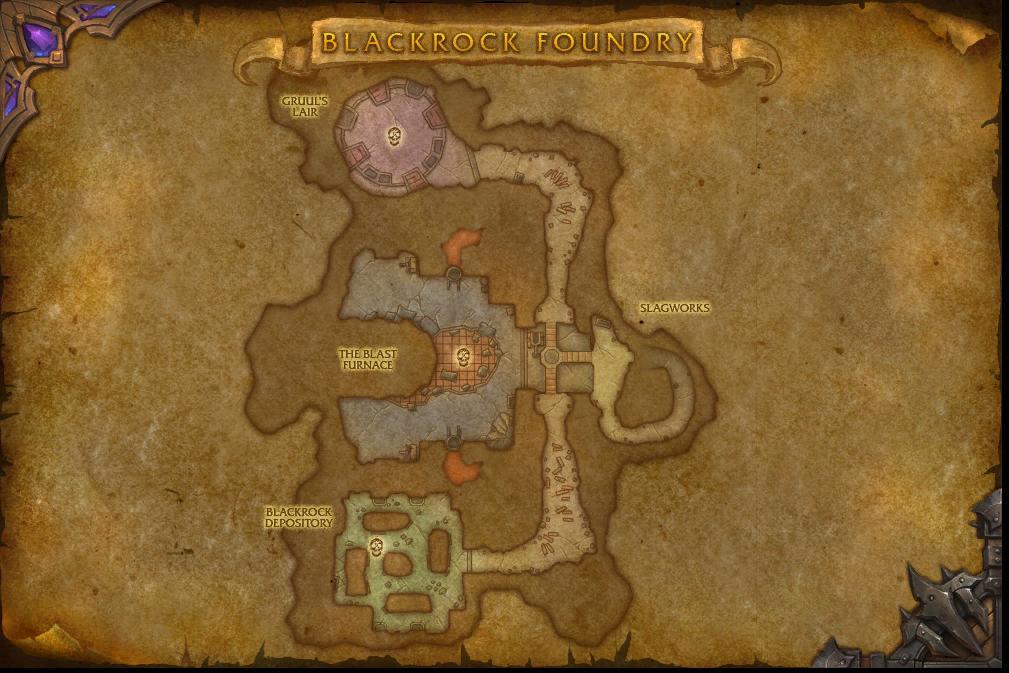
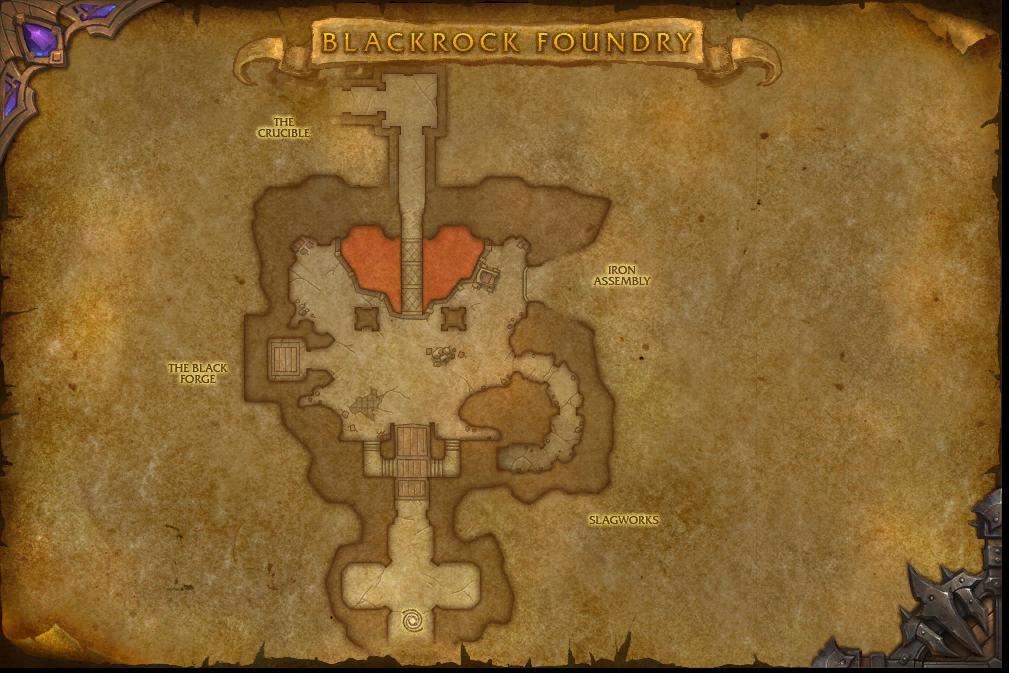
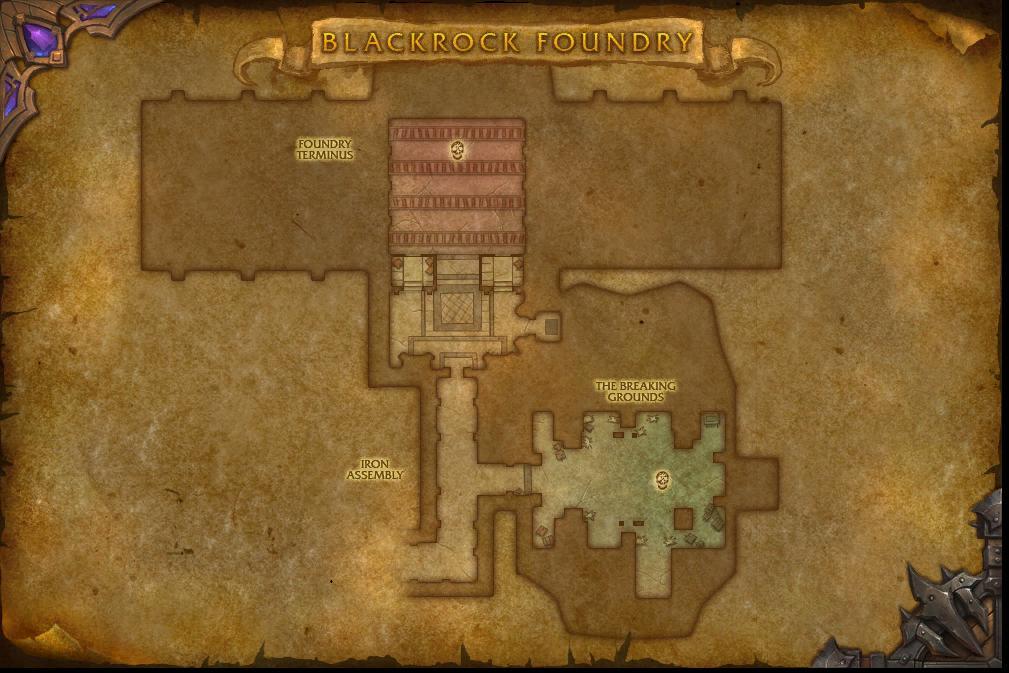
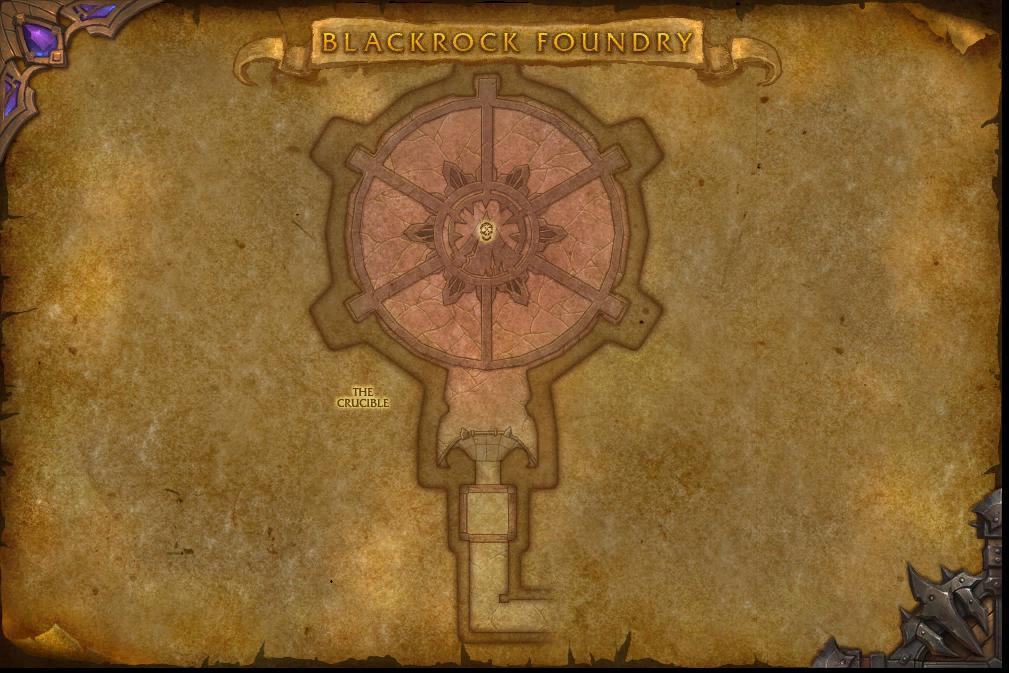
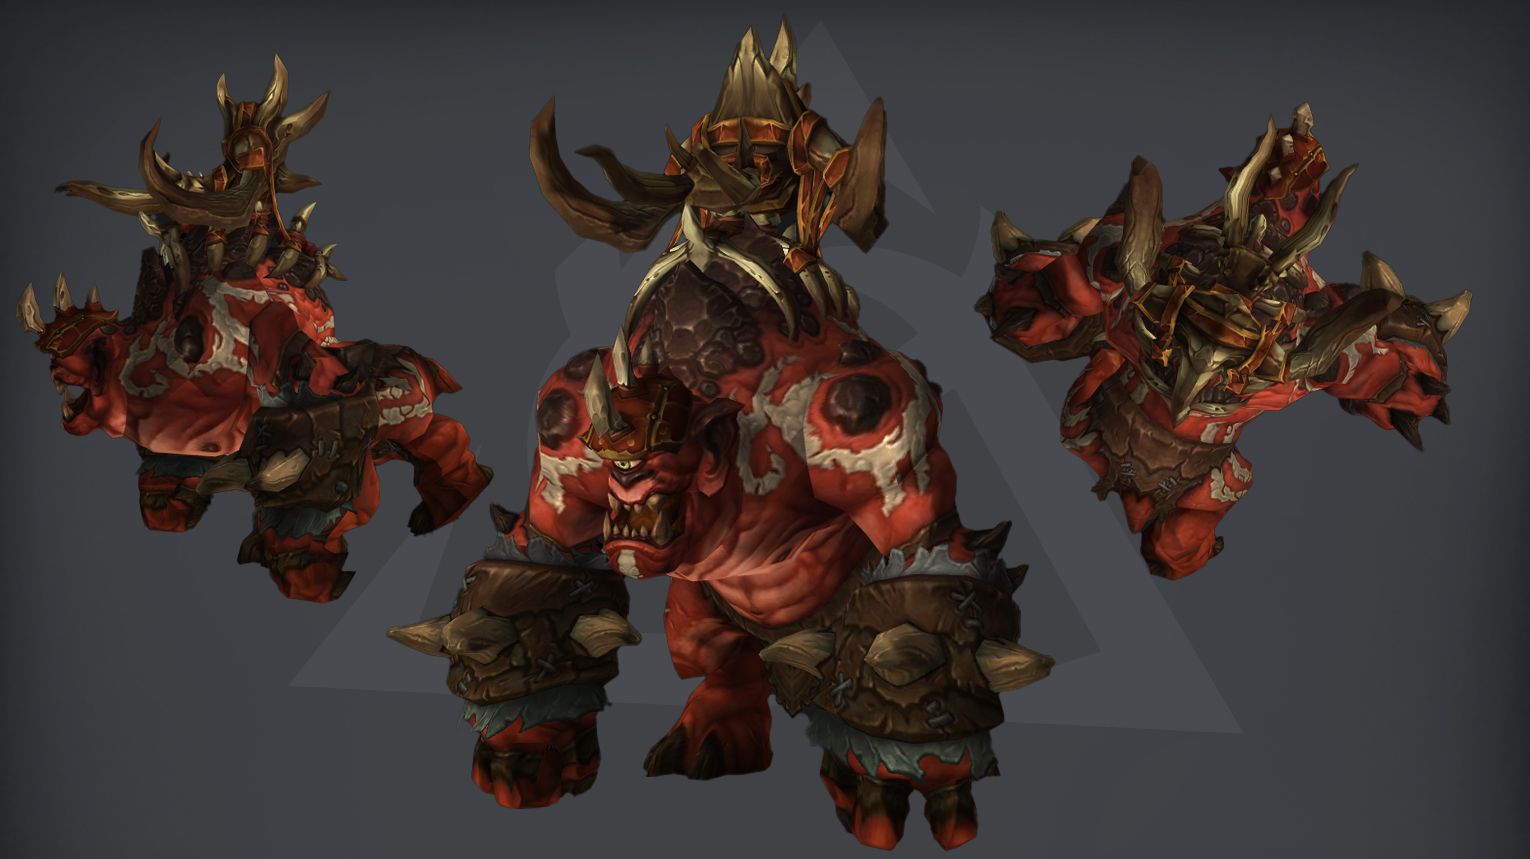
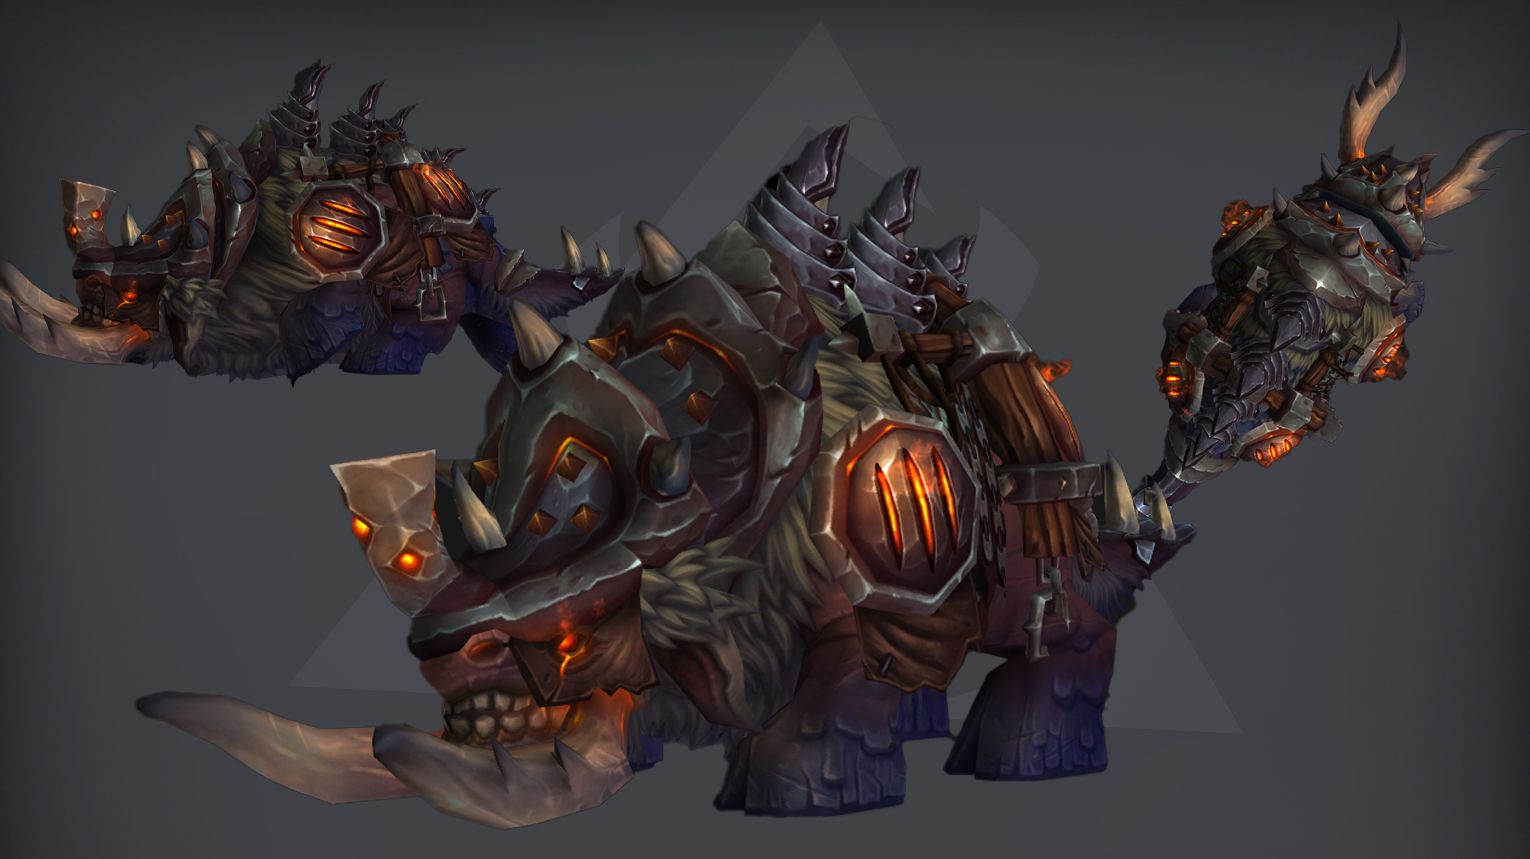
Blackrock Foundry is the second raid in Warlords of Draenor. It was released on February 3, 2015. BRF is filled with epic battles, powerful loot, and unique rewards (same as any other World of Warcraft raid). This WoD industrial fortress has 10 bosses spread across four wings, offering Tier 17 gear, mounts, and achievements.
Whether you’re prepping for PvP or pushing PvE content, having the best gear matters. Buy WoW raid boost at Gamingcy and get it fast. EU and US teams handle any active raid, and you’re done in 1–2 hours. Runs happen every hour, so it’s easy to fit into your schedule and get back to what you enjoy.
This guide will explain:
- Blackrock Foundry location
- Bosses and their rewards
- Available mounts, weapons, and transmogs
- Achievements you can earn
- Can you solo Blackrock Foundry?
Whether you’re farming cosmetics, testing your solo skills, or want to quickly check the BRF location, this guide will help you make the most of Blackrock Foundry runs in WoW Retail.
Blackrock Foundry Entrance and Subregions
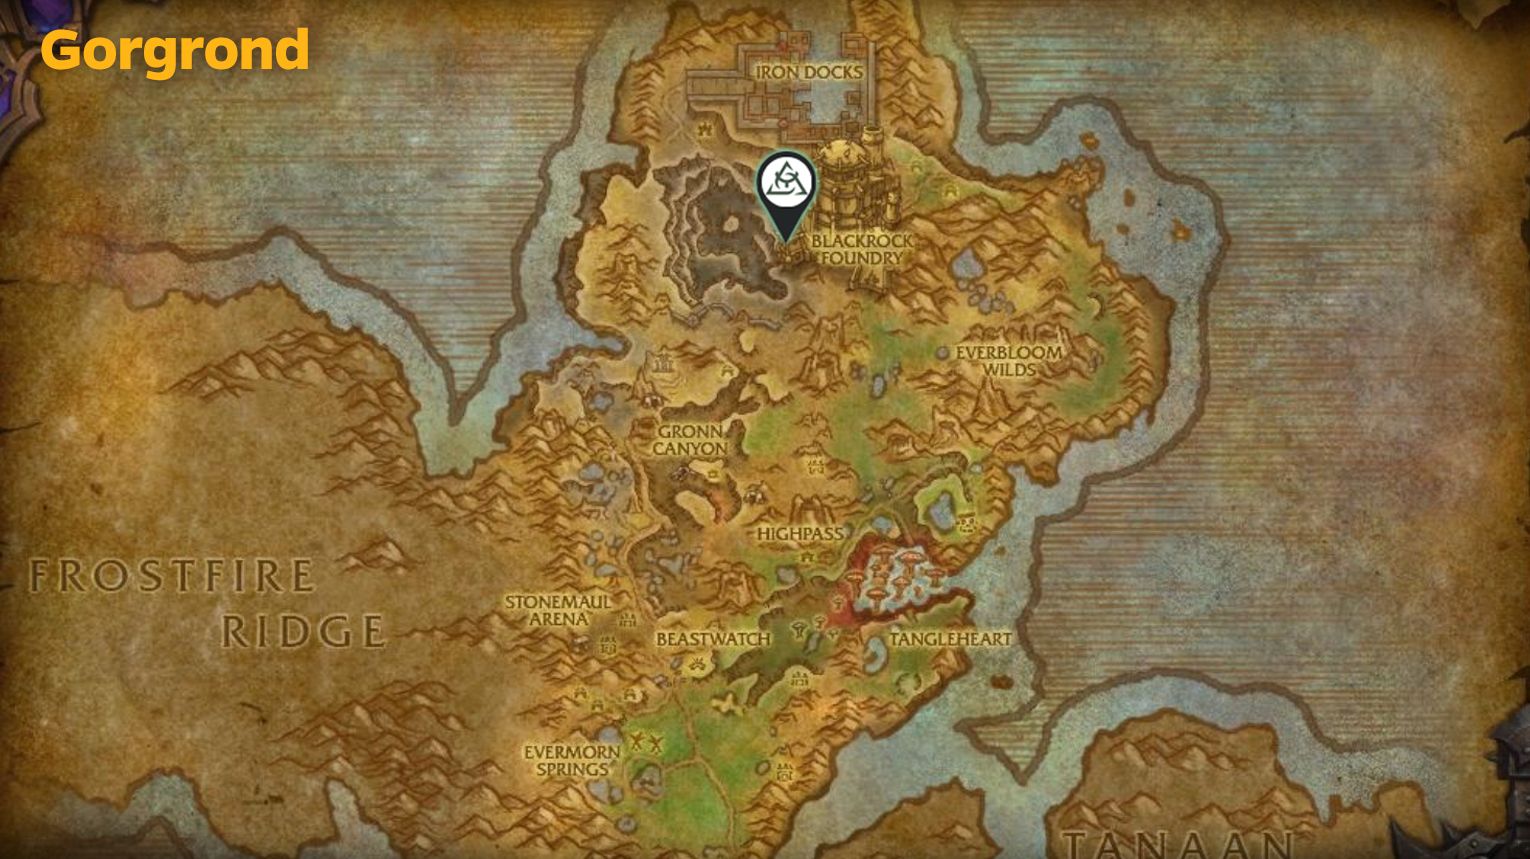
Blackrock Foundry is situated in northern Gorgrond on the world of Draenor.
To get there:
- Travel to Gorgrond (use the Ashran portal in Stormwind/Orgrimmar if you have Warlords of Draenor unlocked).
- Head to coordinates 51.4, 28.7—the entrance is a massive industrial gate built into the mountains.
- The closest flight path is Arcanist Windlebop, but there are no repair vendors nearby.
Once inside, you’ll battle through four distinct wings, each with its own bosses and challenges.
Wings of Blackrock Foundry:
- Slagworks – A scorching furnace area with molten slag pits.
- Bosses: Gruul, Oregorger, Blast Furnace
- The Black Forge – A massive anvil chamber with fiery traps.
- Bosses: Hans’gar & Franzok, Flamebender Ka’graz, Kromog
- Iron Assembly – A mechanized war factory with conveyor belts and artillery.
- Bosses: Beastlord Darmac, Operator Thogar, Iron Maidens
- Blackhand’s Crucible – The final forge where the Warlord himself awaits.
- Boss: Blackhand
Each wing has a different atmosphere, from molten metalworks to clanking machinery. The raid doesn’t force a linear path—you can tackle some bosses in different orders, but the end-wing fights (Blast Furnace, Kromog, Iron Maidens) are the toughest before Blackhand.
Blackrock Foundry Collectibles: Mounts, Pets, Transmogs
| Collectible | Source (% drop rate) | Obtainable / Not Obtainable |
| Blackrock Foundry Tier Sets | ||
| Gorestrider Gronnling | Glory of the Draenor Raider | Yes |
| Ironhoof Destroyer | Blackhand (1%) | Yes |
Blackrock Foundry Bosses Overview
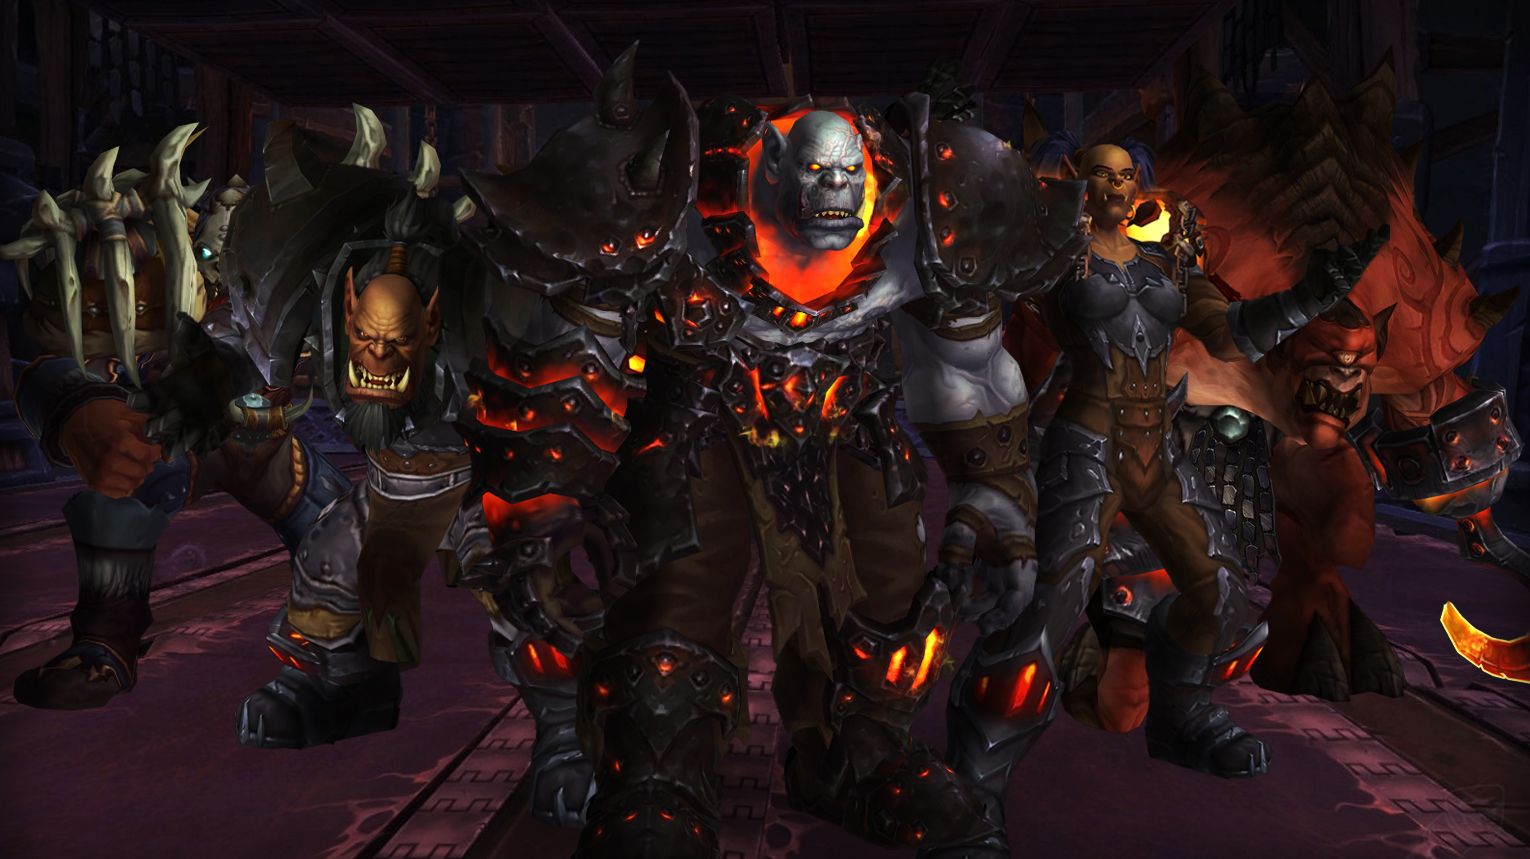
Blackrock Foundry is a Warlords of Draenor raid, where players are fighting against the Iron Horde. The BRF raid features 10 bosses, each testing different combat skills in a fiery, metal-crushing environment.
BRF Boss fights range from Gruul, a massive ogre who grows stronger as he takes damage, to Oregorger, a rolling monstrosity that devours ore piles to power up. The Blast Furnace encounter is a chaotic multi-phase fight against molten golems and furnace operators, while Flamebender Ka’graz summons a flaming wolf to hunt players down.
The Iron Maidens battle plays out on a moving warship, forcing players to dodge cannon fire, and the final showdown against Blackhand is an explosive three-phase fight across collapsing platforms in a molten crucible.
Below, we’ll overview the Blackrock Foundry boss fights and the loot they drop.
Can You Solo Blackrock Foundry in The War Within?
Farming Blackrock Foundry solo in The War Within is a great method to gather T17 transmog sets, mounts, pets, and achievements from the Warlords of Draenor expansion.
- Recommended Level/Item Level:
- Level 80 (even at lower gear, you massively outscale the content).
- Item Level 400+ (but even lower works due to legacy damage buffs).
- Legacy damage scaling ensures you deal increased damage and take reduced damage in old raids.
- Difficult Bosses & Mechanics to Watch For:
- Blast Furnace (requires killing adds quickly, but soloable with burst damage).
- Blackhand (Phase 3) – You may need to move quickly to avoid knockbacks.
- Flamebender Ka’graz (if you don’t kill Wolf quickly, it can be annoying).
- Kromog (stand in hands to avoid being thrown).
- Loot & Mounts:
- Blackhand’s Mount: Ironhoof Destroyer (rare drop from Blackhand).
- Transmog: Tier 17 sets
- Fastest Route for Mount Farmers:
- Enter on Mythic Blackrock Foundry.
- Clear trash to Gruul → Oregorger → Blast Furnace → Blackhand.
- Skip optional bosses if only farming the Ironhoof Destroyer mount.
Oregorger
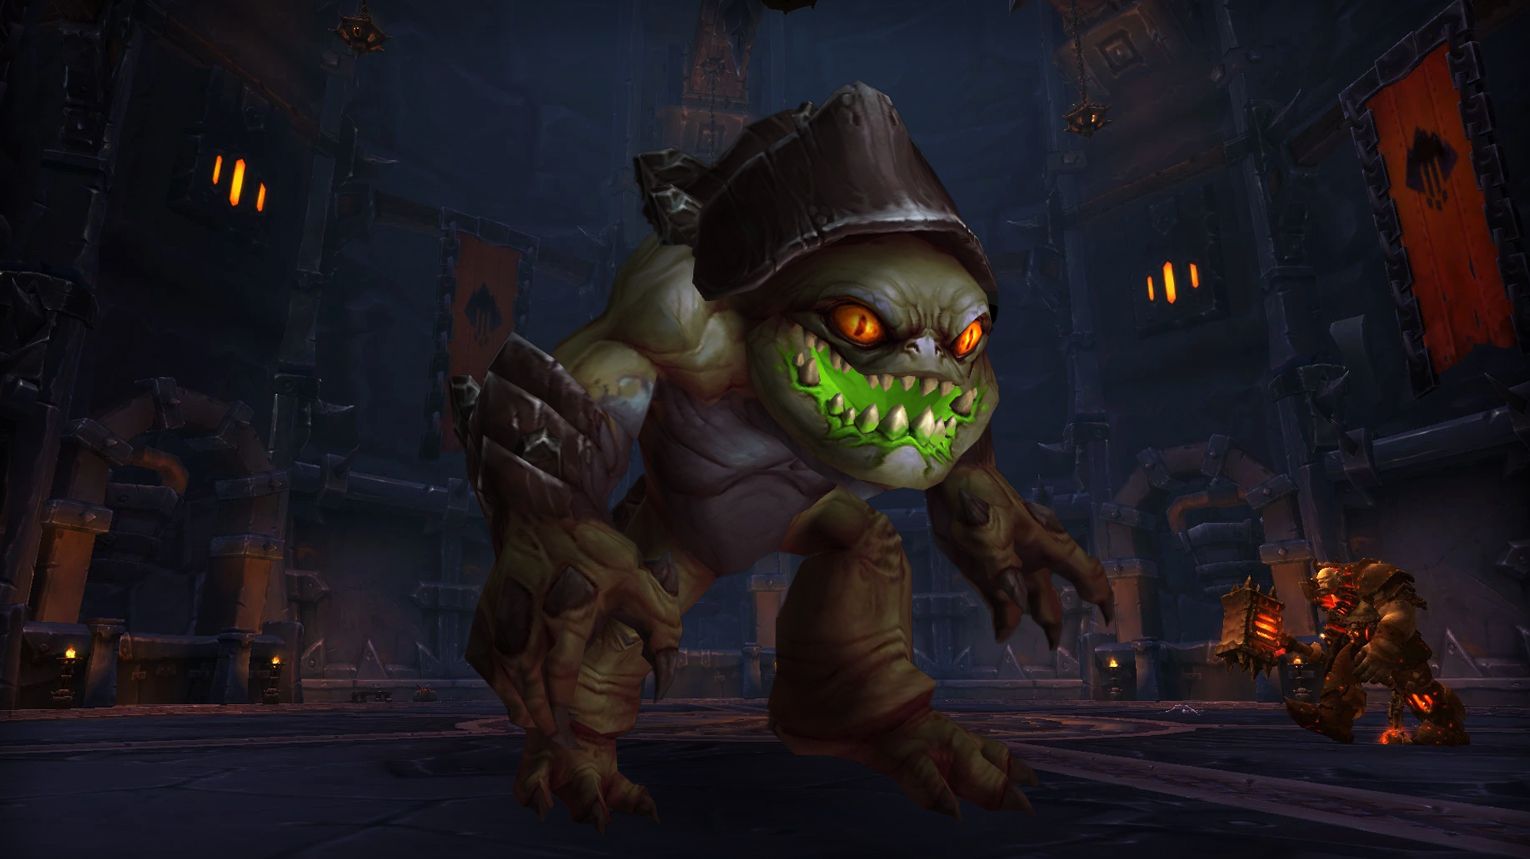
Oregorger is a two-phase boss in Blackrock Foundry. In Phase 1, interrupt Blackrock Barrage, tanks swap to soak Acid Torrent, and avoid Retched Blackrock puddles. In Phase 2, he rolls around the room—destroy Ore Crates to speed up the phase while dodging his path. Use Bloodlust/Drums in Phase 1 for max DPS. Key roles: Tanks must swap after Acid Torrent, healers focus on raid-wide damage, and DPS prioritize interrupts and crate destruction.
 Preferred Classes:
 Tanks: High-mitigation classes (e.g.,
  Protection Paladin,
  Blood DK) for Acid Torrent soaking.
 Healers: Strong AoE healers (e.g.,
  Resto Druid,
  Holy Priest) for raid-wide damage.
 DPS:
DPS:
- Melee: Classes with mobility to dodge Explosive Shard.
- Ranged: Classes with interrupts (e.g.,
 Mages,
  Shamans) for Blackrock Barrage.
 Tips:
Tips:
- Phase 1:
- Ranged/Healers: Stack loosely to help tanks intercept Acid Torrent.
- Interrupt Rotation: Assign 3+ players to chain-interrupt Blackrock Barrage (3 casts in a row).
- Melee: Spread slightly to avoid Explosive Shard stuns.
- Phase 2:
- Ore Crates: Prioritize destroying crates in open areas first.
- Movement: Always stay behind Oregorger’s rolling path—he never reverses direction.
 Strategy:
- Positioning:
- Tanks hold Oregorger near a corner; ranged group stacks to the side.
- Off-tank stands between boss and ranged to soak Acid Torrent.
- Tank Swap: Swap after each Acid Torrent (debuff increases damage taken).
- Phase 2:
- Spread to destroy crates quickly, then regroup for healing.
- Avoid rolling paths—Earthshaking Collision damage ramps up per roll.
 Bloodlust/Drums:
Phase 1 (higher uptime on stationary boss).
 Oregorger loot table:
| Type of Armor | Item | Loot type |
| Cloth | Toothbreaker Grips | Hands |
| Leather | Acidic Jaws | Head |
| Corrosion-Proof Legguards | Legs | |
| Plate | Unstable Slag Shoulderplates | Shoulder |
| Chestplate of Rolling Fury | Chest | |
| Any | Glutton’s Kerchief | Amulet |
| Ravenous Greatcloak | Cloak | |
| Barrage Dodger Cloak | Cloak | |
| Oregorger’s Acid-Etched Gutripper | Dagger | |
| Caged Living Ooze | Off-hand | |
| Unexploded Explosive Shard | Ring | |
| Head-Lopper Skullscythe | Staff | |
| Goren Soul Repository | Trinket |
Hans’gar and Franzok
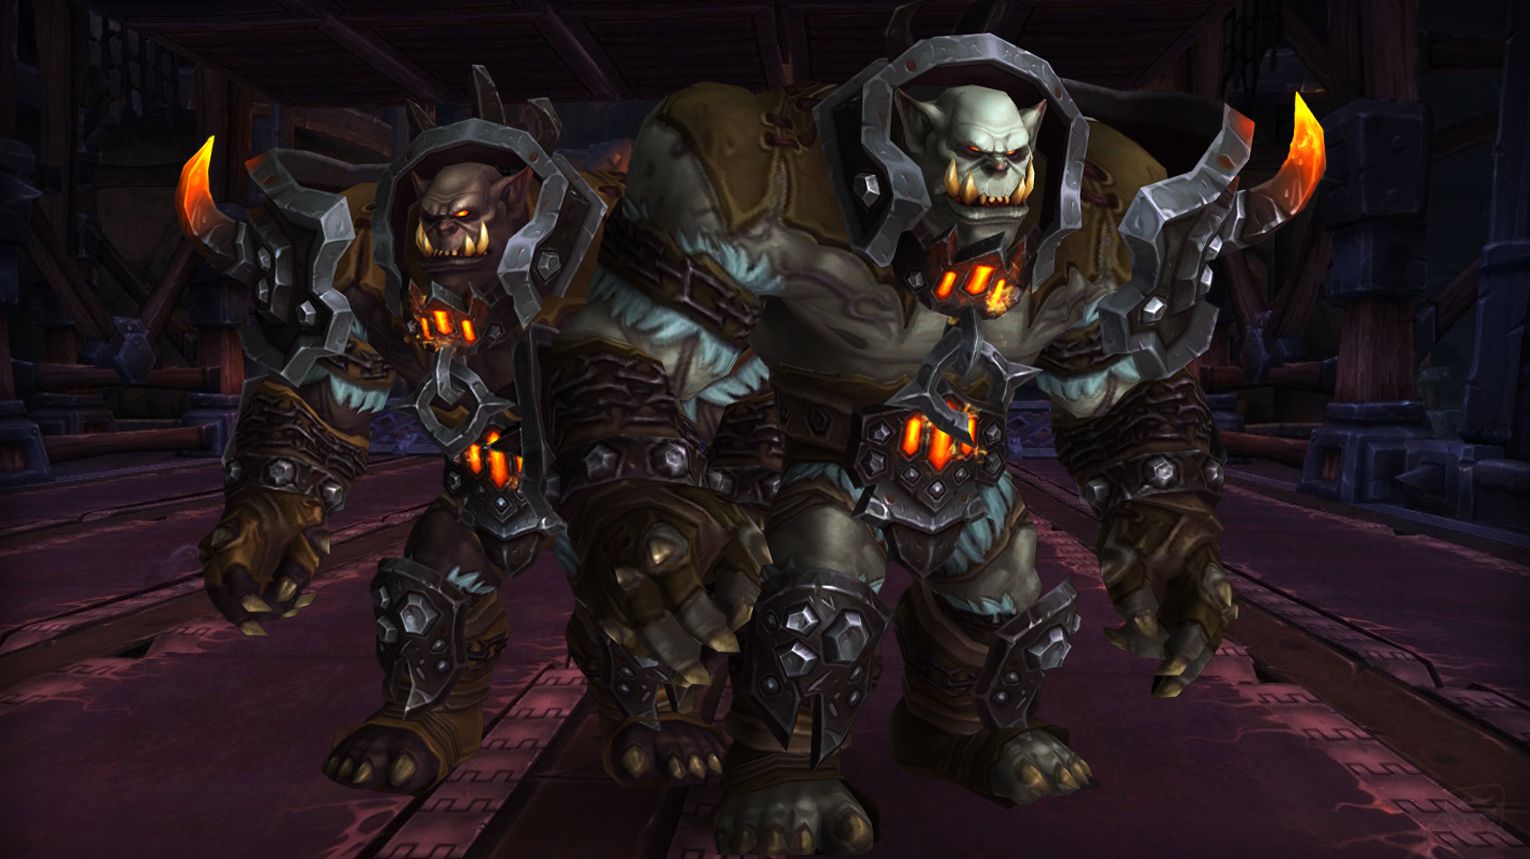
Hans’gar & Franzok is a twin-ogron fight in Blackrock Foundry with alternating phases—one boss activates conveyor belts (dodge Searing Plates or Stamping Presses) while the other is tanked. Key mechanics include Body Slam (spread to avoid debuffs), Crippling Suplex (tank cooldown check), and Disrupting Roar (stop casting). Ranged should bait leaps to controlled spots, while melee must avoid tank slams. Use Bloodlust in the hectic final phase (15%-0%) with both bosses and stampers. Prioritize movement awareness to avoid environmental one-shots.
 Preferred Classes:
 Tanks: High-mitigation classes (e.g.,
  Blood DK,
  Protection Paladin) for Crippling Suplex.
 DPS: Mobile ranged (
 Hunters,
  Mages) to handle mechanics; cleave classes (
 Fury Warriors,
  Affliction Locks) for dual-boss phases.
 Healers: Strong AoE healers (
 Resto Druid,
  Holy Priest) for Aftershock raid damage.
 Tips:
Tips:
- Movement: Stand between conveyor belts to minimize movement, but watch for overlapping hazards.
- Searing Plates: Safe lanes alternate predictably; move to adjacent safe spots.
- Stamping Presses: Yellow telegraphs indicate landing spots—avoid lit areas.
- Body Slam: Spread >12yds when targeted (red arrow).
 Strategy:
 Tanks:
- Swap after Body Slam debuffs.
- Mitigate Crippling Suplex with CDs (e.g., Shield Wall).
 DPS:
DPS:
- Prioritize active boss; cleave if both are present.
- Bait Hans’gar’s leaps to designated ranged stacks.
 Healers:
- Prep for Aftershock after Body Slam.
- Focus tanks during Suplex and high-Rage phases.
 Bloodlust/Drums:
Final Phase (15%-0%): Both bosses are active with Stamping Presses; high damage output makes this ideal for Bloodlust.
 Hans’gar and Franzok loot table:
| Type of Armor | Item | Loot type |
| Cloth | Eye-Catching Gilded Robe | Chest |
| Giant Pumpers | Shoulder | |
| Leather | Girdle of Unconquered Glory | Waist |
| Chestguard of Unending Roars | Chest | |
| Neckbreaker Shoulderguards | Shoulder | |
| Plate | Hardened Greathelm | Head |
| Gauntlets of Dramatic Blows | Hands | |
| Any | Vertebrae Protector | Amulet |
| Franzok’s Headsmasher | 1H Mace | |
| Hans’gar’s Forgehammer | 1H Mace | |
| Razoredge Blade Ring | Ring | |
| Six-Eyed Band | Ring | |
| Tablet of Turnbuckle Teamwork | Trinket |
Beastlord Darmac
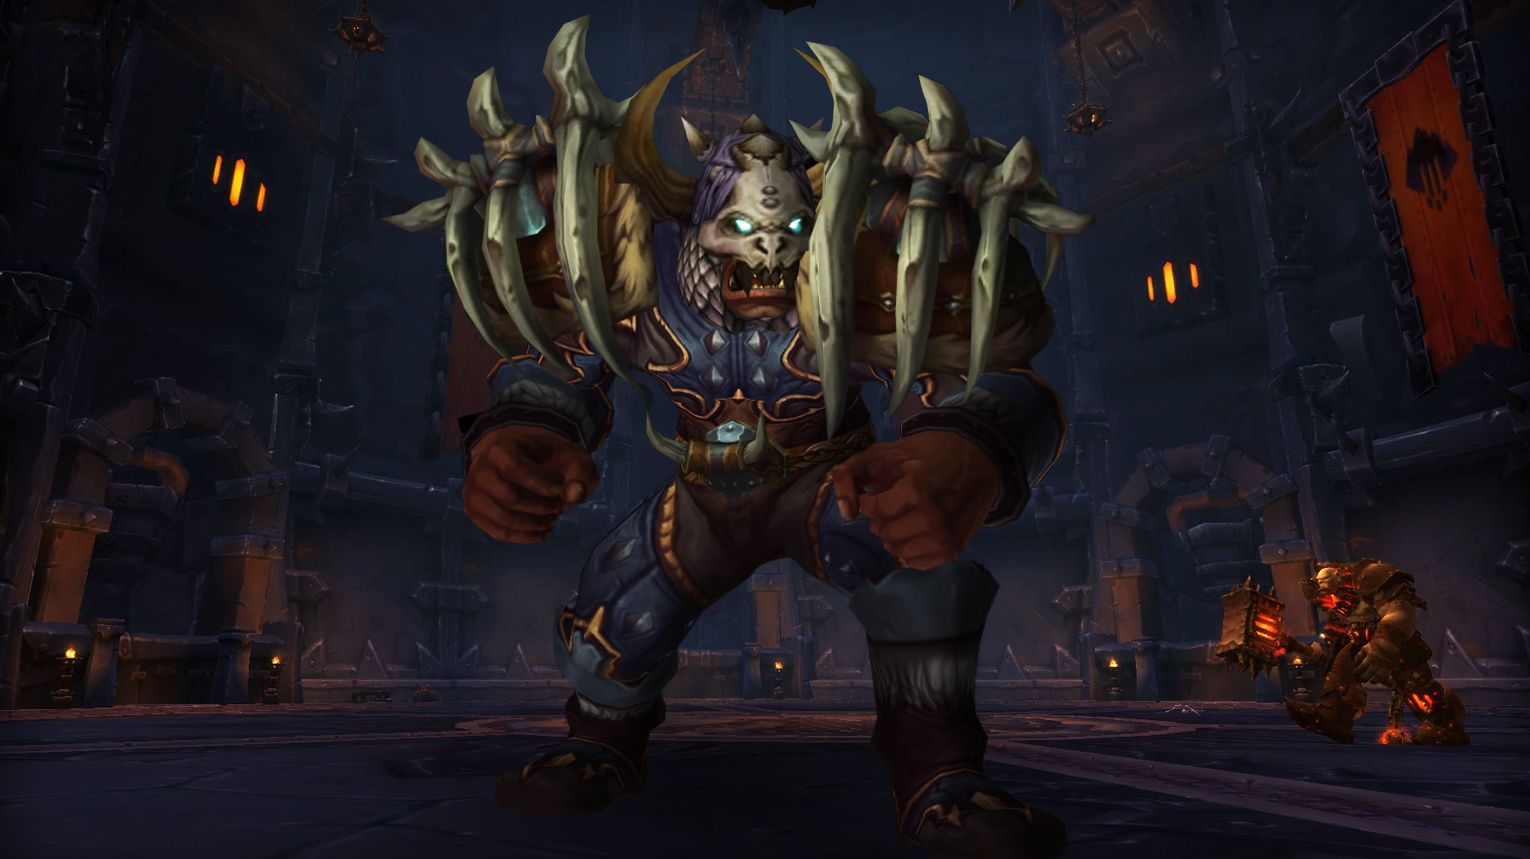
Beastlord Darmac is a multi-phase boss in Blackrock Foundry where he mounts three Prime Beasts (Worg, Elekk, Rylak) at 85%, 65%, and 45% health, gaining their abilities permanently after each dies. Key mechanics include avoiding Rend and Tear (bleed), healing through Tantrum (AoE), and dodging Inferno Breath (fire DoT). Spread out to minimize splash damage, prioritize killing Pack Beasts/Heavy Spears, and use Bloodlust in the final phase (after 3rd Beast dies). On Mythic, a 4th Beast (Faultline) spawns at 25%, adding Epicenter (AoE zone) and Cannonball Barrage. Tanks must swap debuffs, while DPS cleave adds and focus bosses.
 Preferred Classes:
 Tanks: High-mitigation classes (e.g.,
  Protection Paladin,
  Blood DK) for swapping debuffs (Rend and Tear, Crush Armor).
 Healers: Strong AoE healers (
 Resto Druid,
  Holy Priest) for Tantrum and Inferno Breath.
 DPS:
DPS:
- Ranged with cleave (
 Hunter,
  Warlock) for Pack Beasts/Heavy Spears.
 - Melee with mobility (
 Rogue,
  Fury Warrior) to avoid Rend and Tear.
- Ranged with cleave (
- Utility: Enrage dispels (Hunter Tranq Shot, Druid Soothe) for Savage Howl.
 Tips:
Tips:
- Spread Out: Ranged/healers avoid splashing Rend and Tear and Conflagration.
- Heavy Spears: Kill spears pinning players ASAP; avoid standing where they land.
- Pack Beasts: AoE them down quickly (they spawn from the back).
- Dispels: Prioritize Conflagration (disorient) and Inferno Breath DoT.
 Strategy:
- Phase Order: Cruelfang → Ironcrusher → Dreadwing (easiest to hardest mechanics).
- Tanking:
- Swap at 2-3 stacks of Rend and Tear or Crush Armor.
- Position Darmac near next Beast before mount thresholds (85%/65%/45%).
- DPS: Focus Prime Beasts first; cleave Pack Beasts.
- Final Phase: Save major CDs for post-45% when Darmac has all abilities.
 Bloodlust/Drums:
After Darmac dismounts Faultline (~25% HP, when he gains Epicenter).
 Beastlord Darmac loot table:
| Type of Armor | Item | Loot type |
| Cloth | Inferno Breath Sandals | Feet |
| Seeking Ember Girdle | Waist | |
| Leather | Cannonball Loader’s Grips | Hands |
| Unrendable Wolfhide Robes | Chest | |
| Bracers of the Wolf’s Cunning | Wrist | |
| Legguards of the Stampede | Legs | |
| Plate | Ironcrusher’s Collar | Legs |
| Any | Choker of Bestial Force | Amulet |
| Flame Infusion Drape | Cloak | |
| Tal’rak, Bloody Skull of the Thunderlords | Polearm | |
| Epicenter Loop | Ring | |
| Seal of the Savage Howl | Ring | |
| Heart of the Clefthoof | Shield | |
| Darmac’s Unstable Talisman | Trinket | |
| Ironspike Chew Toy | Trinket |
Gruul
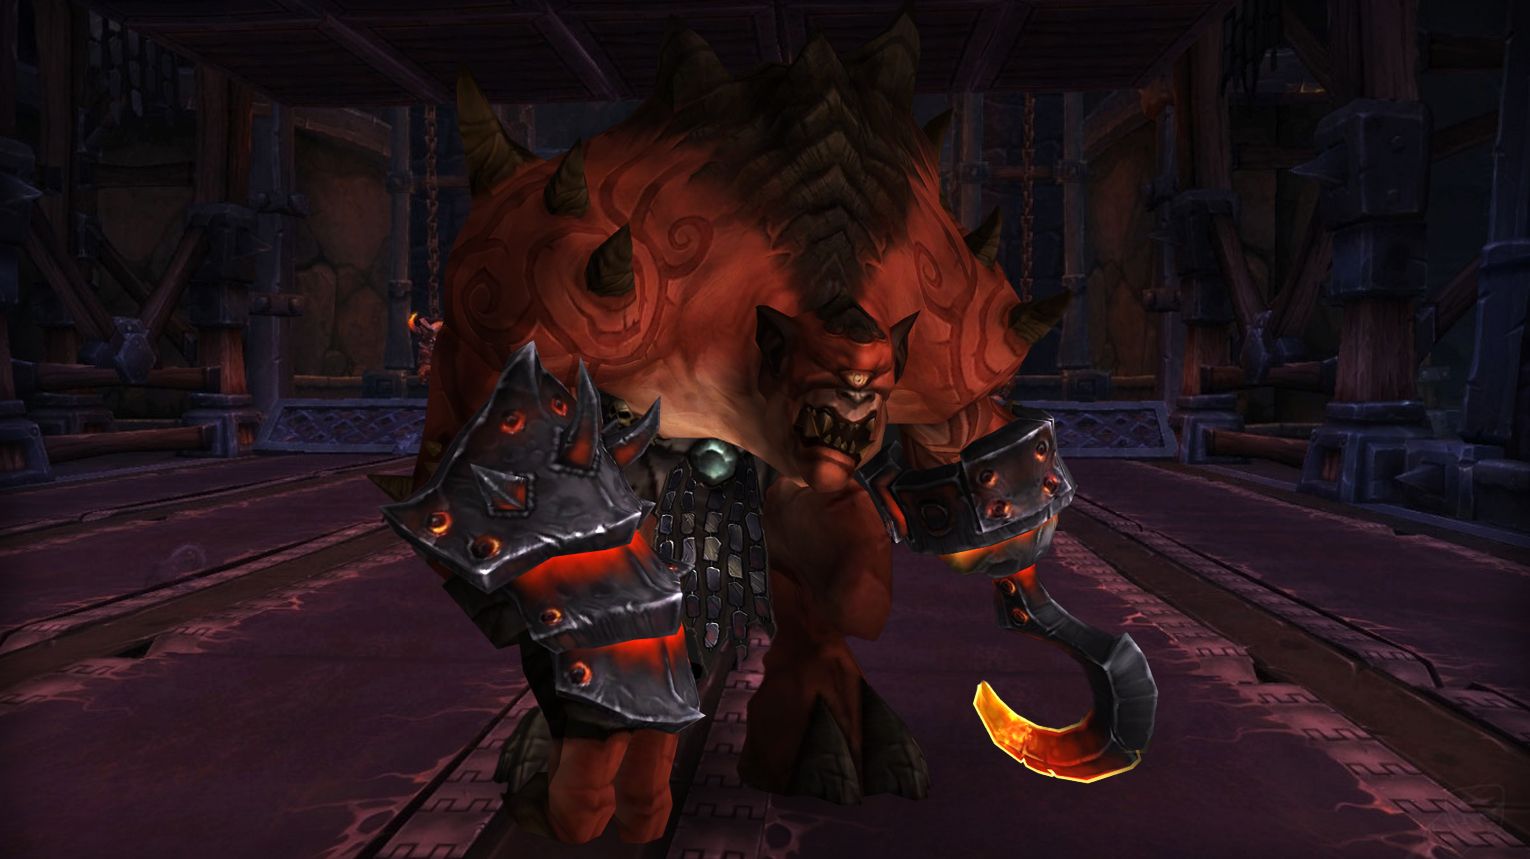
Gruul is a straightforward single-target boss in Blackrock Foundry with two key mechanics: Petrify/Shatter (spread to avoid AoE damage) and Inferno Slice (split damage by stacking in groups). Tanks must swap after 3 stacks of Inferno Strike and position Gruul carefully. Dodge Overhead Smash and Cave In while managing Destructive Rampage (untankable phase with heavy movement). Use Bloodlust/Drums at the start for maximum DPS. On Mythic, watch for Flare fireballs and spread entirely during Petrify.
 Preferred Classes:
 Tanks: High-mitigation classes (e.g.,
  Protection Paladin,
  Blood DK) for Overwhelming Blows and Inferno Strike.
 Healers: Strong AoE healers (e.g.,
  Resto Druid,
  Holy Priest) for Shatter and Inferno Slice DoTs.
 DPS: Ranged with mobility (e.g.,
  Hunters,
  Mages) to handle mechanics; melee need to watch Overhead Smash.
 Tips:
Tips:
- Petrify: Move away from others immediately to avoid stacking Shatter damage.
- Inferno Slice: Split raid into 2 groups (alternate soaking).
- Overhead Smash: Dodge as a group to stay stacked for Inferno Slice.
- Cave In: Move out without disrupting soak positions.
- Tanks: Swap at 3 stacks of Inferno Strike; face boss away from raid except during Inferno Slice.
 Strategy:
- Phase 1 (Standard):
- Tanks keep Gruul faced away (except for Inferno Slice).
- Raid stacks in assigned groups for Inferno Slice soaking.
- Dodge Overhead Smash and Cave In.
- Destructive Rampage:
- Gruul becomes untankable—focus on dodging 4 Overhead Smashes.
- Healers use this phase to recover.
- Mythic-Specific:
 Bloodlust/Drums:
Start of fight (Gruul’s HP scales with time; early Lust maximizes DPS before mechanics intensify).
 Gruul loot table:
| Type of Armor | Item | Loot type |
| Cloth | Cavedweller’s Climbers | Feet |
| Flare-Eyed Hood | Head | |
| Leather | Vest of Forceful Fury | Chest |
| Gronn-Skin Crown | Head | |
| Spaulders of Reflected Stone | Shoulder | |
| Plate | Bracers of Martial Perfection | Wrist |
| Any | Darklight Necklace | Amulet |
| Gruul’s Lip Ring | Amulet | |
| Runescribed Gronncloak | Cloak | |
| Gronn-Stitched Greatcloak | Cloak | |
| Taner’s Terrible Spine | 1H Sword | |
| Phosphorescent Seal | Ring | |
| Inferno-Flame Staff | Staff | |
| Meaty Dragonspine Trophy | Trinket |
Flamebender Ka’graz
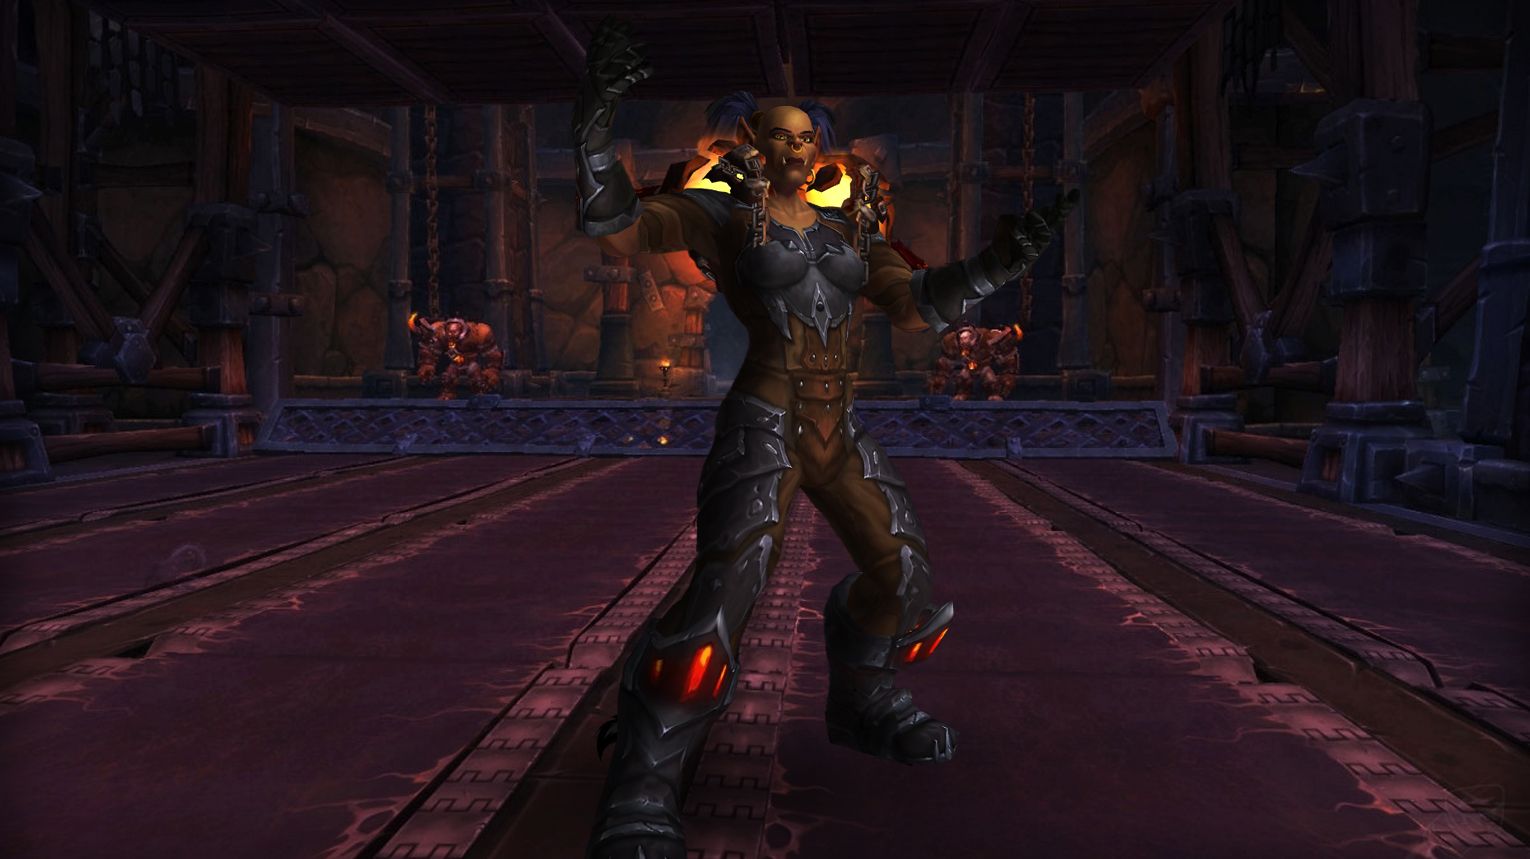
Flamebender Ka’graz is a high-mobility fight in Blackrock Foundry with escalating mechanics. The raid must first kill Aknor Steelbringer, then manage Lava Slash (spread out), Molten Torrent (stack or solo soak), and Cinder Wolves (kill simultaneously). At 100 Energy, Firestorm deals heavy raid-wide damage—stack and use healing CDs. Bloodlust is best used early to burn Aknor and push phases. On Mythic, 4 Wolves spawn, and fire beams empower weapons if crossed.
 Preferred Classes:
 Tanks: High-mitigation classes (e.g.,
  DK,
DK,  Paladin) for handling Charring Breath and Rising Flames.
 DPS:
DPS:
- Melee: Strong cleave for Cinder Wolves; mobility to dodge fire lines.
- Ranged: Prized for spreading (avoiding Lava Slash/ Blazing Radiance).
 Healers: Strong AoE healing (e.g.,
  Resto Druid,
  Holy Priest) for Firestorm and Molten Torrent.
 Tips:
Tips:
- Positioning:
- Ranged spread 6+ yards to prevent Lava Slash chains.
- Melee avoid fire lines and Devastating Slam.
- Adds:
- Focus Aknor first (dies before 25 Energy).
- Kill Cinder Wolves within 8s of each other to avoid Rekindle.
- Soaking:
- Molten Torrent: Stack in melee or solo with immunities.
- Blazing Radiance: Move away from the raid.
 Strategy:
- Phase 1 (0-25 Energy):
- Kill Aknor quickly.
- Dodge Lava Slash and Enchanted Armaments (move away from spinning weapons).
- Phase 2 (25-50 Energy):
- Handle Molten Torrent (stack or solo).
- Phase 3 (50-75 Energy):
- Cinder Wolves: Tank the Overheated wolf; kite the other. Avoid Fiery Link beams.
- Phase 4 (75-100 Energy):
- Dodge Blazing Radiance (spread).
- Prepare healing CDs for Firestorm (stack loosely).
- Post-Firestorm:
- Dodge Magma Monsoon (ranged) and swap tanks for Rising Flames.
 Bloodlust/Drums:
Start of fight to burn Aknor and push Ka’graz’s phases quickly.
 Flamebender Ka’graz loot table:
| Type of Armor | Item | Loot type |
| Cloth | Shadow Council’s Robes | Chest |
| Arcanoshatter Robes | Chest | |
| Soul Priest’s Raiment | Chest | |
| Leggings of the Molten Torrent | Legs | |
| Leather | Vest of the Somber Gaze | Chest |
| Living Wood Raiment | Chest | |
| Poisoner’s Tunic | Chest | |
| Flamebender’s Shoulderguards | Shoulder | |
| Windspeaker’s Tunic | Chest | |
| Rylakstalker’s Tunic | Chest | |
| Treads of Rekindled Flames | Feet | |
| Grips of Rekindling | Hands | |
| Plate | Ogreskull Boneplate Breastplate | Chest |
| Blackhand’s Chestguard | Chest | |
| Battleplate of Guiding Light | Chest | |
| Firestorm Legplates | Legs | |
| Flamefury Gauntlets | Hands | |
| Any | Choker of Bloody Flame | Amulet |
| Fiery Links of Courage | Amulet | |
| Charbreath Firecloak | Cloak | |
| Dagger of Blazing Radiance | Dagger | |
| Molten Edge Eviscerator | Dagger | |
| Cinderwolf Signet | Ring | |
| Seal of Unquenchable Flame | Ring | |
| Horn of Screaming Spirits | Trinket | |
| Ka’graz’s Burning Blade | 2H Sword |
Operator Thogar
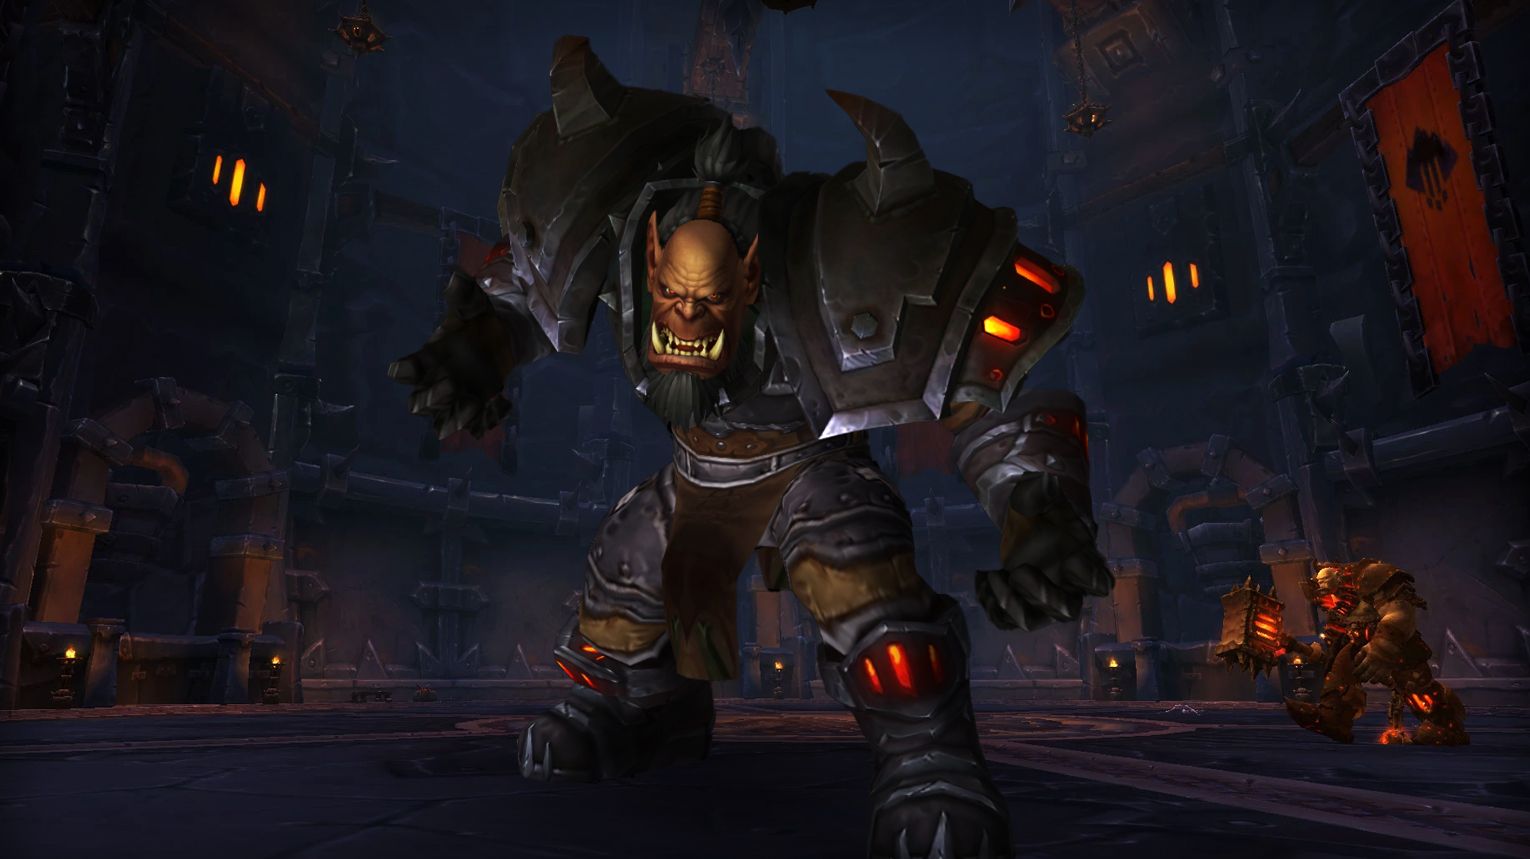
Operator Thogar is the second boss in the Iron Assembly wing of the Blackrock Foundry raid. He is encountered after defeating Beastlord Darmac and is located in the Foundry Terminus, overseeing the supply trains. The fight involves managing adds, dodging deadly trains, and dealing with Thogar’s abilities.
 Preferred Classes:
 Tanks: Any class with strong survivability cooldowns and the ability to handle high damage intake.
 Healers: Classes with strong AoE healing capabilities and the ability to manage spiky damage.
 DPS: Ranged DPS are particularly useful for focusing down priority targets and handling adds. Melee DPS need to be careful with positioning to avoid certain abilities.
 Tips:
Tips:
- Raid Awareness: Pay close attention to the train tracks and the timing of the trains. Avoiding the moving trains is crucial.
- Add Management: Prioritize killing adds quickly to prevent them from overwhelming the raid. Focus on Grom’kar Firemenders and Grom’kar Man-at-Arms first.
- Positioning: Ranged DPS and healers should spread out to avoid splash damage from abilities like Throw Grenade. Melee DPS should stay behind the Man-at-Arms to avoid Reckless Slash.
- Interrupts and Dispels: Interrupt Cauterizing Bolt cast by Grom’kar Firemenders and dispel the buff from affected enemies.
 Strategy:
- Phase Management: The fight is a single-phase encounter with a heavy emphasis on add management and raid awareness. Players must dodge moving trains and deal with adds that spawn from the trains.
- Tank Swapping: Tanks should swap aggro on Thogar at 2 stacks of Enkindle to manage the increasing damage.
- Add Prioritization: Focus on killing adds in the following order: Grom’kar Firemenders, Grom’kar Man-at-Arms, Iron Crack-Shots, Iron Raiders. Use cleave abilities on Thogar whenever possible.
- Handling Mechanics: Move away from Prototype Pulse Grenades and Delayed Siege Bombs. Players targeted by Delayed Siege Bomb should run away from the raid until the debuff expires.
 Bloodlust/Drums:
At the start of the fight when Track 3 is safe for at least 40 seconds. This allows the raid to focus on Thogar without much movement.
 Operator Thogar loot table:
| Type of Armor | Item | Loot type |
| Cloth | Arcanoshatter Mantle | Shoulder |
| Bracers of Enkindled Power | Wrist | |
| Soul Priest’s Shoulderguards | Shoulder | |
| Shadow Council’s Mantle | Shoulder | |
| Woundsear Robes | Chest | |
| Leather | Mantle of the Somber Gaze | Shoulder |
| Poisoner’s Spaulders | Shoulder | |
| Squire’s Electroplated Bracers | Wrist | |
| Living Wood Spaulders | Shoulder | |
| Conductor’s Multi-Pocket Girdle | Waist | |
| Rylakstalker’s Spaulders | Shoulder | |
| Windspeaker’s Mantle | Shoulder | |
| Railwalker’s Ratcheted Boots | Feet | |
| Grenadier’s Belt | Waist | |
| Plate | Ogreskull Boneplate Pauldrons | Shoulder |
| Blackhand’s Shoulderguards | Shoulder | |
| Pauldrons of Guiding Light | Shoulder | |
| Iron Bellow Sabatons | Feet | |
| Any | Thogar’s Serrated Chain | Amulet |
| Engine-Stoker’s Lantern | Off-hand | |
| Thogar’s Control Rod | Polearm | |
| Firemender’s Smoldering Signet | Ring | |
| Siege Bomber’s Band | Ring |
The Blast Furnace
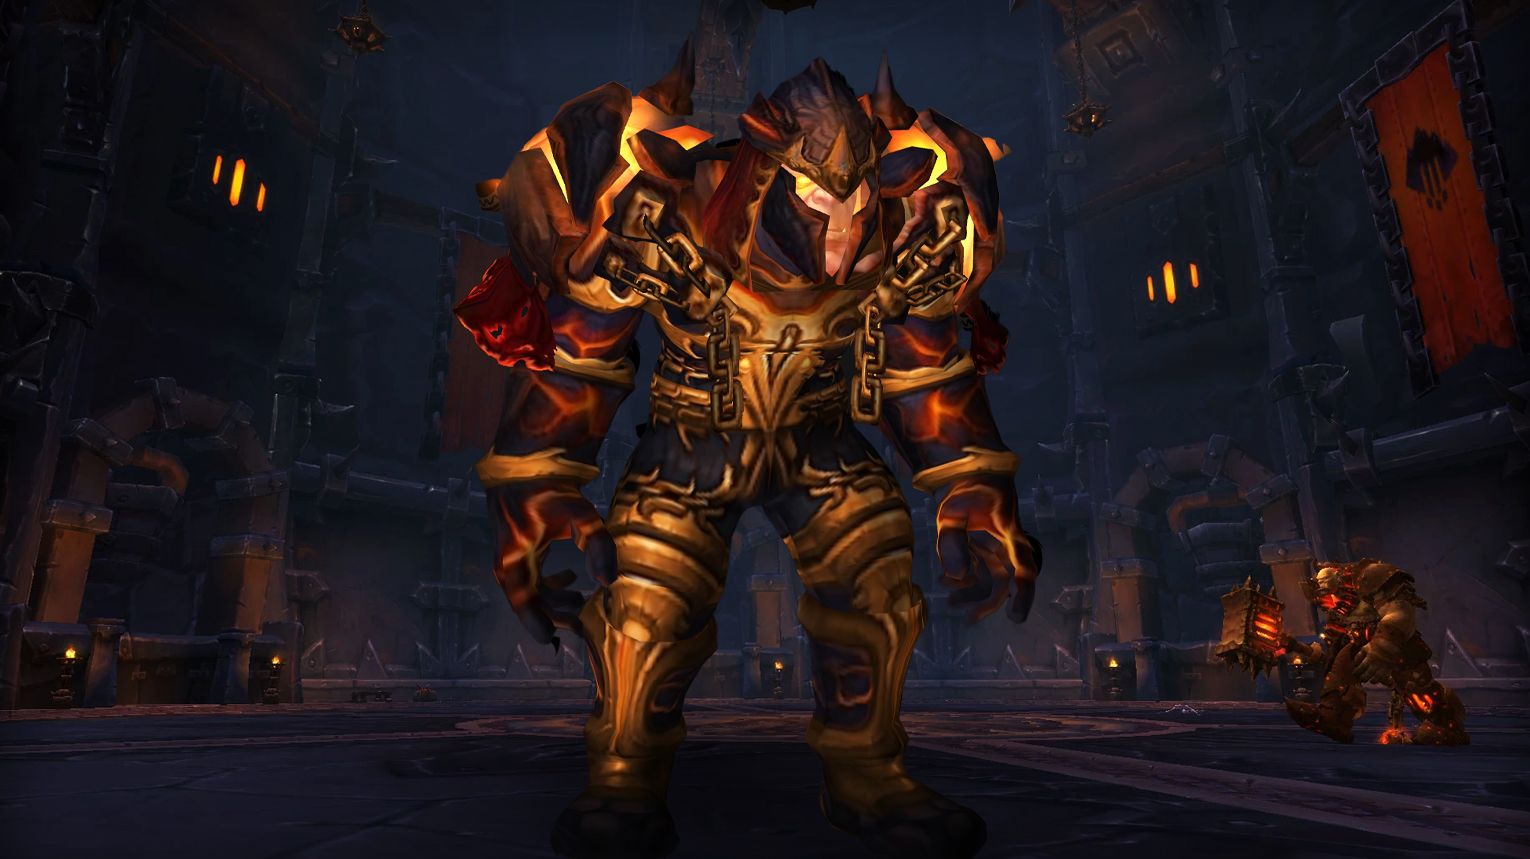
The Blast Furnace is a 3-phase fight in Blackrock Foundry. In Phase 1, destroy Heat Regulators using Bombs while managing adds like Bellows Operators. Phase 2 requires killing shielded Primal Elementalists by luring Slag Elementals to them. Phase 3 is a DPS race against the Heart of the Mountain, dodging Melt pools and frequent Blast damage. Use Bloodlust in Phase 3 (or Phase 2 on Mythic) for a clean kill. Key roles include Priests for Mind Control (Mythic) and healers for heavy raid-wide damage.
 Preferred Classes:
 Tanks: Strong mitigation for high physical damage (e.g.,
  Blood DK,
  Prot Paladin).
 Healers: Strong AoE healing (e.g.,
  Holy Priest,
  Resto Druid) due to frequent Blast.
 DPS:
DPS:
- Priority: High burst (e.g.,
 Fire Mage,
  Arms Warrior) for add control.
 - Utility: Priests for Mind Control (Security Guards in Mythic), Hunters for kiting Slag Elementals.
- Priority: High burst (e.g.,
 Tips:
Tips:
- Phase 1:
- Phase 2:
- Ranged DPS focus Slag Elementals; melee handle
- Firecallers/Security Guards.
- Dispel Reactive Earth Shield (Primal Elementalists).
- Phase 3:
 Strategy:
- Phase 1 Priority:
- Kill order: Feldspar → Bellows Operator → Furnace Engineer → Security Guard.
- Interrupt Repair casts on Regulators.
- Phase 2 Coordination:
- Kite Slag Elementals to Primal Elementalists to break shields.
- Use Mind Control on Security Guards (Mythic only) to remove Hardened Slag.
- Phase 3 Execution:
 Bloodlust/Drums:
Phase 2 (to burst Primal Elementalists quickly) or Phase 3 (if Phase 2 adds die fast).
 The Blast Furnace loot table:
| Type of Armor | Item | Loot type |
| Cloth | Arcanoshatter Leggings | Legs |
| Bracers of Spattered Steel | Wrist | |
| Shadow Council’s Leggings | Legs | |
| Soul Priest’s Leggings | Legs | |
| Leather | Furnace Tender’s Treads | Feet |
| Legwraps of the Somber Gaze | Legs | |
| Living Wood Legguards | Legs | |
| Poisoner’s Legguards | Legs | |
| Blast-Proof Cowl | Head | |
| Rylakstalker’s Legguards | Legs | |
| Slagstomper Treads | Feet | |
| Windspeaker’s Legwraps | Legs | |
| Plate | Blackhand’s Legguards | Legs |
| Fleshmelter Bracers | Wrist | |
| Lava-Dipped Greathelm | Head | |
| Legplates of Guiding Light | Legs | |
| Ogreskull Boneplate Greaves | Legs | |
| Any | Engineer’s Grounded Gorget | Amulet |
| Feldspar’s Control Choker | Amulet | |
| Mouth of The Fury | Crossbow | |
| Blast Furnace Door | Trinket | |
| Elementalist’s Shielding Talisman | Trinket | |
| Crescent of Living Magma | 2H Axe |
Kromog
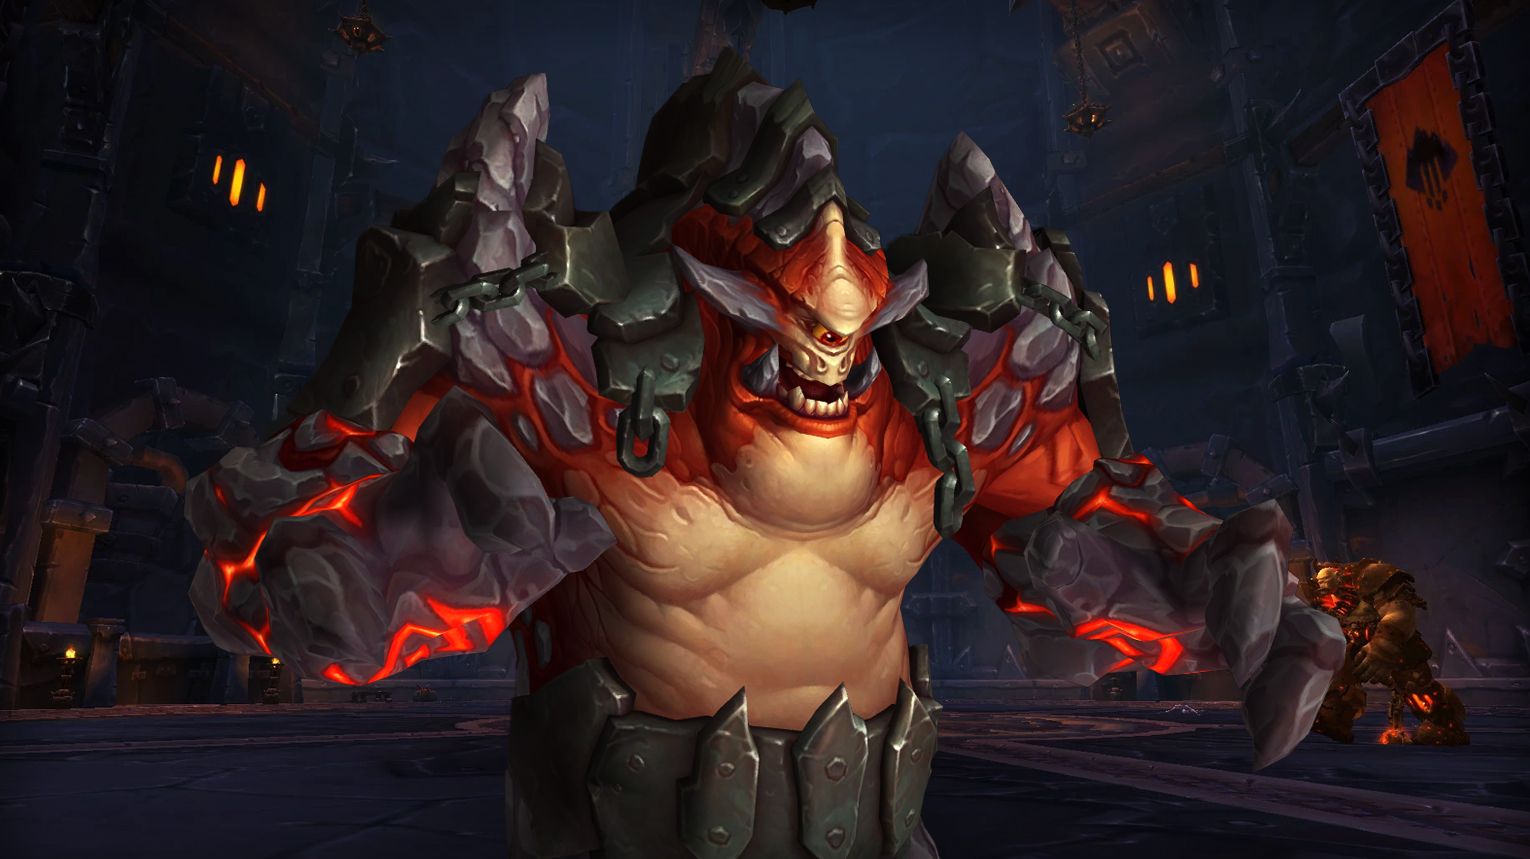
Kromog is a tank-heavy boss in Blackrock Foundry with two key mechanics: Grasping Earth (stand on runes to avoid lethal knockbacks) and Thundering Blows (break free from hands after). Dodge Rippling Smash cones and Reverberations. At 30% HP, he enrages (Frenzy)—save cooldowns. Use Bloodlust at 30% or after a Grasping Earth phase. Mythic adds Trembling Earth, requiring DPS to destroy pillars for LOS checks.
 Preferred Classes:
 Tanks: High-mitigation classes (e.g.,
  DK,
DK,  Paladin) for heavy physical damage.
 DPS:
DPS:
- Melee: Mobile classes (e.g.,
 Rogues,
  Warriors) to dodge Rippling Smash.
 - Ranged: Strong AoE (e.g.,
 Warlocks,
  Mages) to break Grasping Earth quickly.
- Melee: Mobile classes (e.g.,
 Healers: Strong raid/tank healers (e.g.,
  Disc Priest,
  Resto Druid) for Slam/Grasping Earth phases.
 Tips:
Tips:
- Grasping Earth:
- Assign players to spread preemptively.
- DPS must free healers first after Thundering Blows.
- Crushing Earth: Move away from runes to avoid clap damage.
- Reverberations: Let them hit pets/players to dissipate.
- Frenzy (30%): Save major cooldowns (e.g., Aura Mastery, Devotion Aura).
 Strategy:
- Phase 1 (100–30% HP):
- Tanks stack to split Fists of Stone damage; taunt swap at 3–4 Warped Armor stacks.
- Raid loosely stacks for healing but spreads for Grasping Earth.
- Phase 2 (Frenzy):
- Prioritize tank survival (externals like Pain Suppression).
- Burn boss but pause DPS if Grasping Earth is imminent.
 Bloodlust/Drums:
At 30% HP to burn through Frenzy.
 Kromog loot table:
| Type of Armor | Item | Loot type |
| Cloth | Arcanoshatter Hood | Head |
| Earthripple Shoulderpads | Shoulder | |
| Shadow Council’s Hood | Head | |
| Soul Priest’s Hood | Head | |
| Stonewarper Wraps | Hands | |
| Leather | Bracers of Shattered Stalactites | Wrist |
| Helm of the Somber Gaze | Head | |
| Living Wood Headpiece | Head | |
| Poisoner’s Helmet | Head | |
| Windspeaker’s Faceguard | Head | |
| Earthgrasp Girdle | Waist | |
| Rylakstalker’s Headguard | Head | |
| Plate | Blackhand’s Faceguard | Head |
| Helmet of Guiding Light | Head | |
| Ogreskull Boneplate Greathelm | Head | |
| Any | Talisman of the Fomor | Amulet |
| Cloak of Delving Secrets | Cloak | |
| Runefrenzy Greatcloak | Cloak | |
| Kromog’s Brutal Fist | 1H Mace | |
| Fang of the Earth | 1H Sword | |
| Stonefist Band | Ring | |
| Kromog’s Protecting Palm | Shield | |
| Beating Heart of the Mountain | Trinket |
The Iron Maidens
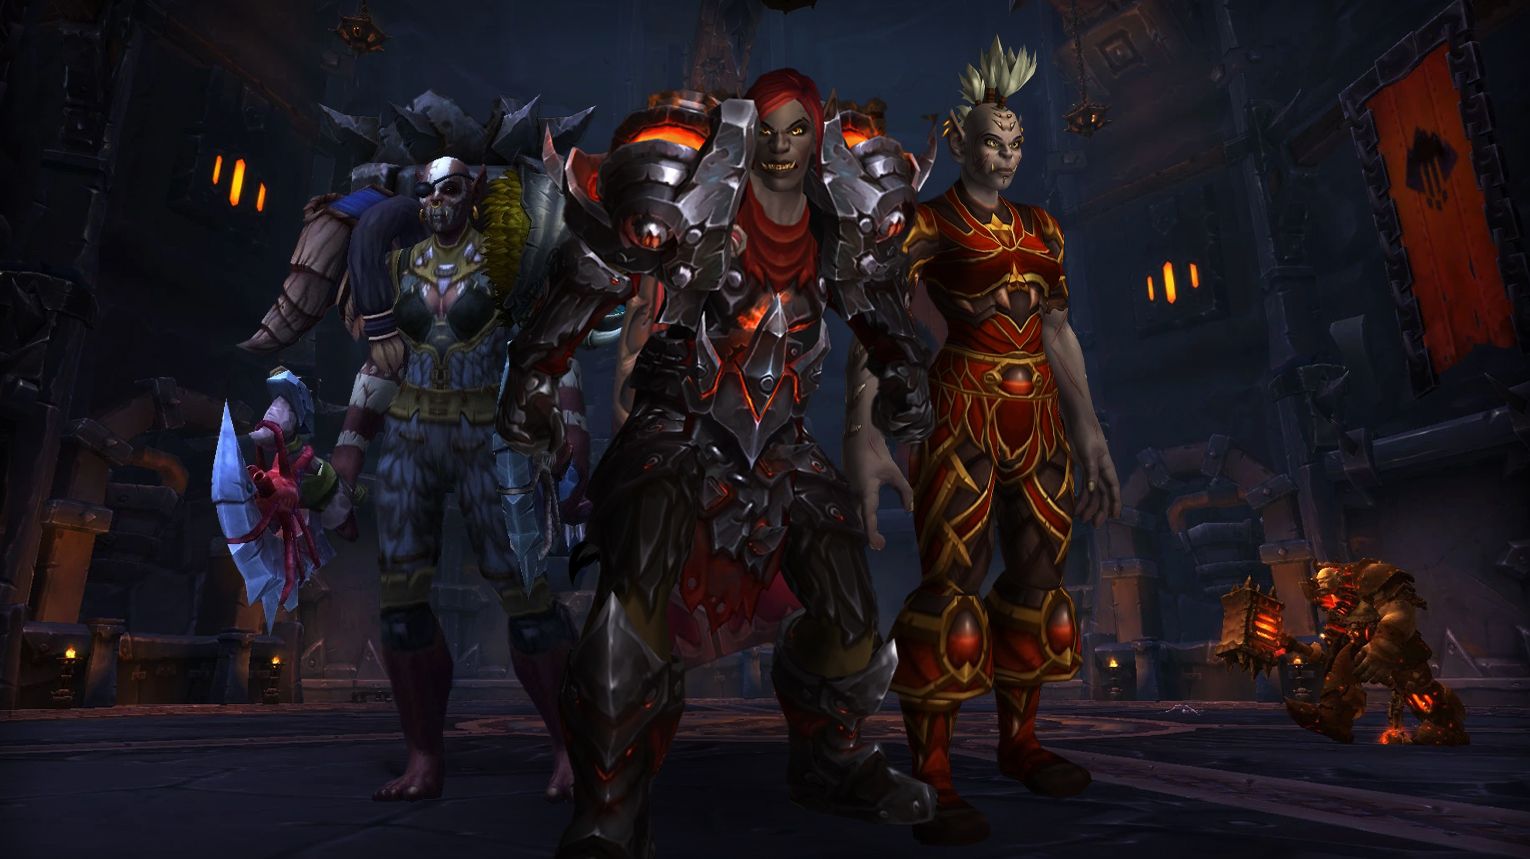
The Iron Maidens (Admiral Gar’an, Marak, Sorka) are a council-style boss in Blackrock Foundry. Fight revolves around managing their abilities (e.g., Blood Ritual, Rapid Fire) while periodically sending a team to sabotage their Dreadnaught ship to avoid raid-wipe mechanics. At 30 and 100 Fury, bosses gain new abilities; below 20% HP, they enrage (Iron Will). Use Bloodlust in the final phase to burn them down. Key tips: stack for Penetrating Shot, dodge Bombardment patterns, and prioritize Dreadnaught interrupts.
 Preferred Classes:
 Tanks:
- One tank for Marak (must soak Crystallized Blood).
- One tank for Sorka (must intercept Deadly Throw in her Dreadnaught phase).
- Gar’an is untankable but can be kited.
 Healers:
- Strong single-target healers for Convulsive Shadows/Dark Hunt.
- Raid cooldowns (e.g., Spirit Link Totem) for Penetrating Shot/Sanguine Strikes.
 DPS:
DPS:
- Mobile ranged (to handle Rapid Fire).
- Melee with cleave (to evenly damage all bosses).
- Mythic: Assign melee to Marak, ranged to Sorka for debuff management.
 Tips:
Tips:
- Blood Ritual: Designate a spot for targets to stand; tank soaks Crystallized Blood.
- Rapid Fire: Targeted player runs along edges to avoid raid.
- Penetrating Shot: Ranged stack to split damage.
- Dreadnaught Team: Send 1 healer + 5 DPS (prioritize interrupts for Gar’an’s phase).
- Iron Will: Burn lowest HP boss ASAP after triggering (use Bloodlust).
 Strategy:
- Phase 1 (100–20% HP):
- Stack bosses centrally; DPS evenly.
- Handle Blood Ritual, Rapid Fire, and Blade Dash.
- At 30 Fury, manage new abilities:
- Bloodsoaked Heartseeker (spread).
- Convulsive Shadows (don’t dispel until 2 stacks in Mythic).
- Penetrating Shot (soak with ranged).
- Dreadnaught Phase:
- Dodge Bombardment Patterns (Alpha safe spots → move to Omega).
- Sabotage ship within 90 sec.
- Phase 2 (<20% HP):
- Pop Bloodlust and focus one boss at a time.
- Heal through Sanguine Strikes (tank CDs reduce raid damage).
 Bloodlust/Drums:
During Iron Will (final phase at 20% HP) to burn bosses quickly.
 The Iron Maidens loot table:
| Type of Armor | Item | Loot type |
| Cloth | Soul Priest’s Gloves | Hands |
| Shadow Council’s Gloves | Hands | |
| Arcanoshatter Gloves | Hands | |
| Deckhand’s Rope Belt | Waist | |
| Turret Mechanic’s Legwraps | Legs | |
| Leather | Poisoner’s Gloves | Hands |
| Living Wood Grips | Hands | |
| Handwraps of the Somber Gaze | Hands | |
| Treads of the Dark Hunt | Feet | |
| Sorka’s Nightshade Cowl | Head | |
| Rylakstalker’s Gloves | Hands | |
| Windspeaker’s Handwraps | Hands | |
| Bloodwhirl Bracers | Wrist | |
| Plate | Blackhand’s Handguards | Hands |
| Ogreskull Boneplate Gauntlets | Hands | |
| Gauntlets of Guiding Light | Hands | |
| Uktar’s Belt of Chiming Rings | Waist | |
| Bloodsoaked Heart Protector | Chest | |
| Any | Cloak of Sanguine Terror | Cloak |
| Drape of the Dark Hunt | Cloak | |
| Sorka’s Chainfist | Fist Weapon | |
| Gar’an’s Brutal Spearlauncher | Gun | |
| Koloch Na, the Blood Feast | 1H Axe | |
| Uk’urogg’s Corrupted Seal | Ring | |
| Vial of Convulsive Shadows | Trinket |
Blackhand
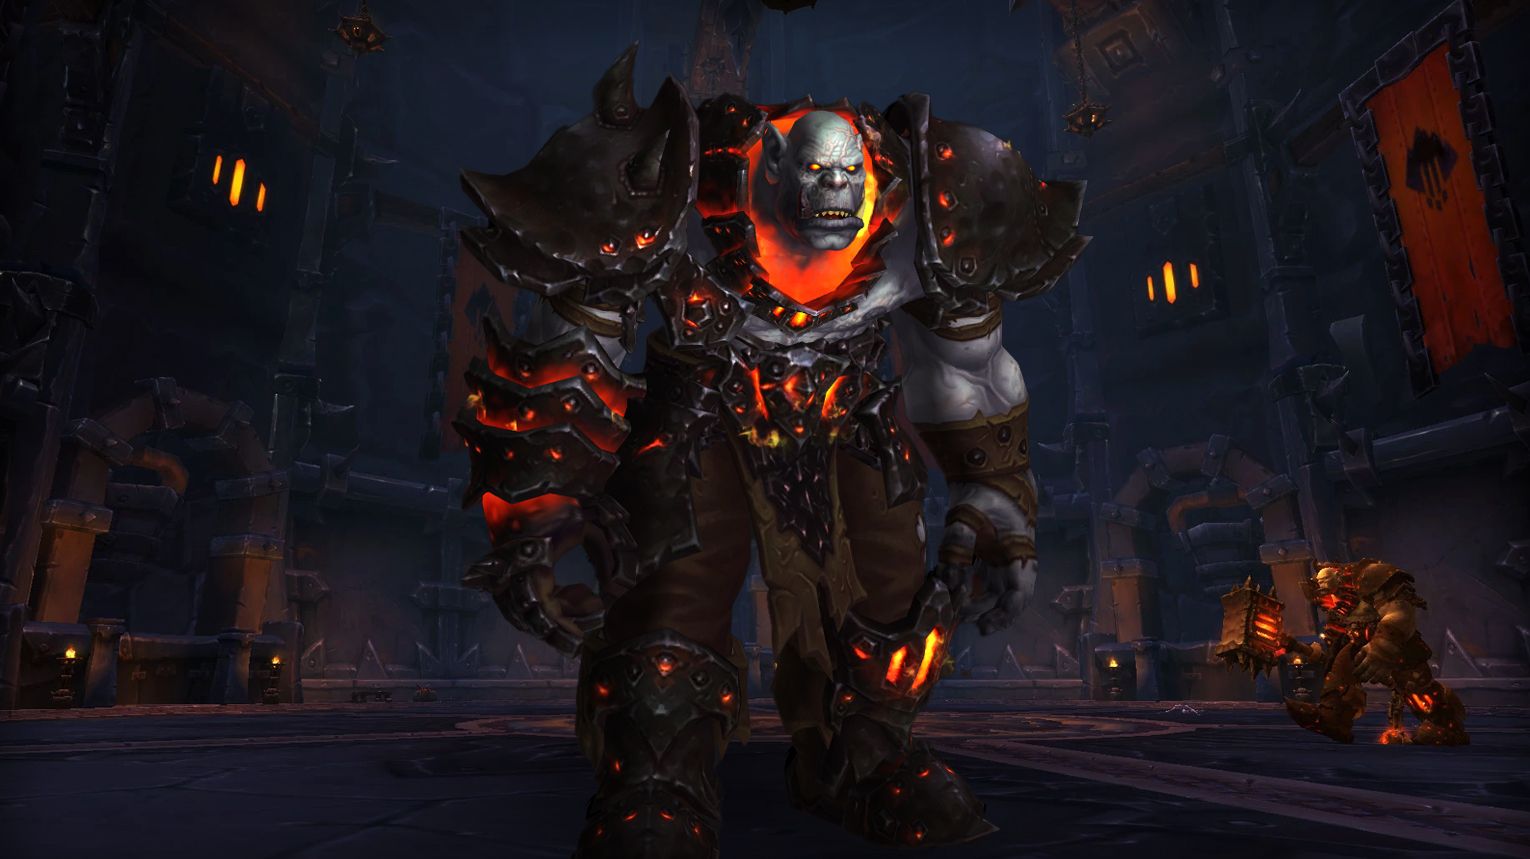
Blackhand is the final boss of Blackrock Foundry, featuring three phases with increasing difficulty. In Phase 1, avoid Molten Slag and Demolition debris while using Debris Piles to block Impaling Throw. Phase 2 introduces Siegemaker adds (kited by ranged) and balcony Iron Soldiers (cleaved by melee). Phase 3 is a tight DPS race—stack for Massive Shattering Smash, drop Slag Bombs at edges, and avoid knockbacks off the platform. Use Bloodlust/Drums in Phase 3 for maximum burst.
 Preferred Classes:
 Tanks: High-mobility classes (e.g.,
  Warrior,
  DK) for knockback management.
 DPS:
DPS:
- Phase 2: Hunters (kiting Siegemakers), cleave/AoE specs (balcony Iron Soldiers).
- Phase 3: Burst DPS to race against enrage.
 Healers: Strong raid healers (e.g.,
  Holy Priest,
  Resto Druid) for AoE damage phases.
 Tips:
Tips:
- Phase 1:
- Start at edges, move inward as Molten Slag expands.
- Stack for Demolition (use raid CDs) and dodge orange swirls.
- Phase 2:
- Phase 3:
- Marked for Death: Targets stand near boss to avoid knockback off-platform.
- Slag Bombs: Drop at edges; avoid overlapping with Slag Eruption zones.
- Massive Shattering Smash: Stack 4+ players to split damage.
 Strategy:
 Tanks:
- Swap after Shattering Smash; position boss near edges in Phase 3.
 DPS:
DPS:
- Prioritize Siegemakers in Phase 2 after armor is stripped.
- Phase 3: Burst boss while managing bombs and knockbacks.
 Healers:
- Focus on Impaled targets (Phases 1–2) and Slagged players (Phase 3).
- Use CDs during Demolition (Phase 1) and Massive Shattering Smash (Phase 3).
 Bloodlust/Drums:
Can be used in Phase 1 to push past 70% quickly and minimize Molten Slag.
 Blackhand loot table:
| Type of Armor | Item | Loot type |
| Cloth | Slagbomber’s Hood | Head |
| Leather | Shattering Smash Leggings | Legs |
| Chestguard of the Siegemaker | Chest | |
| Plate | Overdriven Spaulders | Shoulder |
| Any | Ironhoof Destroyer | Mount |
| Illusion: Mark of Blackrock | Illusion | |
| Iron Soldier’s Saber | 1H Sword | |
| Blackhand Doomstaff | Staff | |
| Blackiron Micro Crucible | Trinket | |
| Humming Blackiron Trigger | Trinket | |
| Battering Talisman | Trinket | |
| Forgemaster’s Insignia | Trinket | |
| Auto-Repairing Autoclave | Trinket | |
| The Black Hand | 2H Mace |
Blackrock Foundry Achievements List
| Achievement | Requirement |
| Black Forge | Defeat the bosses in the Black Forge. |
| Iron Assembly | Kill the bosses in the Iron Assembly. |
| Slagworks | Slay the bosses in the Slagworks. |
| Blackhand’s Crucible | Defeat Blackhand. |
| Blackrock Foundry Guild Run | Kill the bosses of Blackrock Foundry on Normal difficulty or higher, while in a guild group. |
| Ahead of the Curve: Blackhand’s Crucible | Slay Blackhand on Heroic difficulty or higher, before the release of patch 6.2. |
| Cutting Edge: Blackhand’s Crucible | Defeat Warlord Blackhand on Mythic difficulty, before the release of patch 6.2. |
| Mythic: Warlord Blackhand Guild Run | Kill Warlord Blackhand on Mythic difficulty, while in a guild group. |
| Realm First! Warlord Blackhand | First guild on the realm to defeat Warlord Blackhand on Mythic difficulty while in a guild group. |
| Mythic: Blackhand’s Crucible | Slay Warlord Blackhand on Mythic difficulty. |
| Mythic: Beastlord Darmac | Defeat Beastlord Darmac on Mythic difficulty. |
| Mythic: Blast Furnace | Complete the Blast Furnace encounter on Mythic difficulty. |
| Mythic: Flamebender Ka’graz | Kill Flamebender Ka’graz on Mythic difficulty. |
| Mythic: Gruul | Slay Gruul on Mythic difficulty. |
| Mythic: Hans’gar and Franzok | Defeat Hans’gar & Franzok on Mythic difficulty. |
| Mythic: Iron Maidens | Kill the Iron Maidens on Mythic difficulty. |
| Mythic: Kromog | Slay Kromog on Mythic difficulty. |
| Mythic: Operator Thogar | Defeat Operator Thogar on Mythic difficulty. |
| Make it W-orc W-orc | Collect any class armor set from Blackrock Foundry. |
| Ashes, Ashes… | Kill Blackhand after catching 20 Falling Ashes on Normal difficulty or higher. |
| Be Quick or Be Dead | Slay the Iron Maidens within 10 seconds of each other on Normal difficulty or higher. |
| Chapter III: The Foundry Falls | Complete Khadgar’s legendary quests within the Blackrock Foundry until the Iron Horde is on the run! |
| Fain Would Lie Down | Defeat Beastlord Darmac on Normal difficulty or higher after causing him to mount each beast first: |
| He Shoots, He Ores | Deposit the Volatile Ore in the Ore Grinder, and then defeat Oregorger on Normal difficulty or higher. |
| Stamp Stamp Revolution | Defeat Hans’gar & Franzok without any raid member being crushed by a stamping press on Normal difficulty or higher. |
| The Iron Price | Collect 3 Pristine True Iron Ores and then defeat Gruul in Normal difficulty or higher. |
| The Steel Has Been Brought | Kill Flamebender Ka’graz without killing Aknor Steelbringer on Normal difficulty or higher after securing your garrison. |
| There’s Always a Bigger Train | Engineer the ironic demise of an Exulting Wind-Up Train Wrecker on Normal difficulty or higher. |
| Would You Give Me a Hand? | Slay 10 Grasping Earth hands within 5 seconds and then defeat Kromog on Normal difficulty or higher. |
| Ya, We’ve Got Time… | Complete the Blast Furnace encounter after defeating all four Primal Elementalists within 10 seconds of each other, on Normal difficulty or higher. |

