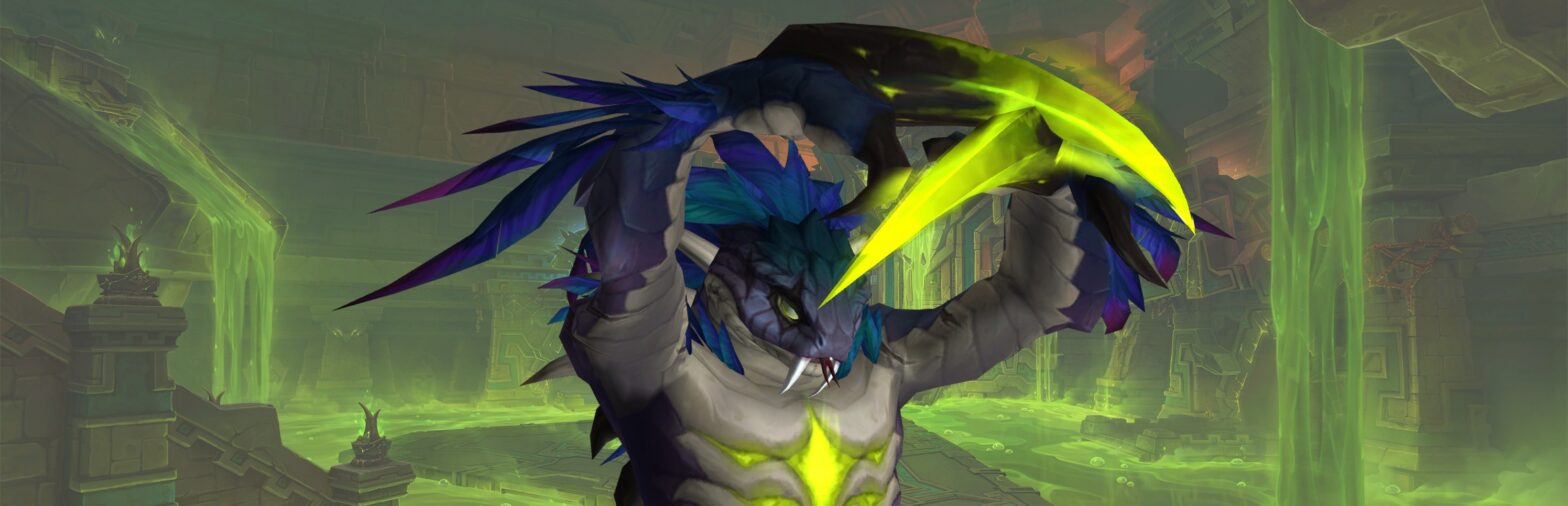
The Venomous Abyss is the eight boss raid introduced in World of Warcraft: Midnight Season 2. Located in the Vaults of Atal’Utek beneath the Coiled Isle, it features four Raid Finder wings and ends with Ula’tek, an ancient weapon connected to the Amani and the events surrounding Zul’jan and Malacrass.
The raid launched in August 2026 and offers Story Mode, Raid Finder, Normal, Heroic, and Mythic difficulties. Its rewards include Midnight Season 2 Tier Set tokens, weapons, trinkets, special effect gear, mounts, achievements, and housing decor. Players returning for repeat clears can unlock the Venomous Abyss skip, while collectors can work toward Glory of the Venomous Raider and its Crimson Venomfang mount.
 Quick Summary
- Overview
- Release Schedule
- Location and Entrance
- Rewards and Collectibles
- Bosses Overview
- Achievements
 Need help clearing the raid? Our Venomous Abyss boost service lets you complete encounters with an experienced team on your chosen difficulty.
The Venomous Abyss Overview
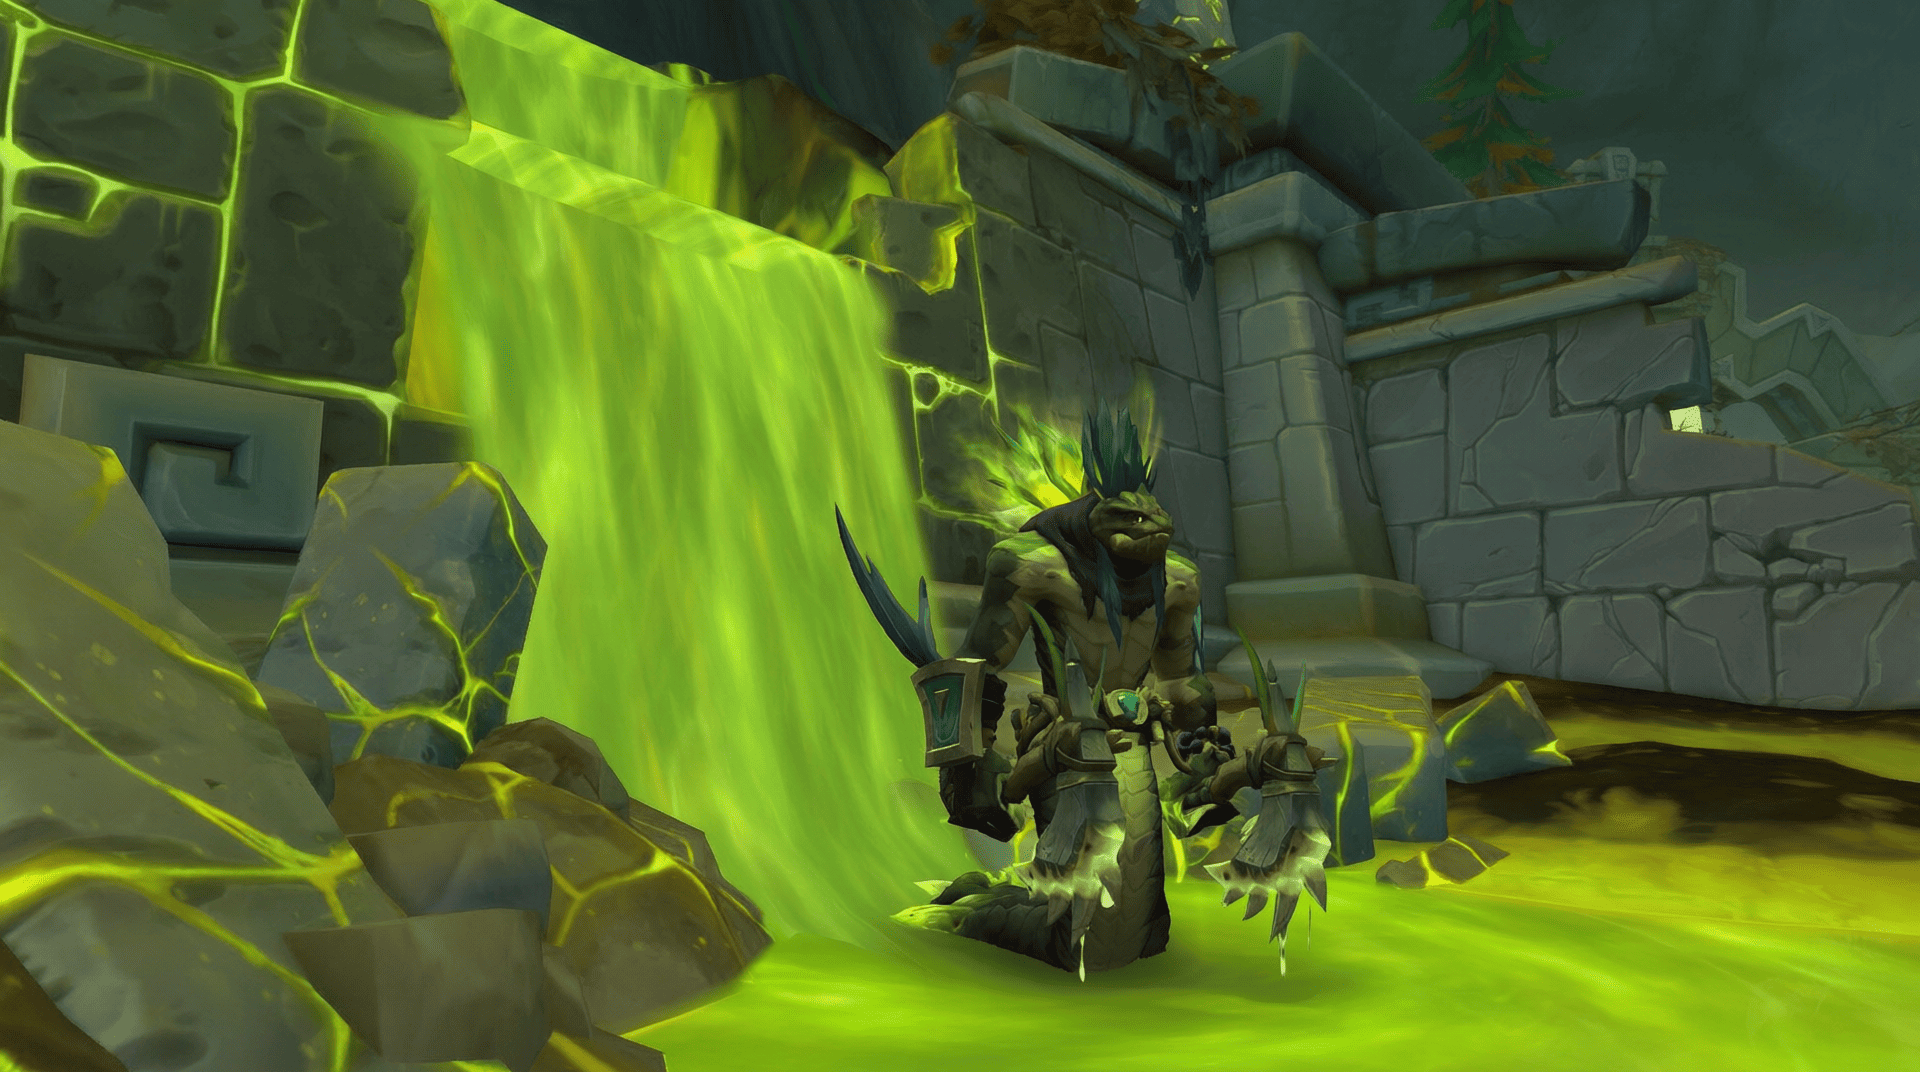
- Expansion: Midnight
- Season: Season 2
- Patch: 12.1, Curse of Ula’tek
- Location: Coiled Isle, Vaults of Atal’Utek
- Bosses: 8
- Required Level: 90
- Difficulties: Story Mode, Raid Finder, Normal, Heroic, Mythic
- Raid Finder Minimum Item Level: 273
- Player Limit: 25
The Venomous Abyss is the main raid of Midnight Season 2. Its eight encounters take place inside the Vaults of Atal’Utek, where players face corrupted guardians, venomous creatures, and the forces connected to Ula’tek.
After Nek’zali the Soulcoiler, the raid splits into two routes. Each route contains two encounters, allowing groups to choose which wing to clear first. After defeating both pairs of bosses, players return to the central area to face The Twin Fangs, then progress to The Coiled Altar and Ula’tek.
Venomous Abyss Release Schedule
| Release | Content | Date |
|---|---|---|
| Season 2 Launch | Normal, Heroic, Mythic, Raid Finder Wing 1 | August 19, 2026 |
| Week 2 | Story Mode, Raid Finder Wing 2 | August 26, 2026 |
| Week 3 | Raid Finder Wing 3 | September 2, 2026 |
| Week 4 | Raid Finder Wing 4 | September 9, 2026 |
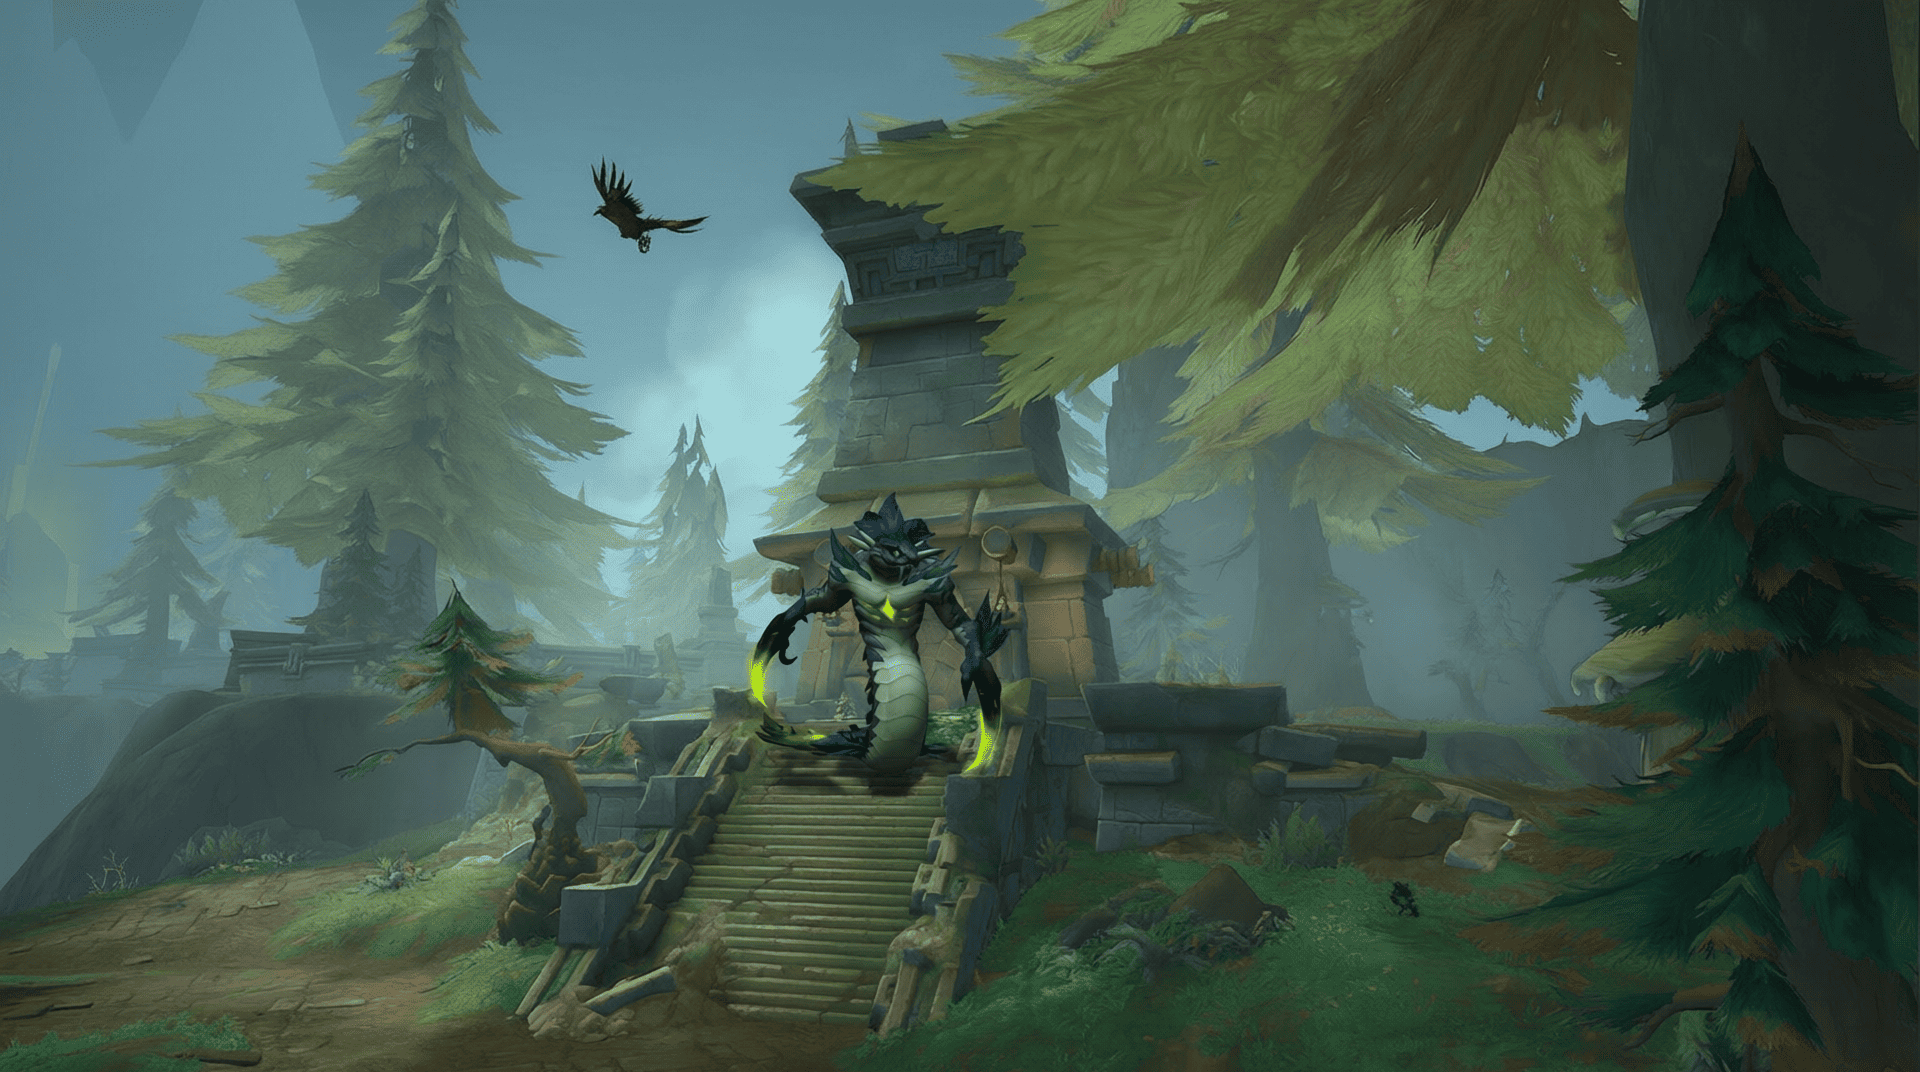
Normal, Heroic, Mythic, and the first Raid Finder wing opened with Midnight Season 2. Story Mode and the remaining Raid Finder wings followed over the next three weekly resets. Story Mode requires progression through the Curse of Ula’tek questline and is designed for players who want to experience the raid story without entering standard raid difficulties.
Raid Location and Entrance
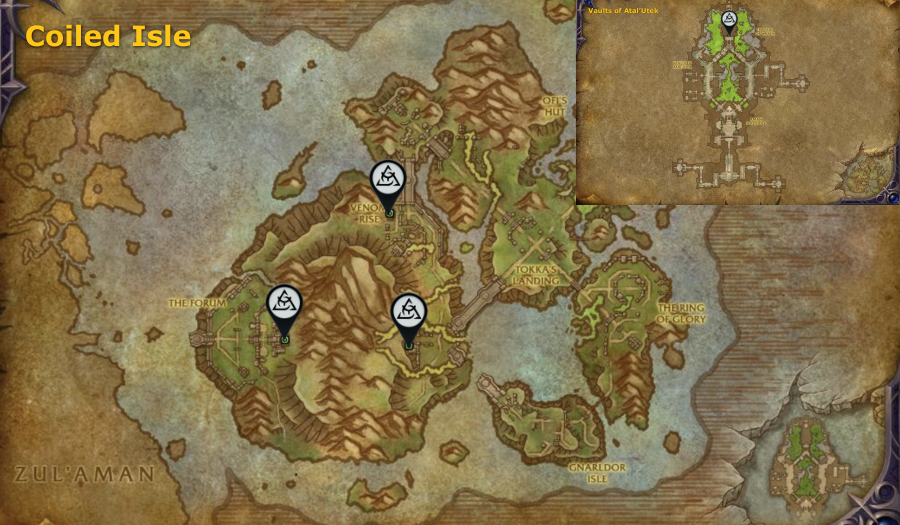
The Venomous Abyss is located inside the Vaults of Atal’Utek on the Coiled Isle. The island is part of the Curse of Ula’tek content update and is accessible from the wider Zul’Aman region.
Raid Entrance: /way #2509 47.2 21.7 The Venomous Abyss Raid Entrance
There are three gates leading into the Vaults of Atal’Utek:
- Gate of the Serpent Eye: /way #2512 43.3 44.2
- Gate of the Eastern Fang: /way #2512 45.4 65.9
- Gate of the Western Fang: /way #2512 31.8 64.9
Once inside the vaults, head toward the northern part of the complex to reach the raid entrance.
Venomous Abyss Loot Table
The Venomous Abyss offers raid gear, Midnight Season 2 Tier Set tokens, Mistcrests, housing decor, transmog items, and two mounts. Later bosses drop higher item level gear, while the final encounter provides a Curio that can be exchanged for a Tier Set piece.
- Tier Set tokens drop from bosses 2 through 6.
- Slumbering Coil Curio drops from Ula’tek and can be exchanged for a Tier Set armor piece.
- Gear ranges from item level 279 in Raid Finder to item level 344 in Mythic.
- Mistcrests are awarded for gear upgrades.
- Bosses can also drop Player Housing decor and transmog rewards.
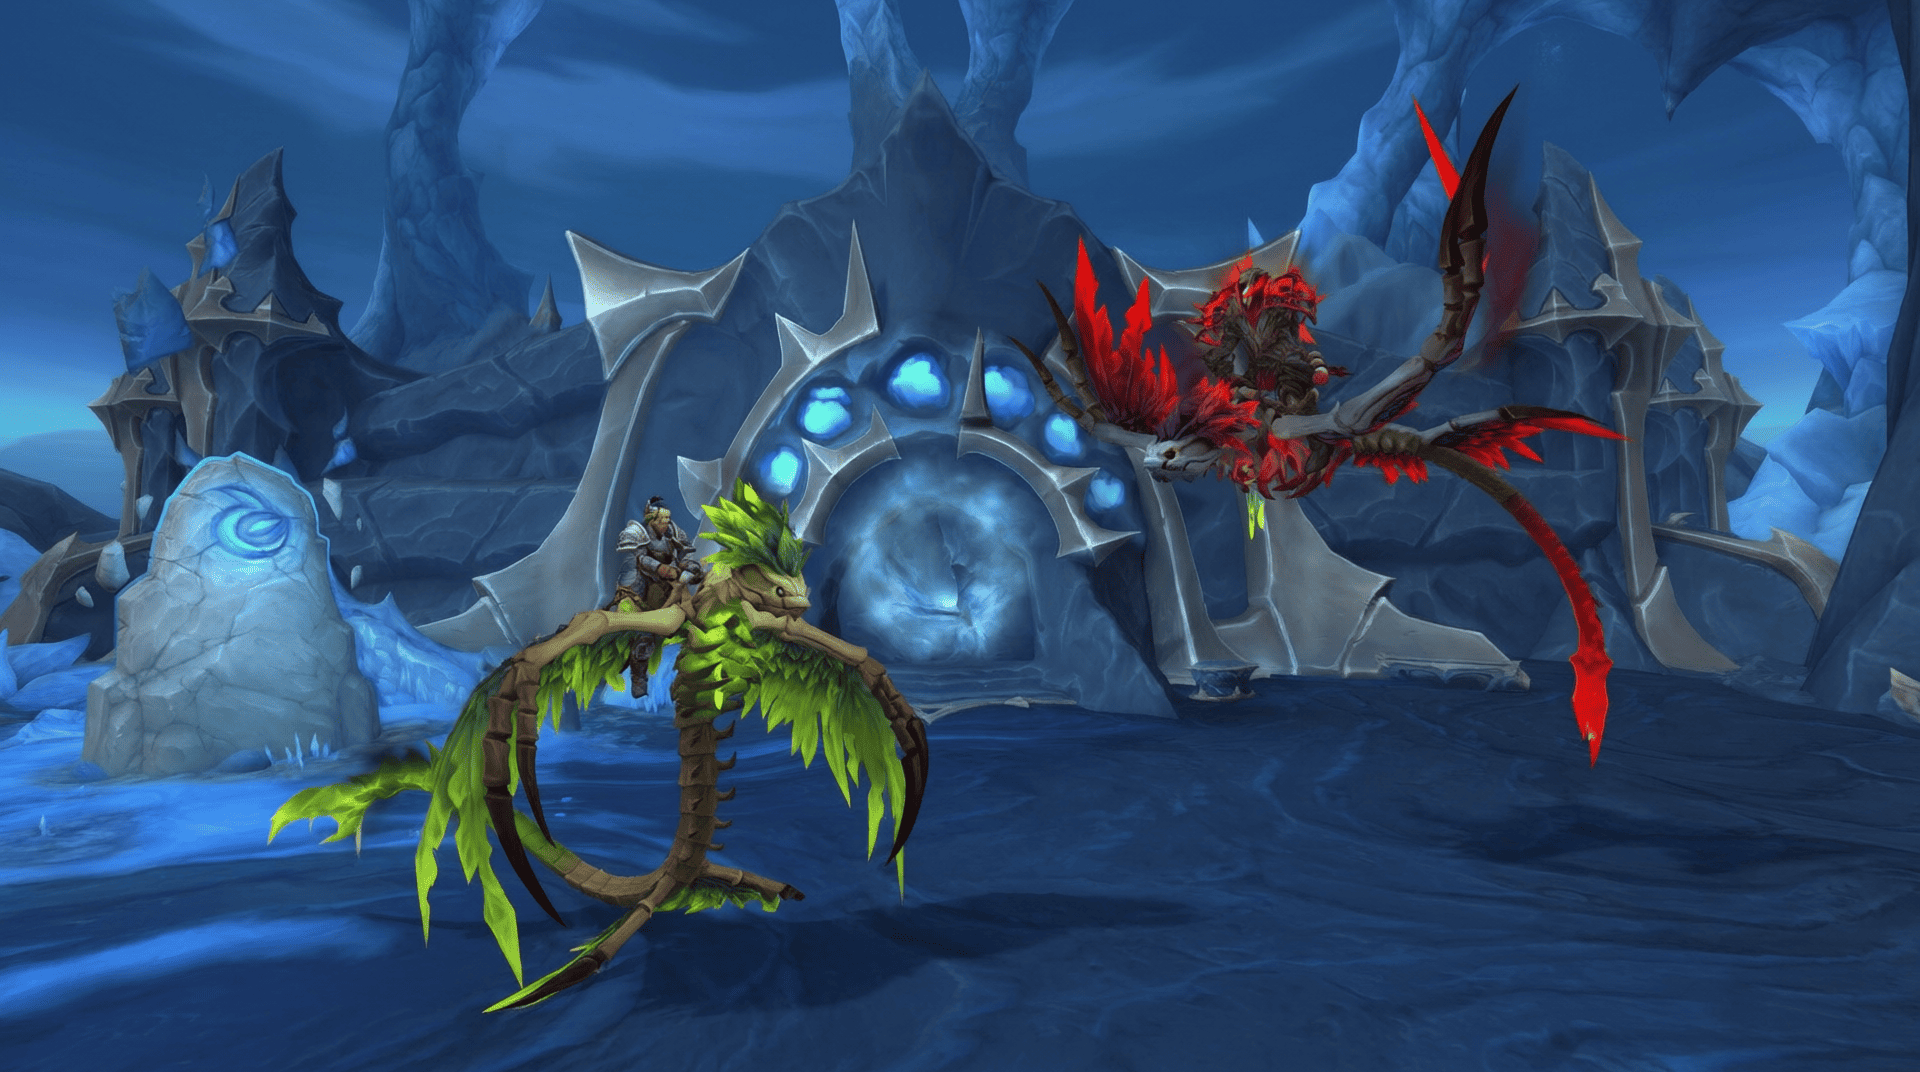
- Primeval Skyfriend drops three copies from Ula’tek on Mythic.
- Crimson Venomfang is the reward for Glory of the Venomous Raider.
The raid also contributes to the Raid row of the Great Vault. Defeating 2, 4, and 6 raid bosses counts toward the corresponding Great Vault objectives. Story Mode does not count toward this progression.
Item Level by Difficulty
| Difficulty | Boss 1 | Bosses 2 to 3 | Bosses 4 to 6 | Bosses 7 to 8 |
|---|---|---|---|---|
| Raid Finder | 279 | 282 | 285 | 289 |
| Normal | 292 | 295 | 298 | 302 |
| Heroic | 305 | 308 | 311 | 315 |
| Mythic | 318 | 321 | 324 | 344 |
Tier Set Tokens
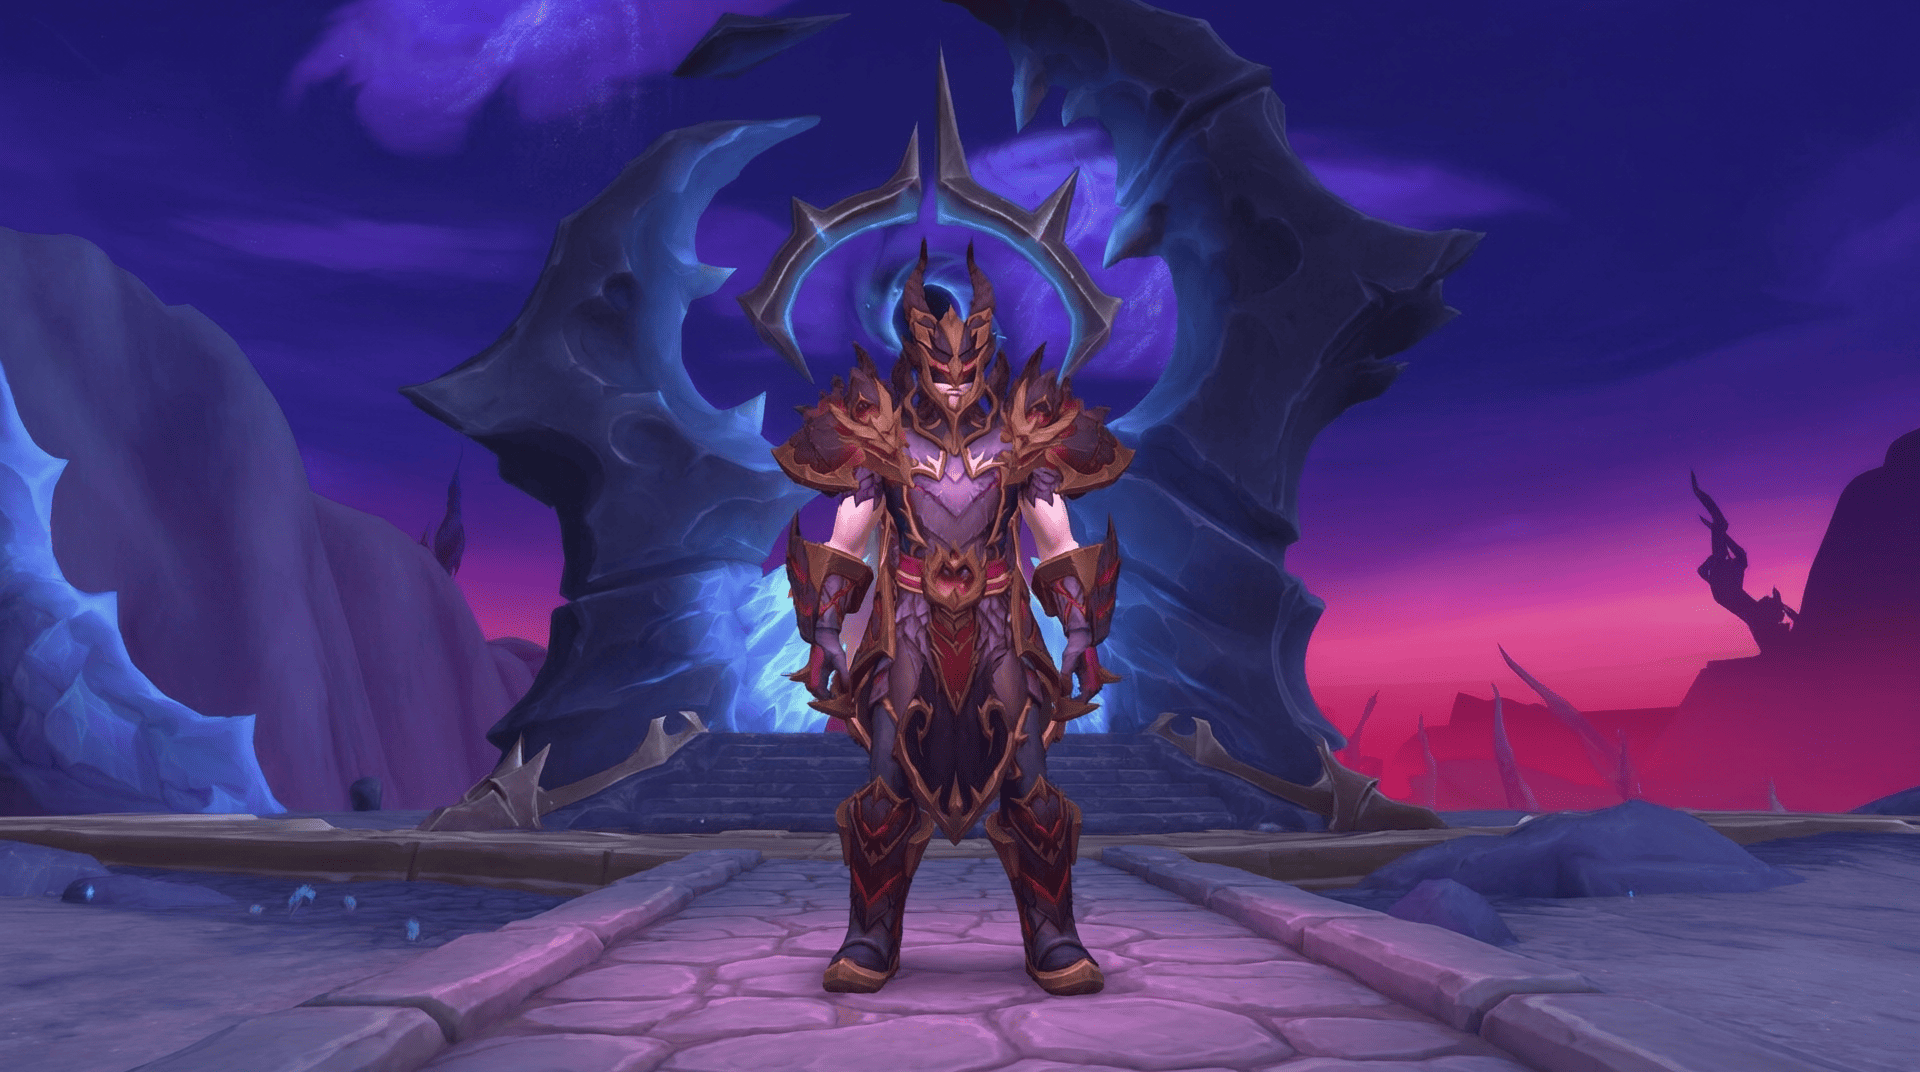
Bosses 2 through 6 drop Tier Set tokens shared by armor class. Ula’tek drops Slumbering Coil Curio, an omni-token that can be exchanged for a Tier Set armor piece of the player’s choice. The Curio can be traded to Kirana near the Matrix Catalyst in Silvermoon City.
| Boss | Tier Set Slot | Cloth | Leather | Plate | |
|---|---|---|---|---|---|
| Entombed Sentinels | Hands | Venomwoven Idol | Venomcured Idol | Venomcast Idol | Venomforged Idol |
| The Lost Explorers | Shoulders | Venomwoven Remnant | Venomcured Remnant | Venomcast Remnant | Venomforged Remnant |
| Vashnik the Malignant | Chest | Venomwoven Icon | Venomcured Icon | Venomcast Icon | Venomforged Icon |
| Sszorak | Legs | Venomwoven Relic | Venomcured Relic | Venomcast Relic | Venomforged Relic |
| The Twin Fangs | Helm | Venomwoven Effigy | Venomcured Effigy | Venomcast Effigy | Venomforged Effigy |
| Ula’tek | Any eligible Tier Set slot | Slumbering Coil Curio | |||
Notable Raid Rewards
| Reward | Source | Notes |
|---|---|---|
| Primeval Skyfriend | Ula’tek | Three mount drops on Mythic difficulty. |
| Crimson Venomfang | Glory of the Venomous Raider | Mount reward for completing the eight required encounter achievements on Normal or higher. |
| Slumbering Coil Curio | Ula’tek | Exchange for a Tier Set armor piece. |
| Player Housing decor | Raid bosses | Each boss has a chance to award decor on any difficulty. |
| Venomcursed gear and special effect items | Raid loot table | Includes gear with special effects and unique secondary stat interactions. |
Venomous Abyss Bosses Overview and Tactics
The raid contains eight encounters. The opening boss leads to two optional routes, each with two encounters. Groups then reunite for The Twin Fangs, The Coiled Altar, and Ula’tek. The following tactics highlight the mechanics that most affect positioning, target priority, and raid survival.
| Boss | Encounter Overview | Main Priority |
|---|---|---|
| Nek’zali the Soulcoiler | The opening encounter, built around the Soulcoil Well and waves of Restless Amani adds. | Keep adds away from the well and handle dispels away from the raid. |
| Entombed Sentinels | Two corrupted golems with separate health pools and an energy based intermission. | Split the raid and keep the bosses at least 40 yards apart. |
| The Lost Explorers | A multi target encounter involving possessed tortollans and Mor’zahi’s Final Ascension. | Feed Disgusting Fish to the required tortollans before the cast completes. |
| Vashnik the Malignant | A venom encounter built around three fountains and adds created during Imbibe. | Control the boss’s fountain positioning and kill living venoms before they reach the center. |
| Sszorak | A single target encounter with crosswinds, tornadoes, and a wind driven intermission. | Coordinate crosswinds, assign cyst handlers, and prepare for the pushback sequence. |
| The Twin Fangs | Vexhul and Ithraz build Eternal Venom through repeated attacks and area mechanics. | Track Eternal Venom stacks and use Ravenous Feast to remove them. |
| The Coiled Altar | A three phase fight against Zul’jan and Hex Lord Malacrass. | Control venom pools, handle possession effects, and prepare for the final two target phase. |
| Ula’tek | The final boss, with three phases, eggs, adds, venom covered areas, and a collapsing arena. | Manage eggs and adds while preserving safe space for later phases. |
Nek’zali the Soulcoiler
Nek’zali’s encounter revolves around the Soulcoil Well in the center of the room. Restless Amani adds emerge from the outer edges and move toward the well. If an add reaches it or a player dies inside it, Nek’zali gains additional power, making later stages more dangerous.
- Damage dealers: Switch to Restless Amani adds before they reach the Soulcoil Well. During the intermission, defeat the Echoes of Jawae to remove their tethers and bring Nek’zali back into the fight.
- Healers: Prepare for raid wide damage from Soulcoil Ignition. Players affected by Essence Rend should move away from the group and coordinate dispels so the resulting hazards do not cover the main stack point.
- Tanks: Manage the Possession Barrage distance mechanic and coordinate swaps when Sever increases the pressure on the current target.
- Key mistake to avoid: Do not let adds enter the central well. Keep the area around it clear throughout the encounter.
Entombed Sentinels
The Entombed Sentinels are a two target encounter. The raid must split into two groups, with each group assigned to one Sentinel. Keep the bosses at least 40 yards apart because bringing them too close gives them Ula’tek’s Dominance, reducing the damage they take by 99%.
- Positioning: Assign a tank and a balanced group to each Sentinel. Avoid moving between sides unnecessarily, and keep the bosses separated throughout the fight.
- Damage dealers: Balance damage between the two targets. When they reach 100 energy, Vitriolic Stasis heals the weaker Sentinel toward the healthier one’s remaining health.
- Healers: Blighted Blood can be dispelled. Coordinate dispels and healing around the high damage from Contaminate and the stacking pressure of Helical Toxins.
- Tanks: Watch Empowering Slam and Bloodvenom Injection, which become more dangerous when repeatedly applied to the same target. Swap targets after the intermission to allow the groups’ marks to expire.
- Key mistake to avoid: Do not stack both bosses together or allow their health totals to become heavily unbalanced before the intermission.
The Lost Explorers
The Lost Explorers is a multi target encounter in which the raid must stop Mor’zahi from completing Final Ascension. The other enemies have their own abilities, while the possessed tortollans must be handled before the main cast finishes.
- Primary objective: Feed Disgusting Fish to the required possessed tortollans before Mor’zahi completes Final Ascension. Each tortollan can only be fed once, so assign players to the interaction in advance.
- Damage dealers: Switch targets when the encounter requires it and defeat the possessed tortollans before their available fish run out. Do not tunnel on a single target while the main cast is progressing.
- Positioning: Two bosses can be tanked together while Trader Gebbo moves around the room. On Heroic, maintain the required separation so the encounter’s damage reduction does not prevent the raid from dealing effective damage.
- Watch for: First Mate Nama’s Shell Spin fires shells in a frontal cone. Move away from the path, and direct Scrollsage Iku’s Blink Nova away from the group.
- Key mistake to avoid: Do not allow Mor’zahi to finish Final Ascension. Assign fish interactions before the pull rather than relying on players to react at the last moment.
Vashnik the Malignant
Vashnik draws power from the Blood, Shadow, and Flame fountains around the arena. When he casts Imbibe, he draws from two nearby fountains, gains their associated Infusion effects, and creates living venoms that move toward the Malignant Cavity in the center.
- Tanks: Move Vashnik to a different section of the room for each Imbibe cast. The boss gains stronger effects from the fountains closest to him, so plan the route rather than leaving him in one position.
- Damage dealers: Kill living venoms before they reach the Malignant Cavity. If they arrive, they trigger Malignant Burst and deal additional damage to the raid.
- Healers: Imbibe deals heavy raid damage, and repeated casts increase Toxic Vapor in the room. Plan healing cooldowns around these bursts and account for Siphoning Infection, which absorbs incoming healing.
- All players: Spread out for Plague Froth and remain still long enough for other players to dodge the resulting waves safely.
- Key mistake to avoid: Do not let living venoms reach the center. Their explosions make later casts harder to manage.
Sszorak
Sszorak’s encounter combines tank combos, tornadoes, crosswinds, and a wind driven intermission. At the start, check the tornadoes displayed around the room. Their number indicates the order in which the wind sections will push the raid during the intermission.
- Tanks: Handle Apex Predator by distributing the Ravage and Mutilate attacks between tanks. Point Ravage away from the group, and follow the assigned positioning for Mutilate. On Heroic, coordinate the required group soaks.
- All players: Dodge tornadoes during Tempest. For Raging Crosswinds, position your wind effect toward a player whose effect is pointing back at you.
- Assigned players: Place Venomous Surge cysts at the designated positions based on the wind sequence. The raid needs cysts positioned correctly before the intermission begins.
- Intermission: During Howling Maelstrom, an assigned player should trigger a cyst when each wind begins. This helps the raid resist the pushback and move through the sequence.
- Damage dealers: Save major damage cooldowns for Dig In, when Sszorak becomes more vulnerable and the group can take advantage of the damage window.
- Key mistake to avoid: Do not wait until the wind phase to decide where cysts should go. Identify the sequence at the start and assign handlers before the intermission.
The Twin Fangs
The Twin Fangs are Vexhul and Ithraz, a two target encounter built around Eternal Venom. Many abilities add stacks of this debuff, while Ravenous Feast removes stacks when players soak it. Reaching the encounter’s lethal stack threshold kills the affected player instantly.
- All players: Track Eternal Venom stacks and avoid unnecessary hits from Caustic Deluge, globules, and waves. Do not treat each hit as isolated damage because the stacks accumulate over the fight.
- Soaks: Enter Ravenous Feast when assigned. It removes Eternal Venom stacks, so missing a soak can leave players dangerously close to the lethal threshold. Heroic groups should use the assigned soak groups.
- Damage dealers: Kill the Spawns of Vexhul quickly. Their Corrosive Spit adds pressure while the raid is already managing the stacking debuff.
- Tanks: Handle Stone Breaker according to the sequence of soaks shown during the encounter. Ensure a player is in the required area when the ability resolves.
- Debuffs: Players affected by Coiling Ichor should move to the edge of the room before the effect expires to leave the pool away from the raid’s main movement space.
- Key mistake to avoid: Do not ignore Eternal Venom stacks between mechanics. Plan soaks before players reach the lethal threshold.
The Coiled Altar
The Coiled Altar has three phases. The first phase is against Zul’jan, followed by Hex Lord Malacrass. In the final phase, Malacrass links his soul with Zul’jan, and the raid must defeat both enemies together.
- Phase 1: Watch Zul’jan’s Axegrinder and frontal attacks. Pick up Coalesced Venom and move it to the assigned location so its eventual explosion does not block important movement paths.
- Damage dealers: Destroy Coalesced Venom only when the group is ready to handle Venom Rupture. Continue to switch to important adds and targets when the encounter calls for it.
- Phase 2: Malacrass introduces Dreadmarch, Soul Sever, and spirits that cast Wail of Terror. Free possessed players quickly and deal with the Manifestations of Dread they create.
- Healers: Prepare for heavy damage and healing absorbs from Fangs of the Crucible and Defilement of the Crucible. Save cooldowns for major raid damage rather than spending them all during low pressure periods.
- Final phase: When Malacrass begins Soulbinding, prepare for the return of Zul’jan. Balance damage between the two enemies and follow the raid leader’s target calls.
- Key mistake to avoid: Do not leave venom pools in the main movement area or ignore the mechanics that spawn during Malacrass’s phase.
Ula’tek
Ula’tek is the final encounter and uses three phases, an intermission, repeated add spawns, and a shrinking safe area. Caustic Waves cover parts of the arena with venom. Eggs and spawned creatures must be controlled before they create additional threats.
- Damage dealers: Destroy or weaken Ula’tek’s eggs before they hatch into stronger adds. Watch for Doomscale Wardens empowering nearby eggs and deal with priority adds before they overwhelm the group.
- All players: Avoid Caustic Waves and keep venom away from the routes the raid needs to use. Eggs that contact the venom can hatch into Blightscale Vipers and apply Putrid Membrane to the raid.
- Soaks: Stack for Spectral Coils as assigned. The damage is reduced by the number of players at the impact location, so make sure the required group reaches the marked area.
- Intermission: Ula’tek submerges while her forces continue to threaten the arena. Control the adds and avoid allowing the safe space to become blocked by venom or unnecessary movement.
- Final phase: The arena breaks apart, leaving fewer safe positions. Move early when Demolish threatens the current area, and continue to prioritize adds that can empower other enemies.
- Key mistake to avoid: Do not allow eggs to hatch in venom or save add control until the arena is already crowded. Early target swaps make the later phases more manageable.
Venomous Abyss Skip: How to Unlock Deception Unmasked
The Venomous Abyss skip is unlocked through the quest The Venomous Abyss: Deception Unmasked. To complete it, collect 3 Mask Fragments from Hex Lord Malacrass in The Coiled Altar on the difficulty for which you want to unlock the shortcut.
| Requirement | Details |
|---|---|
| Quest | The Venomous Abyss: Deception Unmasked |
| Required Items | 3 Mask Fragments |
| Source | Hex Lord Malacrass in The Coiled Altar |
| Difficulty | Normal, Heroic, and Mythic have separate quest progress |
| Route | Defeat Nek’zali, then use the unlocked route to bypass the middle section and reach The Coiled Altar and Ula’tek |
The skip is intended for repeat runs focused on the final encounters. It does not teleport the group directly from the entrance to Ula’tek, and Nek’zali still needs to be defeated. Run the full raid when you need loot or progression from bosses along the skipped route. Do not confuse Mask Fragment with the separate cosmetic item Hex Troll Mask Fragment.
Venomous Abyss Achievements and Glory of the Venomous Raider
The raid has completion achievements, encounter specific challenges, and progression achievements for Heroic and Mythic difficulty. Glory of the Venomous Raider is the main achievement target for collectors because it rewards the Crimson Venomfang mount.
| Achievement | Requirement | Reward |
|---|---|---|
| The Venomous Abyss | Defeat all eight bosses on any difficulty | Raid completion |
| The Venomous Abyss: Essence of Ula’tek | Defeat Nek’zali, Entombed Sentinels, and Vashnik | Achievement |
| The Venomous Abyss: Beasts of Ula’tek | Defeat The Lost Explorers, Sszorak, and The Twin Fangs | Achievement |
| The Venomous Abyss: Ula’tek | Defeat The Coiled Altar and Ula’tek | Achievement |
| Well, Well, Little Sky | Complete the special Nek’zali objective on Normal difficulty or higher | Achievement |
| Is Venom Stasis A Joke To You? | Complete the special Entombed Sentinels objective on Normal difficulty or higher | Achievement |
| Accidental Inclusion | Defeat The Lost Explorers including Hoji on Normal difficulty or higher | Achievement |
| Kept You Waiting Huh? | Complete the special Vashnik objective | Achievement |
| Jumping Through Hoops | Complete the special Sszorak objective | Achievement |
| Taking a Bite out of Slime | Complete the special Twin Fangs objective | Achievement |
| Watch Out Behind You | Complete the special Coiled Altar objective | Achievement |
| No Egg Scramble | Complete the special Ula’tek objective | Achievement |
| Glory of the Venomous Raider | Complete the eight required boss achievements on Normal difficulty or higher | Crimson Venomfang |
| Ahead of the Curve: Ula’tek | Defeat Ula’tek on Heroic difficulty or higher before the next raid tier | Achievement |
| Cutting Edge: Ula’tek | Defeat Ula’tek on Mythic difficulty before the next raid tier | Achievement |
Glory of the Venomous Raider requires eight boss specific achievements, one for each encounter, on Normal difficulty or higher. Raid Finder and Story Mode do not count toward the meta achievement. Each encounter has its own additional objective, so groups should review the requirements before starting the run rather than treating it as a standard raid clear.
Tips for Glory of the Venomous Raider
- Review all eight encounter achievements before entering the raid and assign players to any required interactions.
- Complete each special objective during the relevant boss encounter. A normal boss kill does not automatically satisfy its achievement requirement.
- Check the achievement tracker after each encounter to confirm progress before moving on.
- Use Normal difficulty or higher for the meta achievement. Raid Finder and Story Mode clears do not count.
- Plan the full run with the group, especially for objectives involving extra enemies, positioning, or items that must be interacted with during combat.
Venomous Abyss Hall of Fame: Ula’tek
Hall of Fame: Ula’tek was awarded to the first 200 guilds worldwide to defeat Ula’tek on Mythic difficulty. The reward included the title Famed Slayer of Ula’tek.
The Hall of Fame reached its 200 guild limit and closed with the weekly reset on October 13, 2026, in the Americas and October 14 in Europe. New guilds can no longer earn this Hall of Fame reward.
Hall of Fame is separate from a regular Mythic Ula’tek kill and from Glory of the Venomous Raider. Glory is an eight boss challenge achievement available on Normal or higher, while Hall of Fame was a limited Race to World First milestone for the first 200 guilds to defeat the final boss on Mythic.
Final Thoughts
The Venomous Abyss is the main raid of Midnight Season 2, with eight encounters inside the Vaults of Atal’Utek. Successful clears depend on understanding each boss’s main mechanic, handling adds before they become dangerous, and coordinating movement around venom and arena hazards.
The raid offers Tier Set tokens, high item level gear, special effect items, mounts, housing decor, and achievements. For repeat clears, unlock the Venomous Abyss skip through The Venomous Abyss: Deception Unmasked. Collectors can pursue Glory of the Venomous Raider for the Crimson Venomfang mount, while the limited Hall of Fame reward is no longer available to new guilds.
Our Venomous Abyss boost service is available for players who want help clearing the raid with an experienced team.
Venomous Abyss FAQ
Where is The Venomous Abyss located?
The Venomous Abyss is inside the Vaults of Atal’Utek on the Coiled Isle. The raid entrance is at /way #2509 47.2 21.7.
How many bosses are in The Venomous Abyss?
The raid contains eight bosses: Nek’zali the Soulcoiler, Entombed Sentinels, The Lost Explorers, Vashnik the Malignant, Sszorak, The Twin Fangs, The Coiled Altar, and Ula’tek.
What difficulties are available?
The Venomous Abyss is available in Story Mode, Raid Finder, Normal, Heroic, and Mythic difficulties. Raid Finder requires a minimum item level of 273.
When did The Venomous Abyss open?
Normal, Heroic, Mythic, and Raid Finder Wing 1 opened on August 19, 2026. Story Mode and Raid Finder Wing 2 opened on August 26, followed by Wing 3 on September 2 and Wing 4 on September 9.
What is the best route through The Venomous Abyss?
Defeat Nek’zali first, then clear both two boss wings in either order. After completing the two routes, return to the central area for The Twin Fangs, followed by The Coiled Altar and Ula’tek.
How do I unlock the Venomous Abyss skip?
Complete The Venomous Abyss: Deception Unmasked by collecting 3 Mask Fragments from Hex Lord Malacrass in The Coiled Altar. Normal, Heroic, and Mythic have separate quest progress, so unlock the difficulty you intend to use. The shortcut still requires defeating Nek’zali and does not teleport the group directly to Ula’tek.
What is Glory of the Venomous Raider?
Glory of the Venomous Raider is the raid meta achievement for completing eight boss specific achievements on Normal difficulty or higher. The reward is the Crimson Venomfang mount. Raid Finder and Story Mode do not count toward the requirements.
How do I get the Crimson Venomfang mount?
Complete Glory of the Venomous Raider by earning all eight required encounter achievements on Normal difficulty or higher. The meta achievement awards the Crimson Venomfang mount.
Can I still earn Hall of Fame: Ula’tek?
No. Hall of Fame: Ula’tek was limited to the first 200 guilds worldwide to defeat Ula’tek on Mythic. It closed with the October 13, 2026 reset in the Americas and the October 14 reset in Europe. The associated title is Famed Slayer of Ula’tek.
What item level does The Venomous Abyss drop?
Raid Finder loot ranges from item level 279 to 289, Normal from 292 to 302, Heroic from 305 to 315, and Mythic from 318 to 344. The final Mythic encounters provide item level 344 gear.
Which bosses drop Tier Set tokens?
Entombed Sentinels drop the Hands token, The Lost Explorers drop Shoulders, Vashnik drops Chest, Sszorak drops Legs, and The Twin Fangs drop Helm. Ula’tek drops Slumbering Coil Curio, which can be exchanged for a Tier Set armor piece.
Where can I exchange Slumbering Coil Curio?
Take Slumbering Coil Curio to Kirana in Silvermoon City, near the Matrix Catalyst. The Curio can be exchanged for an eligible Tier Set armor piece of your choice.
Which mounts can you get from The Venomous Abyss?
Primeval Skyfriend drops three copies from Ula’tek on Mythic. Crimson Venomfang is awarded for Glory of the Venomous Raider.
Does Story Mode count toward Great Vault progress?
No. Story Mode does not count toward the Raid row of the Great Vault. Defeating 2, 4, and 6 raid bosses on qualifying difficulties counts toward the corresponding objectives.
