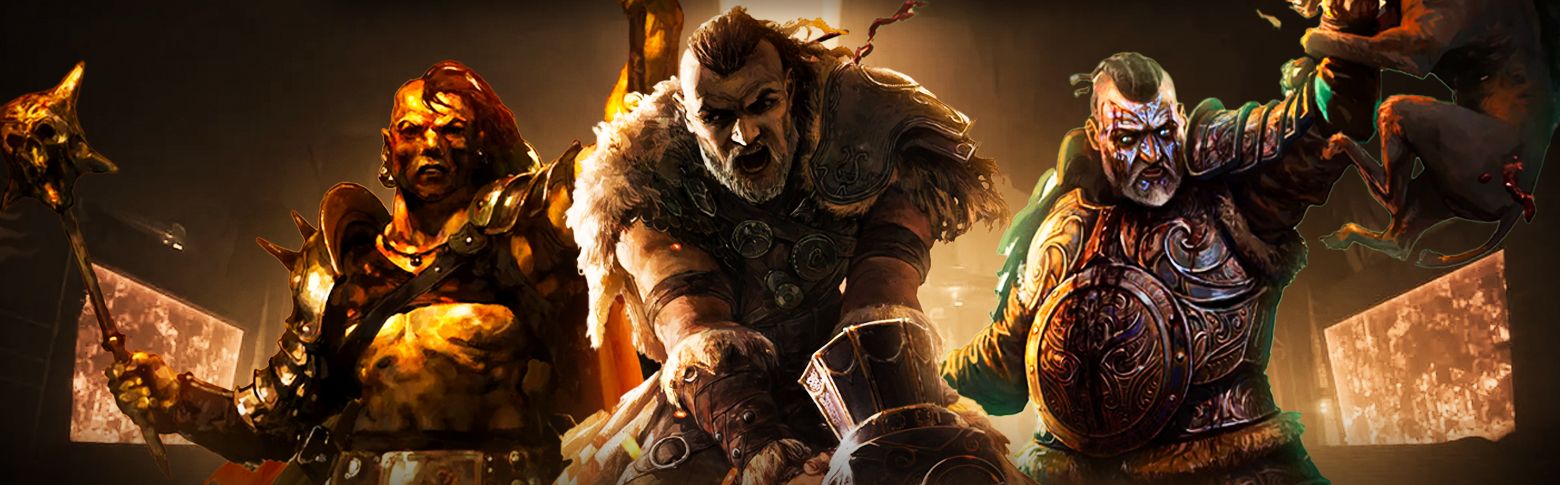
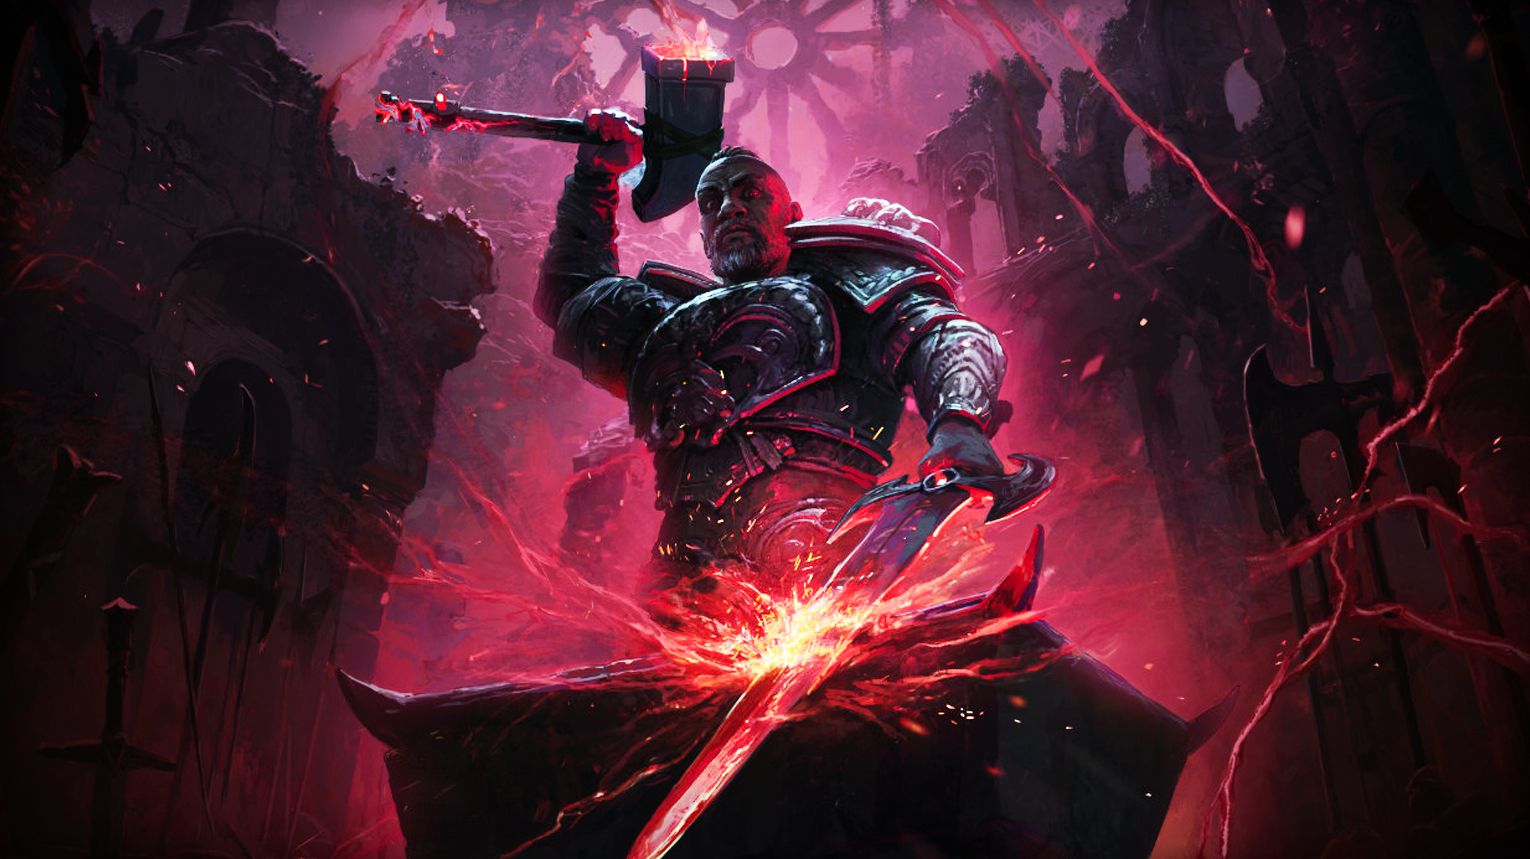
The Warrior in Path of Exile 2 is a melee class focused on heavy hits, strong defenses, and simple, reliable combat. Most Warrior builds use big swings or slams to clear groups, then switch into a steady single-target pattern for bosses. If you like being up close and controlling fights with raw power, Warrior is one of the most straightforward choices.

![]() Choosing the right build matters because Warrior can play very differently depending on the setup. Some builds are built for fast clearing, others for tanking bosses, and some try to balance both. If you pick a build that matches your preferences—speed vs safety, big burst vs steady damage—you’ll level faster, upgrade gear with less confusion, and enjoy the class a lot more. This guide covers the best Warrior builds for leveling and endgame, so you can find a style that fits you.
Choosing the right build matters because Warrior can play very differently depending on the setup. Some builds are built for fast clearing, others for tanking bosses, and some try to balance both. If you pick a build that matches your preferences—speed vs safety, big burst vs steady damage—you’ll level faster, upgrade gear with less confusion, and enjoy the class a lot more. This guide covers the best Warrior builds for leveling and endgame, so you can find a style that fits you.
Best Warrior Builds for Leveling
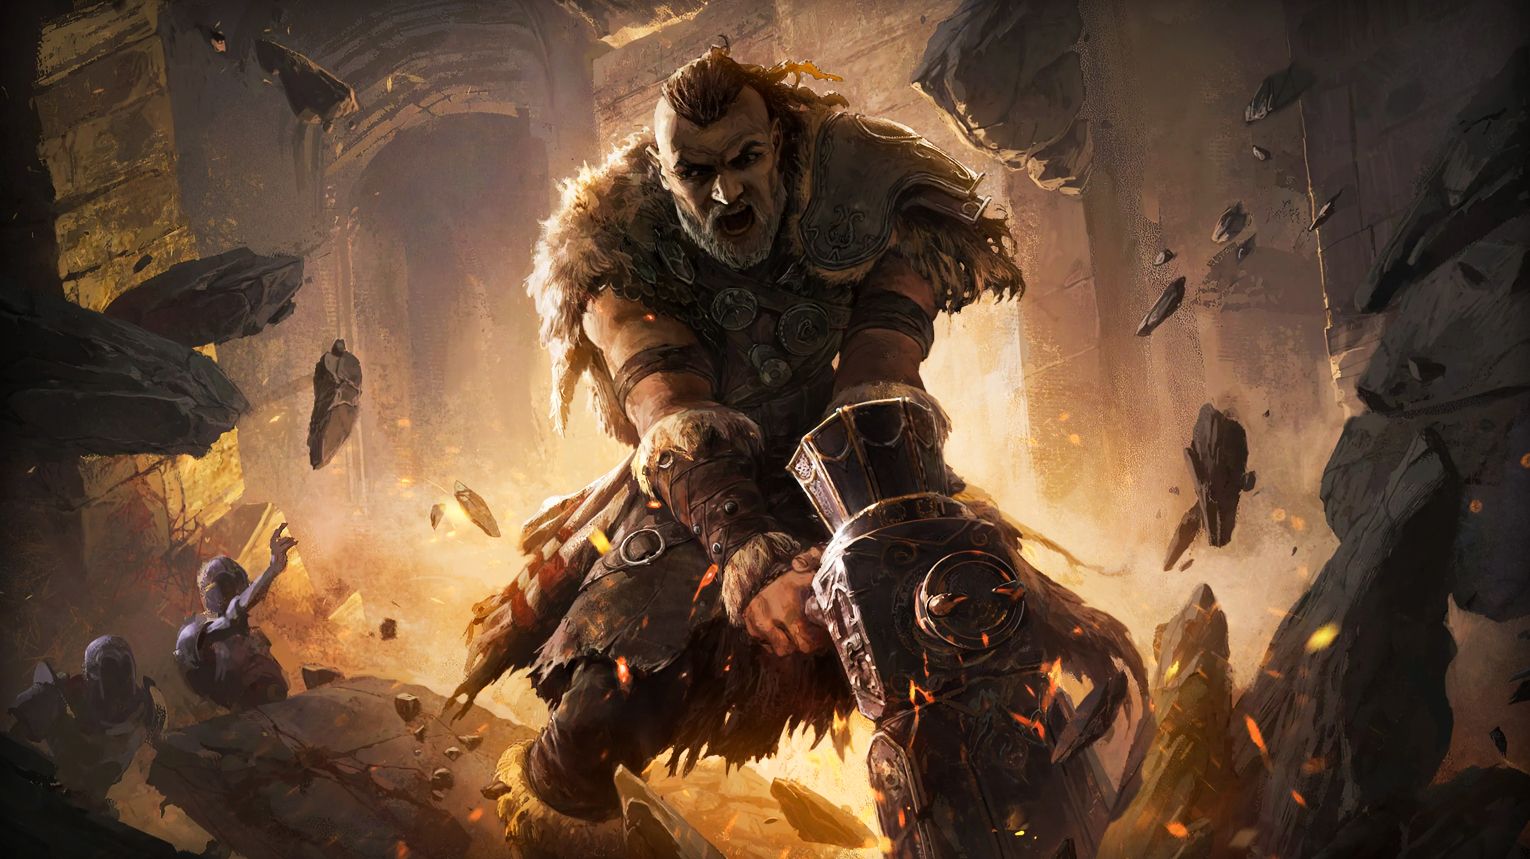
![]() A good PoE 2 Warrior leveling build is not just “high damage.” It’s a setup that clears packs fast, kills bosses without getting stuck, and stays tanky enough to avoid constant deaths. Here are the main parts that make a Warrior build strong during the campaign.
A good PoE 2 Warrior leveling build is not just “high damage.” It’s a setup that clears packs fast, kills bosses without getting stuck, and stays tanky enough to avoid constant deaths. Here are the main parts that make a Warrior build strong during the campaign.
1) One main clear skill + one simple boss plan
Warrior leveling feels best when you have:
- A wide AoE skill for packs (slams and area hits are ideal).
- A reliable single-target option for bosses (something that keeps damage up even when you must dodge).
If your build can’t handle bosses, the campaign slows down. If it can’t clear packs well, leveling feels like a grind.
2) Use the Warrior’s natural strengths: stun + AoE
Many strong Warrior leveling setups work because they:
- Build stun quickly, then
- Cash out with a big hit or an effect that finishes groups.
This is why “combo-style” Warrior gameplay works well: set up enemies, then clean them up fast.
3) Weapon choice matters more than almost anything
Your weapon is your biggest damage upgrade while leveling.
- Two-handed weapons usually give the fastest clear and best damage.
- One-handed + shield is a great swap if you’re dying or learning fights (safer, but slower).
Tip: if your damage suddenly feels bad, your weapon is often the reason—upgrade it first.
4) Gear priorities: move speed, life, resists, then damage
For smooth Warrior leveling, focus your gear like this:
- Boots: Movement Speed (huge quality-of-life and clear-speed boost).
- Maximum Life + elemental resistances on armor pieces.
- Strength is commonly useful while leveling.
- Attack Speed helps your skills feel smoother and improves overall damage.
- Fix mana issues early using mana stats on rings/belt and better mana flasks.
If you ignore resists and life, you’ll get one-shot and lose time.
5) Runes are optional early, but can save you when stuck
In Acts 1–3 you replace gear often, so runes are not always worth investing into. Still, they help if you hit a wall:
- Weapon runes can add extra damage.
- Armor runes can add life or help you cap resistances.
Use them when you need them, not by default on every item.
6) Use charms to make key fights easier
Charms are an easy way to patch weak defenses during the campaign:
- Add elemental resistance for hard bosses.
- Use poison protection when zones or bosses apply strong poison.
Swapping charms for problem fights is often faster than rebuilding your whole gear set.
7) Passive tree basics: smooth gameplay first, then scaling
During leveling, good Warrior trees usually prioritize:
- Skill speed / attack speed so your rotation feels better.
- Reliable damage scaling that matches your main skill.
- Defensive value if you’re struggling (especially before later acts).
Some setups also take accuracy solutions (like “always hit” style keystones) to avoid missing and losing damage.
8) Playstyle tip: don’t die to your own pacing
With sprinting and big melee animations, Warrior leveling is about control:
- Don’t sprint blindly into packs if you can get interrupted.
- Open fights with your main slam/attack, then reposition.
- For safety, keep a movement skill ready to escape when you get surrounded.
Below, we’ll briefly overview and rate the most popular PoE Warrior leveling builds in 0.4.0.
Boneshatter Warbringer: S-tier
Boneshatter Warbringer is a melee Warrior build that clears packs by priming enemies for stun and then detonating them with Boneshatter for a big area explosion. For tougher enemies, you switch into a single-target combo: stack your main damage effect first, then use your burst tools together to finish the fight quickly.
This setup doesn’t need any Unique items to function, so it’s a strong league-start / early-access friendly build that can be geared with simple rares and steady upgrades.
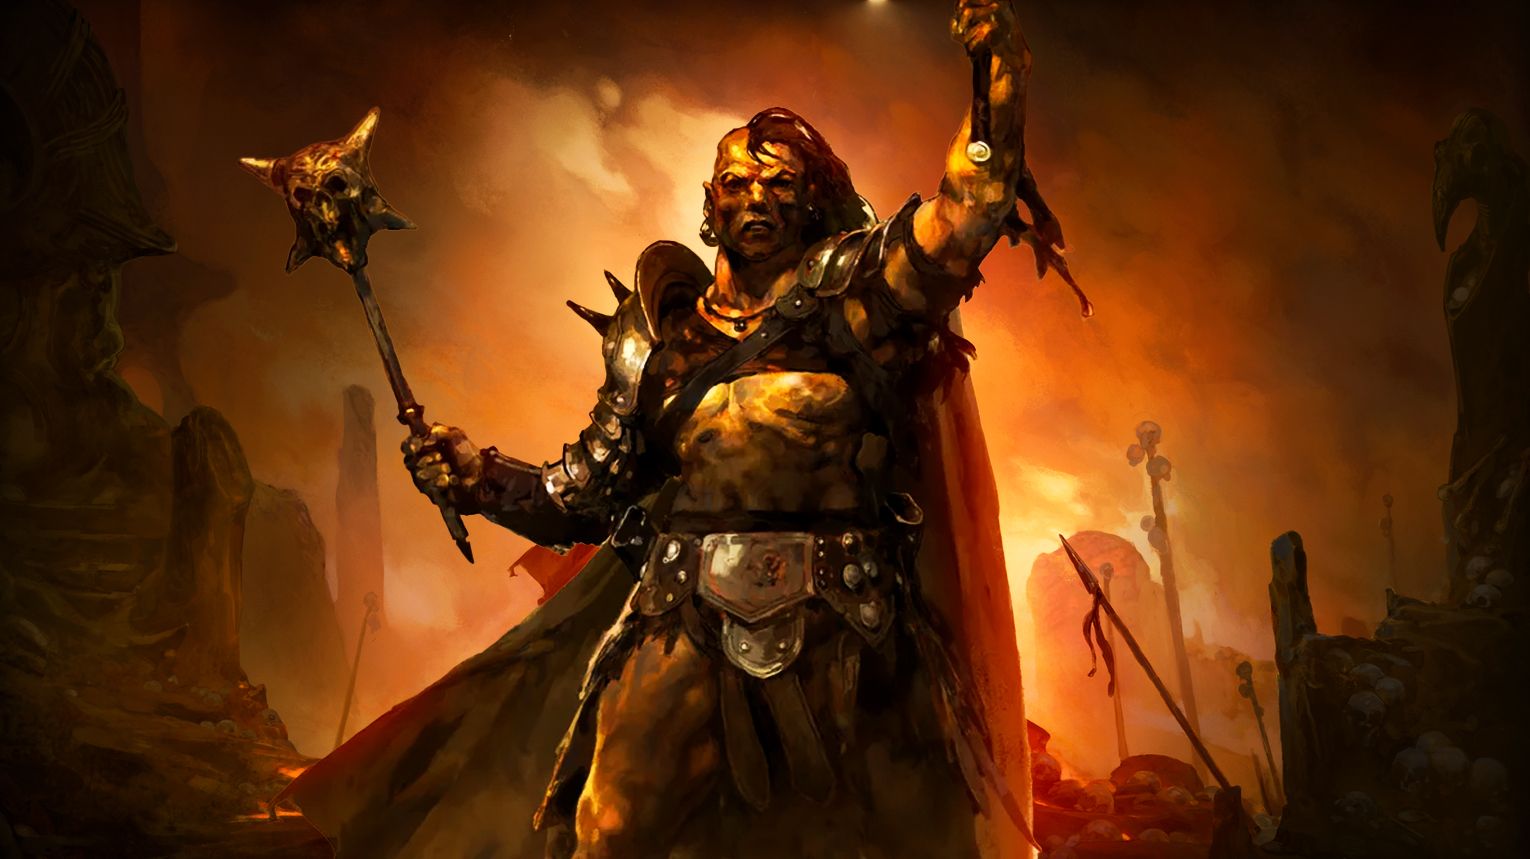
![]() What makes this build special
What makes this build special
- Stun-based clearing: you set up a stun state, then Boneshatter turns that into a screen-wide clear.
- Boss damage has a clear plan: stack Earthshatter spikes, pop them with cries, then drop Hammer of the Gods during big openings.
- Tanky mapping setup: the build leans into block as a major defense layer once you transition into shield play.
![]() Path of Building (POB): https://pobb.in/_NdIeRT94nRG
Path of Building (POB): https://pobb.in/_NdIeRT94nRG
![]() Core gameplay loop
Core gameplay loop
Clear packs
- Prime for stun with Rolling Slam early, then Leap Slam later.
- Boneshatter to trigger the big AoE explosion.
- Clean up survivors with Mace Strike.
- If something lives, use Earthshatter and pop spikes with Seismic Cry / Infernal Cry.
Bosses / rares
- Early campaign: use Shockwave Totem for extra single-target.
- Campaign single target: Perfect Strike is key—hold until the red flash, then release for much higher damage (best used during stun windows).
- Late boss plan:
- Pre-stack Earthshatter spikes on the boss area.
- Pop spikes with Seismic Cry when the boss is targetable.
- During a heavy stun window, use Seismic Cry + Infernal Cry, then drop Hammer of the Gods.
Weapon swap tip (important): only weapon swap for Hammer setups if you have two extra maces that are similar strength to your main weapon. Otherwise, skip the swap.
![]() How to make the build (skills and setup)
How to make the build (skills and setup)
Main skills you build around
- Boneshatter = main clear skill (explodes primed targets).
- Leap Slam / Rolling Slam = primes enemies and moves you into packs.
- Earthshatter = creates spikes you can detonate for extra damage.
- Seismic Cry + Infernal Cry = damage boost and spike popping.
- Hammer of the Gods = big burst tool for tanky rares and bosses.
- Herald of Ash = extra damage and smooth clearing.
Ascendancy (Warbringer) priorities (from the guide)
- Anvil’s Weight – reduces enemy armour (early damage boost).
- Warcaller’s Bellow – lets you spam warcries freely (big quality-of-life).
- Renly’s Training – big block boost once you enable Giant’s Blood (two-hand mace + shield).
- Turtle Charm – raises block cap from 50% to 75%.
- Alternative: Imploding Impacts if you want more damage instead.
Gear and stat priorities (what to look for)
#1 priority: Weapon DPS (always)
Your biggest damage comes from your weapon. Keep upgrading your 2-handed mace while leveling.
Weapon stat order (best to worst):
- High base physical damage on the weapon type
- % increased Physical Damage
- Adds # to # Physical Damage
- % increased Attack Speed
- Adds Fire/Cold/Lightning damage (nice extra)
Extra notes:
- Get mana leech on weapon, gloves, or rings (very valuable).
- Lightning damage to attacks on rings/gloves helps Hammer of the Gods shock targets.
Defenses (campaign + maps)
- Cap Fire / Cold / Lightning resistances to 75%.
- Stack +Maximum Life on as many gear pieces as possible.
- Strength is a nice bonus because it also increases your life total.
- Wear a high-Armour body armour (big upgrade to physical damage reduction).
- Once you reach maps, use a good shield—block chance is your main defensive layer, so upgrading your shield makes a big difference.
![]() Uniques
Uniques
PoE 2 uses Uniques (not “legendaries”). This build works fine with rares, but benefits from common Uniques mentioned in the guide:
- Thrillsteel (helpful early gearing).
- The Surrender (strong mapping shield for block setups).
Both are optional upgrades, not requirements.
![]() How to level (campaign plan)
How to level (campaign plan)
- Act 1:
- Use Rolling Slam to prime enemies, then Boneshatter to explode packs.
- Use Mace Strike for single-target.
- Drop Shockwave Totem on bosses and strong rares.
- Act 2 onward:
- Swap into Leap Slam for priming + movement.
- Add Perfect Strike for boss damage (time the red flash release).
- Start using Infernal Cry before Earthquake/Earthshatter moments for extra damage.
- General leveling rules:
- Upgrade your mace about every ~10 levels (vendor, trade, crafting, or drops).
- Use Iron Runes in empty weapon sockets.
- Use runes to temporarily fix resistance/attribute gaps.
Endgame transition (early maps → endgame)
When you enter maps:
- Move toward the Giant’s Blood setup (two-hand mace + shield) once you can meet the Strength requirement.
- Shift gearing focus toward block, then life and resists.
- Keep your weapon competitive—endgame damage still starts with a strong mace.
If Strength is a problem for Giant’s Blood:
- Take Strength on travel nodes.
- Path toward the Polymathy cluster for more Strength and reduced attribute requirements.
- Look for Strength on gear.
- A well-rolled mid-tier weapon is fine while you build enough Strength for top bases.
![]() Who this build is best for
Who this build is best for
This Boneshatter Warbringer build is optimal for players who want:
- A melee Warrior leveling build with a clear, repeatable combat loop
- Big AoE explosions and “bonk” gameplay
- A build that doesn’t need Uniques to get started
- A tankier endgame direction using block and shield
It’s not ideal if you dislike:
- Warcry weaving (Seismic Cry / Infernal Cry timing)
- Stun setup gameplay (prime → detonate)
- Slower, heavier melee animations compared to fast-hit builds
Woolies Warrior: A-tier
This is a fast Warrior campaign leveling build that works with any Warrior Ascendancy. The goal is simple: clear packs with stun priming + Boneshatter explosions, and kill bosses with Earthquake into Perfect Strike. It is not an endgame build—it’s meant to carry you through the story quickly, then you swap into your real endgame setup.
Patch note: Perfect Strike got a small buff, mostly when you miss the timing and do a normal hit. The build plays the same.
![]() What makes it special
What makes it special
- Very efficient clear: Rolling Slam/Leap Slam primes enemies, then Boneshatter pops the whole pack.
- Strong boss plan: Earthquake provides steady damage, and Perfect Strike gives big burst when timed right.
- Low gear pressure: you mainly need a good 2H mace and basic defenses (life + resists).
- Skill expression without being complicated: the biggest “tech” is animation canceling and Perfect Strike timing.
![]() Path of Building (POB): https://pobb.in/ZaGrAqErxkeE
Path of Building (POB): https://pobb.in/ZaGrAqErxkeE
How to play it (skill rotation)
Clearing packs
- Rolling Slam / Leap Slam into the pack
- Boneshatter any primed enemy (yellow circle indicator)
Important tip: animation cancel Rolling Slam by using Boneshatter immediately after the first impact.
Single-target (before Perfect Strike)
- Earthquake
- Mace Strike (default attack is good early)
- After Earthquake detonates, Earthquake again and repeat
Optional: weave Infernal Cry + Boneshatter when the target is primed for extra damage.
Single-target (with Perfect Strike)
- Infernal Cry
- Earthquake
- Perfect Strike (release when your weapon glows “white-hot”)
If you hate Perfect Strike, you can use Forge Hammer instead (toss + recall). Suggested links:
- Fist of War II → Aftershock II → Fire Attunement
![]() How to make the build (skills + support priority)
How to make the build (skills + support priority)
Main skills you build around
- Rolling Slam / Leap Slam (pack entry + priming)
- Boneshatter (main clear explosion)
- Earthquake (early boss DPS backbone)
- Infernal Cry (damage boost and smoother boss kills)
- Perfect Strike (main campaign single-target once unlocked)
Perfect Strike is a T5 gem and is guaranteed as a quest reward after killing The Executioner in Manor Ramparts.
Support gems (recommended order)
- Concentrated Area (Mace Strike)
- Impact Shockwave (Boneshatter)
- Rage (Rolling Slam)
- Fire Attunement (Boneshatter)
- Fist of War I (Earthquake)
- Brutality I (Earthquake)
- Window of Opportunity (Perfect Strike)
- Fire Attunement (Perfect Strike)
Support requirements: Str 30 / Dex 10 / Int 5.
Gear and stat priorities (what to look for)
Weapon (most important)
Use a 2H mace and keep upgrading it. You want:
- High physical damage (top priority)
- Attack speed is a bonus, not required
If damage feels bad, it’s usually your weapon. On trade, you can often buy a big upgrade for 1–2 exalts. In SSF, check vendors often and don’t be afraid to craft on a good base (ideally 2 sockets).
Armor and jewelry (simple rule)
On every non-weapon slot, prioritize:
- Life
- Resistances
- Strength
- Armour
Very important clearing fix
Make sure you are not fully stunning packs with Rolling Slam / Leap Slam.
- Brink support (T2, mid/late Act 3) fixes this.
- Before that, you can also use a lower level Slam gem if you’re over-stunning.
![]() Uniques
Uniques
For a league start, you can ignore Uniques. This leveling setup does not require any specific Unique to work. If you find a useful Unique while leveling, treat it as a bonus—not a requirement.
![]() Leveling path (quick roadmap)
Leveling path (quick roadmap)
- Act 1–2: clear with Rolling Slam → Boneshatter, boss with Earthquake + Mace Strike
- Act 3: get Brink to fix over-stunning packs
- Act 4+: switch bossing to Infernal Cry → Earthquake → Perfect Strike
Endgame transition (what to do after the campaign)
This build is designed to end once you finish the story. When you hit maps:
- Pick an endgame Warrior build you want to play
- Respec passives as needed
- Replace leveling links with your endgame skill package
- Keep your basics: capped resists, good life, and a strong main weapon/shield setup
If you don’t have an endgame plan yet, the author suggests transitioning into a dedicated endgame build like Firebringer.
![]() Who this leveling build is best for
Who this leveling build is best for
Optimal for players who want:
- A reliable PoE 2 Warrior leveling build
- Fast pack clear with satisfying explosions
- A clear boss routine that doesn’t need expensive gear
- A build that works on any Warrior Ascendancy
Not ideal for players who dislike:
- Timing-based skills (Perfect Strike)
- Melee “setup then hit” gameplay (prime → Boneshatter)
Skadooshs Corrupting: B-tier
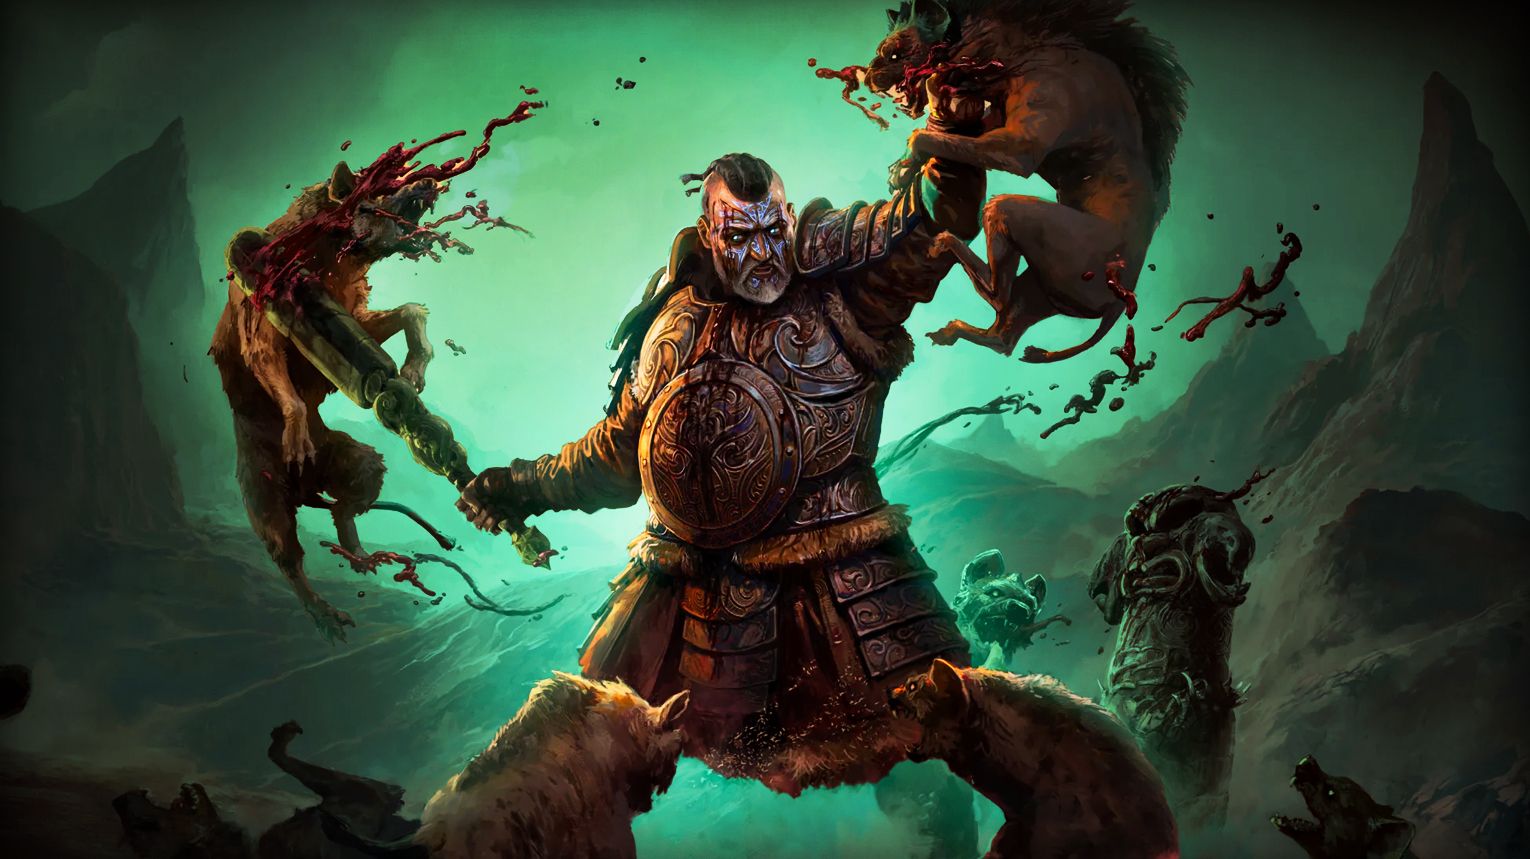
Corrupting Cry Warbringer is a Warrior build that clears maps by stacking Strength and using Seismic Cry linked to Corrupting Cry. Your warcry applies stacks of corrupted blood (damage over time) to everything in range, and enemies explode when they die, so packs chain-pop without you needing to aim much.
For bosses and tough rares, you swap into a totem + hammer setup: buff Forge Hammer with Infernal Cry, then let Shockwave Totem and Earthquake trigger extra hits and fissure explosions.
It’s popular as a starter because it’s durable, cheap to begin, and scales well with basic gear.
![]() What Makes It Special
What Makes It Special
- Passive-feeling clear: Warcries apply DoT, and the screen clears through explosions.
- Strength scaling is simple: More Strength = more Corrupting Cry damage and more life.
- Warcry cooldown bypass: Warcaller’s Bellow (ascendancy) lets you ignore warcry cooldowns, so stacking Corrupting Cry becomes fast.
- Weapon swapping done right: You keep shield defenses for warcry play, then swap to a 2H setup only to place totems and cast Forge Hammer.
How the Build Works (Simple Explanation)
- Corrupting Cry (support) linked to a warcry applies 1 stack of corrupted blood per warcry hit.
- Corrupted blood deals 25% of your total Strength as physical damage per second for 5 seconds and stacks up to 10 (so up to 250% of Strength per second on one target). It is not bleed, so bleed scaling doesn’t help.
- Seismic Cry is used because it’s efficient (cost), has utility (stun/knockback), and helps with armour break through related effects.
- Warcries cost a lot of mana, so the build typically solves this using passives like Urgent Call and Blood Magic (life-based casting).
![]() How to Make It (Skills + Weapon Sets)
How to Make It (Skills + Weapon Sets)
Weapon Set 1 (Warcry + Shield Safety)
Main skills commonly used here:
- Seismic Cry (main clear with Corrupting Cry)
- Infernal Cry (extra explosions and buffs)
- Fortifying Cry (defense and utility)
- Earthquake (extra damage and jagged ground setup when needed)
Important: You can level Infernal Cry and Fortifying Cry, but do not level Seismic Cry early if it breaks mana/requirements. Keeping Seismic Cry at a lower level is normal until you have better support (example mentioned: Second Wind III later).
Weapon Set 2 (2H Damage Package)
Main skills:
- Shockwave Totem
- Forge Hammer
Why this works: Shockwave Totems stay active after you swap back, so you get 2H damage value while returning to shield defenses.
Gear and Stat Priorities
Global Priority (Easy Checklist)
- Resistances: Cap elemental at 75% total; aim for Chaos 45–75% if possible.
- Movement speed (boots).
- Strength (on anything that can roll it).
- Armour.
- Maximum life.
Set 1 (Shield/Warcry Set)
- A 1H mace (example base mentioned: Flanged Mace) with attack speed helps if you manually use Earthquake.
- Look for “increased damage while you have a totem” if you can get it (not mandatory, but good).
Set 2 (2H Totem/Hammer Set)
- The highest physical DPS 2H you can get.
- +levels to melee skills / attack skills helps a lot because it increases Shockwave Totem level, which improves totem life and survivability.
- “increased damage while you have a totem” is also valuable here.
Jewels / Runes / Crafting Notes from the Guide
- Ruby jewels with warcry speed and damage stats are strong.
- If you get enough increased armour break (10%+ was mentioned), you can sometimes drop a spare passive point near Cruel Methods.
- Attribute catalyst on a Stellar Amulet for more total stats.
- Greater Robust Rune is a good choice if you want to min-max Strength.
- Suggested amulet anoint: Swift Blocking.
![]() Uniques and What to Avoid in 0.4
Uniques and What to Avoid in 0.4
- The old “Uber endgame” variant using Hateforge is effectively dead in 0.4 due to a major nerf (charge generation is too restricted now).
- The starter/endgame version does not rely on Hateforge, which is one reason it’s still a solid choice.
If you find other Uniques that add Strength, resists, life, or make gearing easier, they can fit—but none are required to start.
![]() How to Level (Key Milestones)
How to Level (Key Milestones)
- Level 1–33: Follow a normal Warrior leveling path until you can use Corrupting Cry I.
- Once you have Corrupting Cry I, you can start playing the build’s main style.
- You generally want your first ascendancy to be Warcaller’s Bellow as soon as possible, because it enables the warcry loop.
Early tip noted in the guide: Grab Venoms from a quest reward for stun / elemental ailment threshold help.
Control tip: If you use click-to-move, don’t put Seismic Cry on the same button as movement. You can’t move while holding that input.
Endgame Transition (Starter → Endgame)
Around the mid-to-late game (often lvl 75+ for the “endgame variant”):
- Keep Set 1 focused on warcry clear + defenses.
- Upgrade Set 2 into a real 2H physical DPS weapon and improve +melee/attack skill levels to keep totems alive.
- Add more warcry speed, then solve sustain using the build’s intended tools (Blood Magic / Urgent Call style setup).
- For bosses: pre-buff with Infernal Cry and Fortifying Cry, drop multiple Shockwave Totems, then use Forge Hammer and support it with Earthquake (but avoid supports that disable the jagged ground explosions; example warning: don’t use higher-tier Persistent Ground that stops the totem explosions).
![]() Who This Build Is Best For
Who This Build Is Best For
Best for:
- Players who want a hardy starter that can go into endgame.
- People who like warcries, screen-wide hits, and chain explosions.
- HC-minded players who value durability and safe clearing.
- Anyone who prefers simple scaling (Strength stacking).
Not ideal for:
- Players who want very fast movement speed (this is still “Warrior pace”).
- Anyone who dislikes weapon swapping and managing two skill sets.
- Players sensitive to loud, repeated warcry gameplay (the guide calls it “loud” for a reason).
Best Endgame Warrior Builds
A good endgame Warrior build in PoE 2 has:
-
-
- Clear scaling: one main thing you keep upgrading
- Weapon builds (Boneshatter): upgrade 2H physical DPS
- Shield Wall: upgrade shield Armour (this is your damage)
- Corrupting Cry: stack Strength (damage + life)
- Two plans: one for packs, one for bosses
- Packs: repeatable loop (slam/cry → explode)
- Bosses: a real single-target setup (banner, armour break + sunder, totems + hammer, burst window)
- Stable defense: not just damage
- 75% elemental res, good life/Strength, lots of Armour, plus layers like Guard/Block
- Mods like “Armour applies to elemental damage” are big.
- Clear scaling: one main thing you keep upgrading
-
![]() Leveling tips
Leveling tips
-
-
- Upgrade the right item often (weapon DPS / shield Armour / Strength gear).
- Get life + resists on most slots, move speed on boots.
- If clear feels bad:
- Boneshatter leveling: don’t over-stun packs; Brink helps (Act 3) or lower slam gem level.
- Corrupting Cry: don’t bind Seismic Cry to your move key; add warcry speed.
- Totems dying: get +melee/attack skill levels (totem level = more life).
- Finish campaign, then transition into your real endgame setup once your key scaling piece is strong enough.
-
Shield Wall Titan: S-tier
Shield Wall Titan is an endgame Warrior build that turns your shield into a weapon. You cast Shield Wall to create huge, screen-wide fissures, then you detonate them with almost every other button you press—warcries, movement skills, and attacks. It plays like a setup-and-explode build, with very high toughness and satisfying clear.
This build does not need any Unique items to function, but it scales harder with a few common Uniques.
![]() How to make the build (core setup)
How to make the build (core setup)
Main skill package:
Shield Wall Setup
-
-
- Shield Wall + Ahn’s Citadel + Kaom’s Madness (lineage supports). These supports turn Shield Wall into branching fissures, massively increasing coverage.
- Fortifying Cry: Gives a strong Guard effect, detonates fissures, deals damage, and helps generate Rage.
- Infernal Cry: Empowers attacks (exerts), detonates fissures, and generates Rage.
- Sunder: Used after Armour is broken to apply Sunder for even more damage taken, and it can also detonate fissures.
- Leap Slam + Shield Charge: Mobility tools that also explode fissures, keeping your clear fast and smooth.
- War Banner (boss tool): Use when you have enough Glory for extra single-target. With Daresso’s Passion support, it can have very high uptime on bosses.
-
Warcry Cooldown Trick (Important)
With Enraged Warcry + Raging Cry supports and the Roaring Cries passive notable, your warcries can consume Rage to bypass cooldown while also generating Rage. This means warcries are available almost all the time.
![]() Path of Building (POB): https://pobb.in/xnlNGSMqPTof
Path of Building (POB): https://pobb.in/xnlNGSMqPTof
![]() Gear and Stat Priorities (Simple and Practical)
Gear and Stat Priorities (Simple and Practical)
Offense: Shield First, Gem Levels Second
Your #1 upgrade is always a higher Armour shield. That’s the main stat that increases Shield Wall damage.
After that:
-
-
- Look for gear that gives +levels to Attack skills or +levels to Melee skills. That’s one of the biggest straight damage upgrades.
- Prioritize Attack Speed and Skill Speed to make the build feel faster and trigger your damage more often.
- Add Lightning damage to attacks on rings and gloves so you can Shock enemies more reliably.
-
Leech: Get life and mana leech on gloves or rings. Leech on your main-hand weapon does not help much here, because you deal damage with the shield, not the weapon.
Defense: Cap Resists, Stack Life + Armour
-
-
- Cap Elemental Resistances to 75% (and get enough Chaos Resistance to cap as needed).
- Maximum Life on gear wherever possible.
- High Armour body armour (it’s a core defense piece).
- Look for “% of Armour also applies to Elemental Damage” and stack it with Armour (this is a major survivability boost).
- Strength is valuable because it adds life and helps with requirements.
-
![]() Uniques
Uniques
PoE 2 Uniques. You don’t need them to start, but these can take the build up a level:
-
-
- Thrillsteel
- Constricting Command
-
Treat them as upgrades once your basics are solved (good shield, capped resists, solid life).
![]() Leveling Plan (How to Get Started)
Leveling Plan (How to Get Started)
This guide is built for endgame (level 68+), but you can transition earlier.
-
-
- Campaign path: the recommended approach is to level with the dedicated Shield Wall Warbringer leveling setup, then swap into Titan endgame later.
- Early Shield Wall swap option: at around level 22 (once you can get Shield Wall via a level 7 gem), spend gold to gamble for a shield with the highest Armour you can find. That single change can carry your damage.
-
While leveling, keep it simple:
-
-
- Upgrade shields often (Armour matters more than fancy mods).
- Keep resistances near cap.
- Keep life high enough to avoid getting chunked.
-
Endgame Transition Checklist (Campaign → Maps)
When you finish the campaign and start mapping, prioritize in this order:
-
-
- High Armour shield (your main damage item).
- Cap resistances to 75% (and fix chaos res if content demands it).
- Life + Armour body armour (big defense jump).
- Add Armour applies to Elemental Damage where possible.
- Add skill speed / attack speed and +skill levels for damage.
- Add War Banner usage for bosses when you have enough Glory.
-
Weapon Swap Setup (Quality-of-Life + Damage)
-
-
- Put attacks on Weapon Set 1.
- Put Fortifying Cry + Infernal Cry on Weapon Set 2.
-
This supports the build’s warcry-focused playstyle and makes swapping clean.
Titan Ascendancy (Why Titan Fits)
Key Titan picks here focus on “more of everything” and survivability:
-
-
- Hulking Form boosts the value of your small passives (huge overall gain).
- Stone Skin improves body armour Armour (core defense scaling).
- Mysterious Lineage is a rare source of life scaling (big survivability).
- Colossal Capacity is quality-of-life (inventory).
-
![]() Who This Build Is Best For
Who This Build Is Best For
This Shield Wall Titan build is optimal if you want:
-
-
- A tank-first endgame Warrior that can push hard content safely.
- A build where clear comes from big AoE explosions.
- A playstyle that uses warcries + movement actively (not a one-button build).
- Gear progression that feels clear: upgrade shield Armour = more damage.
-
It’s not ideal if you prefer:
-
-
- Weapon DPS scaling.
- This build rewards weaving skills.
- A fast, light, dodge-only style.
-
What makes it special
-
-
- Your shield is your damage: Shield Wall damage scales mainly from shield Armour, not from weapon DPS.
- Everything detonates fissures: Fortifying Cry, Infernal Cry, Leap Slam, Shield Charge, and Sunder can all pop your Shield Wall lines.
- Very tanky: Titan ascendancy plus heavy Armour stacking makes the character extremely hard to kill, especially versus elemental hits.
- Dynamic gameplay: you weave skills depending on the situation instead of using one attack forever.
-
Conclusion
Warrior is at its best when you follow one clear scaling plan and keep your defenses stable. For leveling, Woolie’s Warrior is the smoothest choice because it clears fast with Boneshatter and has a simple boss pattern with Earthquake and Perfect Strike. If you want a build that can start cheap and stay strong into maps, Skadoosh’s Corrupting Cry Warbringer is a great pick thanks to Strength scaling and safe warcry clearing. Shield Wall Titan is a great endgame choice if you want to feel both hard to kill and dangerous. The big twist is that upgrading your shield isn’t just defense—it also boosts your damage. In fights, you drop Shield Wall to lay down fissures, then trigger those cracks with your other buttons to set off big, satisfying explosions that clear packs fast. Whichever build you choose, keep your key upgrade current (weapon DPS, shield Armour, or Strength), cap resistances, and transition into your map setup once your core gear is ready.