Sporefall isn’t a traditional raid tier. It’s one boss, one arena, one enormous fungal nightmare named Rotmire. And yeah — one small mistake can chain into a full wipe faster than you can say “reclear.” Most raiders expected another multi‑boss grind. Weekly lockouts, 8+ encounters, endless trash pulls. But Blizzard flipped the script this time.
Rotmire might be the only encounter in the raid, but don’t underestimate it. This fight throws heavy raid‑wide damage at you, demands constant add control, forces you to reposition every few seconds, and introduces Mythic Flex raiding — a system that’s been quietly controversial but also a lifesaver for guilds with fluctuating rosters.
If your group stays disciplined, you’ll walk away with some of the best item‑level gear of Season 1. If not? Well, you’ll get very familiar with the mushroom respawn screen.

![]() From this guide, you will learn:
From this guide, you will learn:
- Overview
- Location & Entrance
- Collectibles & Rewards
- Boss Overview
- Rotmire Strategy
- Role Tips
- Achievements List
- Final Thoughts
![]() Don’t feel like dealing with pug wipes and drama? Our Sporefall boost service lets you take down Rotmire on any difficulty — fast and stress‑free.
Don’t feel like dealing with pug wipes and drama? Our Sporefall boost service lets you take down Rotmire on any difficulty — fast and stress‑free.
The Sporefall Overview
Location: Harandar
Boss: Rotmire (one giant fungal abomination)
Level Req: 90
Difficulties: LFR, Normal, Heroic, Mythic Flex
LFR ilvl requirement: 240 (though honestly, bring more if you can — pugs are picky)
Sporefall is Midnight’s first one‑boss mini‑raid. No trash gauntlets, no filler encounters. Just Rotmire and his mushroom army. The fight cycles between a controlled Phase 1 and a chaotic Intermission that triggers every time Rotmire‘s energy bar fills up.
Expect:
- Constant ticking damage on the whole raid
- Adds that multiply if ignored
- Tight positioning — standing in the wrong spot for three seconds can kill you
- A pressure curve that ramps up fast
Think of it as a 10‑minute survival check with a DPS race mixed in.
![]() Release Schedule for The Sporefall:
Release Schedule for The Sporefall:
| Difficulty | US Release | EU Release |
|---|---|---|
| Raid Finder | June 16, 2026 | June 17, 2026 |
| Normal | June 16, 2026 | June 17, 2026 |
| Heroic | June 16, 2026 | June 17, 2026 |
| Mythic Flex | June 16, 2026 | June 17, 2026 |
Yes, all difficulties unlock on day one. No waiting a week for Heroic or a month for Mythic. Blizzard apparently learned something from Dragonflight.
Raid Location & Entrance
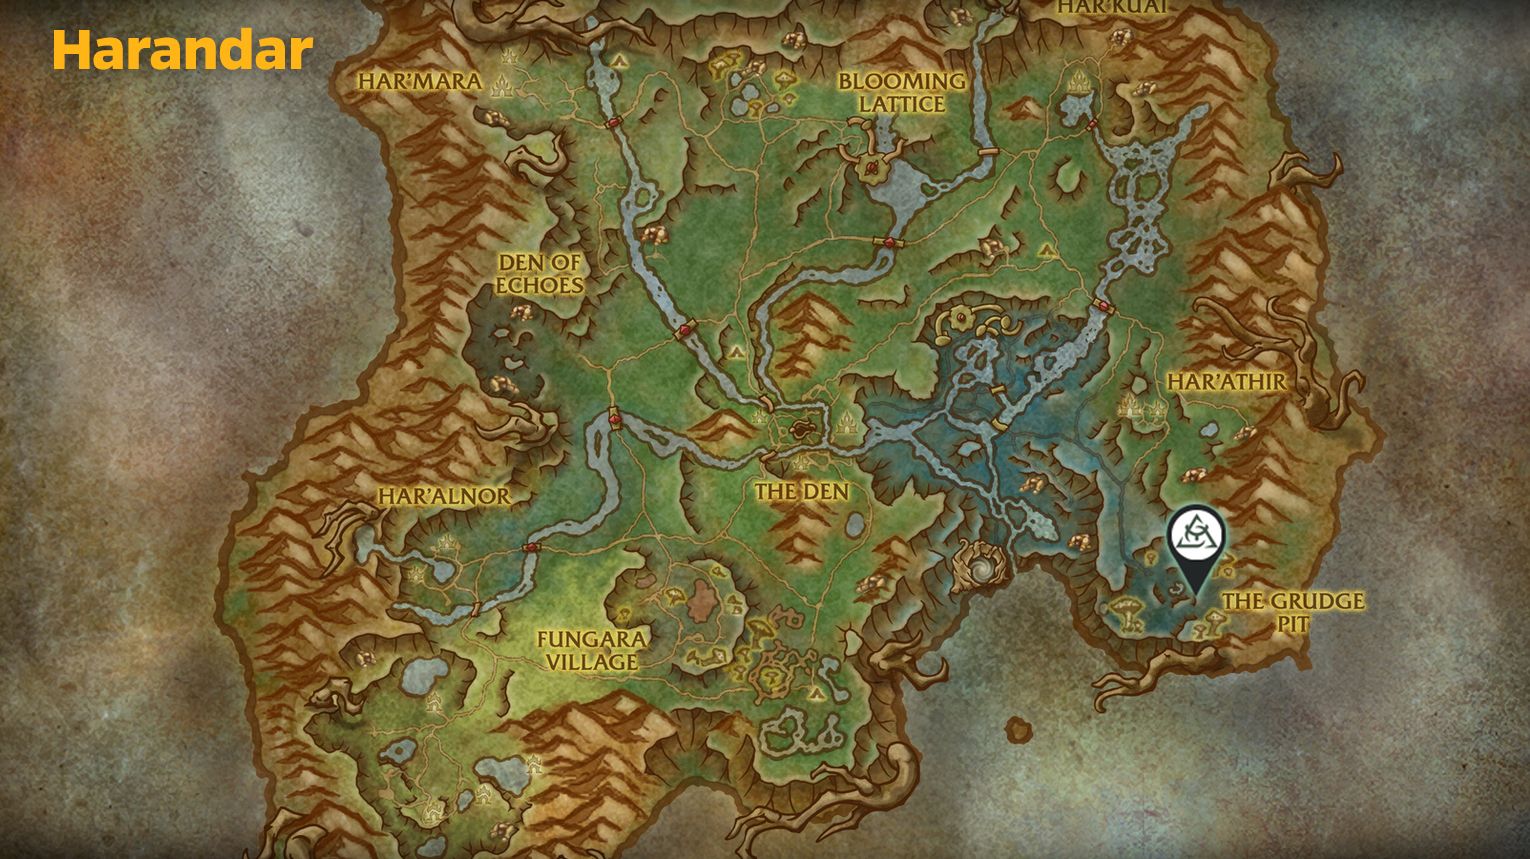
Sporefall is tucked away in Harandar, not far from the Grudge Pit delve — you know, that creepy cave where everyone farmed for the weird pet last month.
📍 Coordinates:
/way #2413 73.7 66.5
Nearest flight point: Har’athir (fly there, then mount up and go south‑east).
Once you land, look for a massive fungal cavern entrance. You’ll see glowing purple spores drifting out — hard to miss. Follow the path down into the depths. The raid portal is at the end, behind a bunch of corrupted mushrooms that don’t attack (yet).
Pro tip: set your Hearthstone to Har’athir. You’ll be running back a lot.
Collectibles & Rewards

Let’s talk loot. Because let’s be honest, that’s why most of you are here.
Rotmire drops Sporefused Gear, which comes at the highest item level for each upgrade track. On Mythic, pieces can reach ilvl 298 — that’s higher than the first two Mythic bosses in the next full raid.
Item Levels by Difficulty
| Difficulty | Item Level |
|---|---|
| LFR | 259 |
| Normal | 272 |
| Heroic | 285 |
| Mythic | 298 |
Notable Rewards (The Good Stuff)
- Sporefused Armor pieces (chest, shoulders, legs, etc.)
- Rings and neck pieces with weird secondary stats (some are actually good)
- Two trinkets: one that spawns mushrooms (meme), one that gives a stacking haste buff (bis for many specs)
- Great Vault progress (counts as one raid boss, so one slot)
- Dawncrest currency (used for upgrading crafted gear)
- Luminous Sporeglider Mount – a glowy, translucent sporebat that leaves a trail of spores. Rare drop, but farmable.
- Madcap Redcap Toy – turns you into a tiny mushroom gnome for 10 minutes. Great for annoying your raid leader.
- Luminous Rotshroom – housing decoration item. Finally, a mushroom for your garrison… I mean, player housing.
What does NOT drop:
No tier set pieces. No raid weapons. Blizzard wants you to get those from other sources. So don’t come here expecting your BiS trinket and your four‑set. You’ll leave disappointed.
The Sporefall Boss Overview
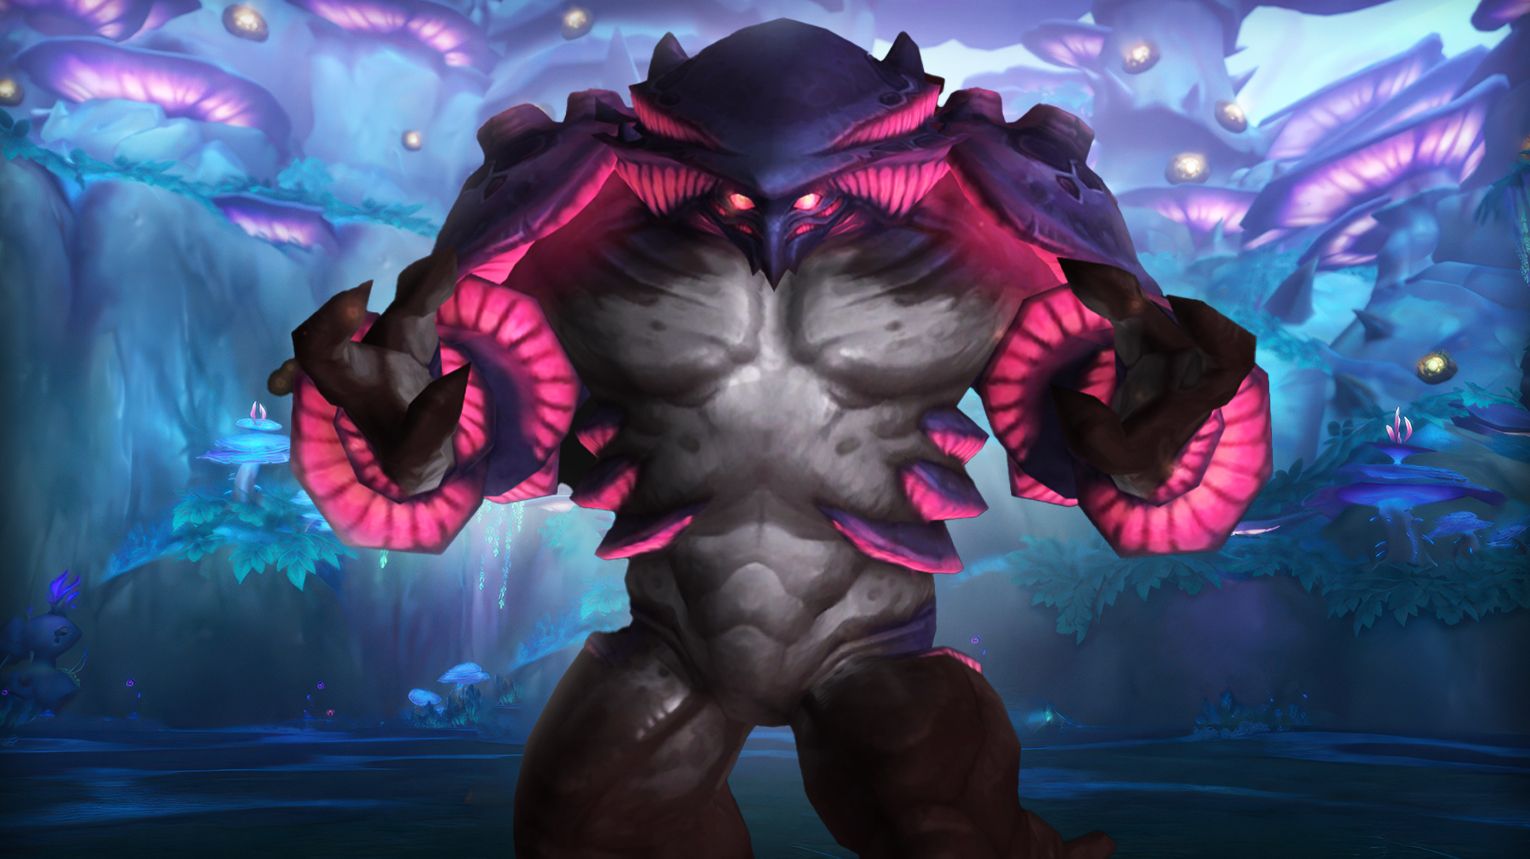
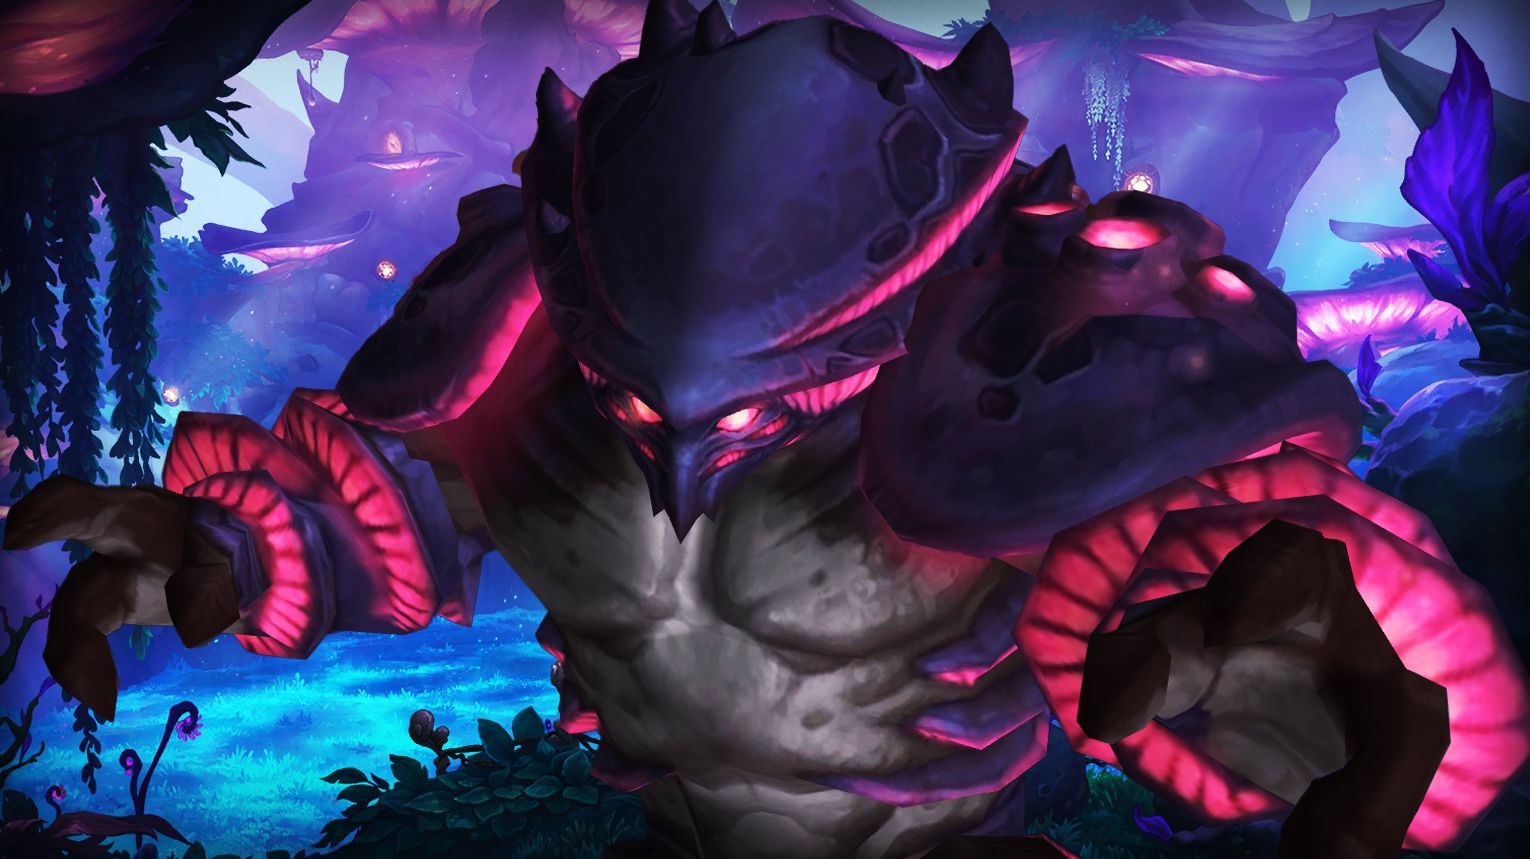
Rotmire looks like something out of a horror movie. A massive, bloated fungal giant with spores erupting from its back and arms that drag on the ground. It’s slow, but it hits like a truck.
Encounter Flow
Phase 1 → Intermission → Phase 1 → Intermission → (repeat until dead)
No third phase. No secret transformation. Just escalating pressure.
![]() The core challenge is add management. If you let Shroomlings and Funglings pile up, the Intermission becomes a death sentence.
The core challenge is add management. If you let Shroomlings and Funglings pile up, the Intermission becomes a death sentence.
Rotmire Strategy Guide
Phase 1 – Fungal Control
This is where you establish rhythm.
![]() Key Abilities You’ll See Every 15‑20 Seconds
Key Abilities You’ll See Every 15‑20 Seconds
- Festering Vines – Rotmire throws green vines under random players. They spread on the ground and stay there. Standing in them = damage + slow. You have to move out, but also don’t run into the middle of the room. Push them toward the edges. Seriously. Your melee will thank you.
- Putrid Fist –
 Tank buster. Rotmire raises a fist, glows green, then smacks the current tank. Leaves a debuff that increases nature damage taken. Requires a tank swap. If your tanks don’t swap, the second hit will absolutely delete them.
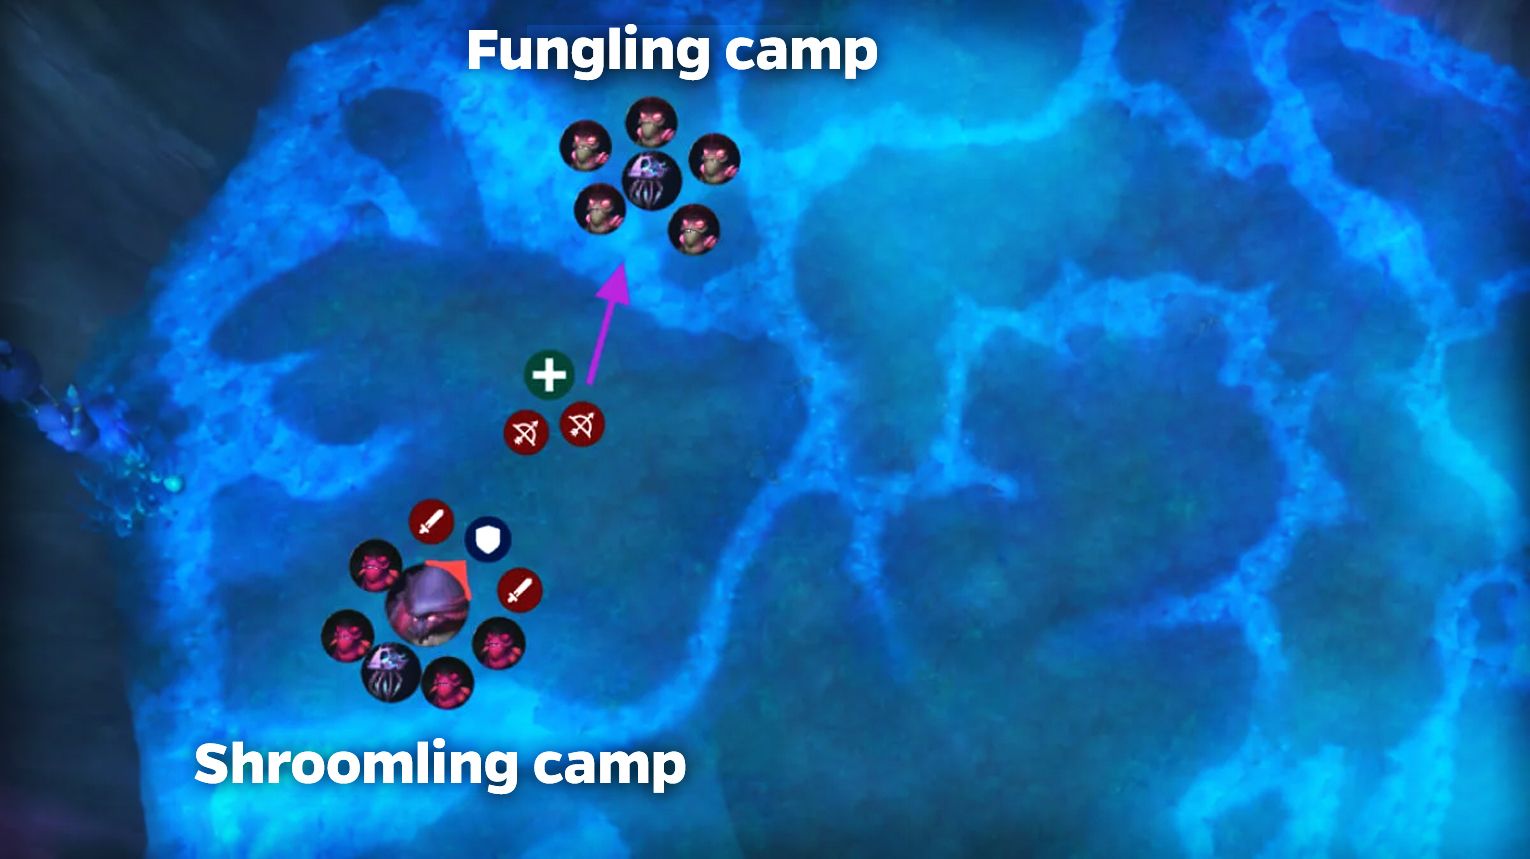
 - Shroomlings and Funglings – Adds that spawn from the edges. Shroomlings are small, fast, and run toward players. Funglings are bigger, cast a spore bolt, and have more health. Both multiply if left alive. Kill them immediately. AoE stuns help a lot here.
![]() What Your Raid Should Do
What Your Raid Should Do
![]() Tanks: Position Rotmire near the center, but slightly offset so vines can be dropped to the sides. Swap on Putrid Fist. Taunt after 2 stacks of the debuff.
Tanks: Position Rotmire near the center, but slightly offset so vines can be dropped to the sides. Swap on Putrid Fist. Taunt after 2 stacks of the debuff.
![]() DPS: Adds > boss. Seriously. If you see a Shroomling, kill it. If you ignore adds, you’ll have 12 of them by the second intermission.
DPS: Adds > boss. Seriously. If you see a Shroomling, kill it. If you ignore adds, you’ll have 12 of them by the second intermission.
![]() Healers: Expect moderate raid damage. Save big cooldowns for the intermission. Don’t waste them on random chip damage.
Healers: Expect moderate raid damage. Save big cooldowns for the intermission. Don’t waste them on random chip damage.
Common Pug Mistake #1:
![]() DPS tunnel the boss, adds stack up, then the intermission hits and everyone dies to a million spore bolts. Seen it a hundred times.
DPS tunnel the boss, adds stack up, then the intermission hits and everyone dies to a million spore bolts. Seen it a hundred times.
Intermission – Fungal Bloom (The Wipe Zone)
When Rotmire’s energy bar hits 100%, he stops and starts casting Fungal Bloom for about 8 seconds.
![]() During this time:
During this time:
- Rotmire takes reduced damage (like 75% less — don’t waste CDs).
- Massive raid‑wide AoE pulses every 2 seconds.
 Healers need to pump.
 - All remaining adds become empowered – they grow larger, deal double damage, and start casting faster.
- Green spores cover the floor, shrinking safe space every second.
![]() What to Do
What to Do
![]() Healers: Pop your big cooldowns now. Revival, Tranquility, Healing Tide, whatever you have. Rotate them.
Healers: Pop your big cooldowns now. Revival, Tranquility, Healing Tide, whatever you have. Rotate them.
![]() DPS: Focus down empowered adds. Don’t touch the boss. Adds first, always.
DPS: Focus down empowered adds. Don’t touch the boss. Adds first, always.
Everyone: Use health potions, personal defensives, and anything else you’ve got. This is the “survive at all costs” phase.
Pro tip: If you enter the intermission with more than 3‑4 adds alive, you’re probably wiping. Clear them before the energy bar fills. Call out “adds” in voice chat when you see them spawn.
Final Phase – Repeat Until Dead
After the intermission ends, Rotmire goes back to Phase 1 with slightly higher damage and faster ability casts. The rest of the fight is just repeating this cycle.
As the fight goes on:
- Vines cover more of the floor – less room to stand.
- Adds spawn faster.
- Intermissions hit harder.
By the third or fourth intermission, the room is mostly green death. You have to kill Rotmire before the fifth intermission usually, or your healers will run out of cooldowns.
![]() DPS check is real: on Mythic, you need about 380k raid DPS to beat the enrage (the point where Intermissions overlap). Gear helps, but execution matters more.
DPS check is real: on Mythic, you need about 380k raid DPS to beat the enrage (the point where Intermissions overlap). Gear helps, but execution matters more.
Role Tips

![]() Tanks:
Tanks:
- Swap on Putrid Fist. Debuff lasts ~20 seconds. Don’t be greedy.
- Position Rotmire so his back is toward the adds’ spawn points — makes cleave easier.
- In Intermission, use your defensive cooldowns even if you’re not tanking. The AoE hurts everyone.
- If you’re a Warrior, Spell Reflect works on Putrid Fist (yes, really). Share that tip with your guild.
![]() DPS:
DPS:
- Adds > Boss. I know you want big numbers. But killing a Shroomling in 2 seconds helps the raid 10x more than 50k extra boss damage.
- Save your 2‑minute cooldowns for the Intermission if possible. That’s when the pressure is highest.
- Use AoE slows/stuns on add packs. A single Binding Shot or Frost Nova can save a wipe.
- If you’re a Hunter, Misdirect the adds onto the tanks — makes them easier to gather.
![]() Healers:
Healers:
- Pre‑hot before Intermission. Every heal counts.
- Call your cooldown rotation before the pull. “I’ll do Spirit Link on first intermission, you do Tranquility on second…”
- Don’t forget about external damage reductions (Pain Supp, Ironbark) — use them on tanks during Putrid Fist or on a squishy DPS getting targeted by empowered adds.
- Mana can get tight in progression. Bring mana pots. Yes, they’re expensive. So are repair bills.
Sporefall Achievements List
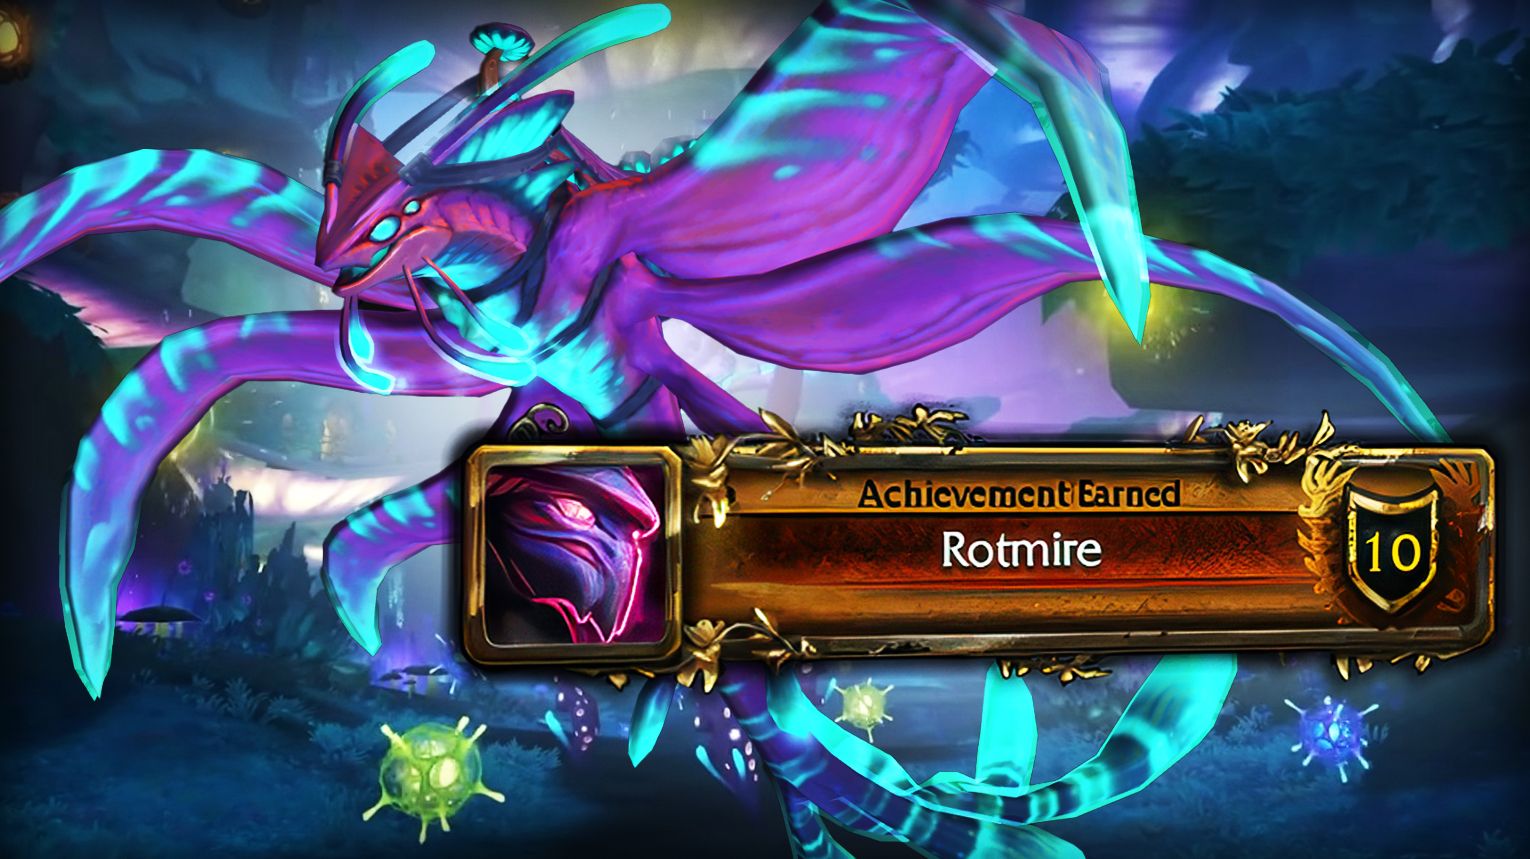
| Achievement | Requirement |
| Rotmire | Defeat Rotmire in Sporefall on any difficulty. |
| Heroic: Rotmire | Defeat Rotmire in Sporefall on Heroic difficulty. |
| Mythic: Rotmire | Defeat Rotmire in Sporefall on Mythic difficulty. |
Final Thoughts
Sporefall is a compact raid that respects your time.
- One boss.
- Quick clears.
- Top‑tier loot.
- No mandatory 20‑player roster for Mythic.
But don’t let the simplicity fool you. Rotmire will punish sloppy add management and bad positioning harder than some full 8‑boss raids. We’ve seen pugs fall apart in 90 seconds because someone forgot to kill a Shroomling.
If your group communicates, rotates cooldowns, and focuses adds, Rotmire becomes one of the most satisfying kills in Midnight Season 1. If not? Well… the mushrooms are always happy to see you again.
Need a carry? Our Sporefall boost service gets you the kill on any difficulty, with all loot and achievements. No headaches, no pug drama.